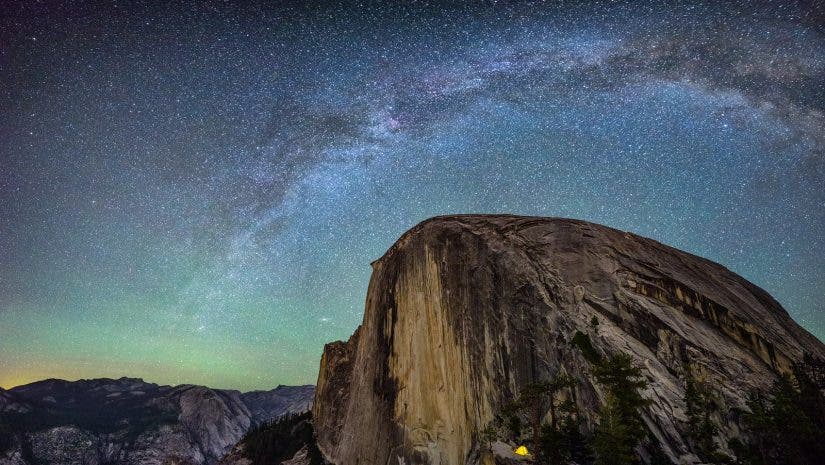
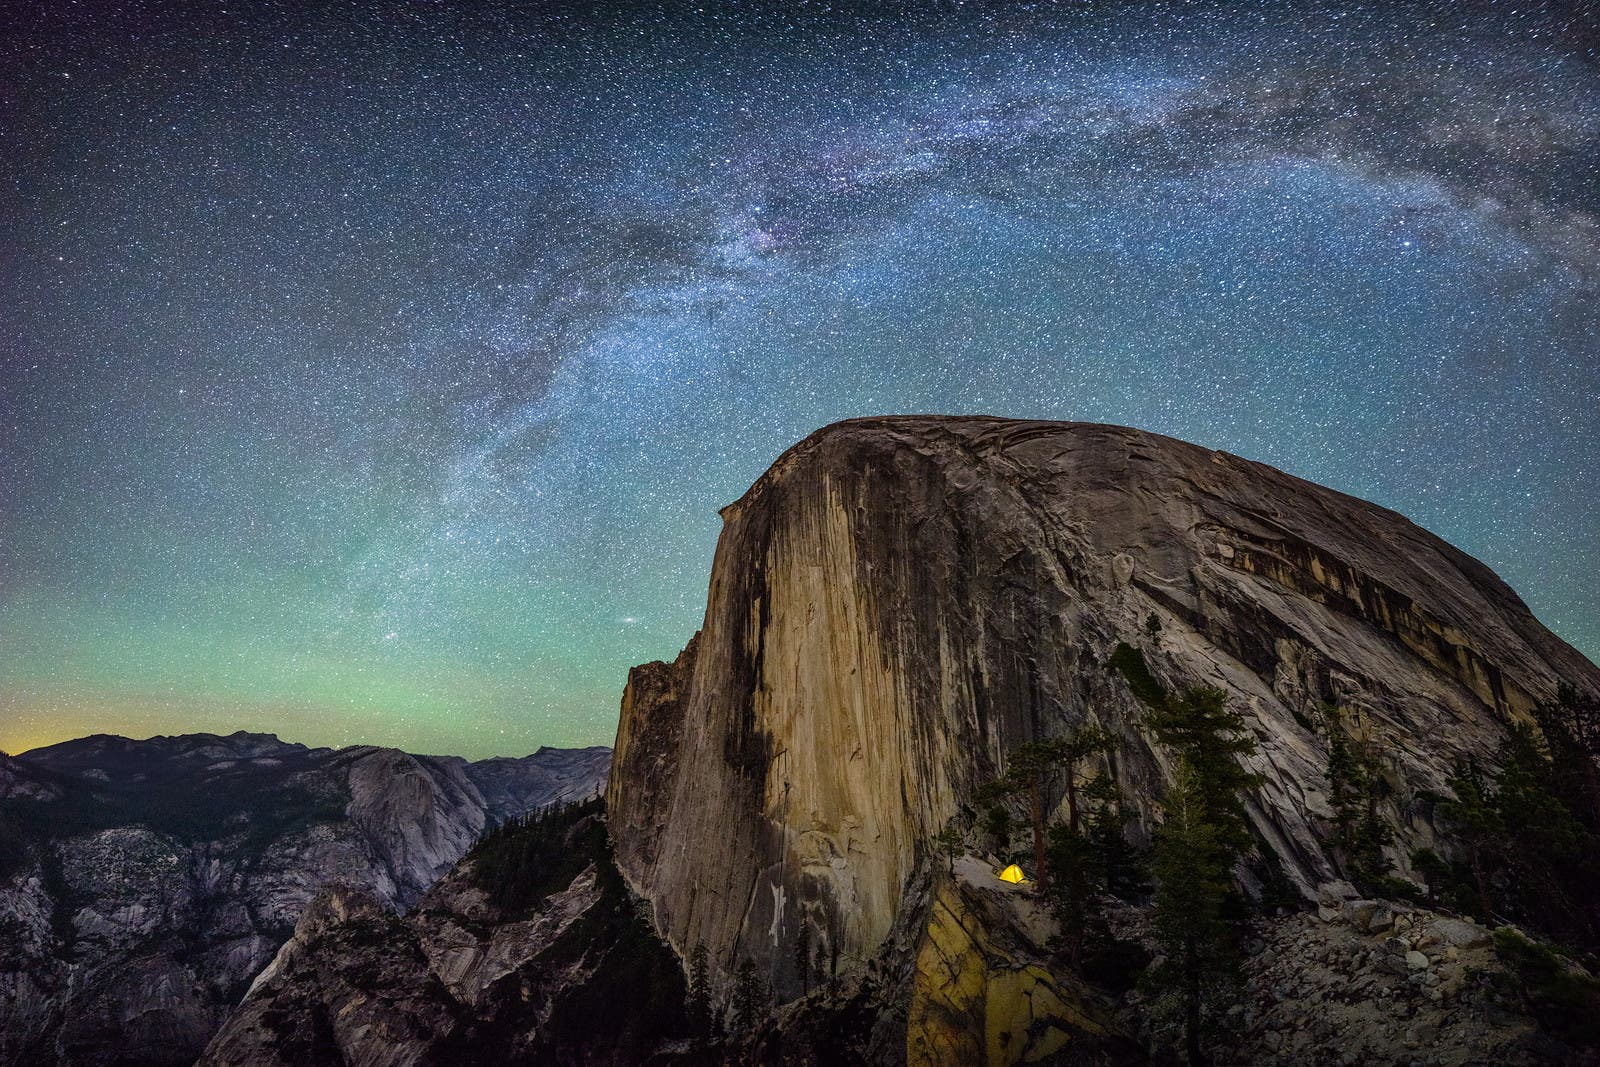
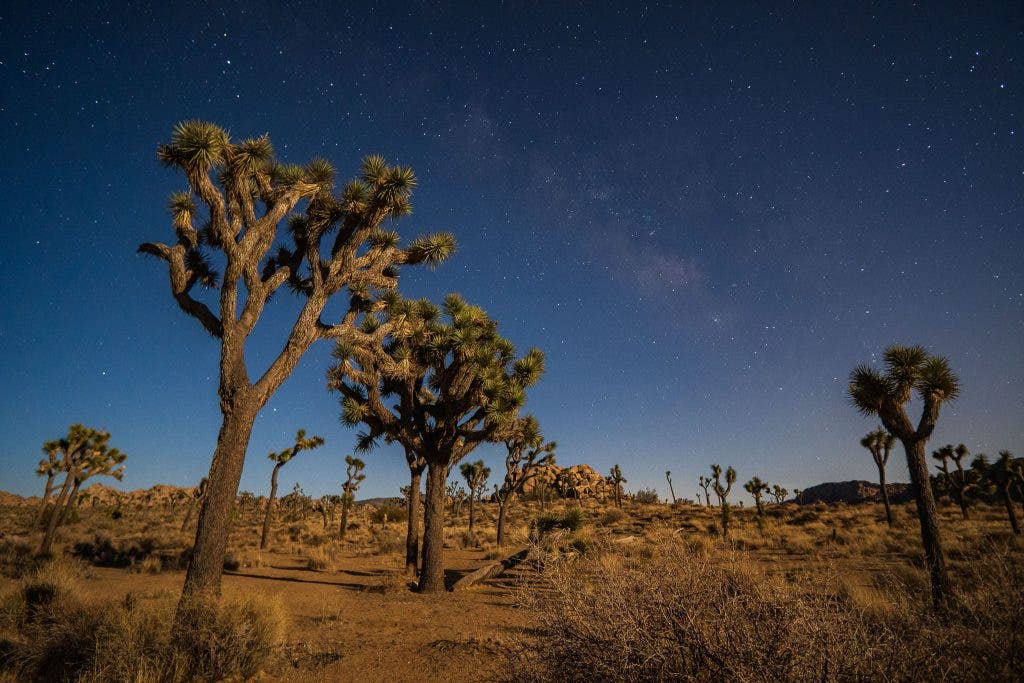
A couple decades ago, night photography was barely even possible with ordinary camera equipment. Today, the imagery we are seeing is absolutely breathtaking, even from a simple, single exposure!
This is thanks to both digital sensor technology and impressive optical innovations, that is, exotic lenses. In fact, almost any camera and lens today is capable of stunning night photos, if you know how to properly use the gear of course.
How is this possible? Digital camera sensors are now capable of capturing excellent images at extremely high ISOs such as 6400, 12800, or higher, and fast-aperture lenses are also allowing in more light, with F-stops such as f/1.4, f/1.2 and even f/1.0 or faster depending on the focal length. Even f/2.8 zoom lenses, which were previously only available to serious pros, are becoming commonplace.
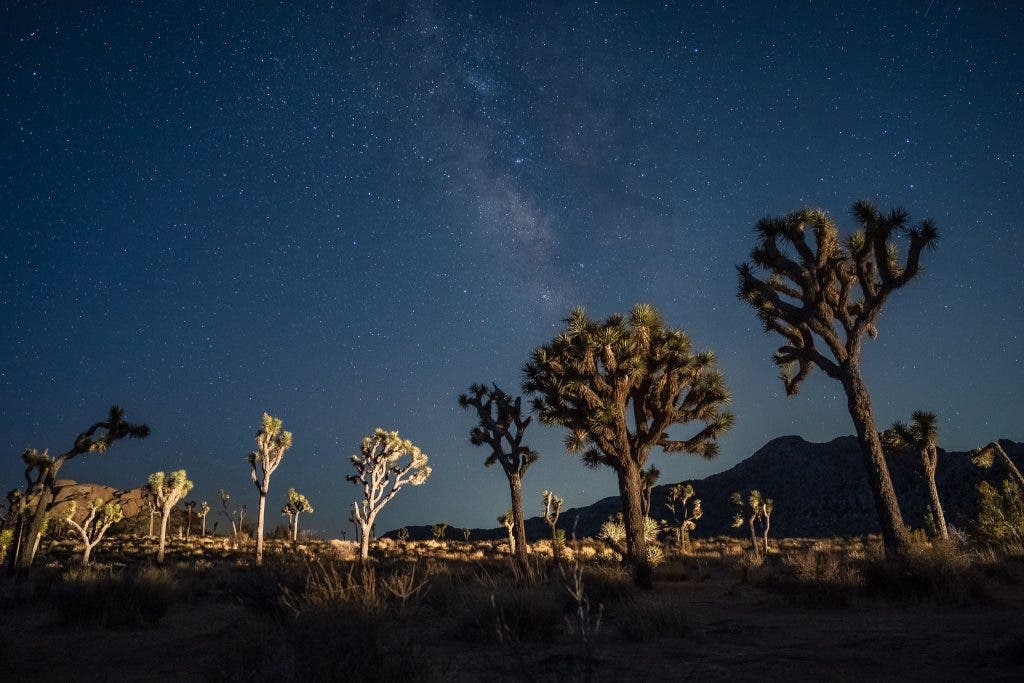
In this article, we are going to share seven of our best tips and inspirational ideas with you. Hopefully, they will inspire you to get outdoors at night and create some stunning imagery!
Of course, these tips are just the beginning. There are lots of other resources here, including guides on what gear to choose and which settings to use, etc. With that being said, let’s dive into these 7 essential tips, ideas, and examples for night photography!
- Use a Heavy Tripod
- Remember: Fast Lenses Are More Affordable than Flagship Cameras
- Know How to Find the Milky Way
- Create a Sense of Scale
- Make a Night Photography Time-Lapse
- Hold Still for a Night Photography Portrait
- Educate Your Viewers About Your Night Photography
1. Use a Heavy Tripod
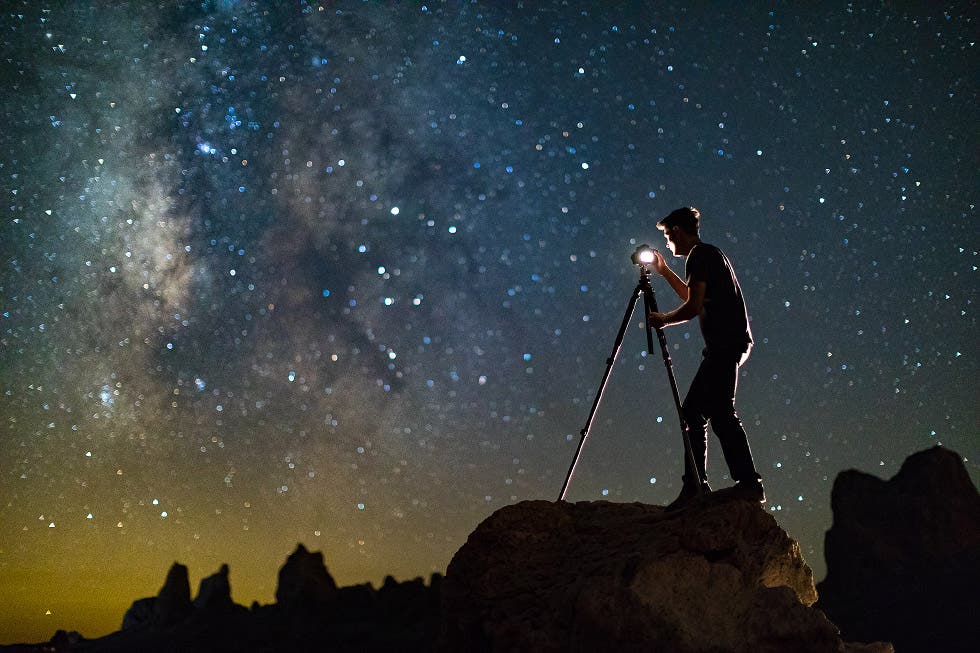
This first tip might sound odd, but hear me out. That cheap, lightweight tripod you bought might be convenient for travel, however, if it wobbles even a tiny bit then you will be constantly frustrated by blurry photos because virtually all night photography is done at very long, slow shutter speeds. So, for night photography you will learn to appreciate a sturdy, even heavy tripod!
Sometimes you can find old Manfrotto etc tripods at a garage sale for $20, from “back in the day” when they were made of all metal parts and weighed as much as a small boat anchor. Or, for something a little more balanced, I like the Slik AMT series because they’re very affordable, almost indestructible; Slik is an original brand that has been around for decades. Of course, you don’t have to always drag a big, heavy tripod everywhere. If you’re traveling a lot, or hiking/backpacking, then there are a few lightweight, compact tripods that still offer decent strength, and won’t break the bank. My favorite ~2 lb tripod is the Slik Pro CF-634, although you’ll need to add a good ball head to the legs. My favorite ~3 lb tripod is the Feisol Tournament series.
2. Fast Lenses Are More Affordable than Flagship Cameras
If you think you need that $3,000 or $4,000+ full-frame camera in order to capture decent night photos, stop! Here’s the honest truth: the camera body itself doesn’t matter nearly as much as a bright, fast-aperture lens.
Maybe you already have a new(ish) APSC format camera, such as a Sony A6600 or a Fuji X-S10, or an Olympus or Panasonic Micro Four Thirds camera. Or, maybe you have an entry-level full-frame camera, like a Nikon Z5, a Sony A7C, or a Panasonic S5. Honestly? All of these cameras are incredibly capable, and you can use them to capture stunning night photos; you don’t need to upgrade bodies! What you need is the right lens. That is, a fast aperture, and a wide focal length.
Thankfully, in the last few years many excellent lenses have arrived for literally every mount and system. If you have the money, name-brand wide-angle lenses such as f/1.4 primes or f/2.8 zooms are excellent choices. However, third party lenses from Tamron, Sigma, Rokinon/Samyang, Laowa, Irix, and Tokina also have excellent image quality and are incredibly affordable.
Make no mistake, you will want as much light-gathering capability as possible. So, do save up for that fast-aperture prime or zoom, and do use it wide-open! These modern lenses don’t really need to be stopped down, at least for sharpness, that is. (Also, the sharper the lens, the easier it will be to manually focus on the stars!)
3. Know How to Find the Milky Way
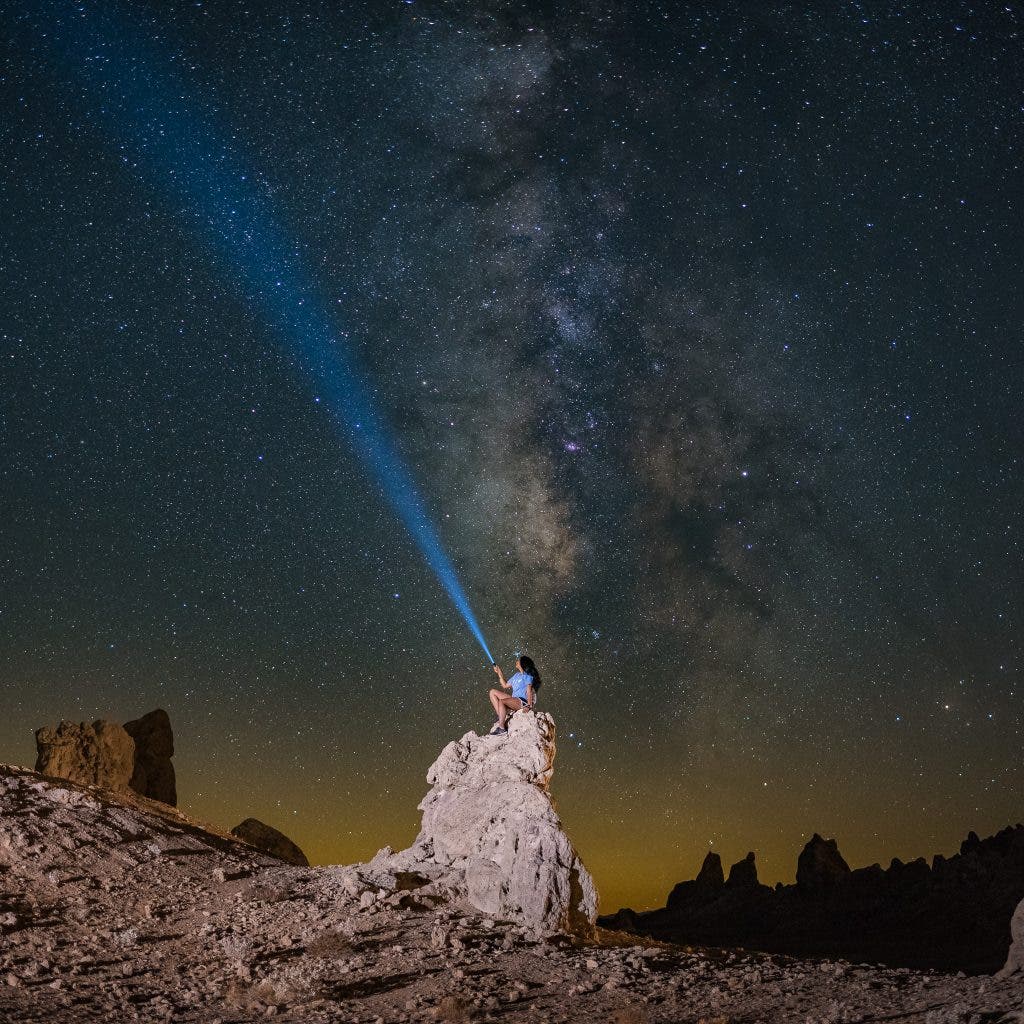
One of the best night photography subjects that is relatively easy to capture with basic equipment is the Milky Way galaxy. That is, the Milky Way core, actually, which is only visible during the summer months (and a bit of spring and fall, too) in the northern hemisphere, or the opposite for the southern hemisphere.
How do you “find” the Milky Way, though? Don’t just go out to the desert or mountains in the middle of the night and hope to see it. You can find it quite easily, before you even get to your photo location, using any number of mobile apps. Sun Surveyor is one, and PhotoPills is another. Also, The Photographer’s Ephemeris offers both a mobile app and an impressive desktop computer interface. Most apps are free, and available for both Android and iOS.
There are other apps you can use to find other, smaller subjects in the night sky, such as nebulas and galaxies, however, those are often best photographed through telescopes, or with telephoto lenses and distant foregrounds, of course.
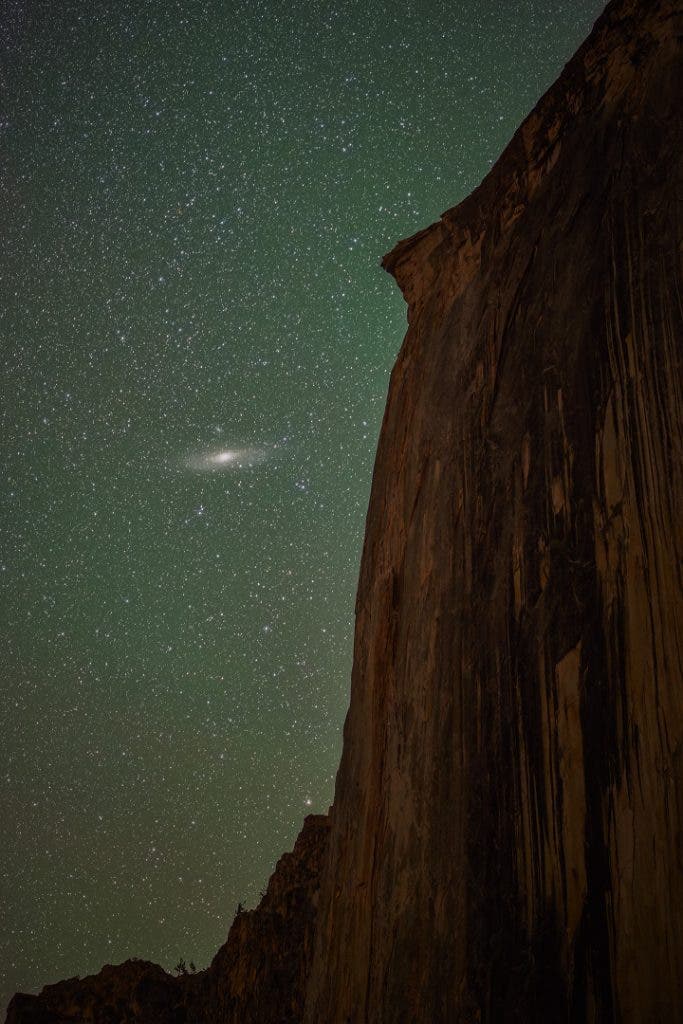
Using any of these apps, you can easily scout a location before you visit, determine if/when the Milky Way and other objects are visible, and which direction to point your camera in order to capture them.
This is how many experienced photographers plan out their photographic compositions in advance and know exactly where to stand in order to line up their foreground with the perfect night sky!
4. Create a Sense Of Scale
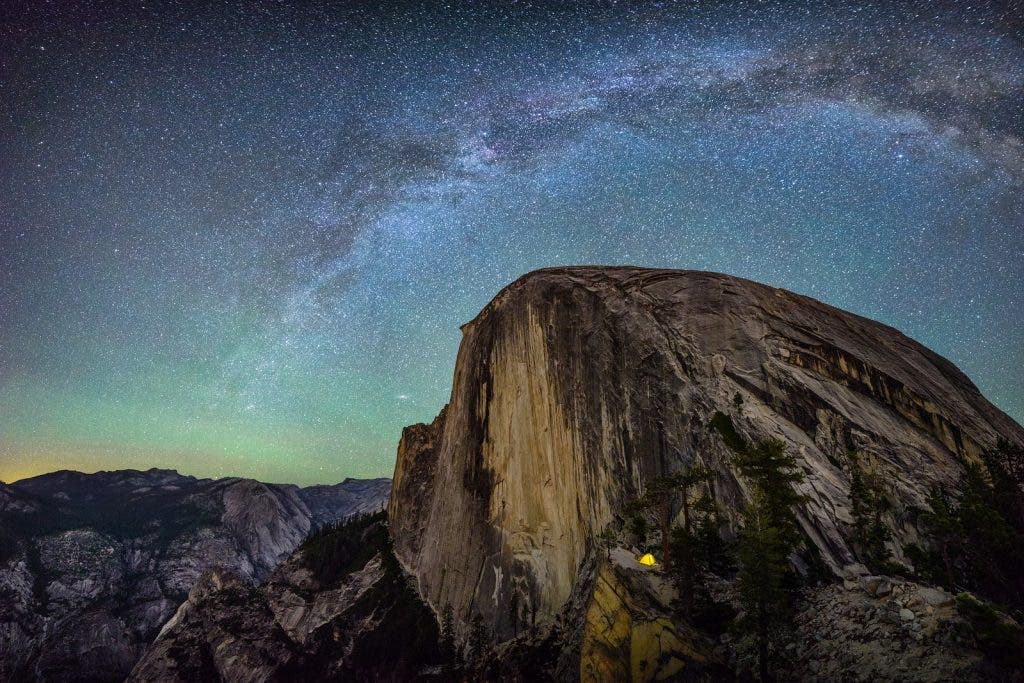
One of the impressive things about the night sky is just how vast it is. The Milky Way stretches from one horizon to another, for example, and sometimes it is a challenge to tell the story of just how incredibly tiny we are here on planet earth.
Include an identifiable subject in your photo and give it some distance in the scene; this is a great way to create a sense of dramatic scale. Want to make viewers feel just how grand the cosmos is? Zoom out just a bit more, or add a little extra distance between you and your main subject, allowing it to “shrink” in your frame relative to the sky.
While a 24mm f/1.4 prime lens is a popular tool for astro-landscapes, a ~14mm lens is a great way to give the Milky Way some more breathing room and/or to shrink a subject within your frame.
5. Create a Night Photography Time-Lapse
If you think that capturing (and editing) a time-lapse is too advanced; think again! It has gotten very easy in recent years. Almost all cameras have a built-in option to capture time-lapse images, not just as a single video file, but as individual raw frames that you can later edit and compile into a time-lapse video clip.
On most cameras, you simply enter the Interval Timer or “Interval Shooting” mode and choose an interval plus a total number of photos. Start by capturing, say, 300 photos at 30-second intervals for a night time-lapse of the stars. (Set your shutter speed to 25 seconds or less, so each exposure doesn’t overlap the interval!) This will give you a total of 150 minutes of time-lapse motion, or 2.5 hours. (Make sure your battery is fully charged, or can run directly off of a USB pack!) For daytime time-lapse work, try an interval of 2-8 seconds instead!)
Then, back at home on your computer, all you have to do is batch edit each photo with the same settings, (assuming the exposure and lighting conditions didn’t change much during the time lapse) and batch export all the raw photos to JPG. Most video editing programs will allow you to just toss all the still photos onto your video timeline, and then export the video as a single clip, or as part of the rest of your video content!
6. Hold Still for a Night Photography Portrait
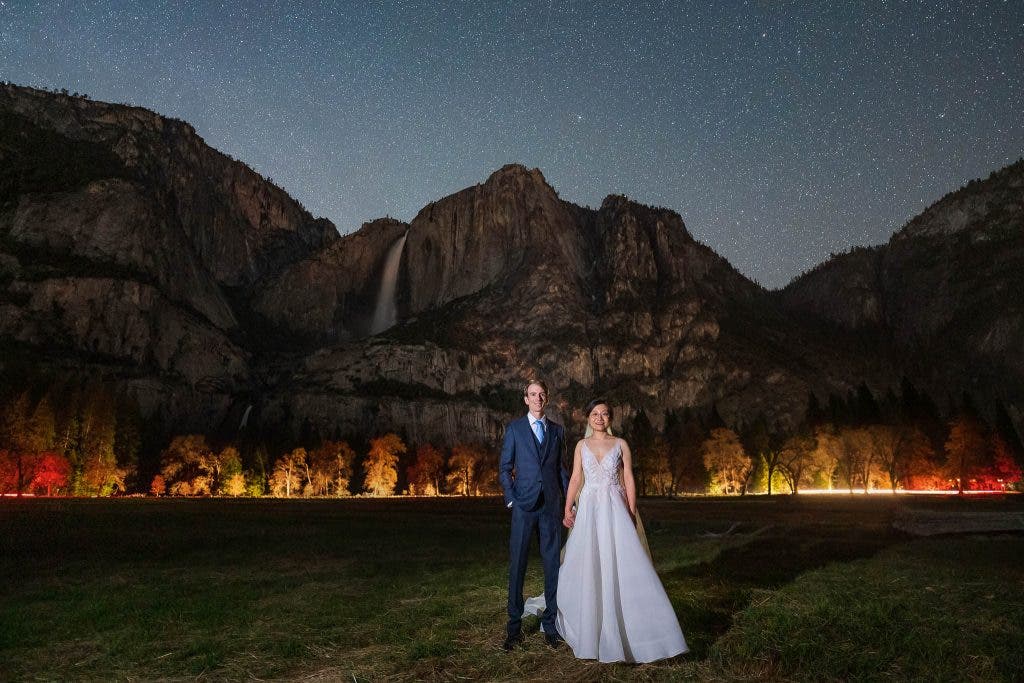
Believe it or not, even at night you can sometimes use relatively fast shutter speeds! Portraits by moonlight, or of course using flash, are entirely possible with your highest (usable) ISO and your fastest aperture. Obviously your subjects will have to hold very still, as your shutter speed will still likely be 1 second or ½ second, but, as long as your camera is on a tripod, just play around!
Remember, the closer your camera gets to any living, breathing subject, the more you will see any blur that is present in a 1-2 second exposure. Oppositely, the further away they get, the more they will appear quite sharp!
Also, if you are comfortable with layer masking techniques in Photoshop, you can always try capturing multiple exposures, some at longer shutter speeds and lower ISOs, and then if necessary you can use the “clean” exposure of the night sky and then mask in your sharper portrait subject.
7. Educate Your Viewers About Your Night Photography
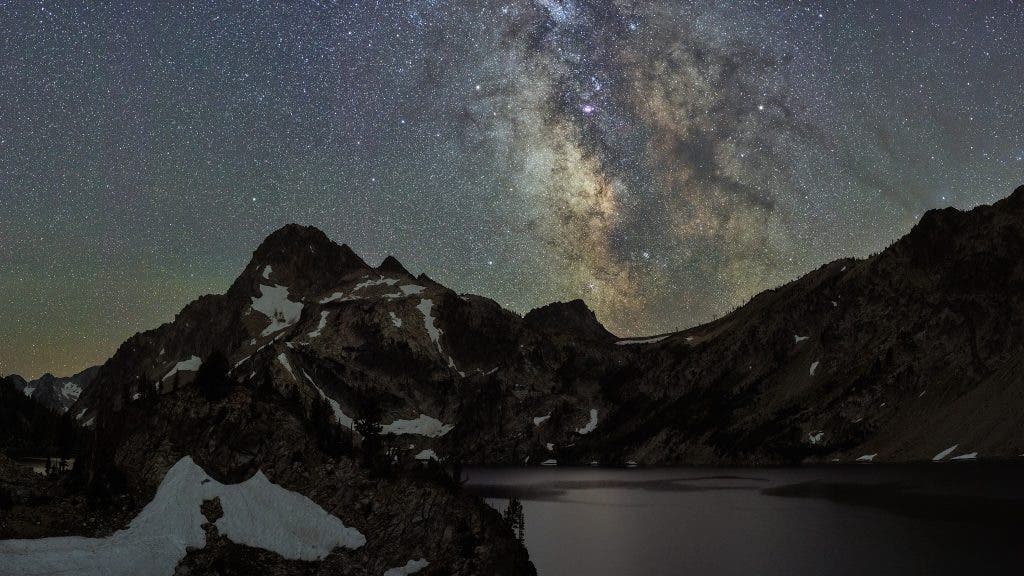
This final tip will help your talents as an artist be the most appreciated. When you share your final images, especially on social media, a lot of viewers will wonder in awe of your work, “what on earth am I seeing? Is this even real?”
It’s a normal reaction to a truly stunning nightscape photo. However, with today’s advanced editing technology which now includes AI-based photo manipulation, sometimes the honest truth is, no, the image is not “real” at all!
There’s nothing wrong with this, of course, because photography is an art form, and your creativity shouldn’t be limited.
However, I believe it is important to educate your viewers about what they are seeing, so they can appreciate the imagery for what it is, and understand more about the night sky itself. In other words, don’t let your talent in the digital darkroom go unappreciated; if your imagery is often composite work, your viewers deserve to know. Oppositely, if your image is an accurate representation of the key elements of subject(s), scale, juxtaposition, and timing, then viewers will appreciate it for that, too!
In other words, embrace your talents, and share your passion with your viewers. A genuine connection between a viewer and the artist themselves is one of the best parts of why we do this!
Conclusion | Night Photography Tips & Ideas
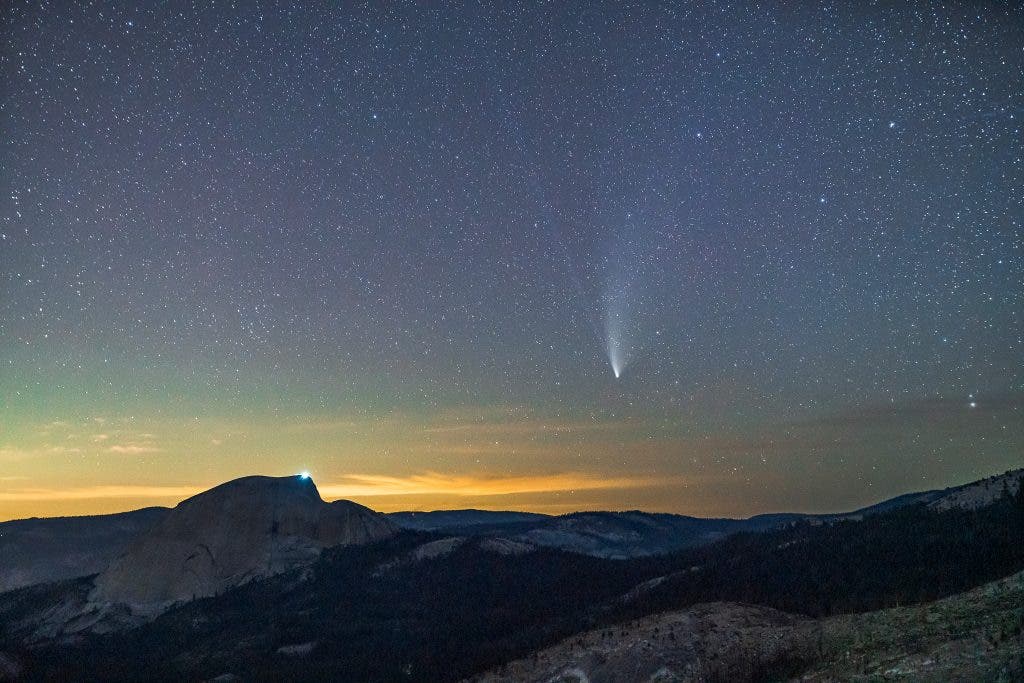
It has become much easier to capture impressive night photos, whether you’re into nightscapes, astro-landscapes, deep-sky astrophotography, or night portraiture! The gear is within reach of any budget, and the techniques are as simple as taking a few test exposures, carefully setting focus, and then getting creative! There is a chance that in 10-20 years the night sky near you might be significantly less easy to photograph, however, so, get outside and do some night photography soon!
If you have any questions or tips of your own, leave a comment below.
