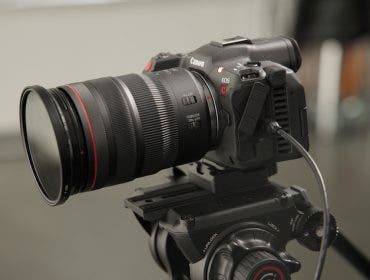
What could be easier than capturing photos of a beautiful, sleeping baby, right? Just point the camera at the baby, click the shutter, and let the baby’s brand new, adorable face do the rest. Right? Well, if you’ve never photographed a newborn before, the answer may surprise you. The reality is that newborn photography requires careful planning, an abundance of patience, and a very unique set of skills. When it comes to taking great newborn photos, creative newborn photography props and ideas can make all the difference, separating the pros from the Pinterest fails.
While you may have aced weddings or family portraits, newborn photography will test your abilities as both a photographer and a caretaker, with an emphasis on the latter and still very high expectations on the former. The sessions tend to run long and lean towards the unpredictable, and you still have to deliver incredible photos. For that reason, we’ve put together a collection of useful tips to help guide your journey into newborn photography.
5+ Newborn Photography Ideas and Props
- Camera, Lens, & Lighting Gear Recommendations
- Newborn Photography Props and Tools
- Pre-Shoot Planning Guide
- Newborn Photography Ideas
- Post-Production Tips
Let’s get started!
Camera & Lighting Gear Recommendations
Before we dive into the newborn photography ideas and props, we’ll take a look at the camera and lighting gear you’ll need to photograph newborns.
Cameras
When it comes to camera gear, the latest makes & models with advanced features certainly make life easier and give you more creative control, but that’s not to say you need top of the line gear to capture incredible newborn photos. You can always use a point-and-shoot camera or a decent smartphone camera to get the job done. That said, I do think it’s worth investing in gear if you plan to shoot professionally or even just push your skills as an enthusiast, especially if you want to get into shooting weddings and other types of events or portrait sessions.
These days, you have plenty of options available for camera bodies. The option you choose, however, whether it be a DSLR or mirrorless camera with either a crop-sensor or full-frame sensor, will likely come down to cost. On average, full-frame camera bodies tend to cost more than crop-sensor cameras, but price points vary based on each camera’s features and functionality. At the end of the day, you probably won’t use the majority of the advanced functions when photographing sleeping newborns, but it doesn’t hurt to have them on hand.
Here are a few recommendations for DSLR and mirrorless cameras for newborn photography:
DSLR Cameras
- Canon 5D Mark IV: This full-frame DSLR performs well indoors, especially in dimly lit situations when you need to shoot at a higher ISO. A 30.4 MP full-frame sensor captures plenty of detail and the 61 AF Point Selection system helps ensure tack-sharp newborn photos. Other features like dual memory card slots and wifi-capability come in handy for securing your back-ups and sharing images more quickly.
- Nikon D850: Nikon shooters on my team have referred to the D850 as one of the last of the DSLR titans. Its 153 AF points makes it possible to lock focus throughout the frame, and the 45.7 MP full-frame sensor will give you amazing picture quality.
Mirrorless Cameras
- Canon EOS R: I would recommend the EOS R if you’re looking to jump into mirrorless cameras without having to drop too much cash. The EOS R’s 30.4 MP full-frame sensor compares to the 5D Mark IV, but the price tag is lighter. I like using mirrorless cameras for newborn sessions, as well, because they’re quieter (no shutter noise), which increases your chances of not waking the baby during a newborn session.
- Nikon Z6 II: Nikon makes solid, affordable mirrorless cameras. The Z6 II, with its dual card slots, in-body stabilization, and incredible autofocus has already earned a reputation for creating high quality images. It’s hard to beat for under $2k.
- Sony Alpha a7 III: This camera gets the job done across multiple genres, and it works especially well as a newborn photography camera. It’s lightweight, creates minimal noise/grain at higher ISO settings, and features image stabilization. You can pick up a newer Sony mirrorless camera, but the affordable price and massive functionality of this camera make it an appealing option.
You can choose from other cameras, of course, but this should help get you started.
Lenses
Most photographers, regardless of genre, tend to favor certain lenses for their shoots. The same is true for newborn photographers. To help you figure out which lenses might best serve your newborn photography, check out this article on Adorama’s blog for the best newborn photography lenses. You’ll find several lenses included across the spectrum of affordability, and each entry includes a basic breakdown of the lens and offers commentary on how the lens can best be used to photograph newborns.
Lighting Gear
We’ll dive more into when you should use natural light vs. flash photography in the section on lighting below, but for those instances in which you need to add or modify light for newborn sessions, here are some recommendations:
- Profoto B10 (Flash and Continuous Light)
- Godox SL200W II (Continuous Video Light)
- Large Umbrella & Diffusion Cloth
- 5-in-1 Reflector
- Reflector, Light Stand, and Reflector Holder Kit
Newborn Photography Props and Tools
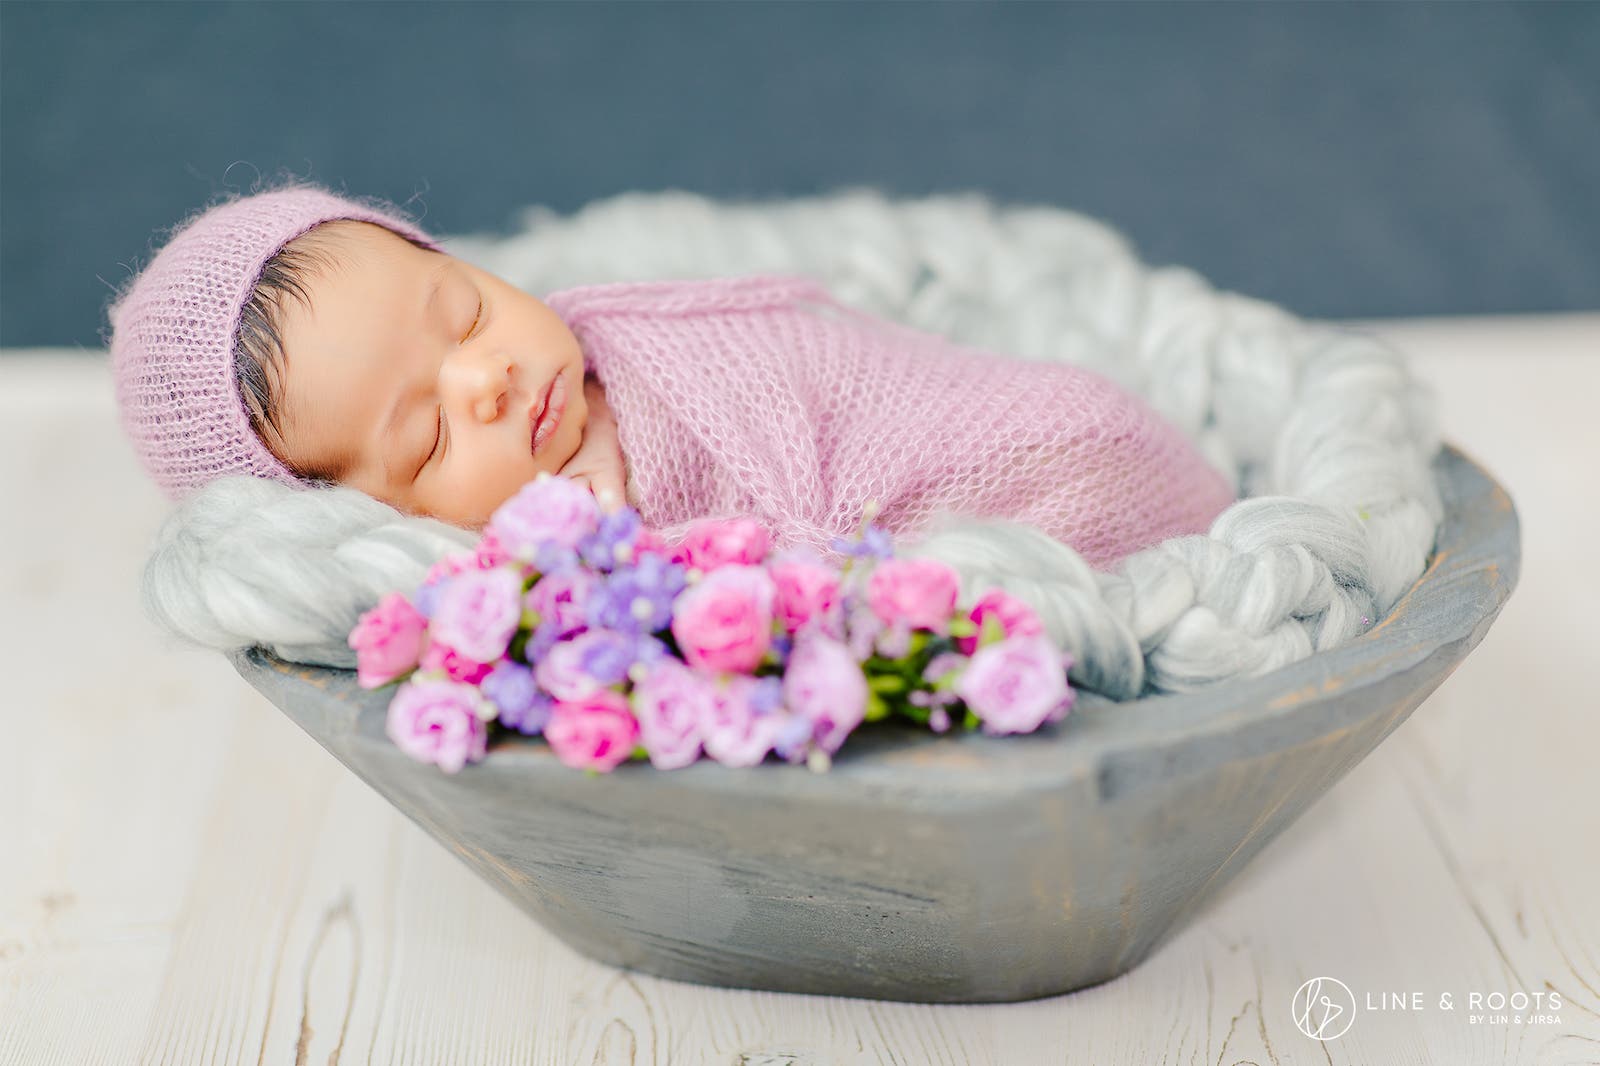
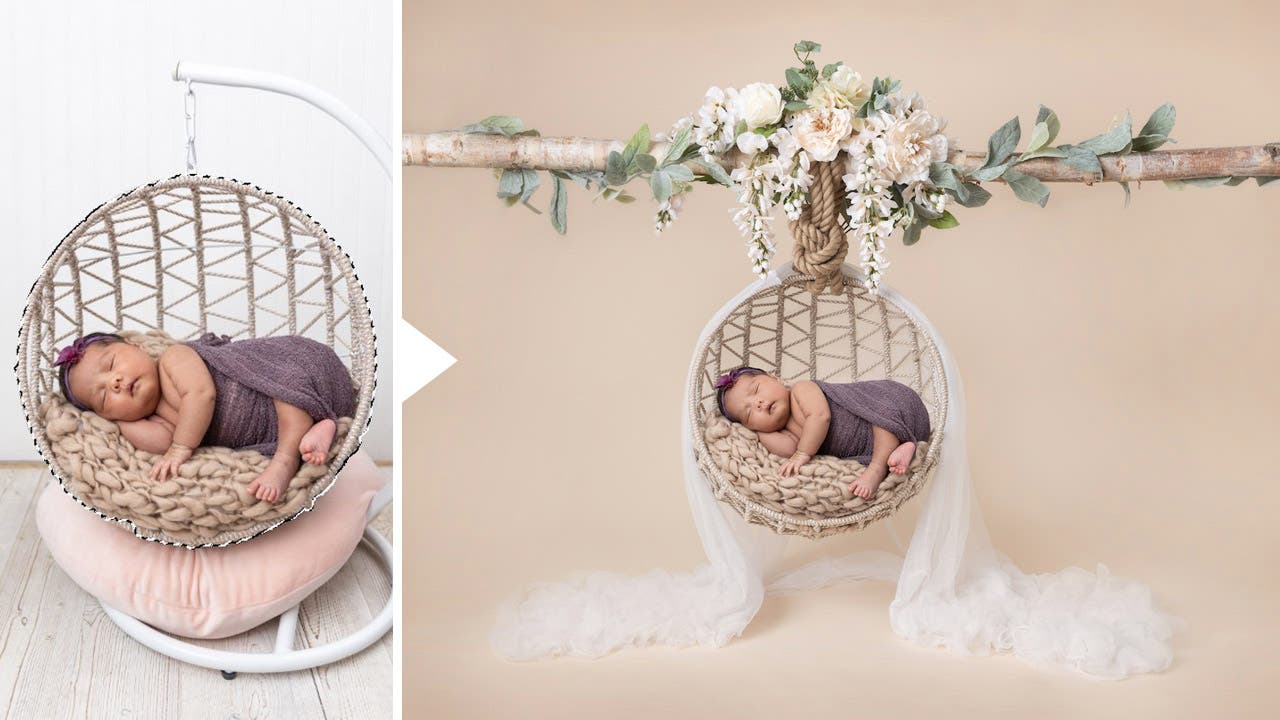
Props play an essential role in newborn photography. They come in many shapes and sizes, and they serve a variety of purposes, both functional and fashionable. Whatever props you decide to use, remember to put the baby’s safety first. Be sure to avoid using props with sharp points or edges, and always use an assistant or the parents to spot the baby, especially taller or unsteady surfaces. Remember, we can always create a composite in post if necessary to get the shot we need without risking the baby’s well-being.
Baskets, Bowls, and Bean Bags
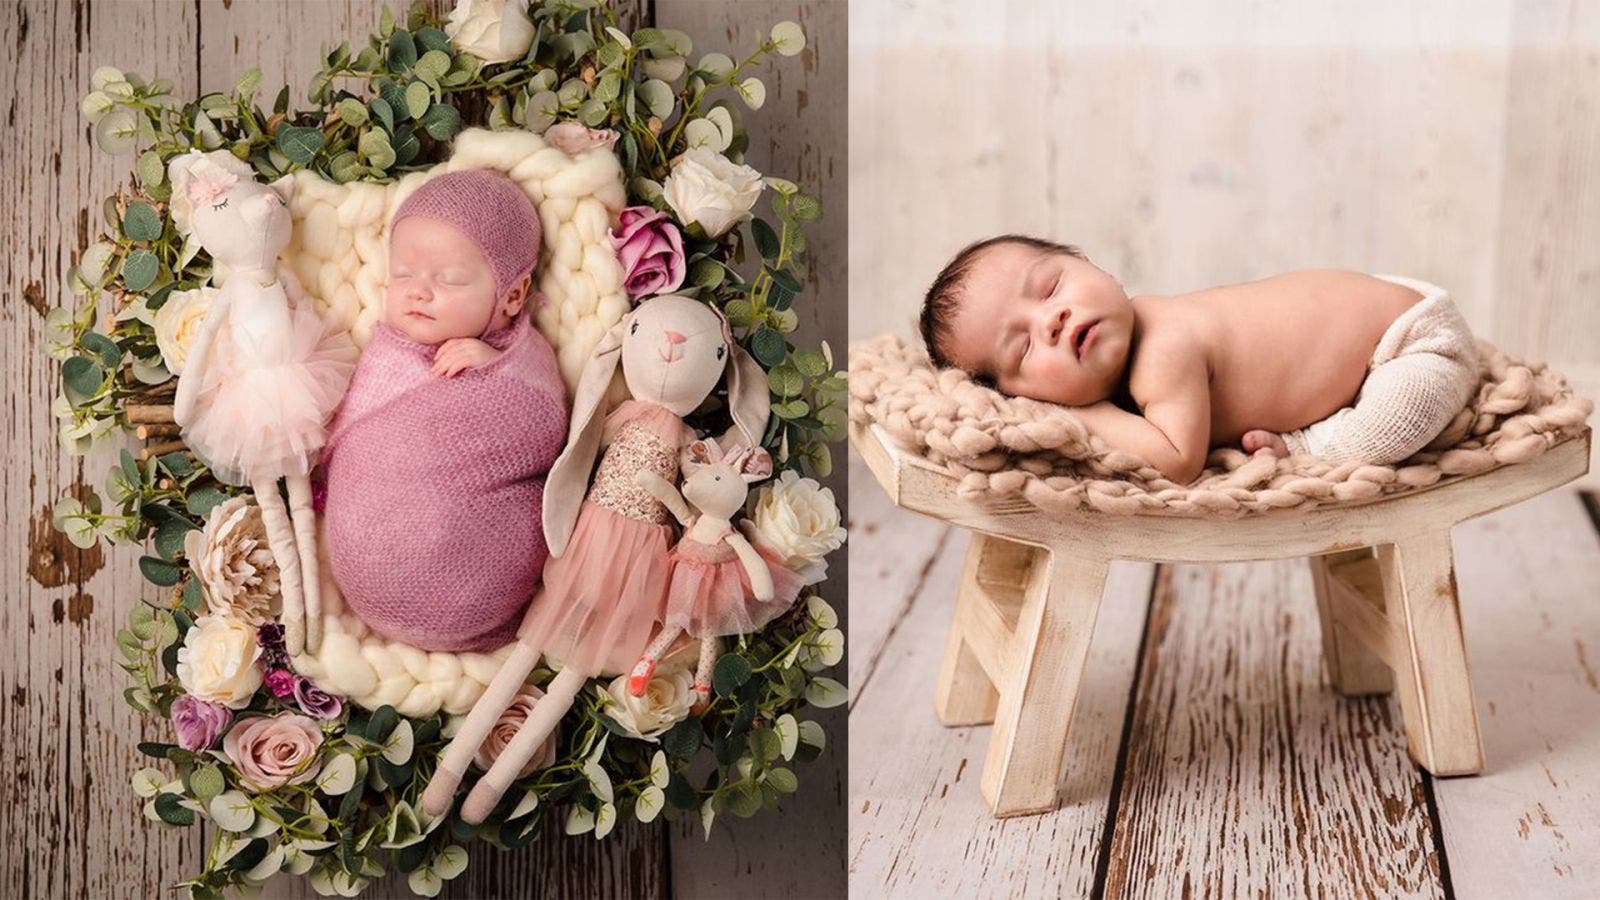
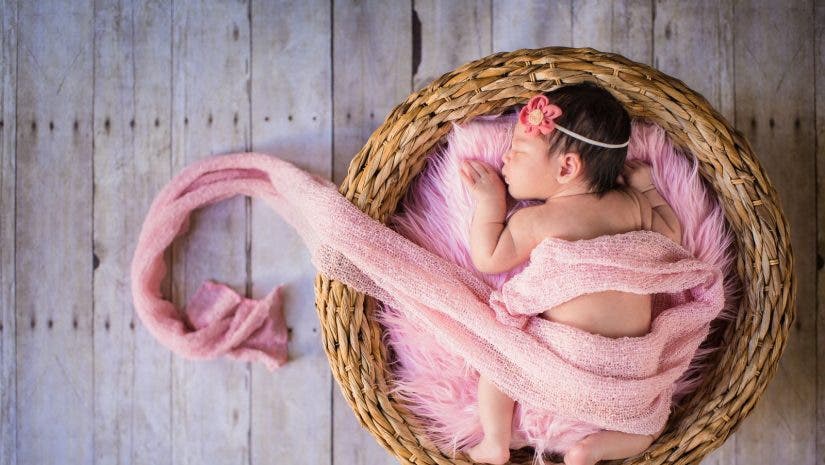
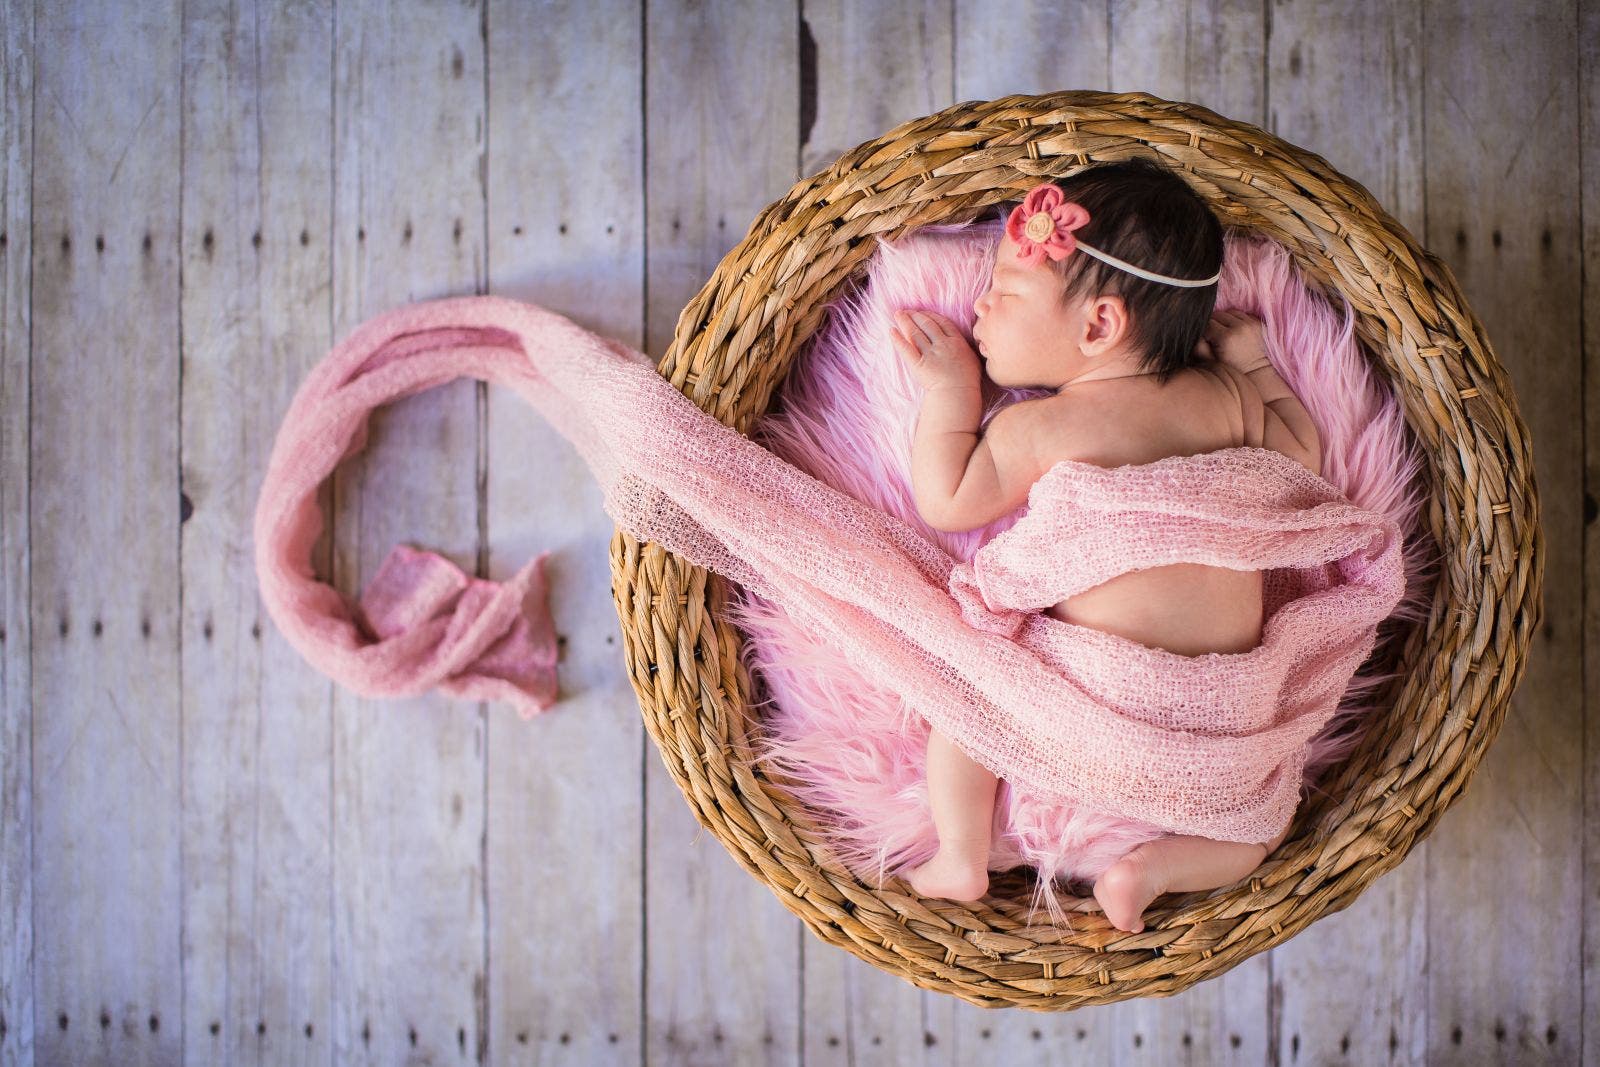
Newborn Photography props like baskets and bowls serve equally well holding the baby and giving the image a sense of scale. Newborns don’t stay this small for long, so capturing their smallness in this way gives parents a gift they’ll always treasure. You can purchase affordable baskets and bowls at most craft stores.
Many newborn photographers also use large bean bags with flat surfaces, often accompanied by a backdrop stand and clips for stretching and holding blankets in place. The bean bags can be round or rectangular, but they must have a flat top and bottom surface with a wide diameter in the neighborhood of 48 inches across.
Backdrops and Backdrop Stands for Newborn Photography Props
You’ll often see newborn photographers drape and clip blankets over a backdrop stand for newborn sessions, which works perfectly well, but I also recommend looking into picking up different backdrops to use during your newborn or other portrait sessions. I personally prefer using Backdrops by Ethan Alex to add a touch of elegance and elevate my portraits, but your options are wide open.
Wraps and Blankets

When getting into newborn photography, you can expect to stock up on a wide selection of colorful wraps, blankets, rompers, and swaddles. These tools of the trade add visual appeal to the imagery with pops of color and interesting textures, but they also serve another functional purpose. You can use them to cover the newborn’s private parts, as well as any skin discoloration or rashes. There’s an art to wrapping newborns that requires practice. Consider picking up a StandInBaby mannequin (SIB) so that you can practice without the pressure of figuring out how to do it during the session.
When setting up your posing area, be sure to layer the blankets to create a smooth surface. If you strategically layer the blankets by color (the colors you plan to use throughout the shoot), you can transition from one blanket to the next more quickly.
Hats and Headbands
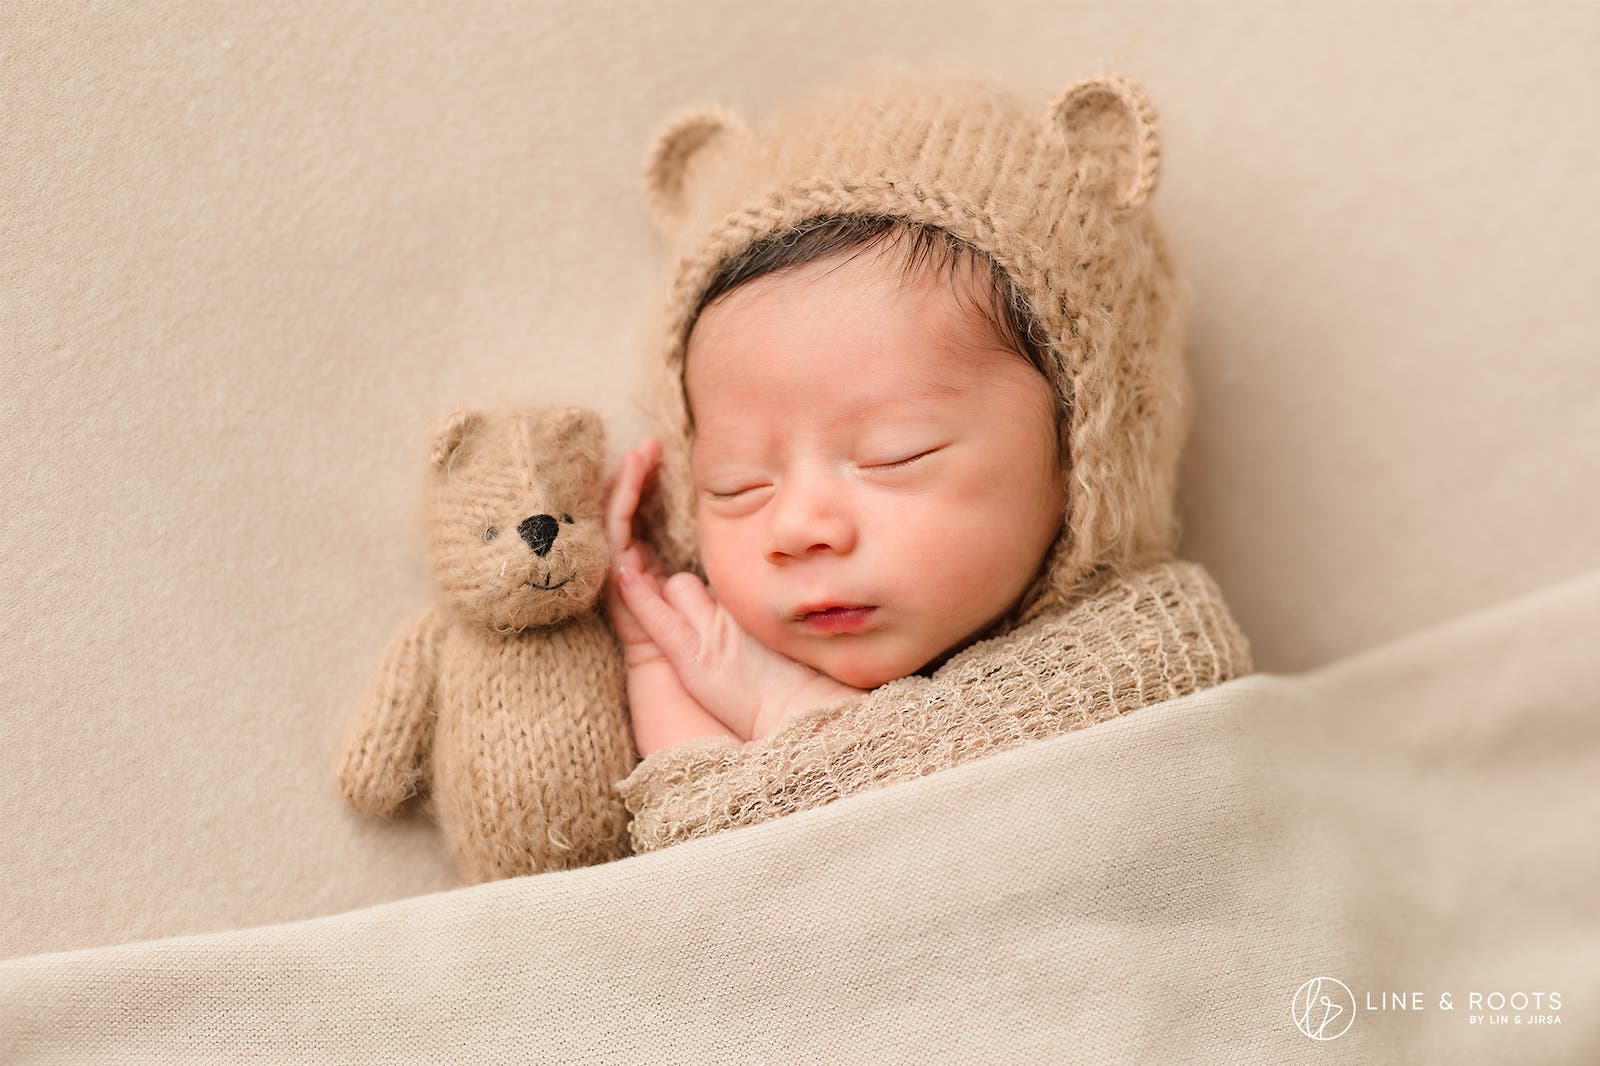
Soft hats and headbands make for great newborn photography props that give you another opportunity to work colors into your scene while also keeping the baby warm. Using a monochromatic look or complementary colors can make for outstanding newborn photography ideas. If you’re not yet familiar with color theory, take a look at a color wheel or check out this article for more ideas on what colors work well together. Be sure to discuss your color choices with your clients before the shoot.
Personal Newborn Photography Props
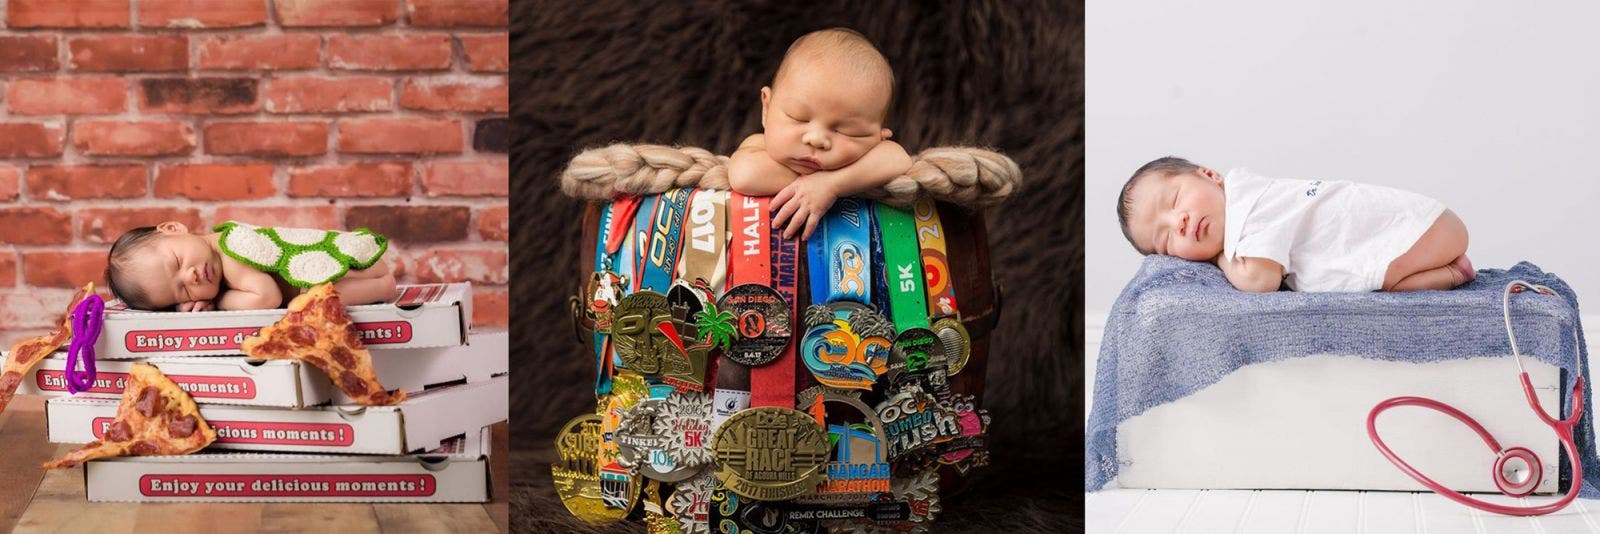
In addition to props you can purchase for a newborn session, invite the parents to use objects that relate to their own interests to further personalize the images. The more meaning the props have, the more the family’s bound to find value in the photos. Take time to talk with the baby’s parents before the session and find out what is important to them. Props can be thematic, relating to the parents’ favorite movies, sports, music, colors, and so on. Just be careful not to overdo it. Get a couple shots with a fair amount of personal props and then move on.
Some Essential Newborn Photography Tools
During a newborn photography session, it’s important to keep the baby comfortable and content, and few things work as well as these two tools to do just that.
Pre-Shoot Planning Guide
Many of the following items should be communicated with the parents up front, before the day of the session.
Newborn Photography Ideas for Scheduling the Session
In regards to scheduling a newborn photo session, you should generally aim for 7-10 days from the date of birth. Within this timeframe, newborns tend to sleep for longer stretches, which makes it easier to pose them and work through the shoot. Of course, you can still capture great newborn shots outside of this window, but older babies may fuss more and fight against some of the posing options. Each baby is different and results will vary, but shoot for 7-10 days.
Prepping the Space
Maximize your shoot time by setting everything up prior to the start of the shoot, if possible. Here are some newborn photography ideas for prepping the shooting space.
Keep the Area (and Your Hands) Warm
I highly recommend that you use a space heater. Our newborn subjects often reward us with an easier shoot when we keep them comfortable, and keeping the temperature of the shooting space warm is key to maintaining their comfort. Be sure to be mindful of the temperature throughout the shoot, however, so that the baby doesn’t overheat. Newborns can quickly develop a fever if they get too hot. Using a space heater to impact the immediate area around the baby allows for quick adjustments compared to trying to control the temperature of the entire room.
Because you may need to make slight adjustments to the baby’s position or pose, it’s important to keep your hands warm as well. A touch from cold hands can cause the baby to jolt and undo the pose and wrap you’ve so patiently set up. Consider wearing gloves if you have cold hands.
Feed and Burp the Baby in Advance
A full belly also helps newborns feel content, which often results in better sleep and better photos. If the baby shows signs of getting hungry, take a short 10-15 minute break and let mom feed (and burp) the baby. Burping is important to avoid having the baby spit up the milk after feeding. When the baby seems content again, continue with the shoot.
Loosen the Diaper and Keep the Baby Swaddled
This is an often overlooked newborn photography idea. Ask one of the parents to remove the newborn’s clothing and loosen the diaper at least 1 hour prior to the shoot. Otherwise, the clothing and diaper may leave lines on the baby’s skin. You can always remove the lines in Photoshop, but why create extra work?
Use Your Inside Voice
We take great pains to create a comfortable space in an effort to help the newborn sleep peacefully. Don’t forget to control the volume of your voice as well.
Newborn Photography Ideas
Newborn photography is somewhat unique in that the majority of your time during the actual shoot, after the props are set up and the lights and camera settings are dialed in, is still not spent taking photos. Instead, the baby dictates the pace of the shoot. For that reason, you absolutely need to have the technical details ready to go for when the baby cooperates.
Camera Settings
Newborn photography camera settings largely depend on the scene’s available light. And, of the three settings in the exposure triangle (aperture, shutter speed, and ISO), you’ll mainly want to focus on aperture and shutter speed.
Aperture
To begin, dial in your aperture. Your aperture will control depth of field and also determine in part how much light will reach the sensor. A wider aperture works well for blurring out the background and any distracting elements in the scene. It also limits the depth of your focal plane, which may be an issue when photographing the baby with family or props that would be better left in focus.
Shutter Speed
Because your subject, in this case a newborn, shouldn’t move much, you can go with a slower shutter speed. You’ll still need to compensate for any handshake motion that you might add to the shot, but you can get away with a relatively lower shutter speed overall. I generally like to keep it at 1/200 or faster, but on the low end, try not to go slower than 1/100 or 1/60 (max) without using a tripod.
ISO
After dialing in your aperture and shutter speed, use the lowest ISO setting possible while getting a decent exposure. This will minimize the amount of noise & grain you introduce into the image.
White Balance and Other Considerations
For white balance, it’s simple. If you’re shooting in natural light (using no tungsten or other lights), set your camera to around 5000-5500 Kelvin. If you’re shooting under tungsten lights, drop your white balance to around 3200 Kelvin. When using flash under tungsten lights, add a CTO gel and stick to the 3200 Kelvin setting.
I also recommend shooting in RAW rather than jpeg to maintain more flexible editing capabilities.
Lighting
Newborn sessions commonly use soft, natural, slightly directional lighting. Regardless of the light source, however, whether a window or softbox and flash, photographers often place the baby’s head toward the light. The head shouldn’t face the light directly. This could potentially cause overly flat lighting. Here are some newborn photography tips for using natural light and flash photography.
Natural Light
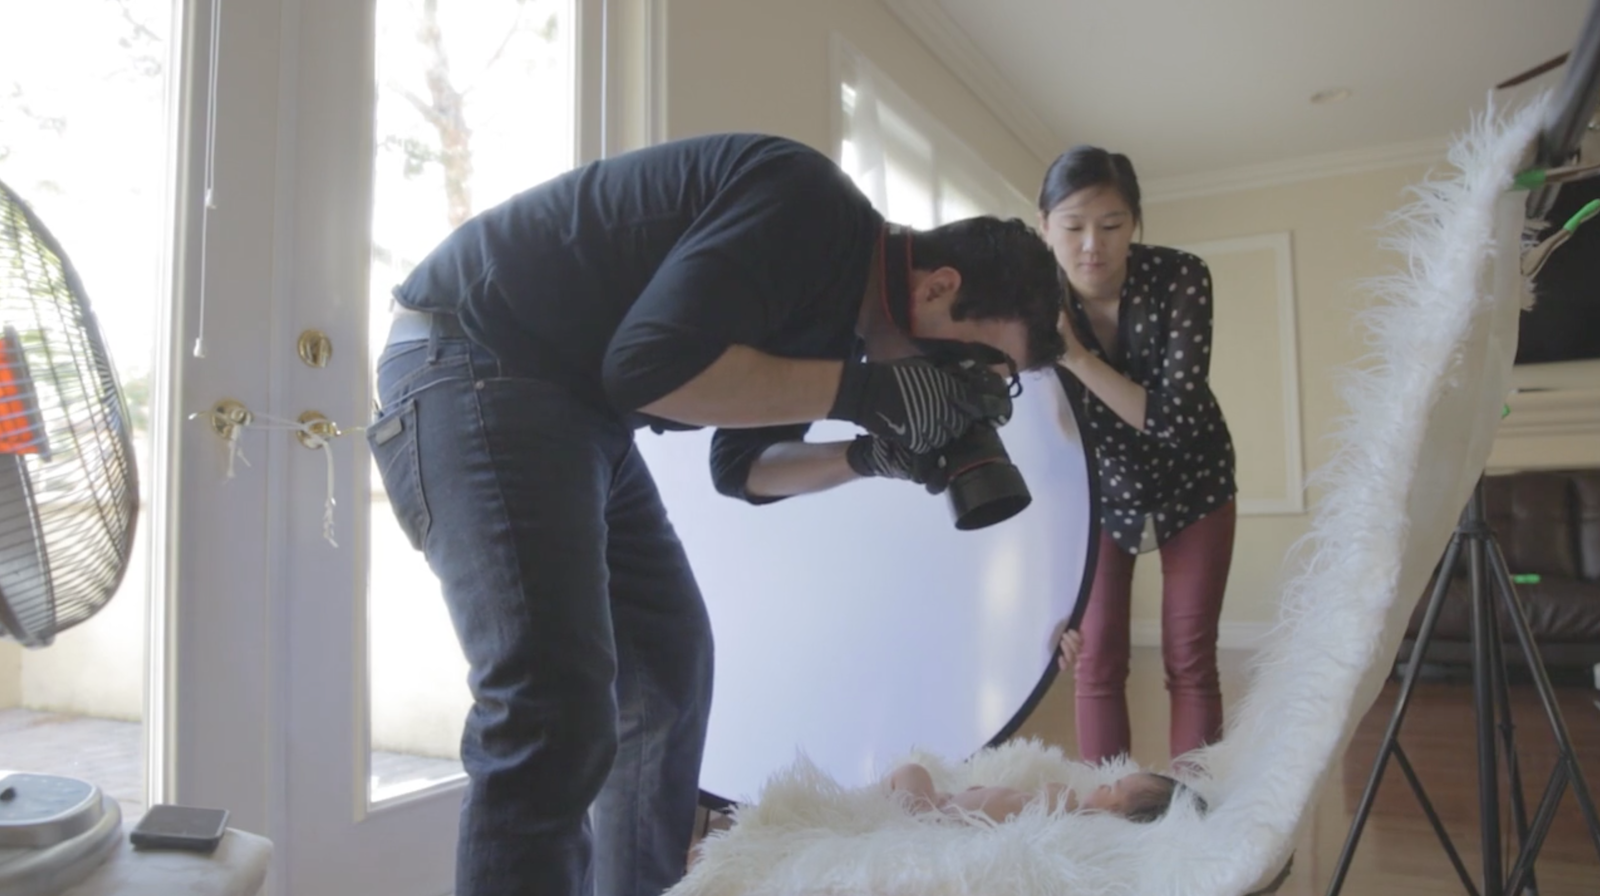
Ideally, you’ll light your newborn session using natural light. The only lighting gear you’ll need under these circumstances is a large window to use as a main light and a 5-in-1 reflector to provide fill light.
When using window light as your main light source, try to place the baby a few feet from the open window. Sheer curtains are great, but you can also put up a scrim from a basic 5-in-1 reflector to soften the light. Finally, place the baby’s head at a 60 to 70-degree angle from the light source to add a bit of light direction.
Flash Photography
If you decide to use flash during your newborn photography session, use caution as babies’ eyes are sensitive to light. Consider using a softbox with a low power setting on an external camera flash. Otherwise, bounce light from the ceiling. If the flash is too bright, it could wake the baby.
Whenever possible, try to use ambient lighting. Natural window light or constant indoor lights can be used to great effect and deliver your desired lighting. Whichever route you take, the same directions apply in terms of positioning the baby in relation to the light source.
Posing the Baby
In no uncertain terms, posing newborns takes plenty of practice and patience. Babies don’t follow cues, and they often try to undo whatever pose you’re placing them into, even when they’re sleeping!
Posing newborns also presents a unique challenge because you also need to master the art of swaddling. There are several ways to wrap the baby, and you’ll need to do it without disrupting their sleep or making them uncomfortable. After having done it for a number of years, I can still say it’s easier said than done. This leads to my next point: plan your poses and how to shoot each pose in advance.
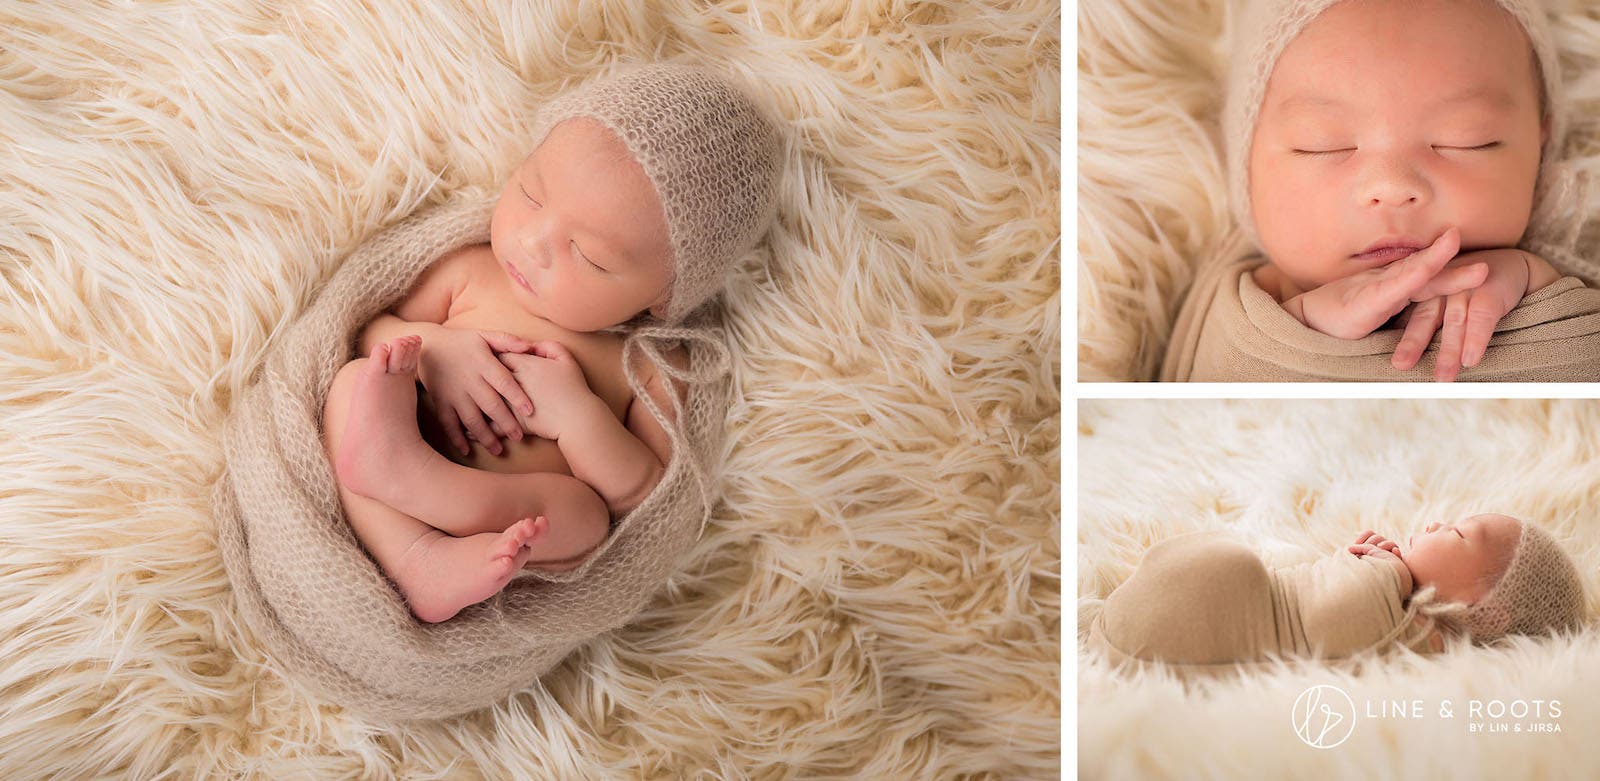
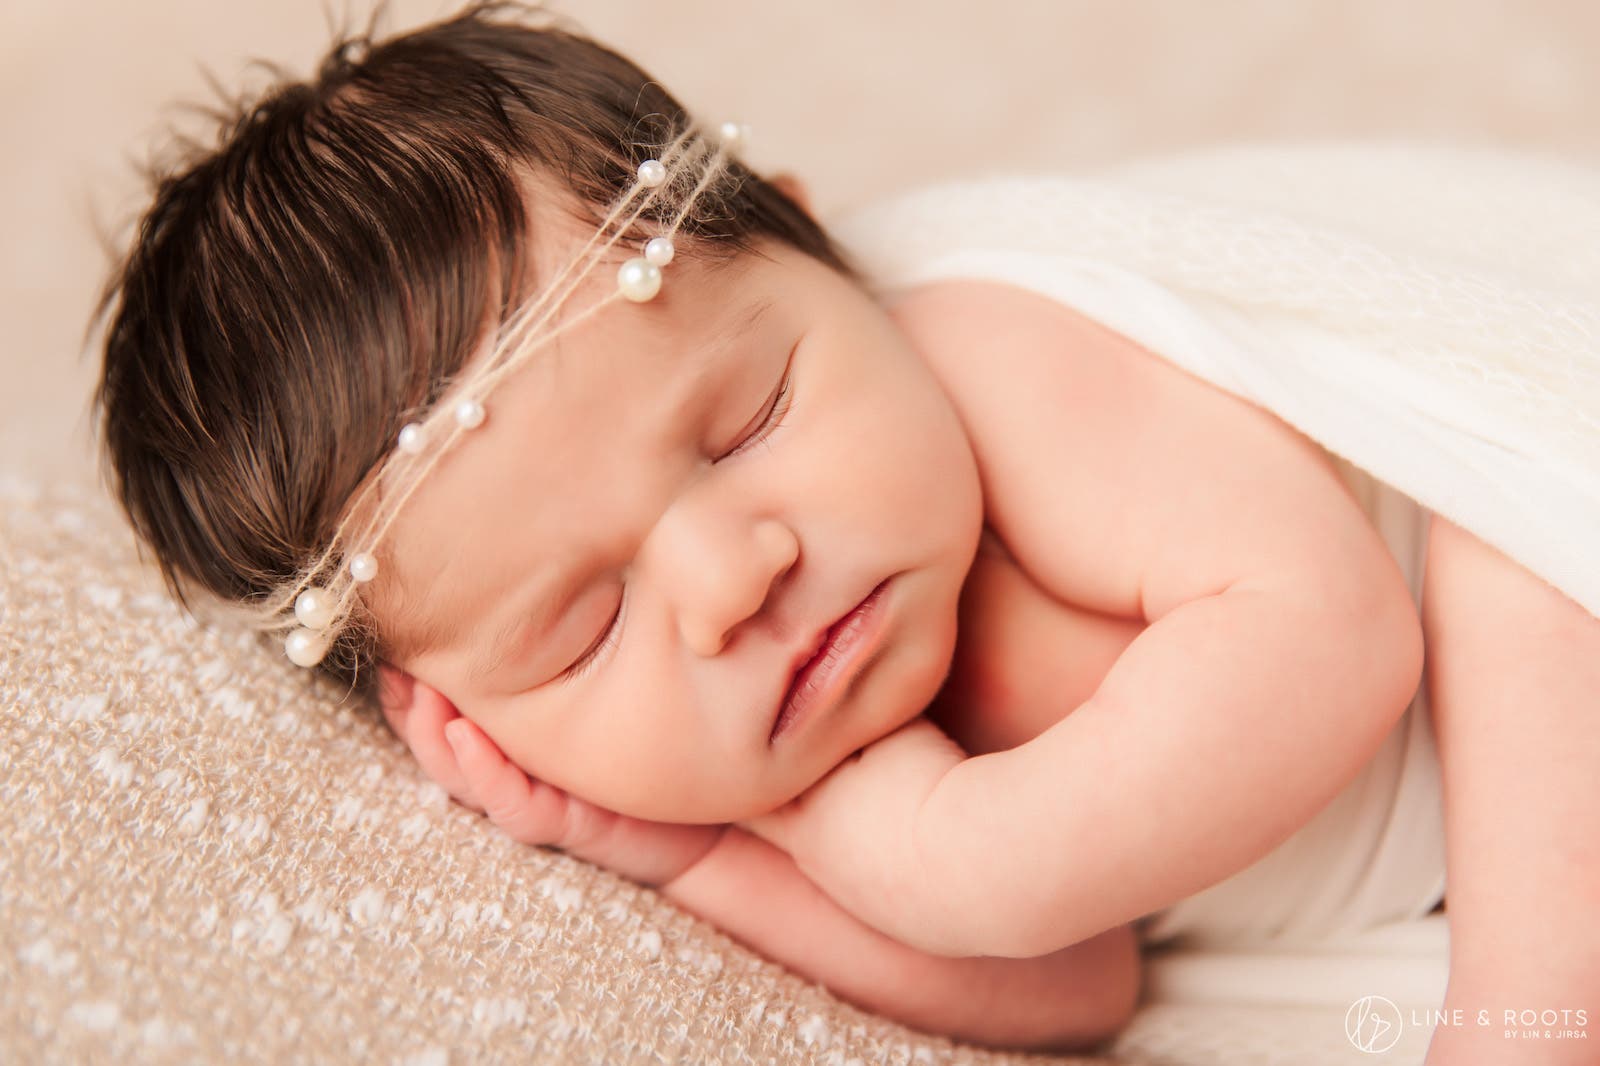
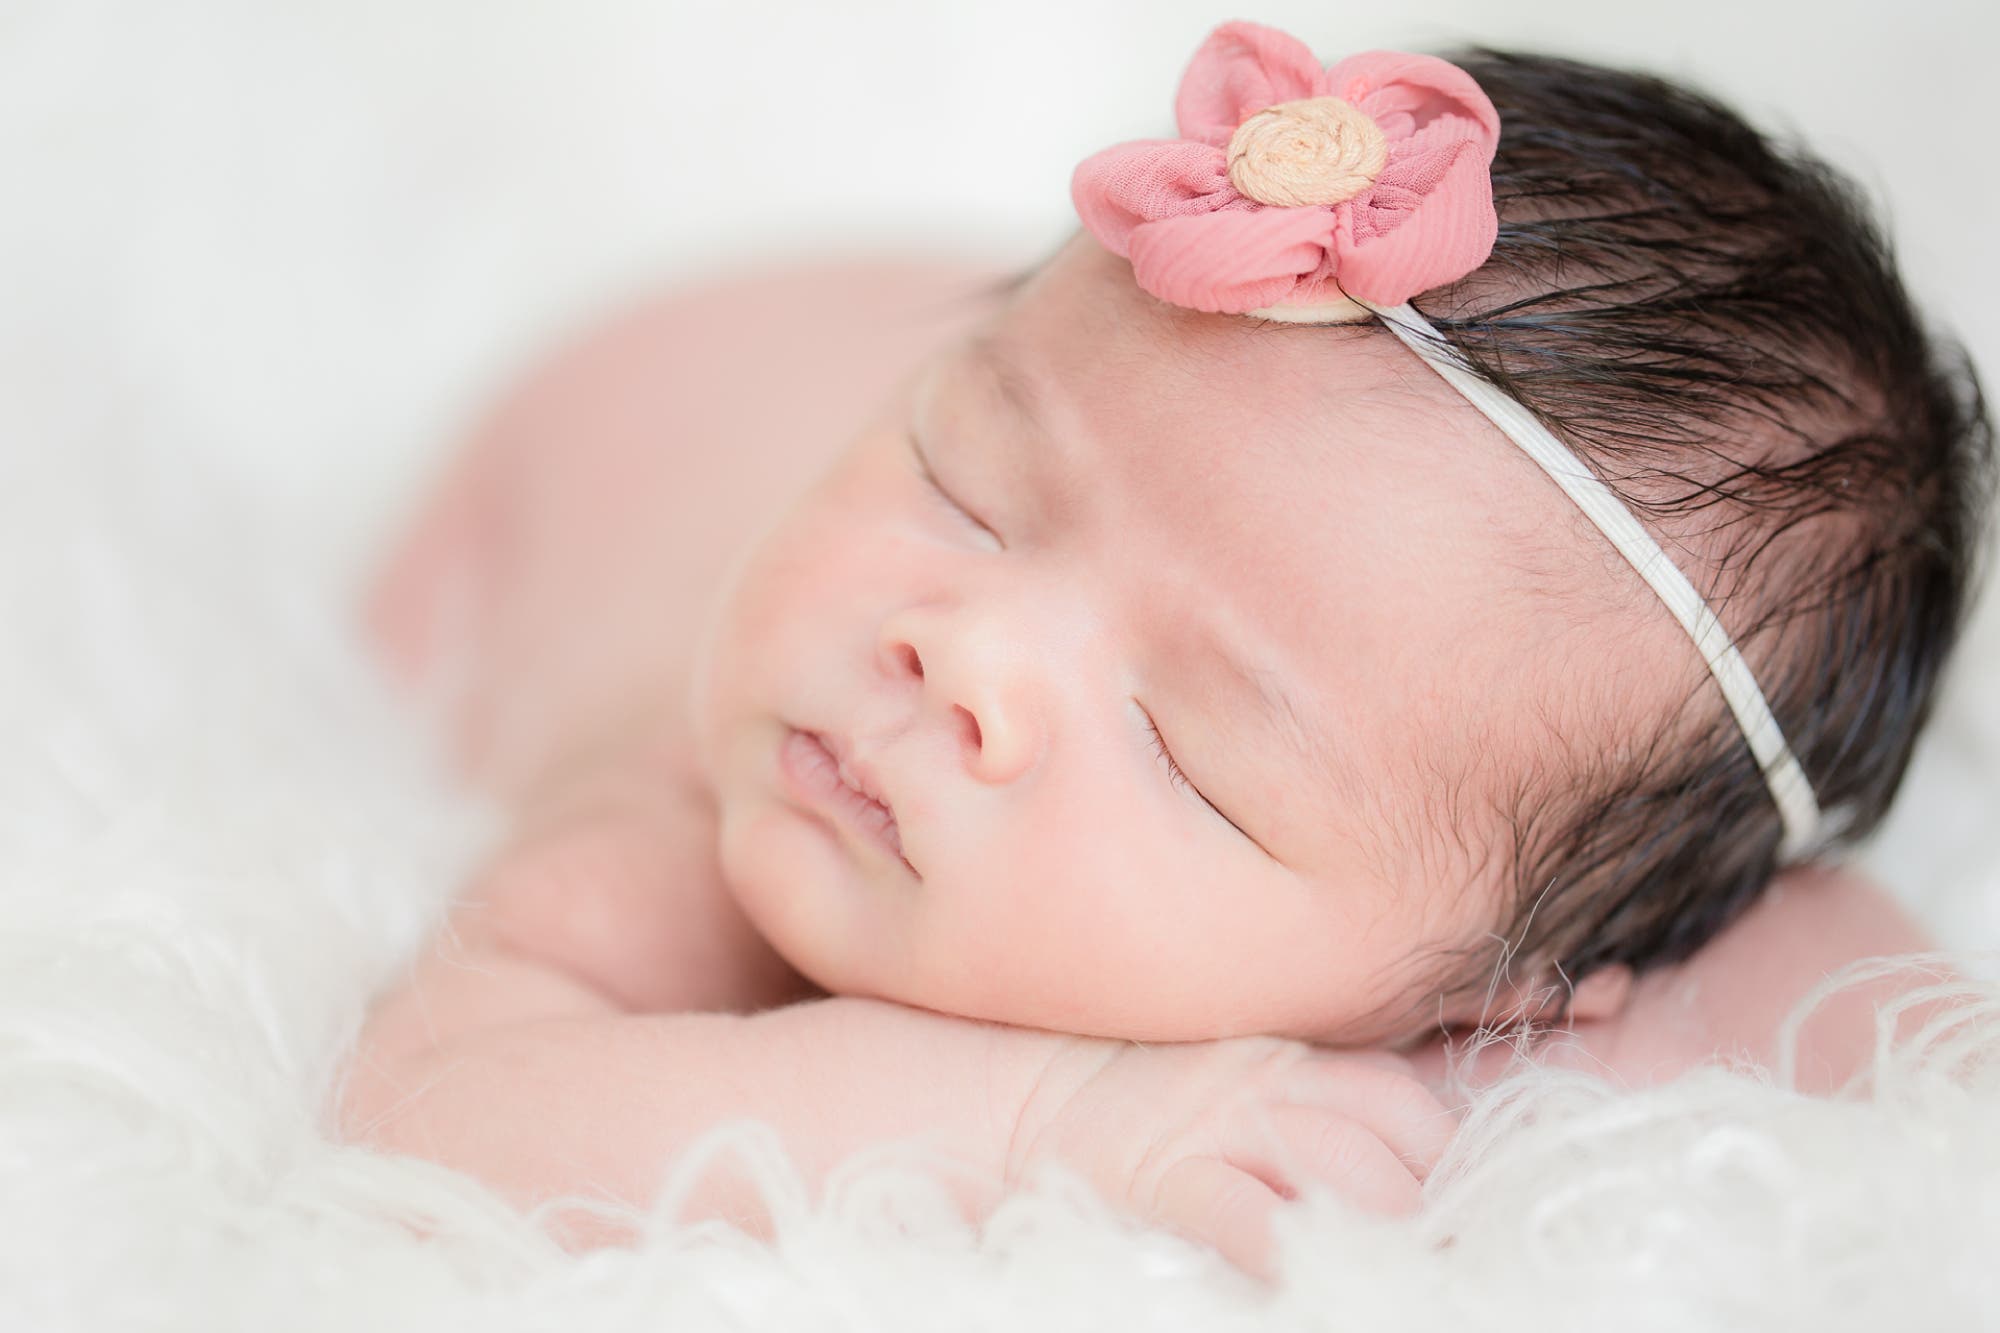
Once you have the baby wrapped (or not) and posed, get as much mileage from that pose as possible. In other words, shoot wide, medium, and tight angles, and move around the scene. Shoot top-down or from the side. After a while, you may figure out a rhythm and set up a general workflow for posing. For example, start on the back, move to the side, and then roll over to the tummy. However you do it, get a variety of shots from each pose.
The following poses work best if you swaddle the baby in a wrap. Nude photos, however, will limit which poses or crops you can use. Again, for those who don’t have a baby to practice on at home, consider picking up a stand-in mannequin.
That said, here are a few newborn photography ideas for posing.
Back Pose and Close-Ups
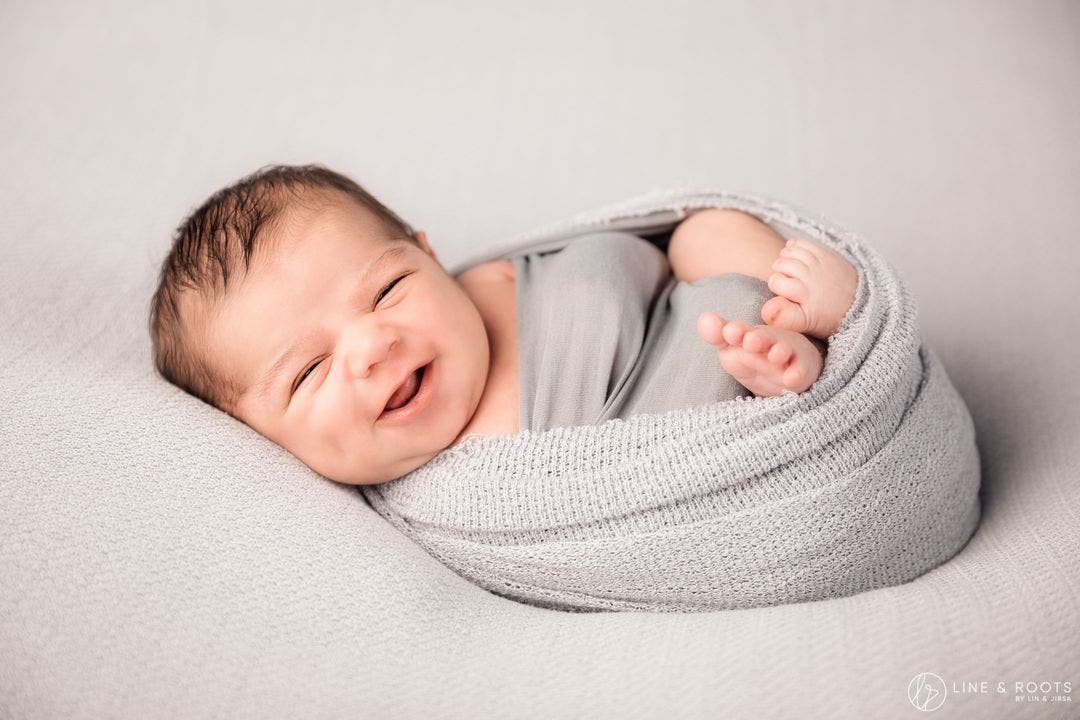
It’s worth noting that back poses also lend themselves well to capturing both candid shots (if the baby is awake) and close-up details of the baby’s toes, fingers, ears, lips, and eyelashes.

Keep this in mind when setting up a back pose so that you can knock several shots off of your list at once. The compact cuteness of these details last only a short while, making these shots that much more important to capture.
Side Pose
Tummy Pose
Posing with the Family
While we often emphasize photographing the baby solo, we must also remember to include the VIPs. In other words, don’t forget the family, including the pets.
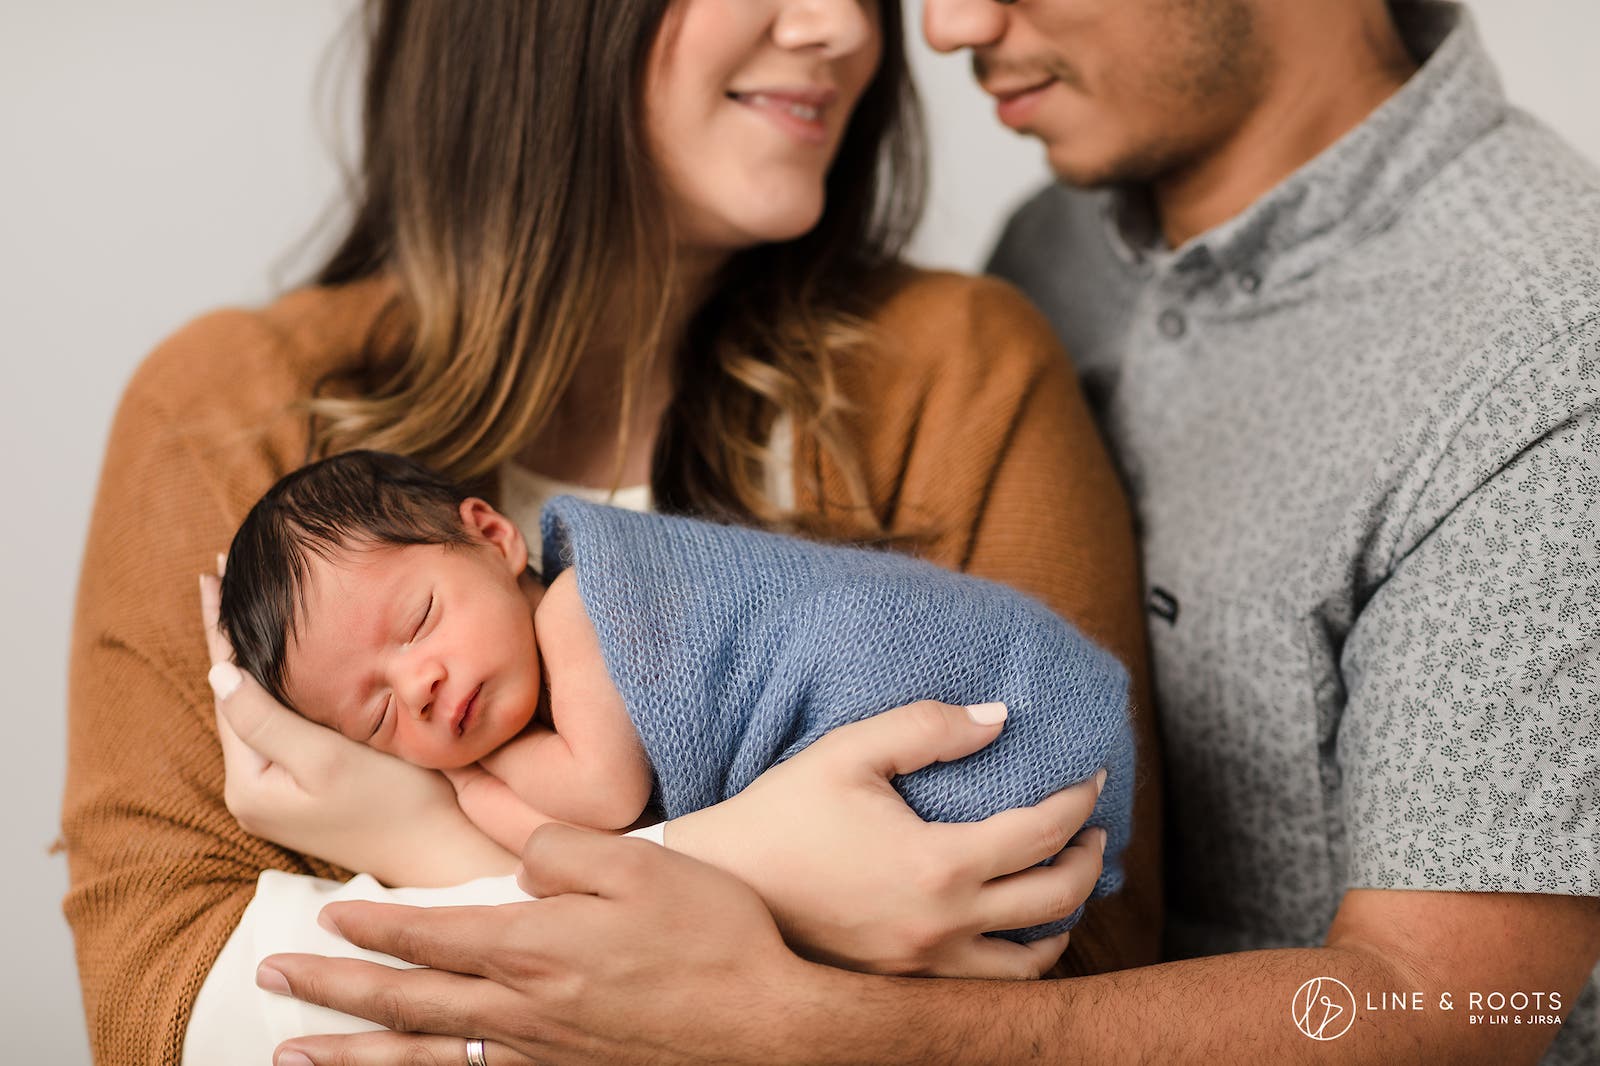
Here are some basic newborn photography ideas for posing with family members:
- Both Parents, Siblings, and the Baby
- Parents and the Baby
- Siblings and the Baby
- Individual Parents with the Baby
- Individual Siblings with the Baby
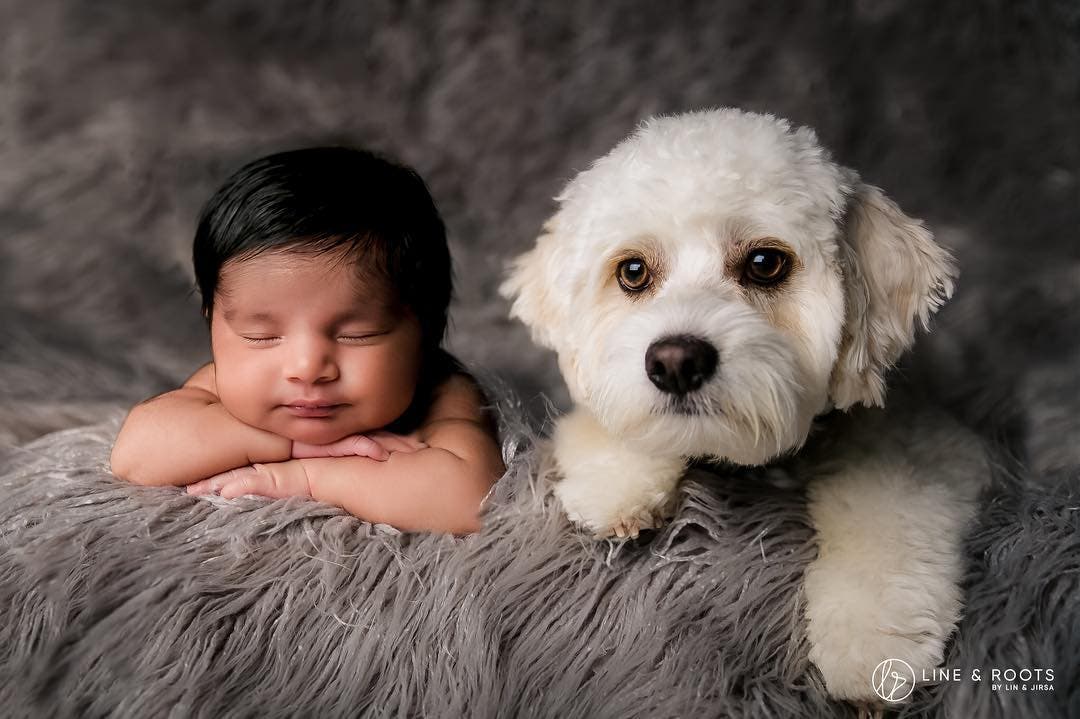
- Pets and the Baby
Specialty Poses
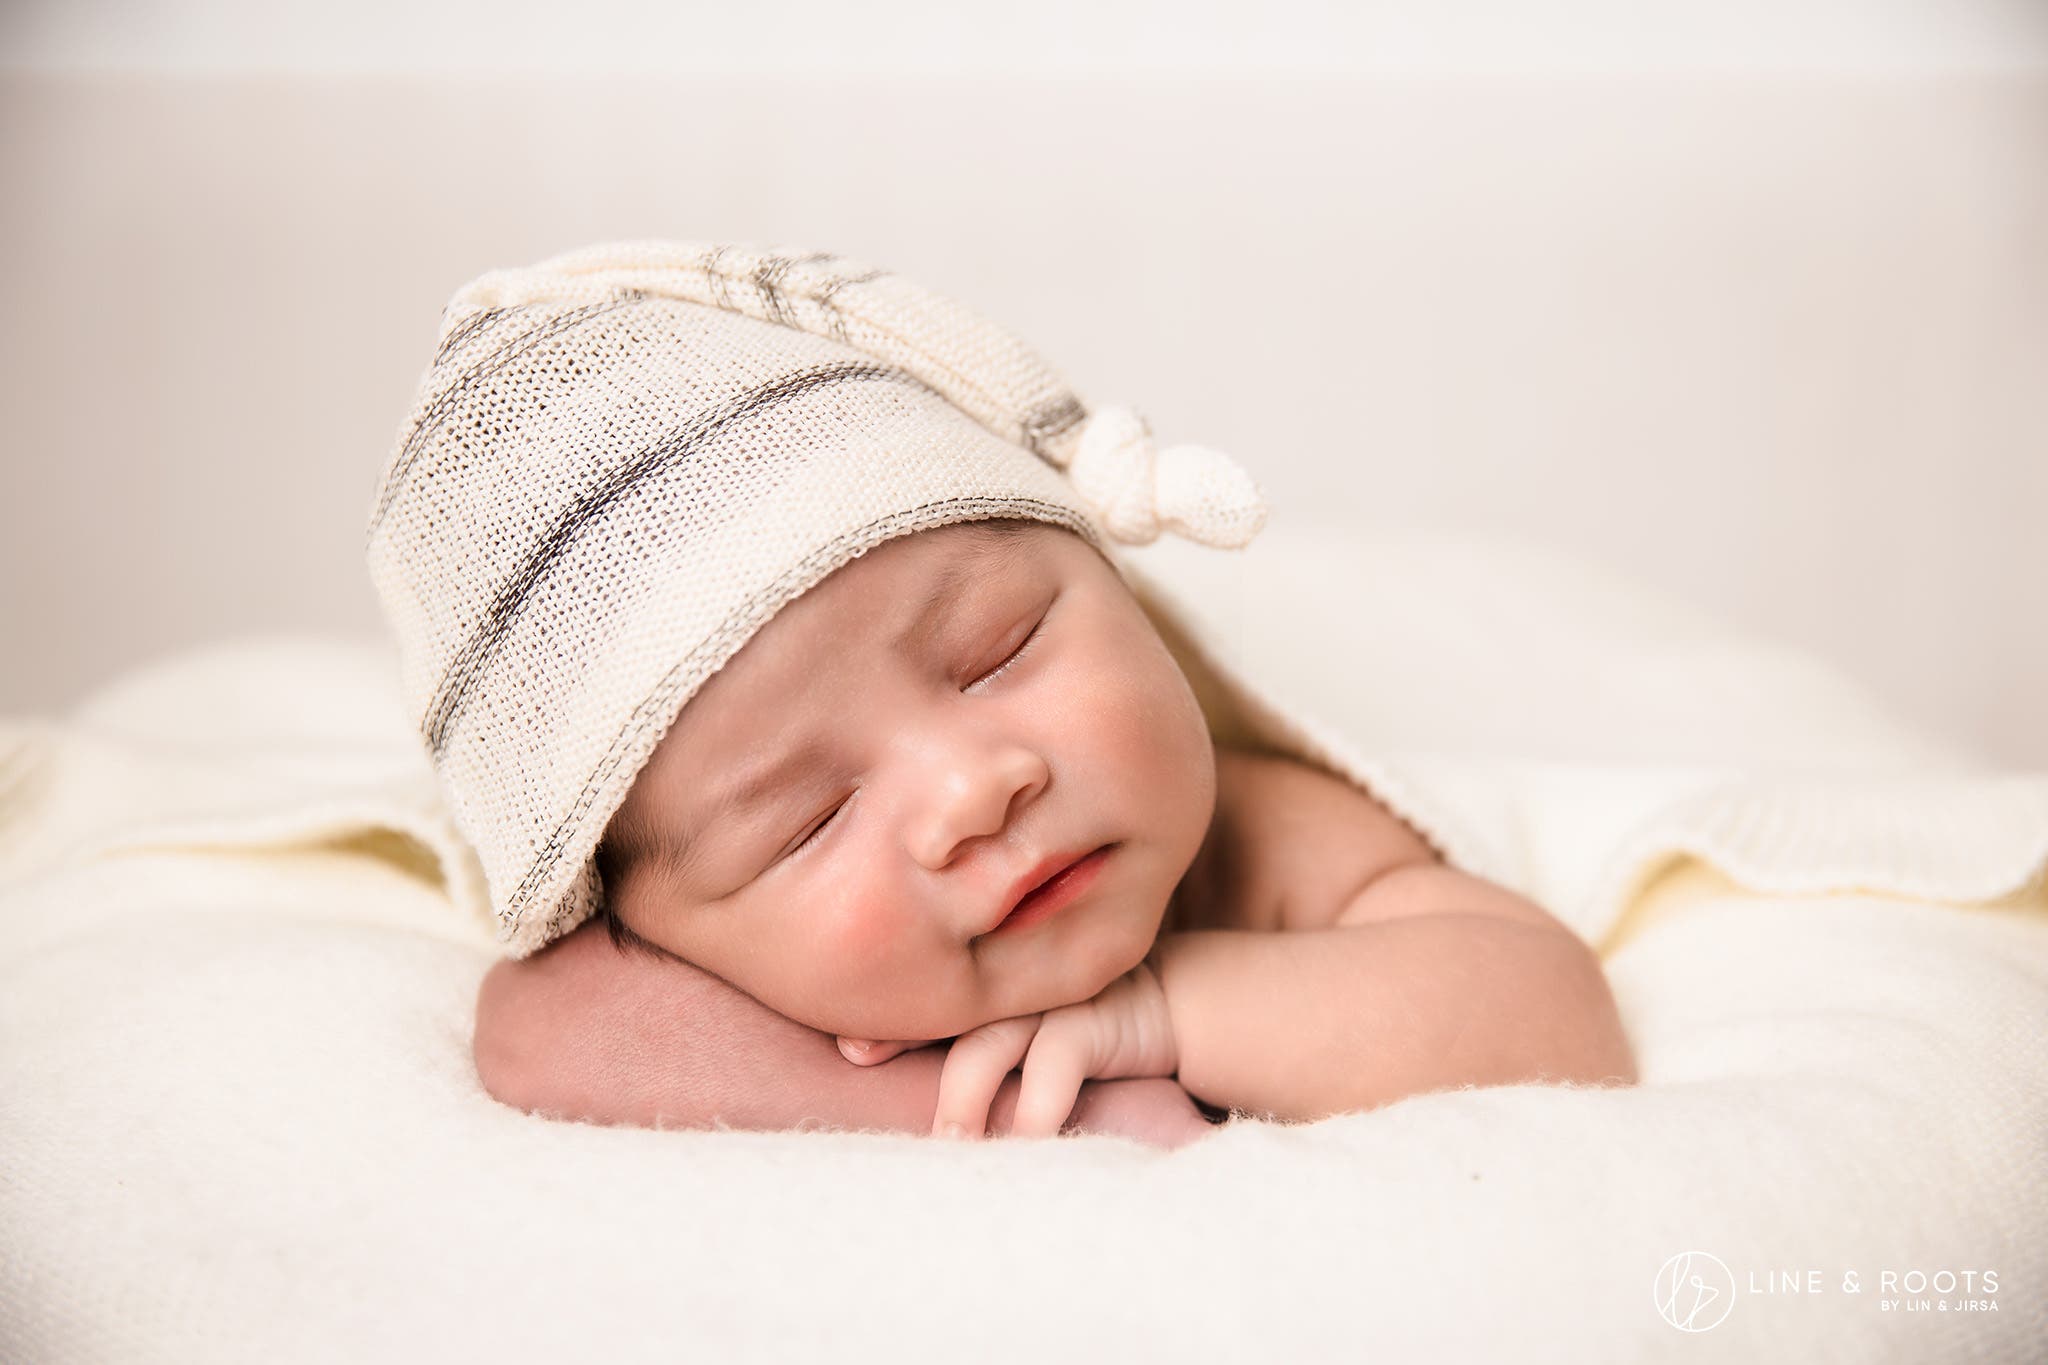
As we consider specialty poses, let’s remember that the baby’s safety always comes first. For most of the specialty newborn poses below, you’ll likely need to create a composite. Always have parents or an assistant help keep the baby safe. Take a look at some of the more common specialty newborn photography poses that parents request.
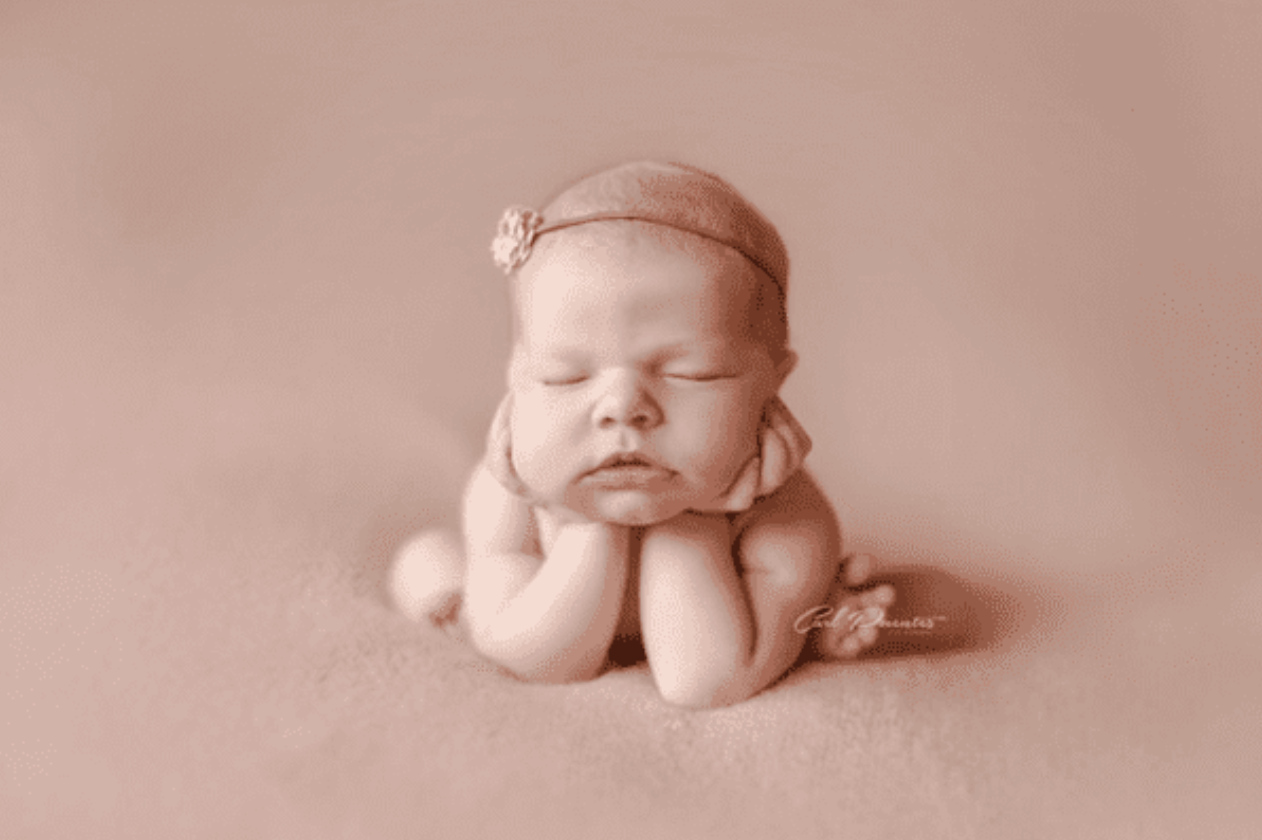
Frog Pose
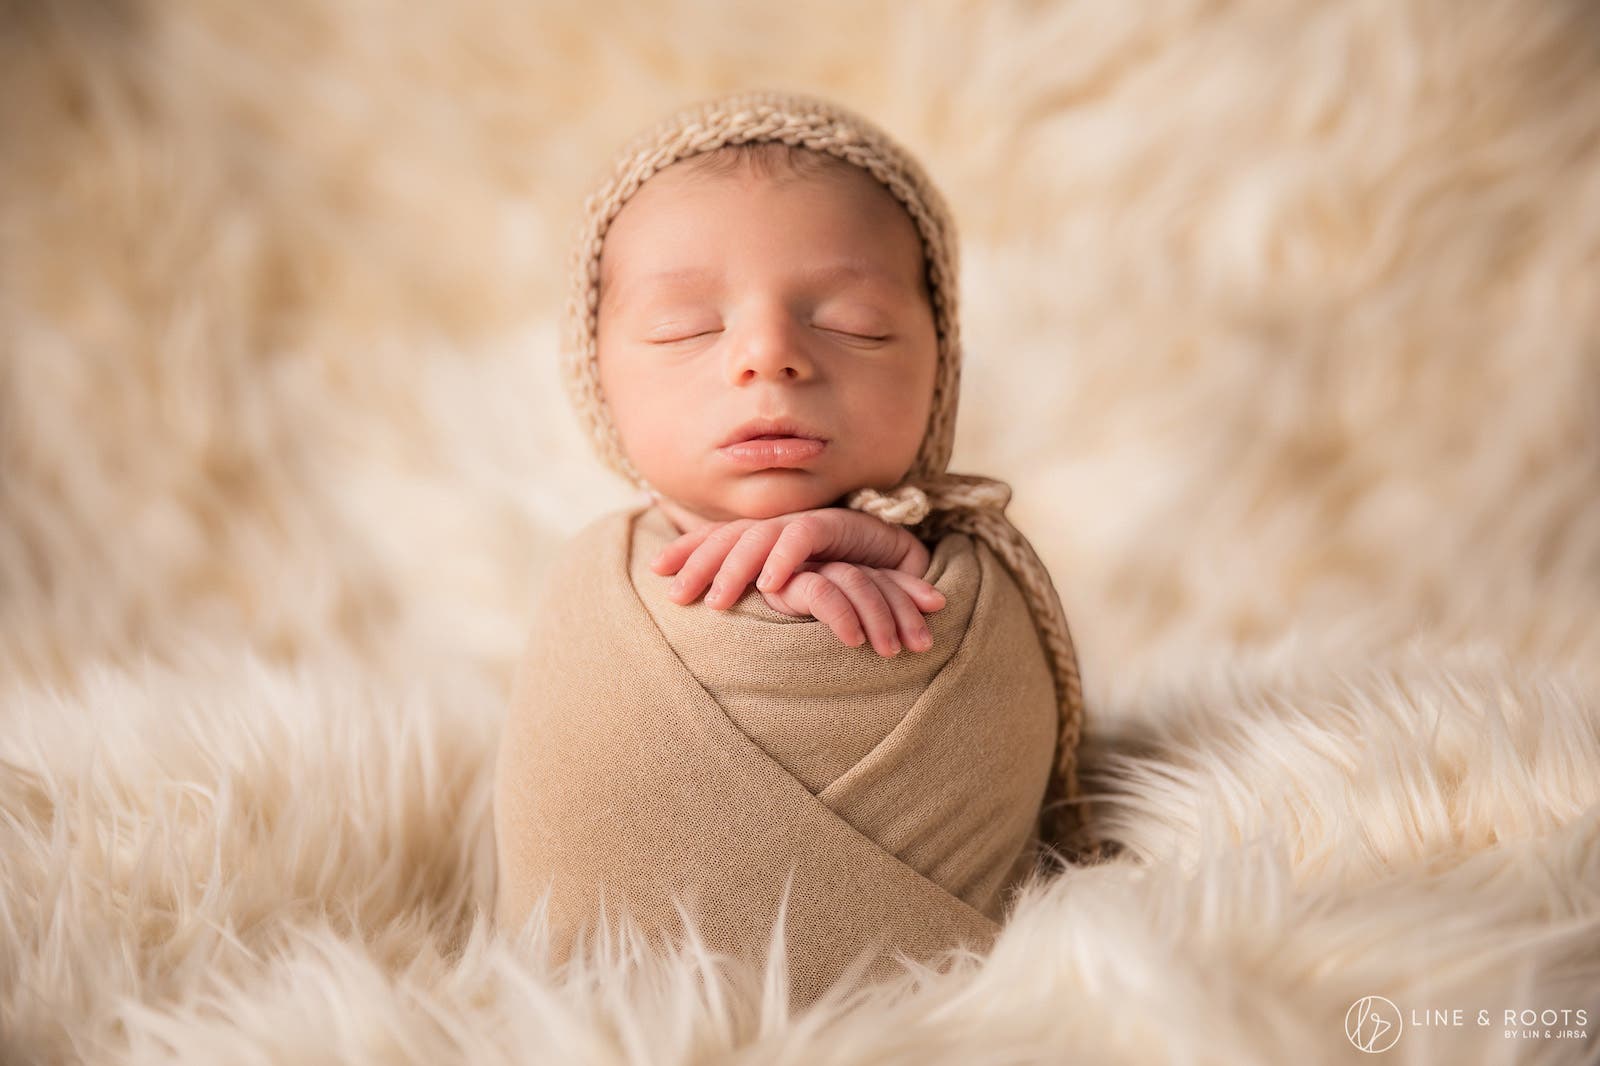
Upright Potato Sack Pose
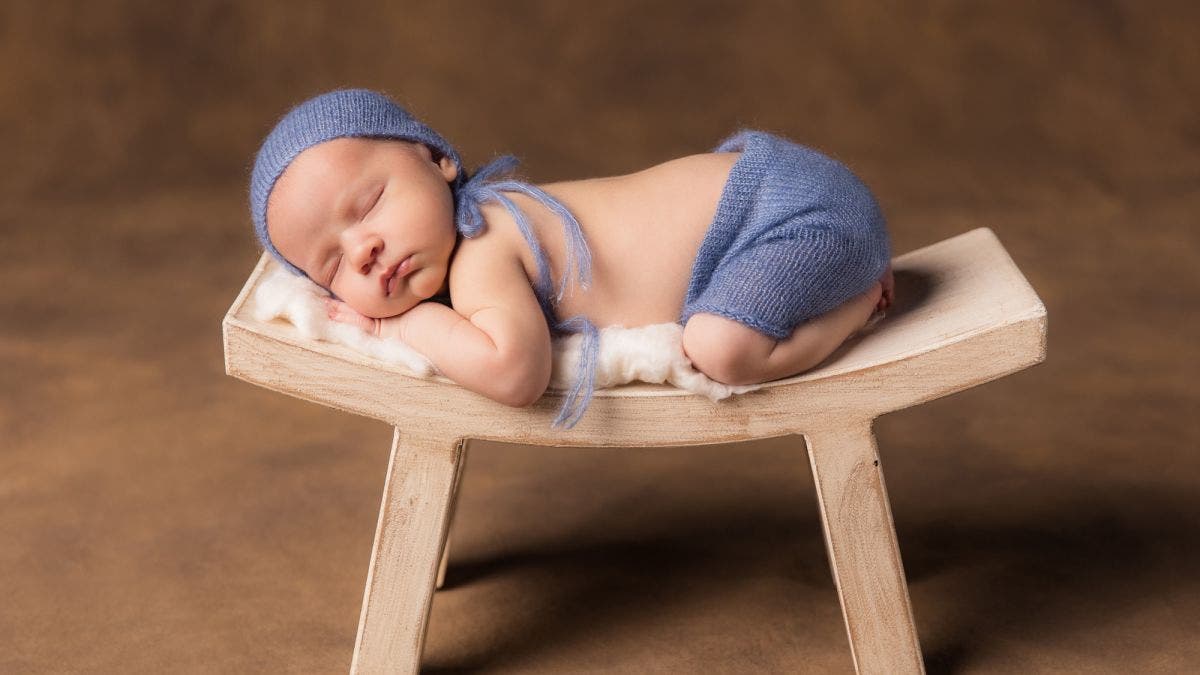
(Covered) Tushy Up
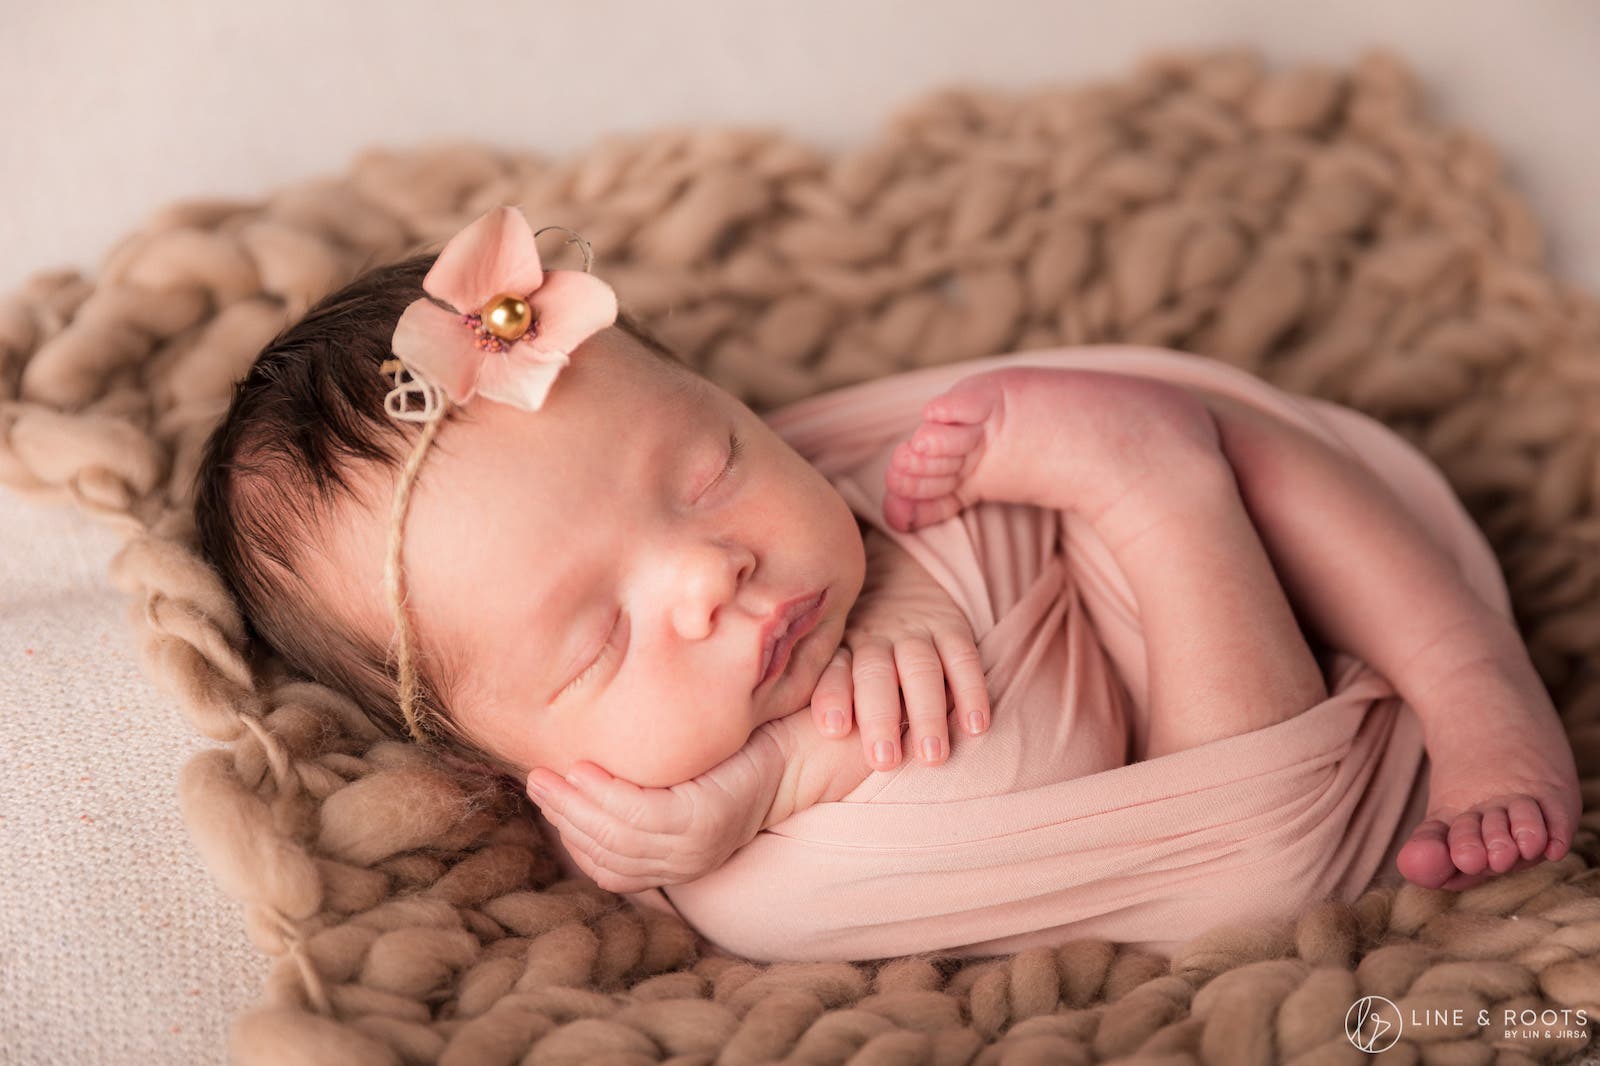
Womb
Hanging Hammock/Basket
Chin on Hands
Post-Production
Even if you shoot the session perfectly, post-production can easily make up the longest part of the session. Each photo typically requires at least a little advanced retouching, for healing patches of dry or red skin, smoothing out the background, or even masking out unwanted elements when creating a composite. If you’re new to editing, learn to use masks in Lightroom and frequency separation in Photoshop, at least to start.
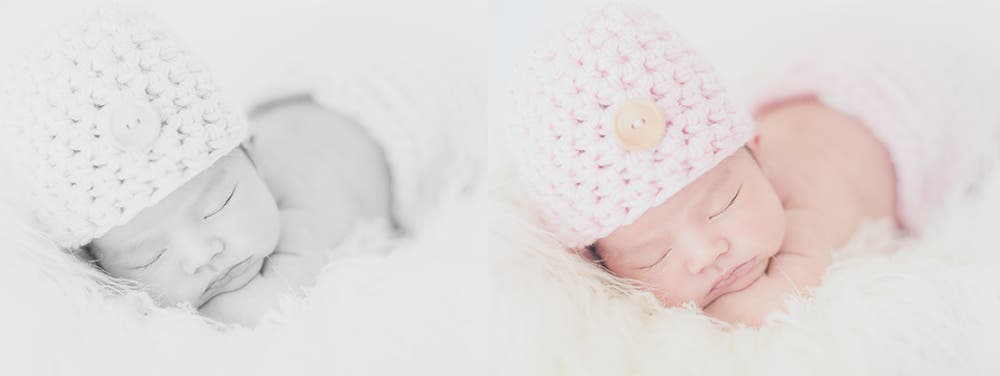
Of course, you can bypass post-production and outsource with companies like Fix the Photo. Otherwise, most photographers edit newborn photography sessions in a bright and airy style, opting for a softer finished look. If you shoot in this style to begin with, you’ll have an easier time getting the look you want in post, especially if you use presets to speed up the process.
Conclusion
I hope you enjoyed these newborn photography ideas and props. As you can see, the reward for capturing incredible newborn photos is great. However, that has a lot to do with how challenging it is to capture them in the first place. As an important piece of your lifecycle, newborn photography is worth the effort. You should expect to invest plenty of time and effort at perfecting your craft. Many newborn photographers specialize solely within the genre, and the images they create will set the bar for your client’s expectations. Down the road, assuming you do a great job, your clients will likely turn to you for cake smash photos, family sessions, senior portraits, and more.
