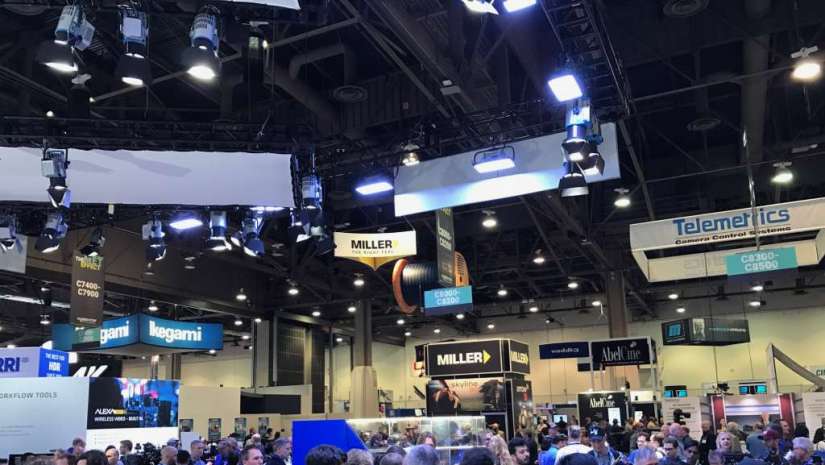
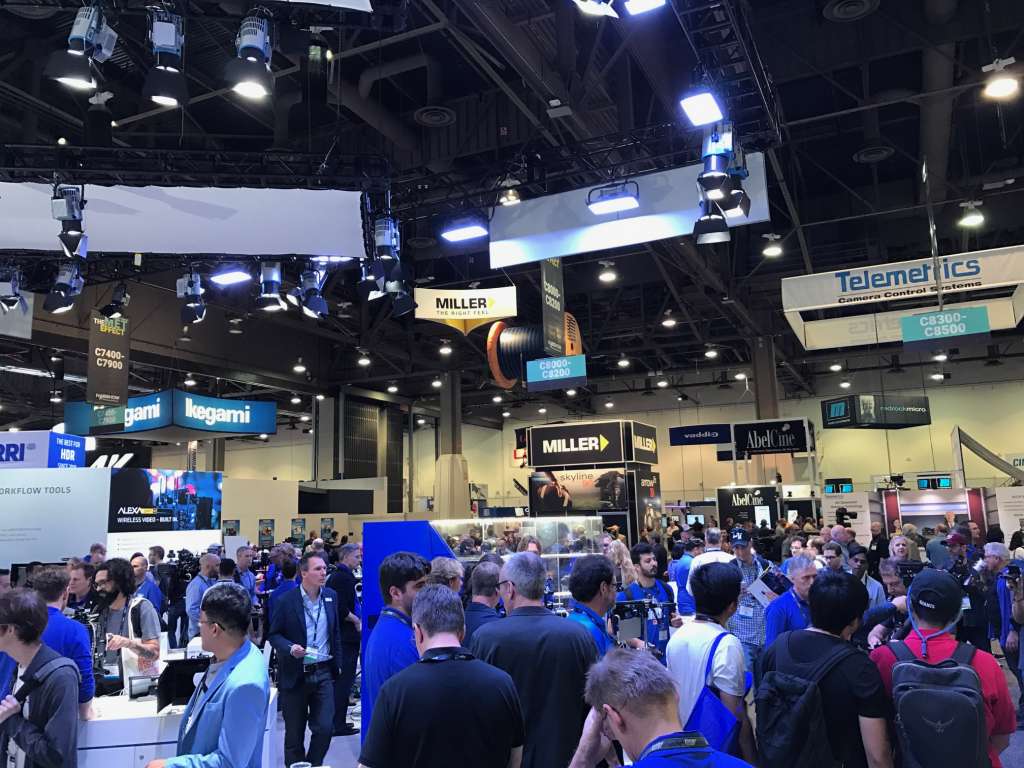
The second day of the NAB show seemed to me to be a bit quieter overall on the floors of the massive tech conference and that sentiment was echoed by several of the vendors I spoke with throughout the day. Nevertheless, I still saw some pretty interesting pieces of technology and am looking forward to seeing even more tomorrow on my last day on the floor.
Atomos
At the show, I was able to check out the new Atomos Sumo, and I will own one of these very soon. It is a 19” external recorder/monitor hybrid that enables High Dynamic Range viewing and grading in the field. What struck me about the Sumo is the ability to rig a couple of handles to the side and use gold mount or v-mount batteries to power the device. With that, you can have a 19” remote field monitor that also can record proxies or the actual raw media you wish to work with. So for me, I can use this to preview my footage live or in playback independent of the camera department and log footage on site. Kind of like my own personal mini DIT station as well as an on the fly script supervisor. So for a shoot on the go, or with a shoestring crew, this can act in enough different ways to make it extremely useful to have on set.

It has the common color profiles, HDR, and SSD specs you expect from Atomos devices at this point, but they also integrated Quad link SDI inputs for 4K (3G), 4x 12g single SDI inputs, HDMI 2.0 inputs, as well as XLR inputs for audio recording. Those inputs also have the corresponding outputs as well in either loop out, or signal conversion.
If you choose to use the SDI inputs (at HD) you can simultaneously record up to four different video streams at once, allowing even more flexibility for multi-camera shoots and simplifying your multi-clip post workflow.
Zeiss
While chatting with my colleagues yesterday everyone kept coming back to how much they liked the new Zeiss CP.3 lens system. I have shot countless projects on the CP.2 lenses and they are a really solid choice for when you need a good image but a lighter rig, or if you need an in-house workhorse cinema lens system. I’m sure many of you have worked with the CP.2s as well, so I was really excited to see what improvements had been made.
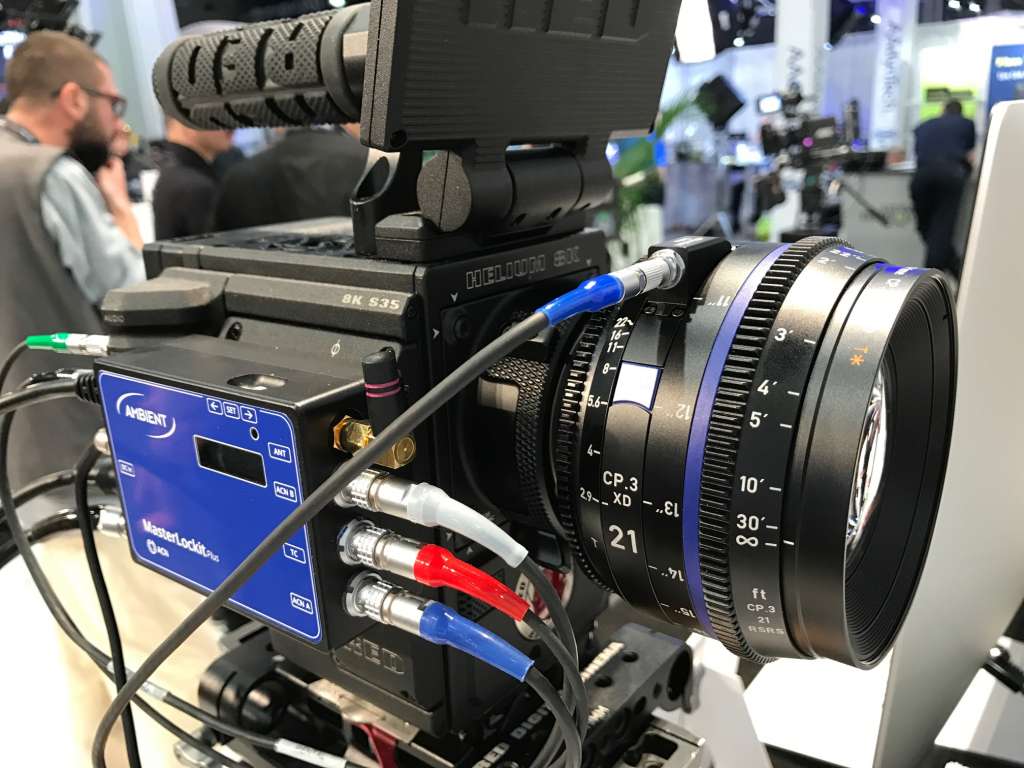
So a cinema prime lens. I don’t think about those lenses being electronic. Obviously, there are servos, lenses with autofocus, and other cinema-grade lenses that have electronics, but it isn’t what I think of for a cinema prime lens.
Zeiss has created two different models for this lens set- the standard CP.3 and the CP.3 XD series. The XD series contains electronics that gives you live timecode synced metadata for the focal distance and lens distortion. You can then enable this metadata (that again remember has the same timecode as your source video) for what should be an exact color and distortion correction for that exact moment in that clip. In practice, the difference is noticeable when they demo the corrections against the raw footage and it is very exciting to think about using this data in correlation to an exact clip.
Now we get into how you actually get this metadata into your footage and manipulate the settings. If you shoot on a camera that supports the PL-mount interface (the example I was given was the Arri cameras, and I’m not sure what other manufacturers offer this connectivity off the top of my head) there is the ability to embed the data in the physical video files, or save it as a sidecar file. This seems simple, elegant, and like a useful workflow.
But… (alright team, hang with me here cause we are about to go kinda deep here) if you shoot on a camera that does not support the PL-mount interface (the example they provided in the booth was the Red Helium) you access this metadata through a 4pin LEMO connection between the focus ring and the aperture ring on the lens, using a cable you can get from Zeiss. That cable connects to an “Ambient MasterLockit” box (see below photos) which will interface the from the camera and the lens and save it as a separate file. With that file, you use either LiveGrade Pro or Silversack software to marry the metadata back to the video files.
In either case, the corrections should be able to be manipulated in DaVinci. They believe plugins enabling use in other post production software beyond just these I’ve listed are not terribly far away. I hope to get more testing with this workflow soon. But right now, I would take a lot of care if you are doing any visual effects and attempting to implement this lens correction data, keep your timecode sacred within your clips when you are round tripping.
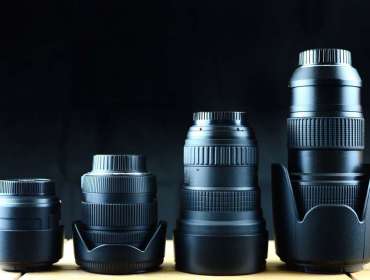
Outside of the electronics, the lenses are a marked improvement over the CP.2s. They are roughly half the weight, the chromatic aberration is significantly reduced, and overall it looks like a much stronger image out of these lenses than their predecessors.
The CP.3s are available in the typical prime range focal lengths of 15mm all the way up to 135mm and they range in price from around $4,300-$6,000 for the ones with no electronics, and $5,700-$7,500 for the ones with embedded electronics.
Canon
Canon has recently added two new compact cine servo lenses to their lineup: the 18-80mm T4.4 and the 70-200mm T4.4. The folks over at Canon are always awesome. I always very much like hanging out with them and talking about the variety of their products. This trip was no different.


I’m a big fan of Canon’s servo cinema lens lineup. The 17-120mm is a workhorse for documentary and reality styles, and their 50-1000mm is just a remarkable lens. But those lenses are big (both in price and rigging) and the goal, at least I believe, of the compact servo lenses is to make a more accessible price point while offering a smaller form factor overall.
Both these lenses are indeed smaller and lighter. In fact, if you don’t look at the numbers on the side detailing the focal length, you can’t even tell which is which at a glance. They are much smaller and much lighter. They also have a removable side servo control to reduce the size, and you can even move that control to an external handle for use on a shoulder rig handle if you prefer not have the regular, eng style servo rigging. I checked these rigged up on a C700, which at a glance looks like it will be heavy. But when I picked it up, it was extremely surprising because the cover and the lens are light. Very light.
These lenses are gonna be great for the run and gun kit, or if you need to keep things lighter on your camera. They also offer that speed of operation that is expected of a servo lens. And if you want to go onto a tripod, you can use remote focus and zoom control in a typical studio fashion with a breakout cable coming from the lens.
They are light, fast, and the two together are a great compliment effectively giving you coverage from 18mm all the way to 200mm which is great for a 2 camera simultaneous shoot. The 18-80mm comes in at price around $5,000 (much less than the 17-120mm which lands around $26,000), while the 70-200mm price has not been announced yet, so stay tuned there.
Syrp
Everyone seems to be using time-lapse now in just about everything. And because it is seen so much, for the last couple of years content creators are having to get much more clever about how they make so many images per second interesting. Syrp is a company I have turned to many many times to get tracking, panning, and tilting into my work so I dropped by to see what they had new this year.
95% of the time lapses that I have done have used a DSLR of some form. And that seems about right to me because I like being able to have that camera RAW and huge image to manipulate. But occasionally, I come up with a shot that really wants to have a different aesthetic.
For example, I was shooting a commercial for a bed recently which featured the narrative of how going to sleep and waking up in an optimized sleeping environment helps your overall health and well-being. So I wanted to show time passing in the shots with the actors moving through space preparing for bed and then tossing and turning. So for this, I really wanted the softer motion blur from the shutter that matched the rest of the aesthetic of our Varicam in the live action shots. We could do this with a DSLR but with the lights all cueing and emulating sunsets and sunrises, I really wanted to shoot the ttime-lapse within the Varicam to make sure we got the feel in camera correctly and weren’t trying to match it in post. But by doing that, I had to be locked into stationary shot, or digital zooms (which personally I find to be kinda lazy in most cases) because the Varicam LT was just too heavy for the Syrup machinery.\
Well Syrp has now announced the Genie II which boasts handling the weight of up to 15 pounds. It has two pieces just like the first generation that handle a different axis each, but will allow us to use cinema rigs.
They also released beefier rails and a manual dolly system, as well as multiple carbon fiber rails that can be joined together to create much larger moves for your images.
Dana Dolly
I’ve been using Dana Dollies for years. I remember when I would take them out for a shoot somewhere and everyone was always blown away with its simplicity and effectiveness. They are designed by a key grip, and if you go by their booth at NAB you can shake the hands of the husband/wife combo that own the company.

They have been expanding their product line a lot recently, including curved track and a “no tip” bracket, but there were two things I wanted to briefly mention they have added to their lineup.
First, and this seems so dumb but if you have ever used a Dana Dolly you will appreciate this, a brake. Yep. Simple little crank brake that tightens down to lock the camera in place. Thank you so much for that one, guys. I have been stranded in the middle of set countless times yelling “can I get some #2s, please?”
Secondly, they have a new dolly as requested by the NFL guys that use their dolly systems (as I was told at the booth). They needed a method to get the camera to the low ground angle faster without having to constantly remount the head to a hi-hat. The solution was simple. It is a metal hi-hat that mounts on top of the dolly itself and you can quickly remove that piece and hit the ground and re-attach the camera and bingo, low angle shot in seconds.
