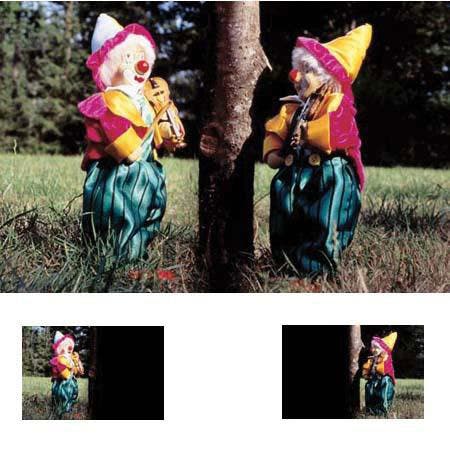
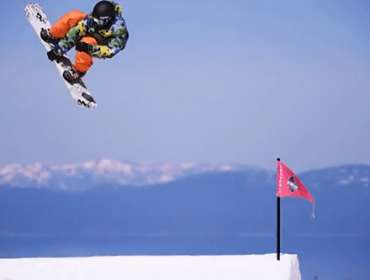
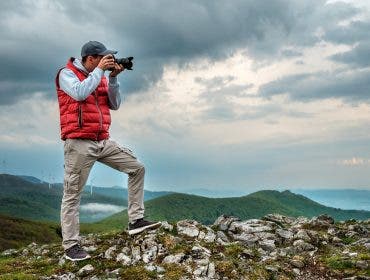
If you’ve exposed twice on one piece of film, that’s what I call a double exposure. But if you’ve exposed three or more times, you’ve entered the realm of magic, also known as multiple exposures. Think four, fourteen, or twenty-four. Think Wow!
You can create some wildly wonderful images when you multiply your images.
What you need
You can play the game if your camera has a multiple-exposure mode, and many current film cameras do. Unfortunately, while a few high-end digital cameras do have this capability, making more than two exposures with these digicams can be annoyingly cumbersome.
Film cameras that can go beyond two exposures per frame often top out at nine images per frame. But that doesn’t have to limit you. The trick is to set the multiple-exposure mode for the maximum number of exposures, but only take one less than the maximum. That will prevent the film from advancing to the n frame. Then reset the camera for another set of multiple exposures.
Since you’ll have to take the camera away from your eye when you reset the control, it’s best to do this with a tripod-mounted camera. You can shoot without a tripod if you identify an object in the center of the viewfinder as a reference point, then re-center it when you bring the camera back up to your eye.
Crunch the numbers to get the right exposure
Just as you’d expect, you have to make an exposure adjustment when putting a bunch of images onto one frame of film. Otherwise, the film will become so overexposed that you’d be staring at nothing but blank slide film or black negative film. Basically, you want to underexpose each shot so the total adds up to a correct exposure.
I noted in a previous column on overlapping two images that to make two overlapped images, you must underexpose each by one stop. It’s a bit different with many exposures on the same frame, but actually, it’s simple as pie (assuming of course that you’re a competent baker!)
Do this: Multiply the film’s ISO by the number of exposures you’re going to make, then change the ISO setting on your camera to that number. Easy math: For ten exposures on ISO 100 film, change the setting to ISO 1000. Just remember to set the ISO dial back after you’ve taken your pictures.
One other thing: most of these techniques I’ll describe depend on moving the camera. It’s a good idea to rehearse these movements to make sure the subject stays within the frame and no distracting bright spots or garbage cans unexpectedly intrude themselves.
Now that you’ve got the basics, I’ll go over how you can make several different varieties of fascinating pictures.
Random displacement
My favorite type of multiple-exposure photograph is made with 15 or more exposures on that one frame of film, with the camera moved slightly in various directions between exposures. Flowers make especially good subjects for this, especially a whole bed of flowers.
To be effective, your subject must have a lot of detail and variation in tone and color; otherwise the colors will merge into a more-or-less solid block of color. If you do it right, the result is often reminiscent of an impressionist painting.
Try taking your pictures while handholding the camera. Your natural body movement will provide a nice amount of displacement between shots. Just be sure not to move the camera during the actual exposure.
In Photoshop: You can create a similar multiple-exposure effect in Photoshop. The result is not identical, but it’s close. As with doing it in-camera, choose a subject with considerable detail and variation in tone and color. You will be making many duplicate layers of the original image, moving each layer a little bit. To have complete control over the amount of movement, go View on the Toolbar and make sure that Snap and Snap To are not checked.
Open your image and make a duplicate layer. On the Layers palette, change the blend mode to Lighten. Then use the Move tool to move the layer a little bit up, down, or sideways. Then duplicate this layer and move it. Keep doing this as many times as you like, displacing each layer by about the same amount but in varied directions.
After you’ve made all your layers, you can continue to adjust their positions. Then flatten the layers (Layer> Flatten Image). The resulting image will probably be a little too light, so go to Levels and darken the image and perhaps adjust the contrast. The picture will no doubt need cropping because all of the layers may not fill the frame.
Vertical Displacement
The general idea here is the same as for the random displacement technique described above. Make lots of exposures of a detailed, colorful subject, moving the camera between each one. But this time, move the camera downward or upward. Put the camera on a tripod, so the images will line up exactly, and just lower (or raise) the tripod about an inch between exposures, trying to keep the increments roughly equal.
In Photoshop: Follow the same procedure as in Random Displacement, but move the duplicate layers vertically.
Horizontal Displacement
I don’t have to tell you that this time you move the camera horizontally. If you steady your elbows on something, you can do this while handholding the camera, but you can keep your images in better alignment if you use a tripod. Since it would be pretty hard to move a tripod the same amount each time, simply loosen the camera-mounting screw on the tripod head slightly so you can only move the camera horizontally.
In Photoshop: If you’ve read this far, you know what to do.
Diagonal Displacement
For diagonal displacement, you must handhold the camera so you can move it both horizontally and vertically between each exposure. You can move it right or left, up or down. I find it easier to move the camera to the right and upward, but do whatever seems most comfortable for you.
In Photoshop: Same idea as before.
Rotational Displacement
Be sure to practice this movement before actually shooting your pictures. You want to move your arms in an arc, pausing before you trip the shutter.
In Photoshop: The nice thing about doing multiples in the computer is that you can play with direction and amount of displacement. You may have to play for a while to get a nice circular pattern–but even if you don’t, the results are bound to be interesting.
Moving Subject, Static Camera
And now for something completely different:
Put the camera on a tripod and let the subject move. Three or four exposures of someone moving a hammer, a gondola bobbing in the water, or your friend playing the piano can create a definite impression of the movement. You might get something even more creative if you shoot a field of tulips blowing in the wind.
My solution to the frustration of waiting for the wind to die down when shooting flowers is not to fight it, but instead to relish the breeze and make several exposures of the wind-blown blossoms.
When shooting a fast moving subject, such as that hammer swing, you’ll have to take your multiple shots in rapid succession. If your camera doesn’t react fast enough, fake it: Have your hammer swinger move his arm a bit, pause while you take the picture, then move again. Rehearse it until you both get the feel of how much displacement there should be. Do the real thing several times, just in case the first picture doesn’t come out the way you like it.
There’s even an easier method of doing this if you have an electronic flash that has a “strobe” mode – one that fires several bursts of light in quick succession. Now you can photograph your subject leaping, cartwheeling, or even walking. It’s best to do this against a dark background or in a large, darkened room so the subject will stand out.
Follow the flash manufacturer’s directions for this one. Oh, yes, since the subject is against a dark background, you don’t have to make any exposure compensation.
In Photoshop: These types of subjects will take a bit more work in Photoshop. For the bobbing boat, use your preferred selection tool to select the boat. Duplicate it by going to Layer> Duplicate Layer. This will put the boat on its own layer. Choose Lighten mode, then move the boat upward a little bit. Duplicate the boat layer several times, moving it upward each time. Three or four layers should be enough. You may want to add a bit of motion blur (Filter> Blur> Motion Blur). Then flatten the image (Layer> Flatten Image).
To create intriguing images of the moving hammer, piano-playing fingers, or similar subjects, where just one part of the subject is moving, place your camera on a tripod. Take four or five separate pictures of the moving subject. In Photoshop, choose one of the images as your base or main image. On each of the other images, using a feathering of about five pixels, carefully select just the area that is moving. Cut and paste these onto the main image. Each will automatically be on a separate layer. You may want to add a bit of motion blur before flattening the image. The goal is to make the person’s hand look like it’s moving, not that he has several hands!


