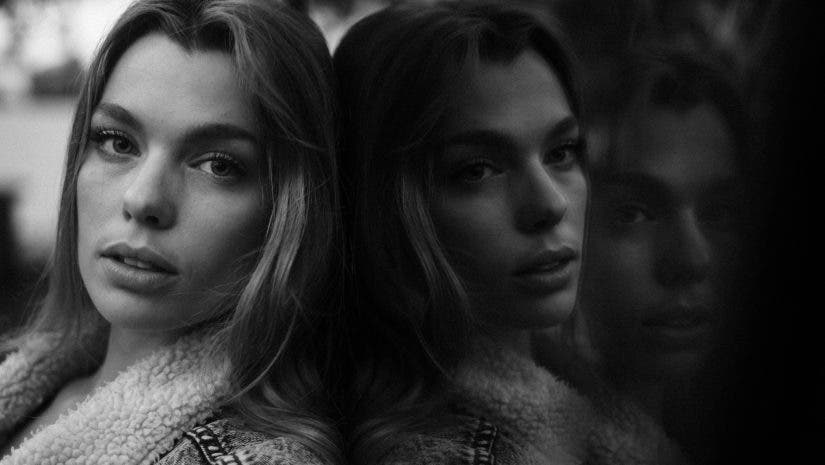
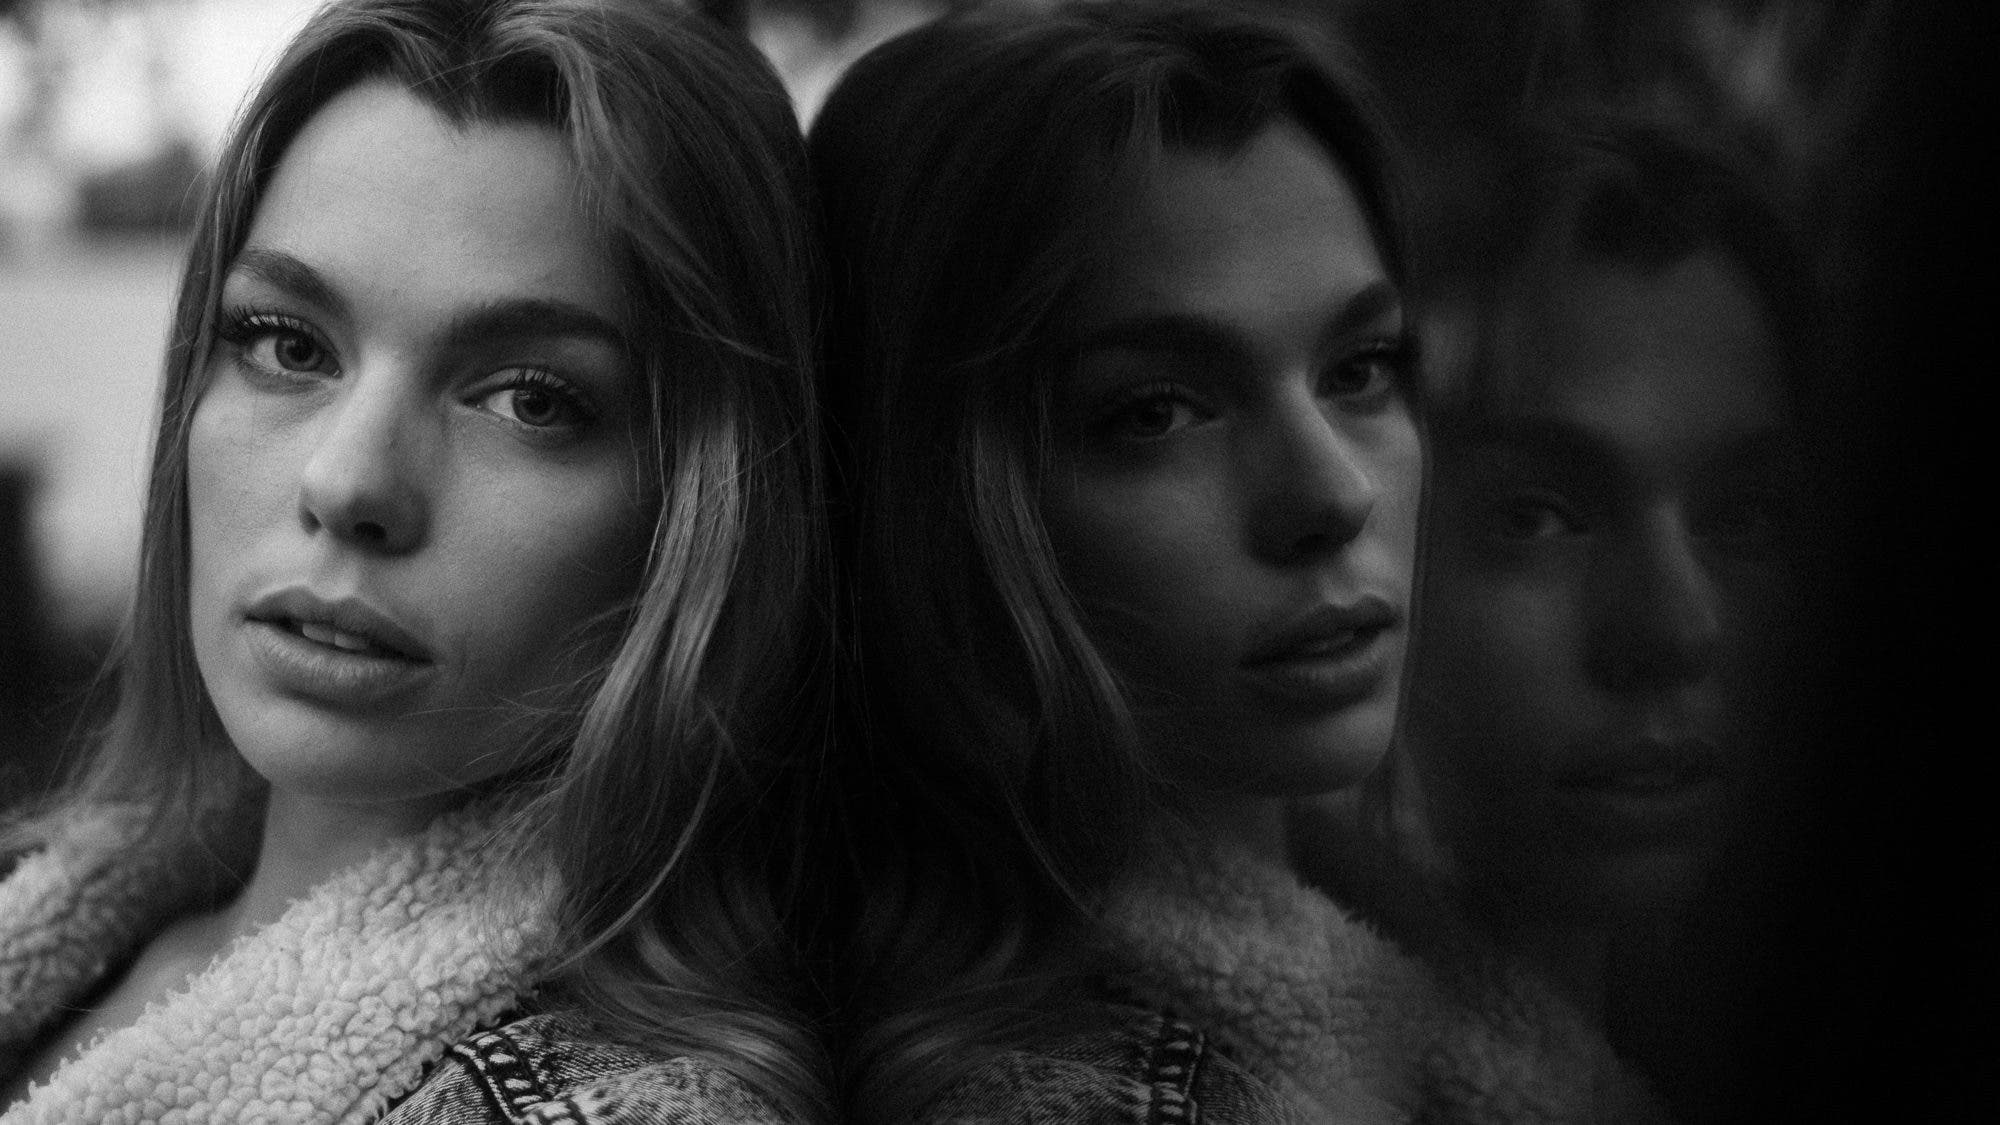
One of the most exciting aspects of moving through our photography journey is finding new tools and techniques to use. They boost our creativity and help us avoid the habit of constantly repeating ourselves in our imagery. The best tools are easy to use and offer diverse applications. One such creative tool that we can use to great effect is a mirror or any similarly reflective surface, including windows, screens, prisms, or even water.
Most of these items are readily available and easy to use. All of them can help us produce incredible results. Use the following mirror photography ideas, tips, and examples to enhance your creative portraits, wedding imagery, selfies, and more.
Mirror Photography Ideas, Tips, and Examples
- Clean the Mirror or Reflective Surface
- Use Your Subjects as Foreground Objects in Their Own Portraits
- Conceal Unwanted Elements in the Scene
- Add Off-Camera Flash to Highlight Your Subject
- Create a Key Light and Rim Light with a Single Light Source
- Enhance Storytelling for Travel
- Tell More of the Story in a Single Frame
- Capture Symmetry
- Create a Kaleidoscope Effect with a Smartphone and a Prism
- Flip the Reflection in Post
- Add More Reflections
Clean the Mirror
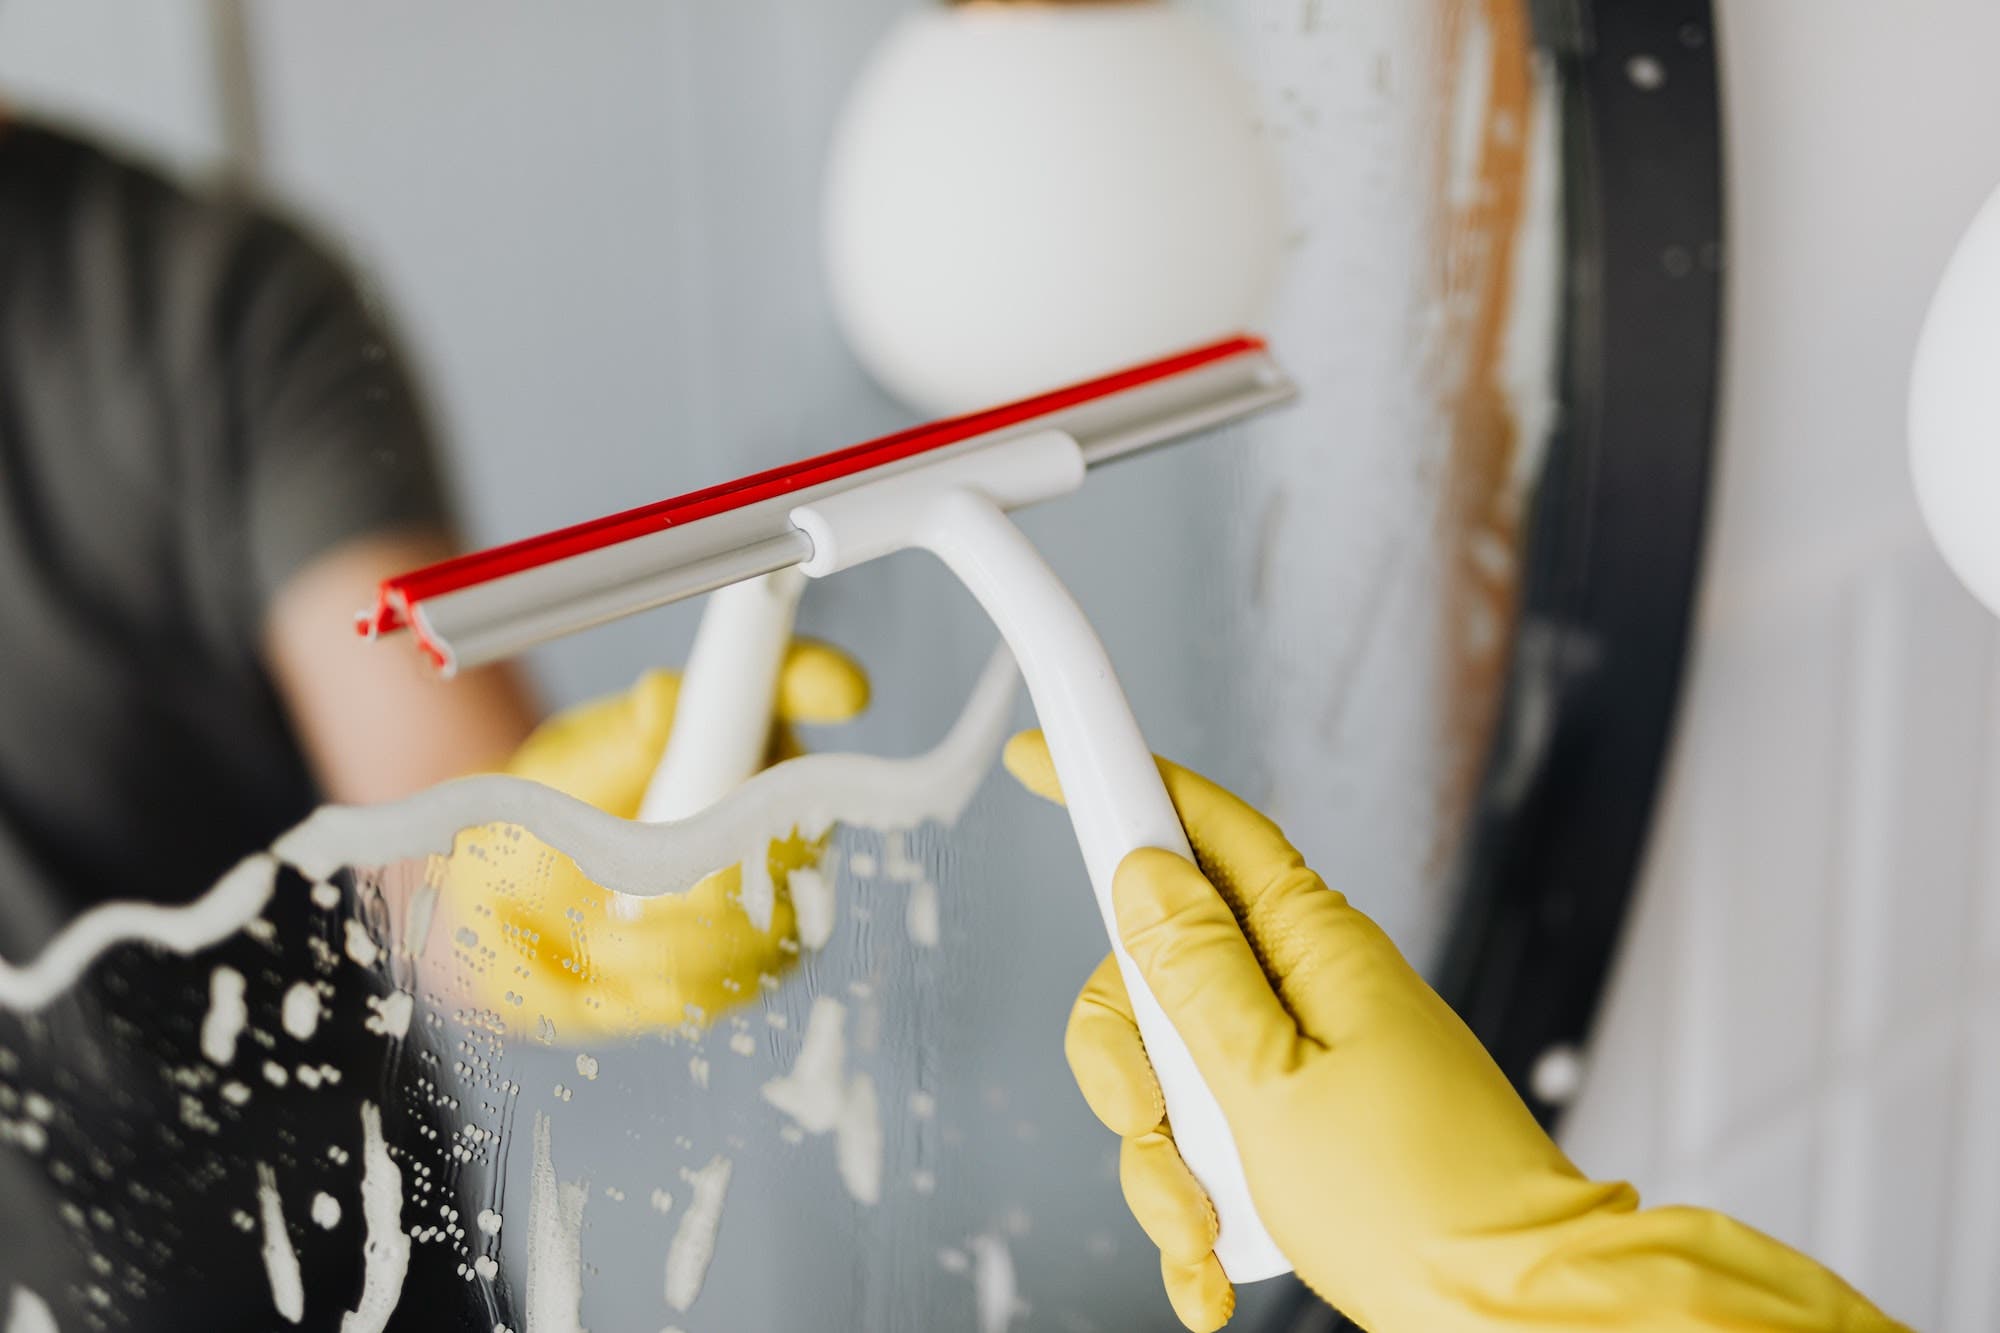
Wait. Before you pick up your camera, survey the scene. If the mirror or reflective surface you’re photographing is cleanable, then by all means, clean it. You can save yourself a lot of time in post by quickly cleaning the mirror’s surface before you start snapping photos. Paying attention to details like this can benefit all of your shoots, whether or not you’re using mirrors.
In general, you should always try to ensure that your backdrop is free from clutter. Otherwise, you’ll wind up wasting time cloning out details that could have easily been removed beforehand.
Use Your Subjects as Foreground Objects in Their Own Portraits
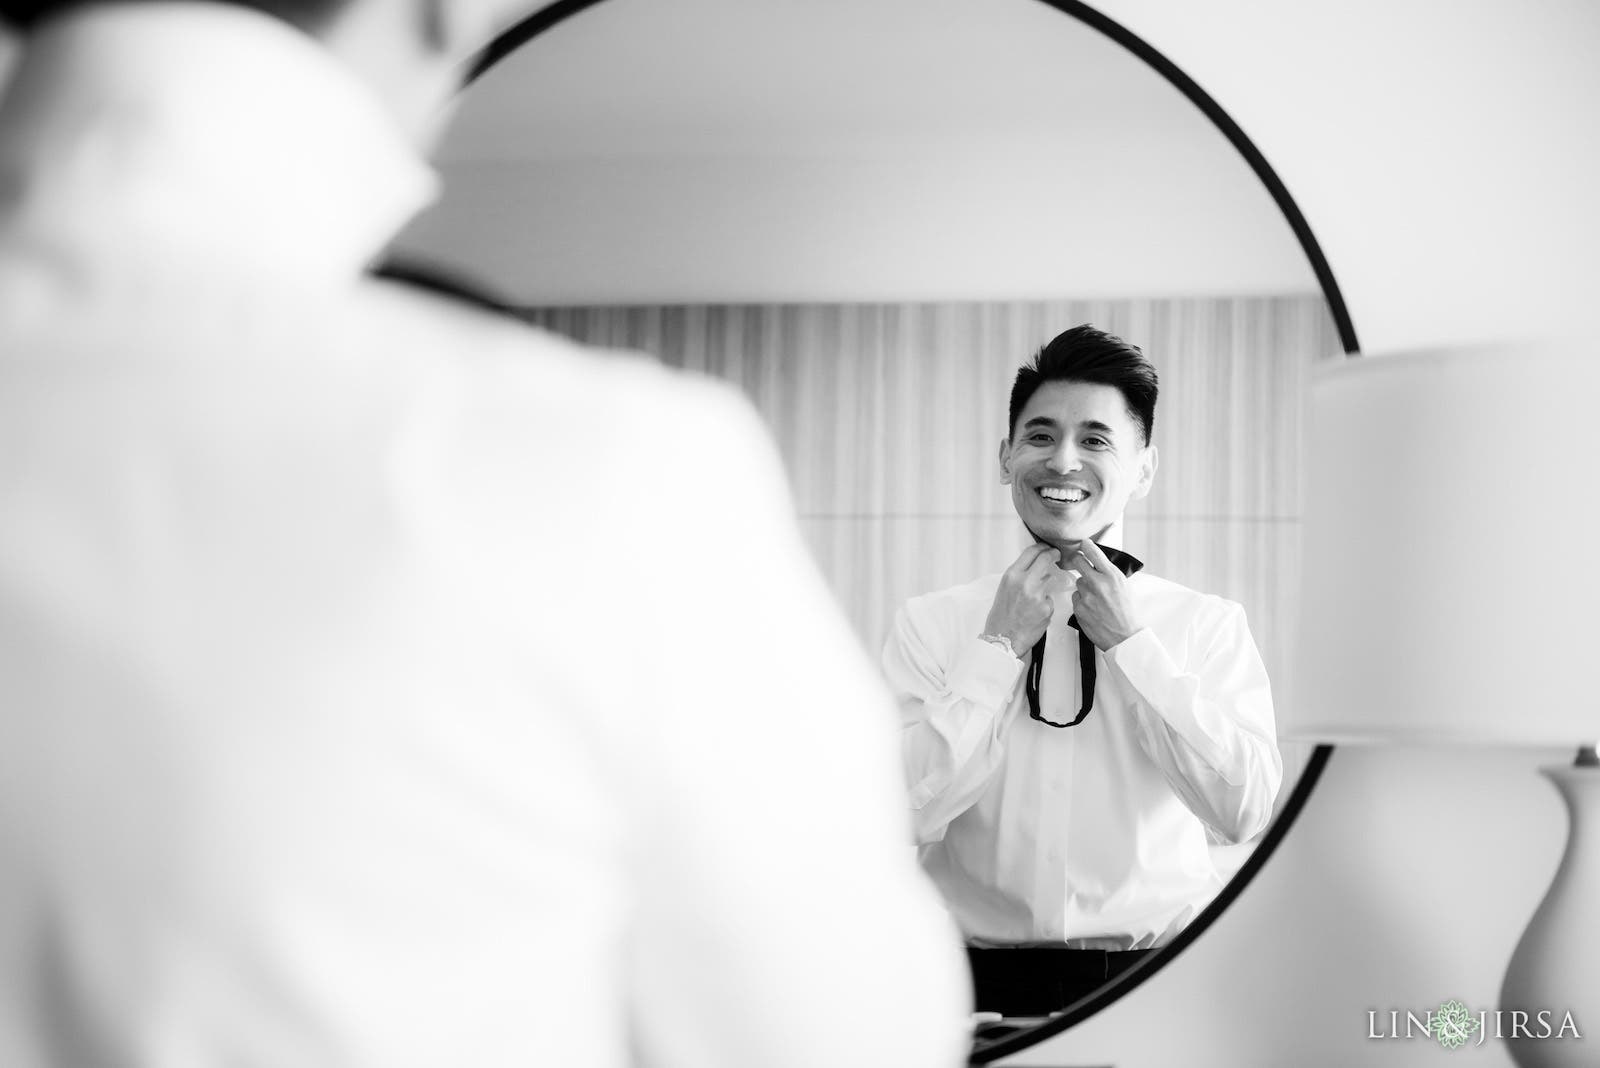
This is one of the mirror photography ideas you’ll find especially useful when capturing bride prep or groom portraits as a wedding photographer. Placing your subjects in the foreground and shooting over their shoulders provides an easy way to add depth to the image and it draws the viewer’s focus right to your subject in the mirror.
In the mirror portrait above, you’ll notice we’ve actually stacked several compositional elements. For example, the groom’s placement also satisfies the rule of thirds. The bright and airy style complements the overall happy tone and excitement that the image means to convey. All of these elements work together to create a more impactful and visually compelling photo.
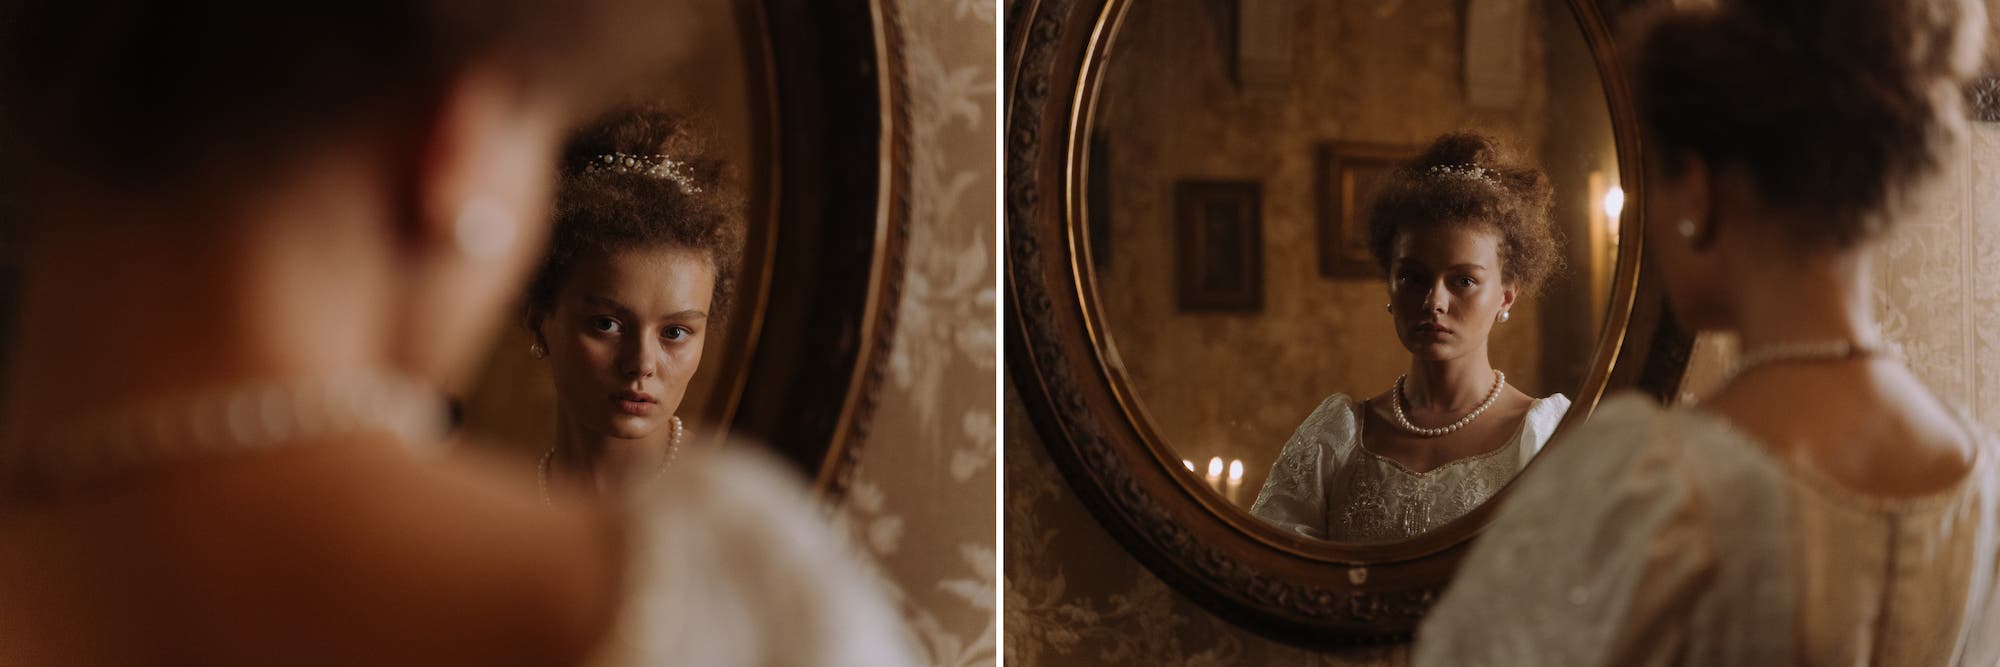
Here are a couple of creative examples that illustrate different ways to crop the over-the-shoulder mirror portrait.
Conceal Unwanted Elements in the Scene
We can use different reflective surfaces like mirrors, prisms, and even smartphones to help conceal unwanted elements in the scene. At the same time, the reflections can also enhance the image’s visual appeal. Let’s look at some examples.
Prism Photography Ideas

While not technically a mirror, the reflective properties of prisms make them effective tools for the purposes stated above. For example, check out the wedding photo above that I captured using a prism during groom prep. The reflection on the top of the image transformed the scene and made an otherwise mundane ceiling look more interesting. This allowed me to shoot a wider environmental shot that can open up storytelling options when designing a blog spread or album. Here’s another example below from the same session.
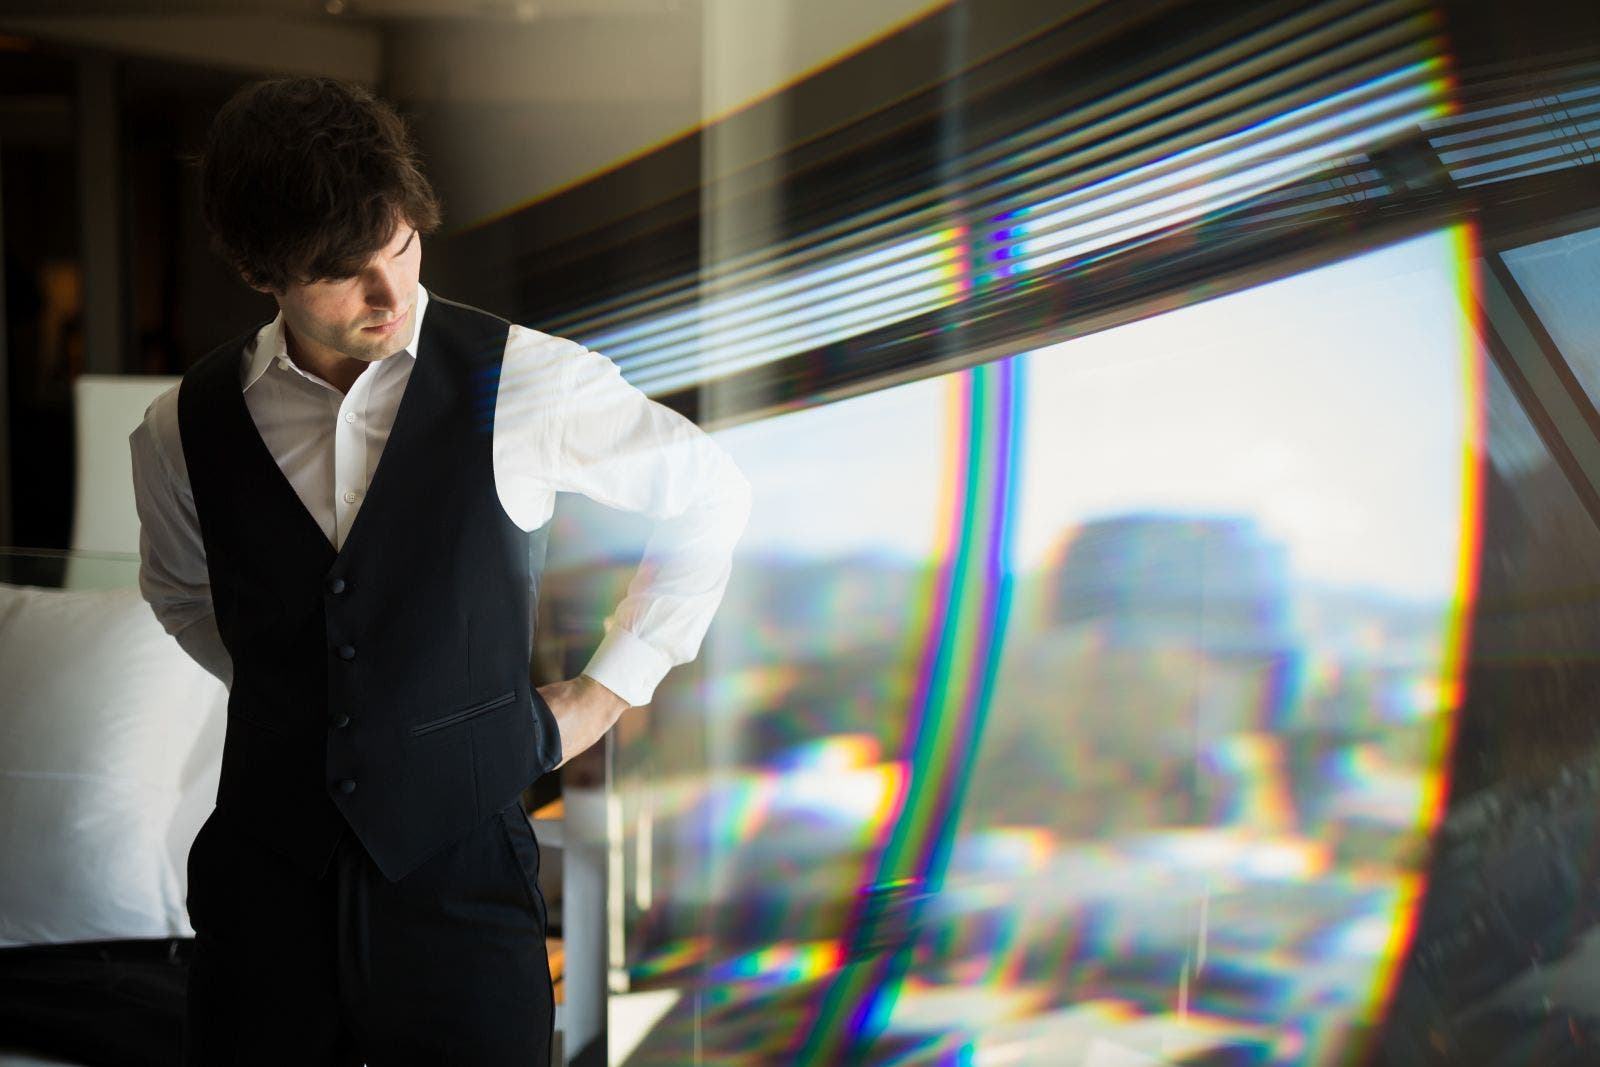
Follow these steps when using a prism as part of your new arsenal of mirror photography ideas:
- Place the prism against your lens and angle it toward a light source
- Shift the angle of the prism to help control light distortions and reflections
- Keep your subjects visible in the frame
Mirror Photography Ideas Using a Smartphone for Concealment
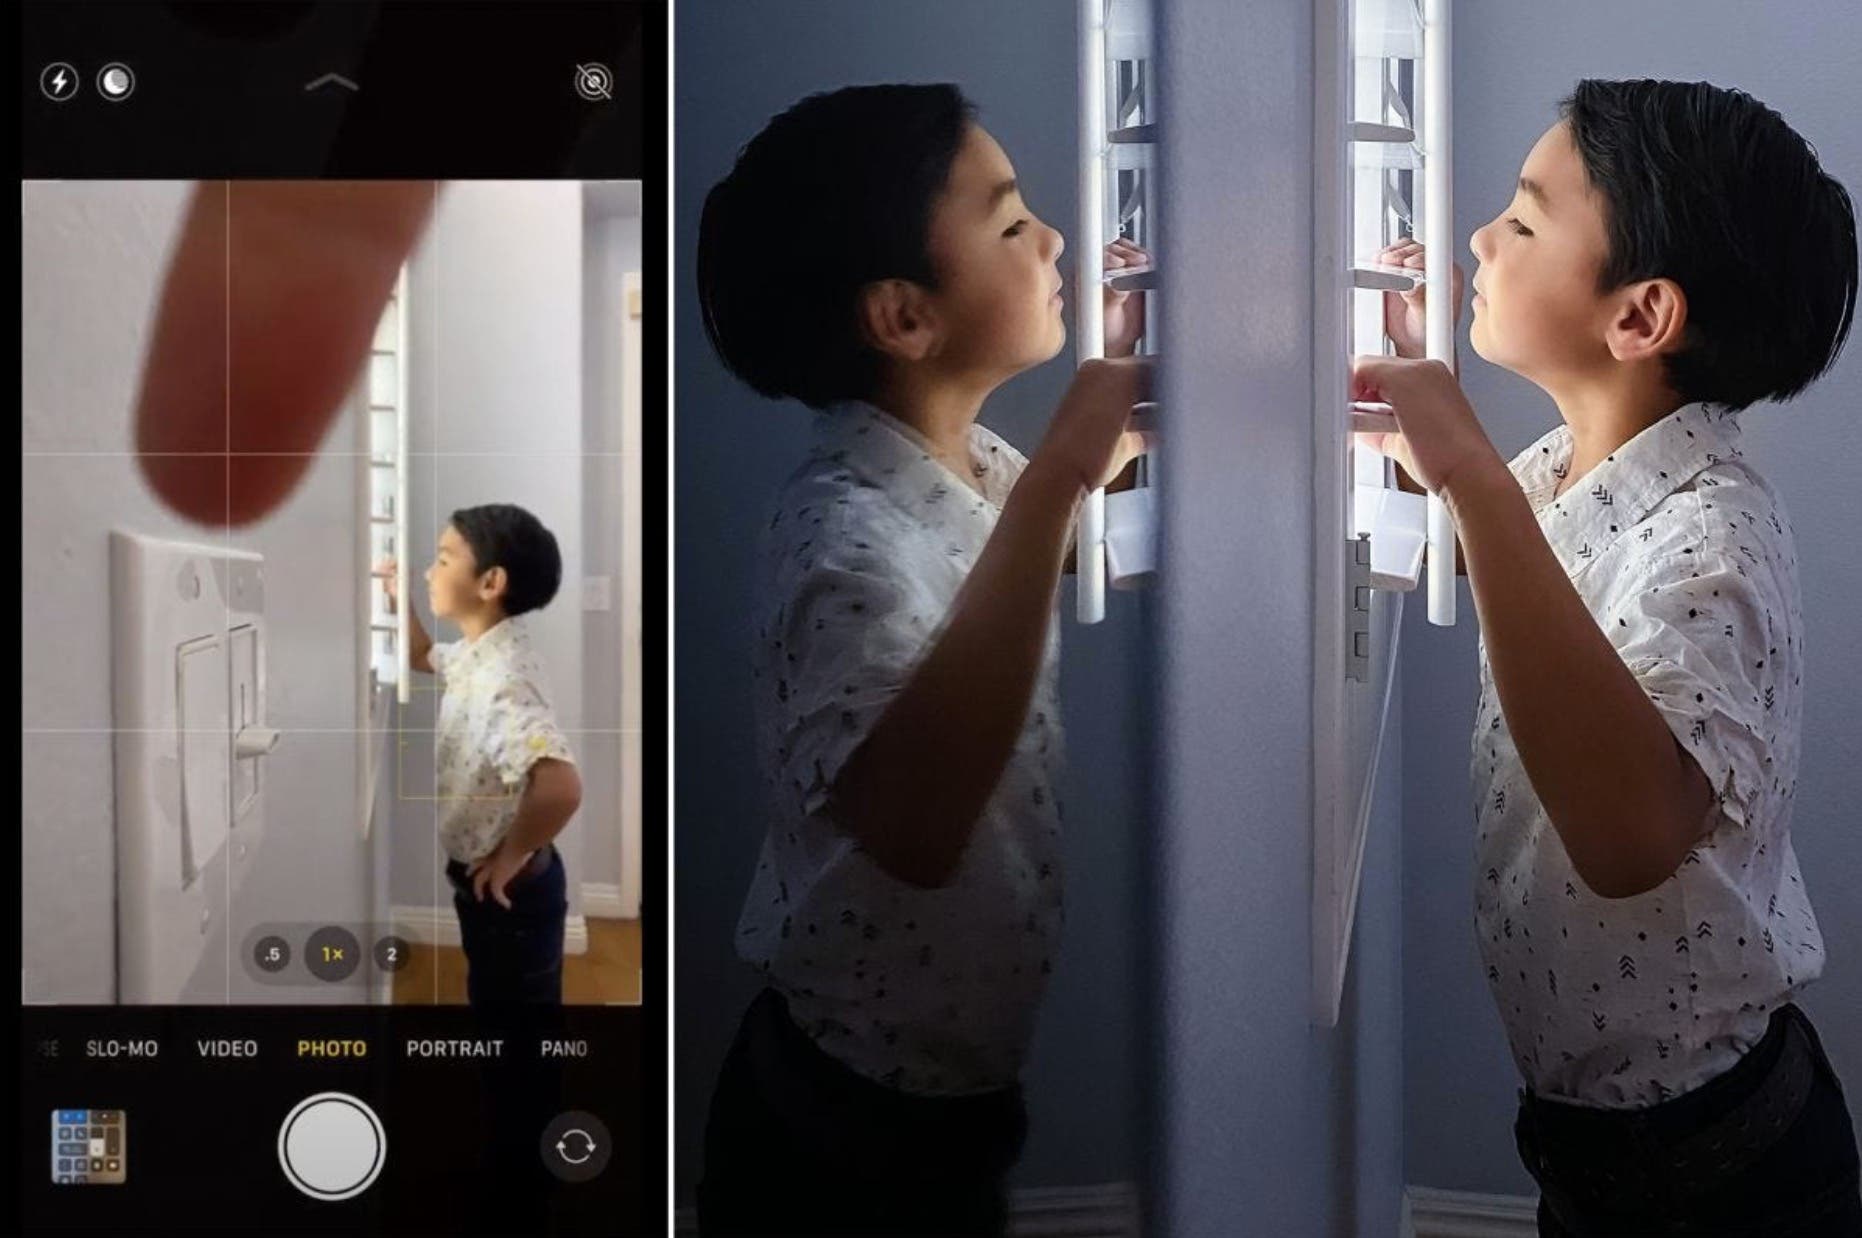
In the images above, you can see how I used the reflective surface of a smartphone like a mirror to cover up the light switch and add a creative touch to a simple portrait. To do this, you’ll need to remove the smartphone from its cover (if the edge of the cover shows). Then, hold the phone vertically, place it against the lens, and adjust the angle to taste.
Add Off-Camera Flash to Highlight Your Subject in the Reflection
Whereas in the previous tip we placed the mirror or reflective object directly between the camera and the subject to physically block unwanted elements, we can also use off-camera flash to highlight our subject in a reflection and limit what we see and don’t see in the scene. Here’s how.

To capture the image above (on the right), I did the following:
- Lower the ambient exposure in-camera
- Place an off-camera flash next to the subject
- Set the flash power (which could require trial and error to find the right balance between ambient light and flash)
- Manually focus the lens to capture the subject in the reflection of framed portraits hanging nearby and then took the shot.
Here’s what it looked like in the room from a somewhat standard point of view.
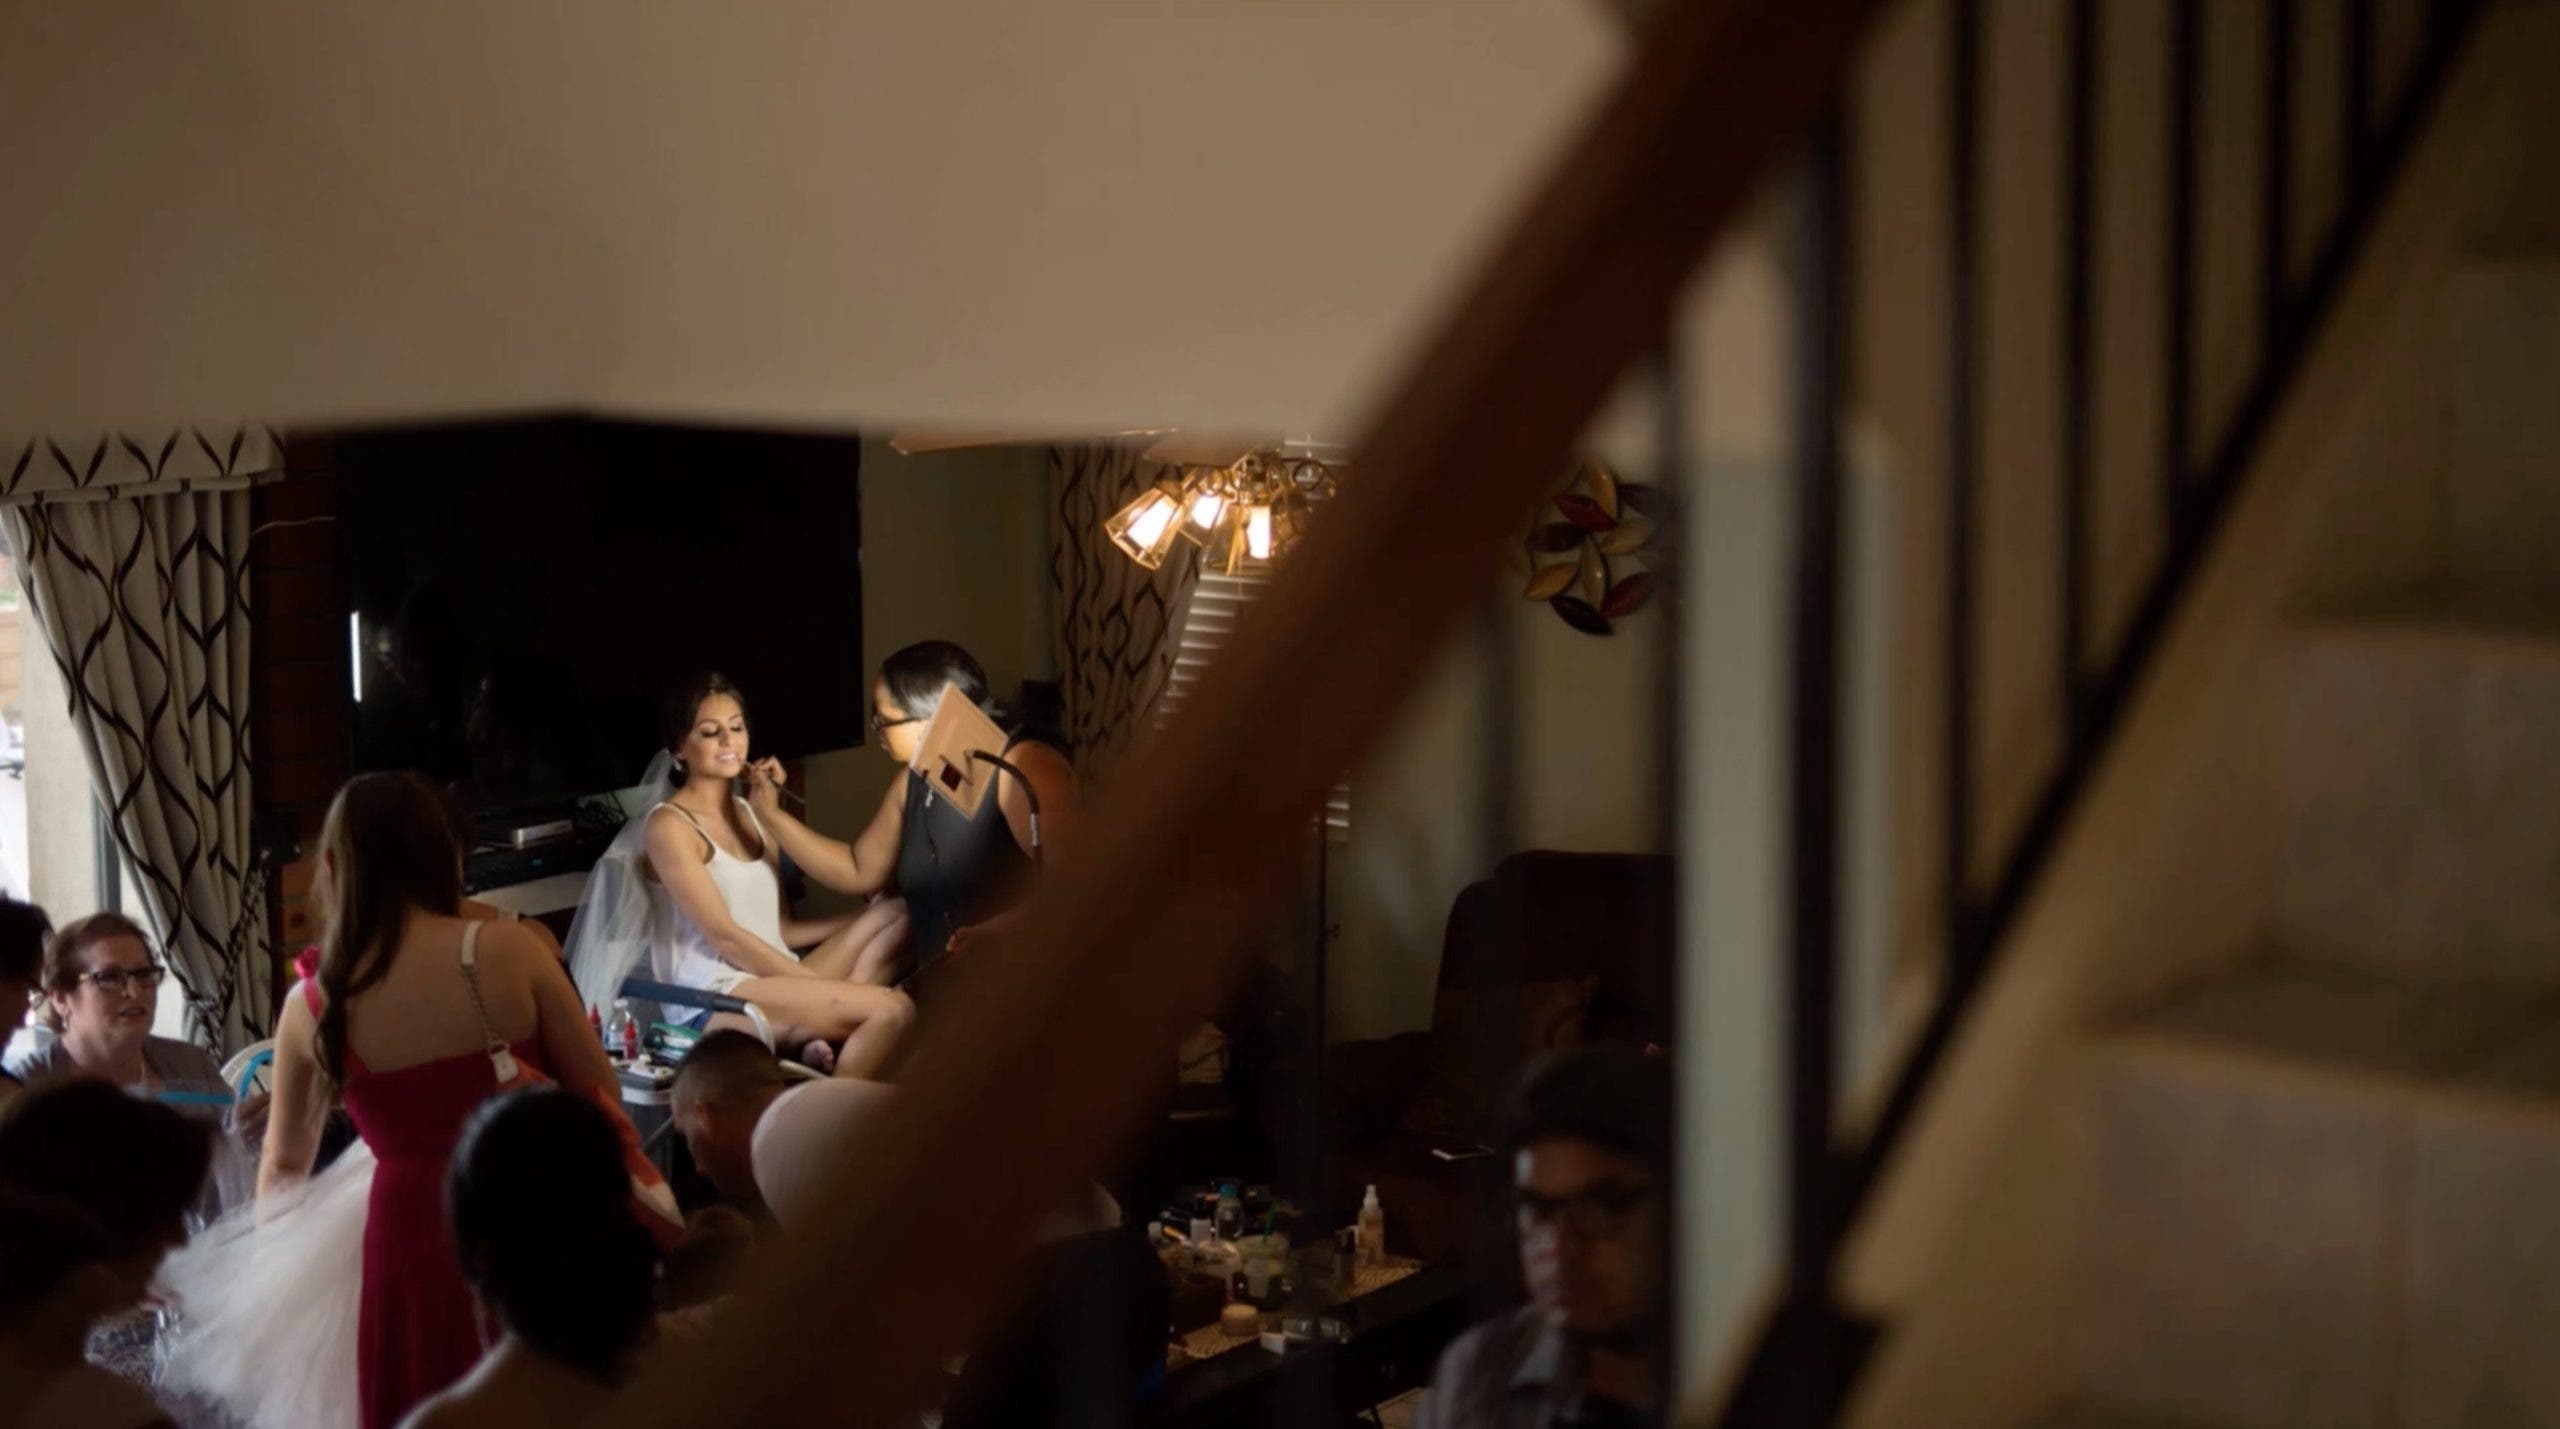
As you can see, including mirror photography in your trick bag offers a couple ways to make a “bad” location look good.
Create a Key Light and Rim Light with a Single Light Source
In the video above, Mark Wallace sets out to use a mirror to add depth in a small space, which works great. One aspect I found particularly interesting for mirror photography ideas, however, was Mark’s use of the mirror to create a backlit rimlight with the same light source used to light the front of the subject. Without a bright ambient light already in place (like the sun, for example), this could really only be done using a mirror or some other highly reflective object. It’s a clever technique worth checking out.
Enhance Storytelling for Travel Portraits
Here’s a simple mirror photography idea you can use on your next road trip. Although, you don’t necessarily need to hit the road to capture a travel portrait like this. All you need is a vehicle with a side-view (or even a rearview) mirror and a decent light source to adequately light you (or whoever the subject is in your frame).
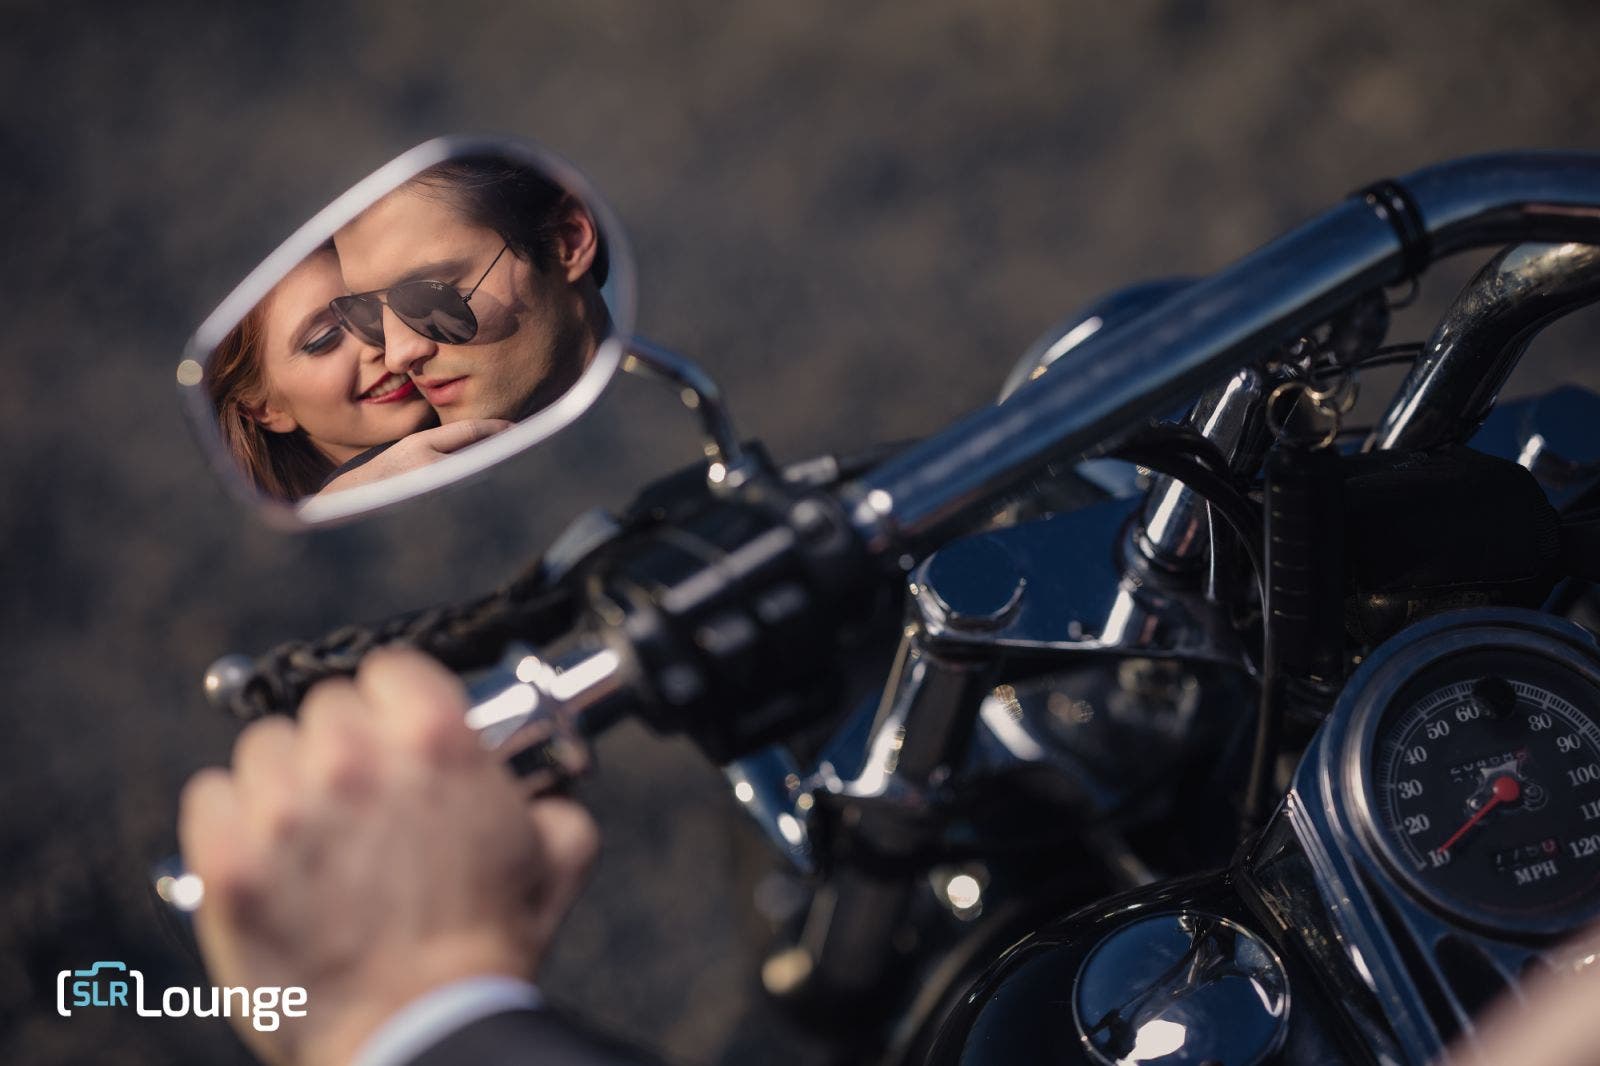
To capture the James Dean-inspired image above, I used a Profoto B2 with a Profoto OCF Beauty Dish camera left to light my subjects and I shot the portrait over their shoulder. Your lighting needs will vary, of course, depending on the available light and the look you’re after. The important part is just to find a creative angle and make sure your subjects are adequately lit.
Tell More of the Story in a Single Frame
Mirror photography allows us to creatively include more of the environment (in multiple directions) in a single frame for the purpose of storytelling. The larger the mirror, the more detail we can include to tell our story — all without having to piece together a panorama.
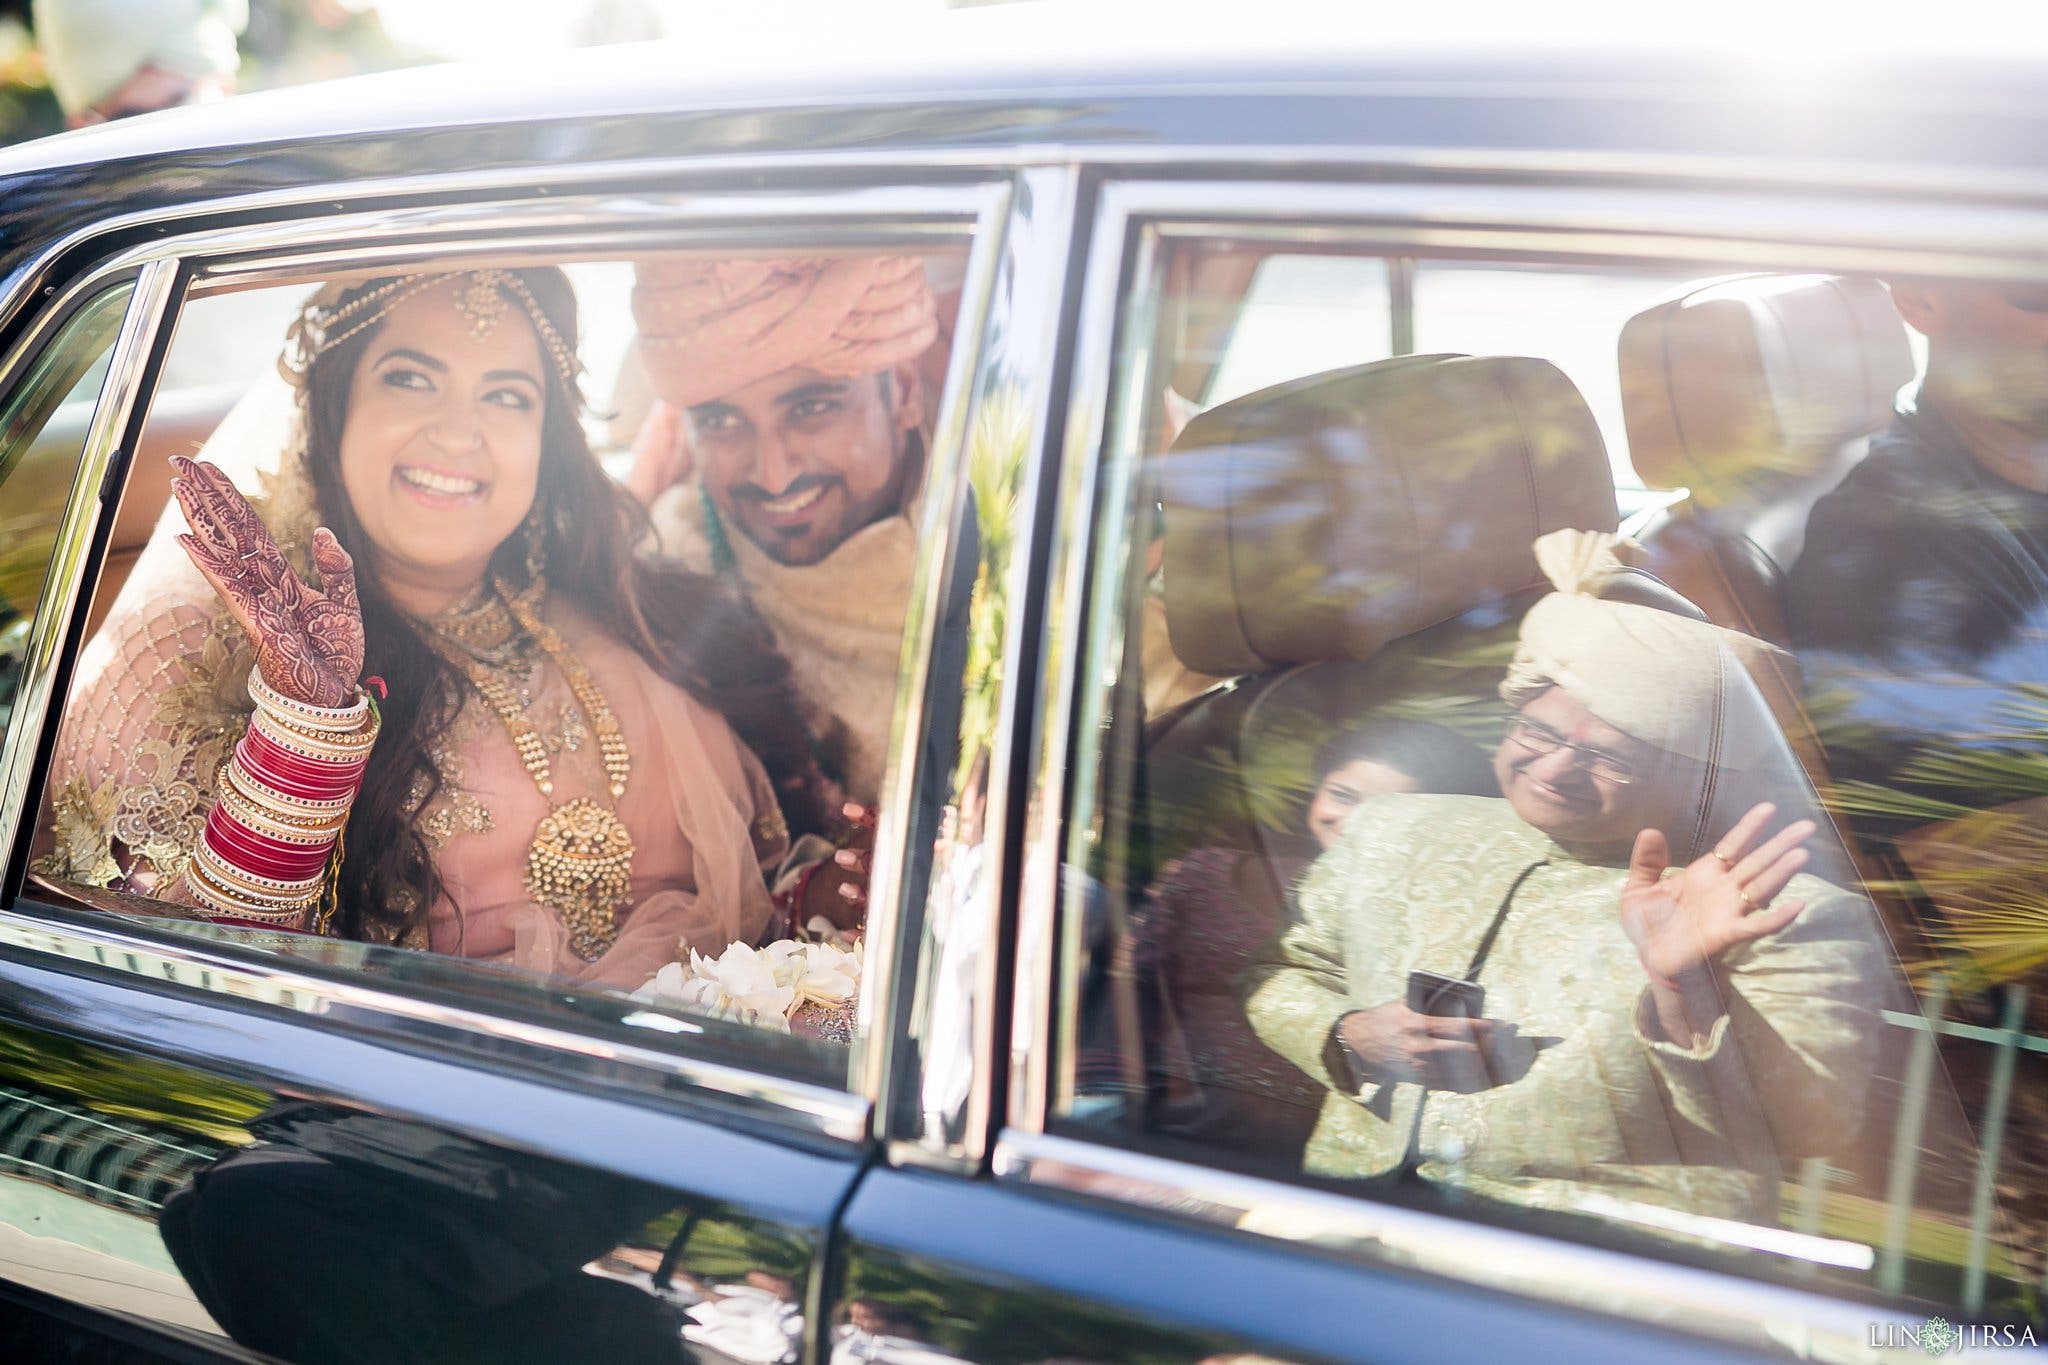
In the image above, taken as the bride and groom prepared to drive away after their wedding ceremony, we were able to use the reflection in the front passenger-side window to capture the bride’s parents waving goodbye to the newlywed couple. We could’ve done this by photographing the scene at a wider angle. Although, using the reflection allows us to get closeup details while also telling the larger story that is unfolding in real time.
Capture Symmetry
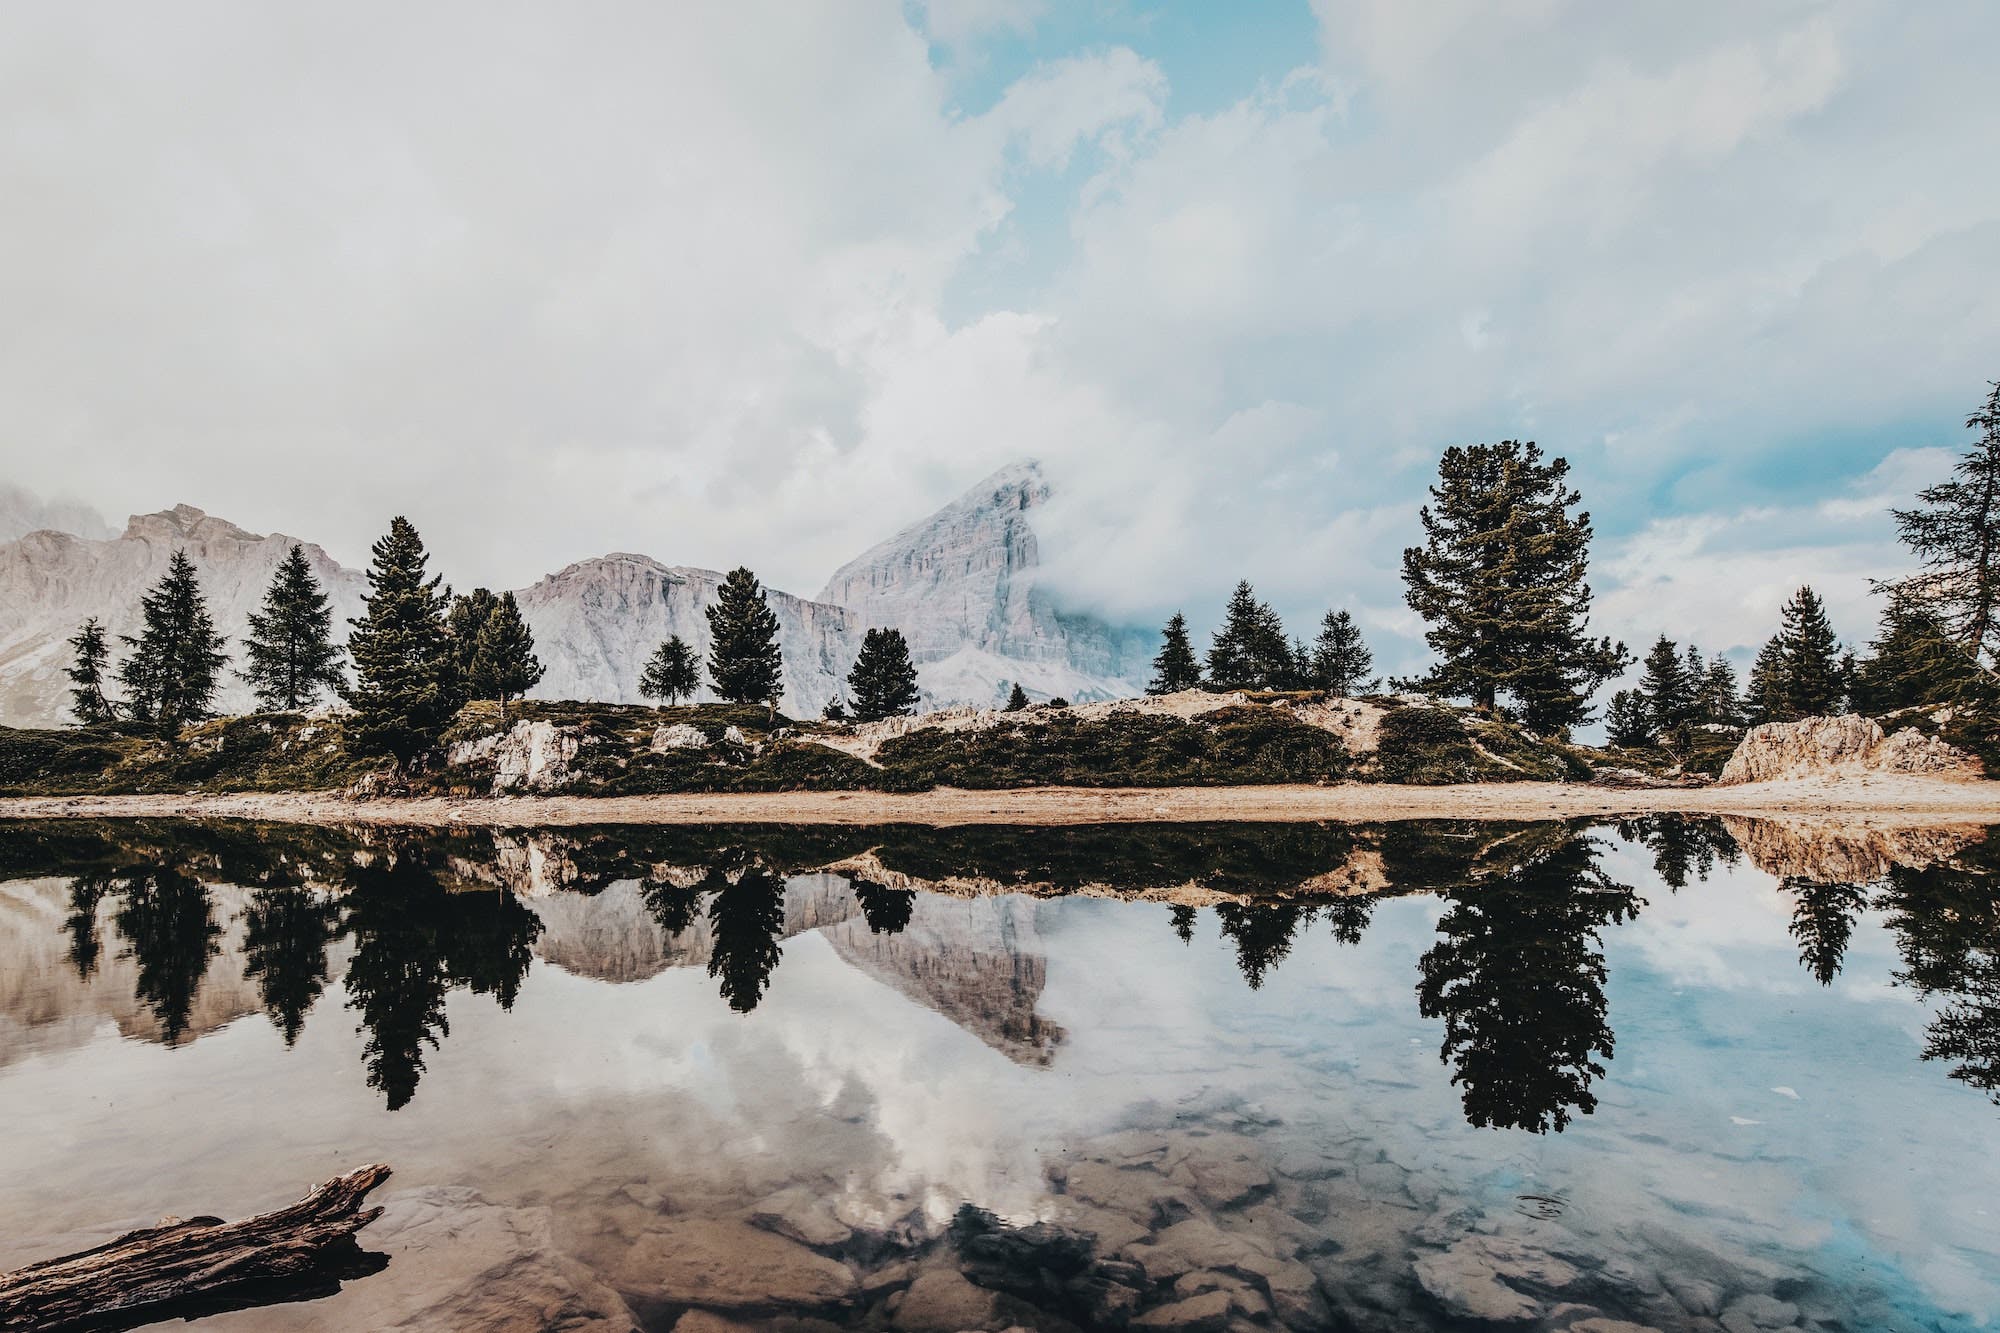
Although we may not always realize it, we can often find symmetry reflected in our environment. It’s an effective compositional tool that we’re hardwired to notice, and we can use it to our advantage in the photos we capture.
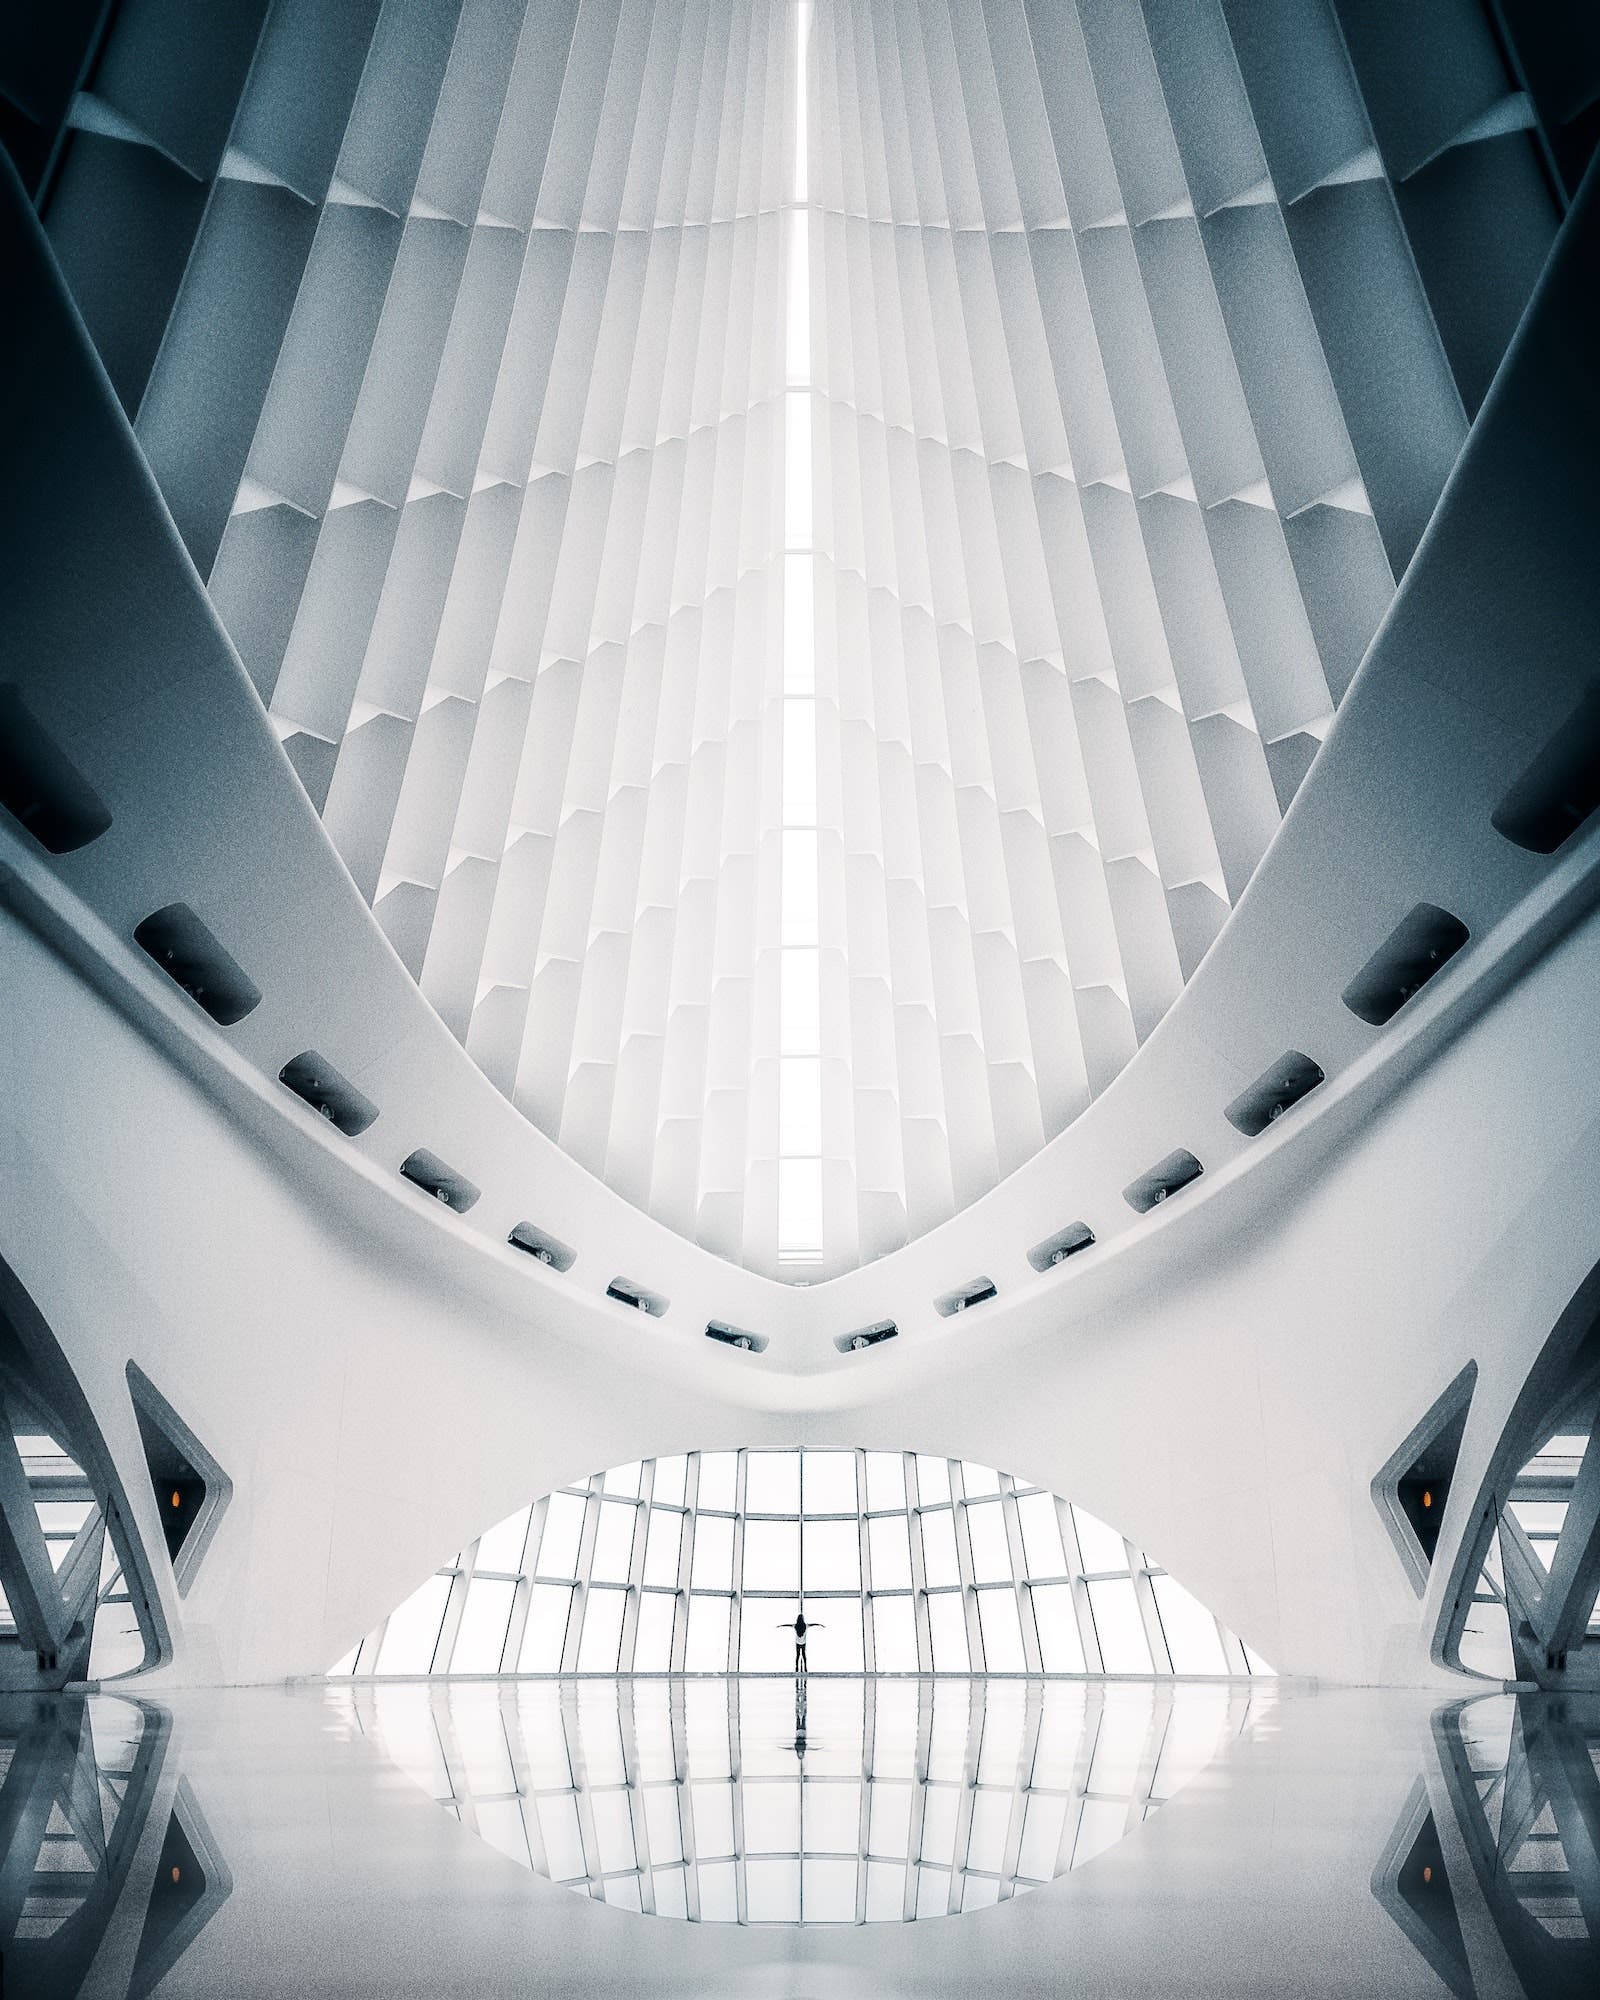
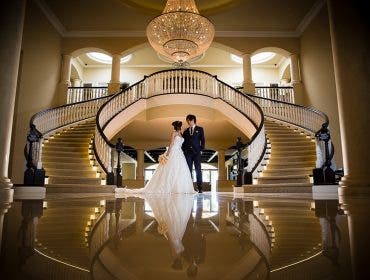
Take the image above, for example. It captures architectural symmetry that’s further enhanced by the reflective flooring. It’s no mistake that the architect designed it this way. The structure is visually stunning, and the photo captures it well. While it may not always be on so grand a scale, we can use mirror photography to add symmetry to our photos and make them more visually compelling.
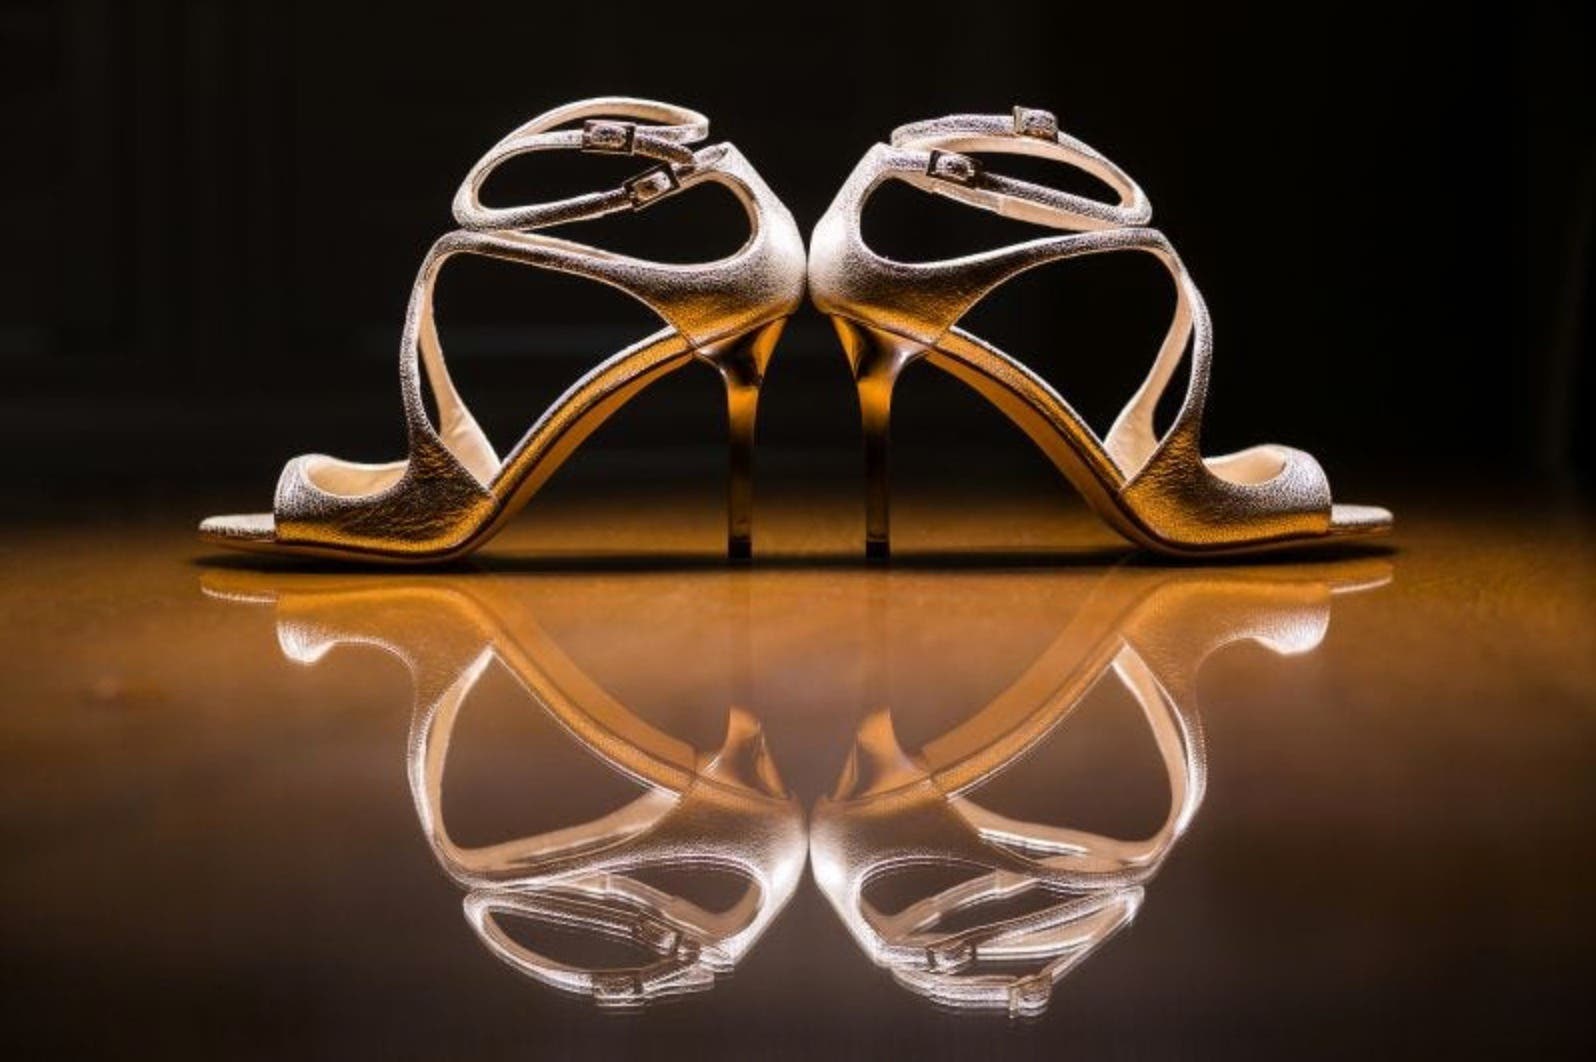
Wedding photographers, for example, often capture detailed shots of the bride and groom’s wardrobe, including elements like shoes, earrings, watches, and so on. With a touch of creative lighting and a mirror (or another highly reflective surface, like a shiny countertop), we can turn a photo of shoes into a work of art.
Create a Kaleidoscope Effect with a Smartphone and a Prism
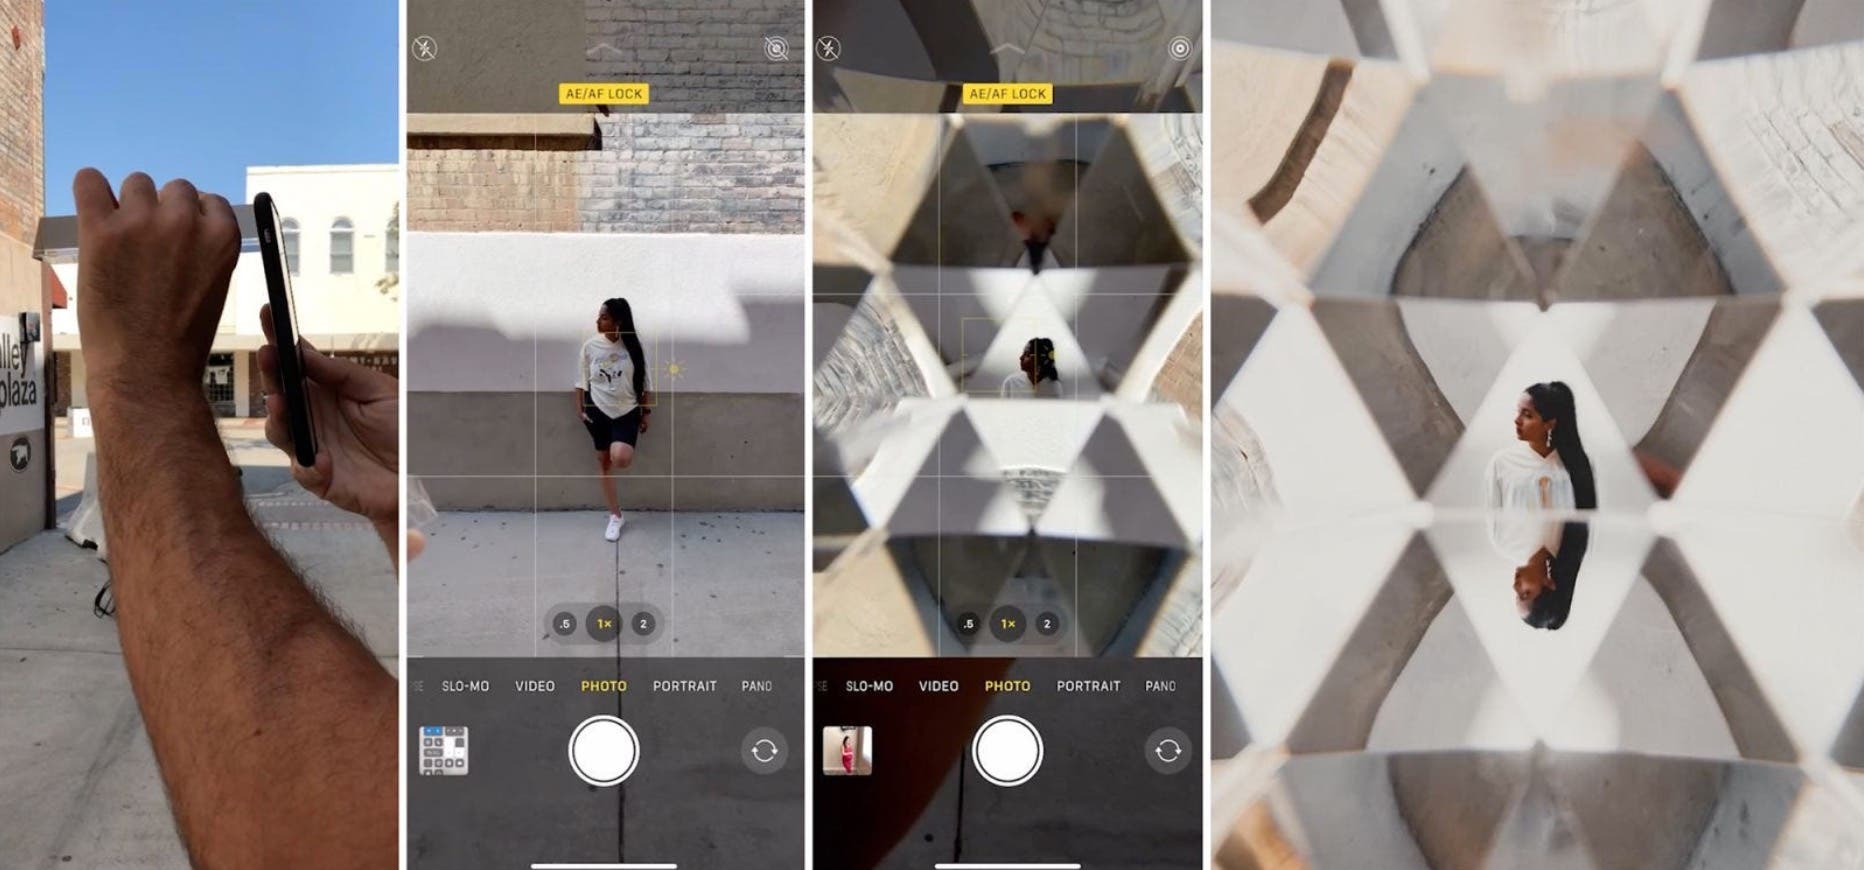
I shared this in the write-up for using prisms in photography, but it bears repeating here as a relevant mirror photography idea. To pull this off, you’ll need a smartphone camera and a triangular prism. First, lock focus and exposure on your subject. To do this, press the screen over your subject until you see the AE/AF Lock. Then, hold the prism directly in front of the phone camera, covering the entire lens. This will create the kaleidoscope effect. The effect won’t work if the lens isn’t fully covered.
Flip the Reflection in Post
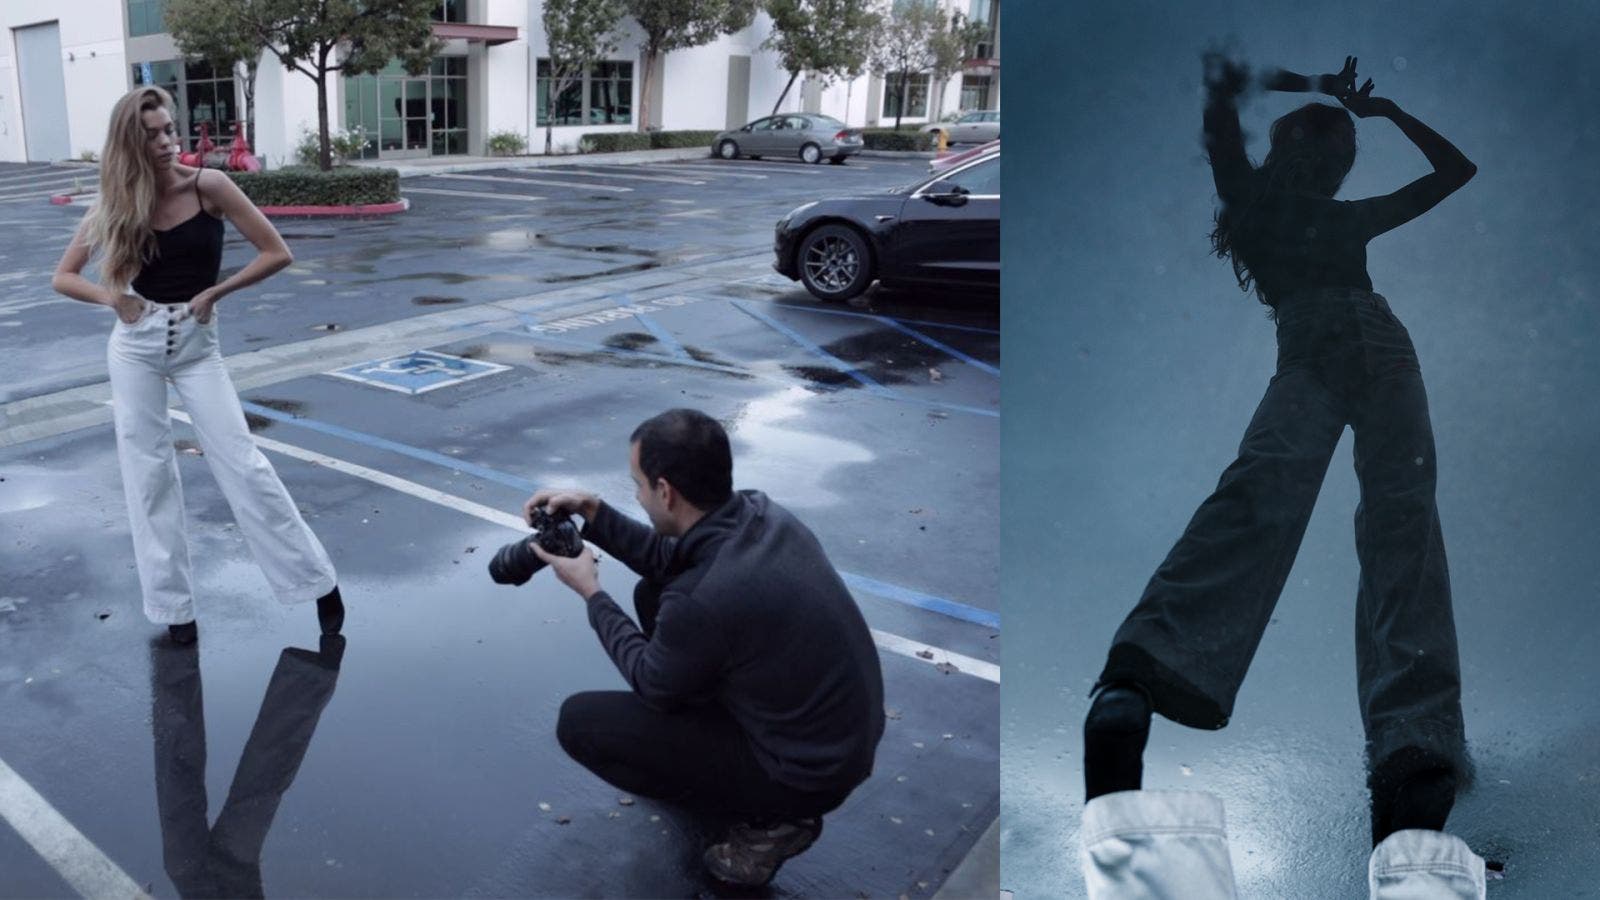
Puddles make great “mirrors” for capturing reflections that can be rotated in post to make truly unique portraits. To capture the photo above, I kneeled low to the ground and used the puddle to fill the frame. I cropped it this way to avoid including other unwanted elements like cars in the shot. Next, I focused on the subject, captured the portrait, and then flipped it vertically in Lightroom. Note, if you don’t have puddles, use other reflective surfaces like mirrors or your smartphone to capture similar shots.
Add More Reflections

If you combine your phone with a mirror or window, you can easily capture multiple reflections at once. We created the image above in a crappy parking lot, but you’d never know it. In addition to making the shot more unique, the reflection on the phone is blocking cars that would’ve been visible. One benefit of using your phone as a mirror for shots like this is that you always have it handy. This means you can employ this technique whenever or wherever you want.
Conclusion
I hope that you found this article on mirror photography ideas, tips, and examples helpful. While we may not have a mirror handy, per se, we pretty much always have a reflective surface available to which we can apply many of these tips and boost the creativity in our portraits. I don’t consider this an exhaustive list by any means, but I hope that it helps inspire some new ideas in your journey. On that end, what are some other mirror photography ideas and tips you’ve used that you can share with us?
