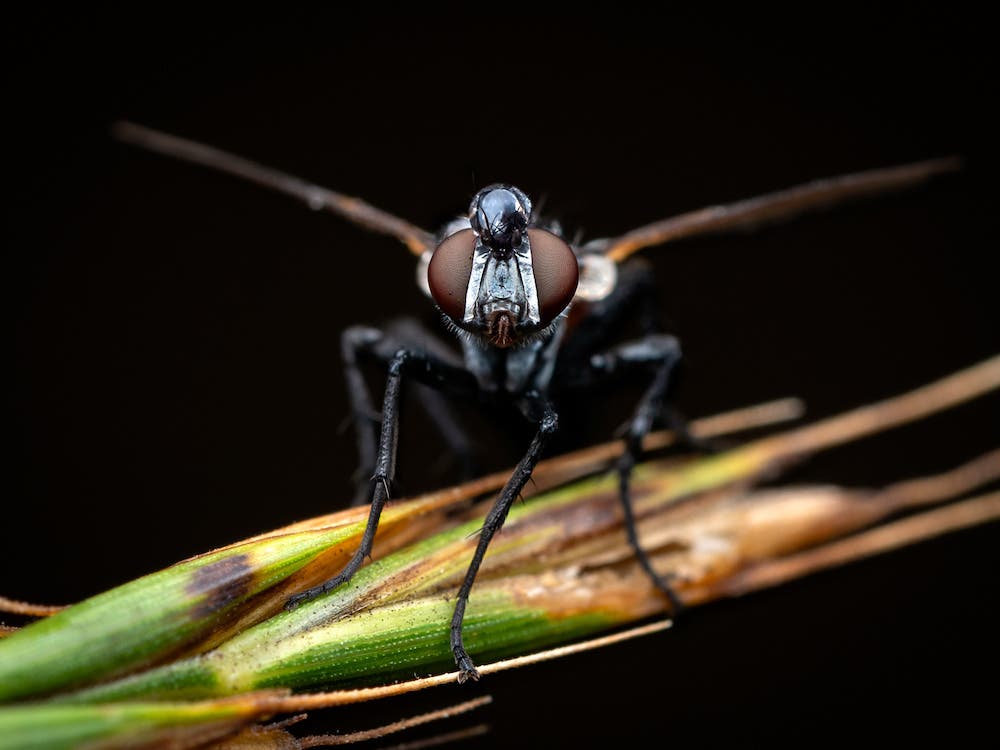
Macro is an exciting genre of photography that can reveal fascinating details, otherwise unseen by the naked eye. While some other genres require a case full of high-priced gear or lots of travel, getting started with macro is relatively inexpensive and can be done just about anywhere. You’ll just need a camera body, a lens, a flash, and a diffuser. Put them together with a little patience and you’ll be making eye-popping macro shots in no time. Here’s what you need to know when compiling your macro photography gear.
Camera Body
It goes without saying, but your first piece of macro photography gear is a camera. Canon, Nikon, Sony, Olympus, and others all make capable DSLR and/or mirrorless bodies that can work well for macro. If you’re already invested in a system and want to try macro, I suggest sticking with the body you own (at least for now). If you’re in the market for a camera body, I do have a few thoughts for your consideration.
Since I specialize in field macro photography — photographing live subjects in the wild — having a lightweight camera body is crucial. I regularly find myself shooting at awkward angles and from uncomfortable positions. Heavy gear would undoubtedly inhibit my ability to maneuver in those situations. I also appreciate a lightweight body when I’m shooting for extended periods of time or hiking long distances.
When shooting at high magnification, camera movements are also magnified. Working with a stabilized body is a major advantage. You could use a tripod, but who wants to lug even more gear into the field? Plus, tripod shooting is far less agile than handheld freestyling.
You’ll also want to take note of the camera’s sensor. Resolution is important, but so is crop factor. Macro lenses are capable of at least 1:1 (1x) output, but it’s the sensor’s size that will determine how large your image appears. If your camera’s sensor is full-frame, 1x lenses will yield 1x results. APS-C sensors will give you about 1.5x and Four Thirds (MFT) will come in at 2x.
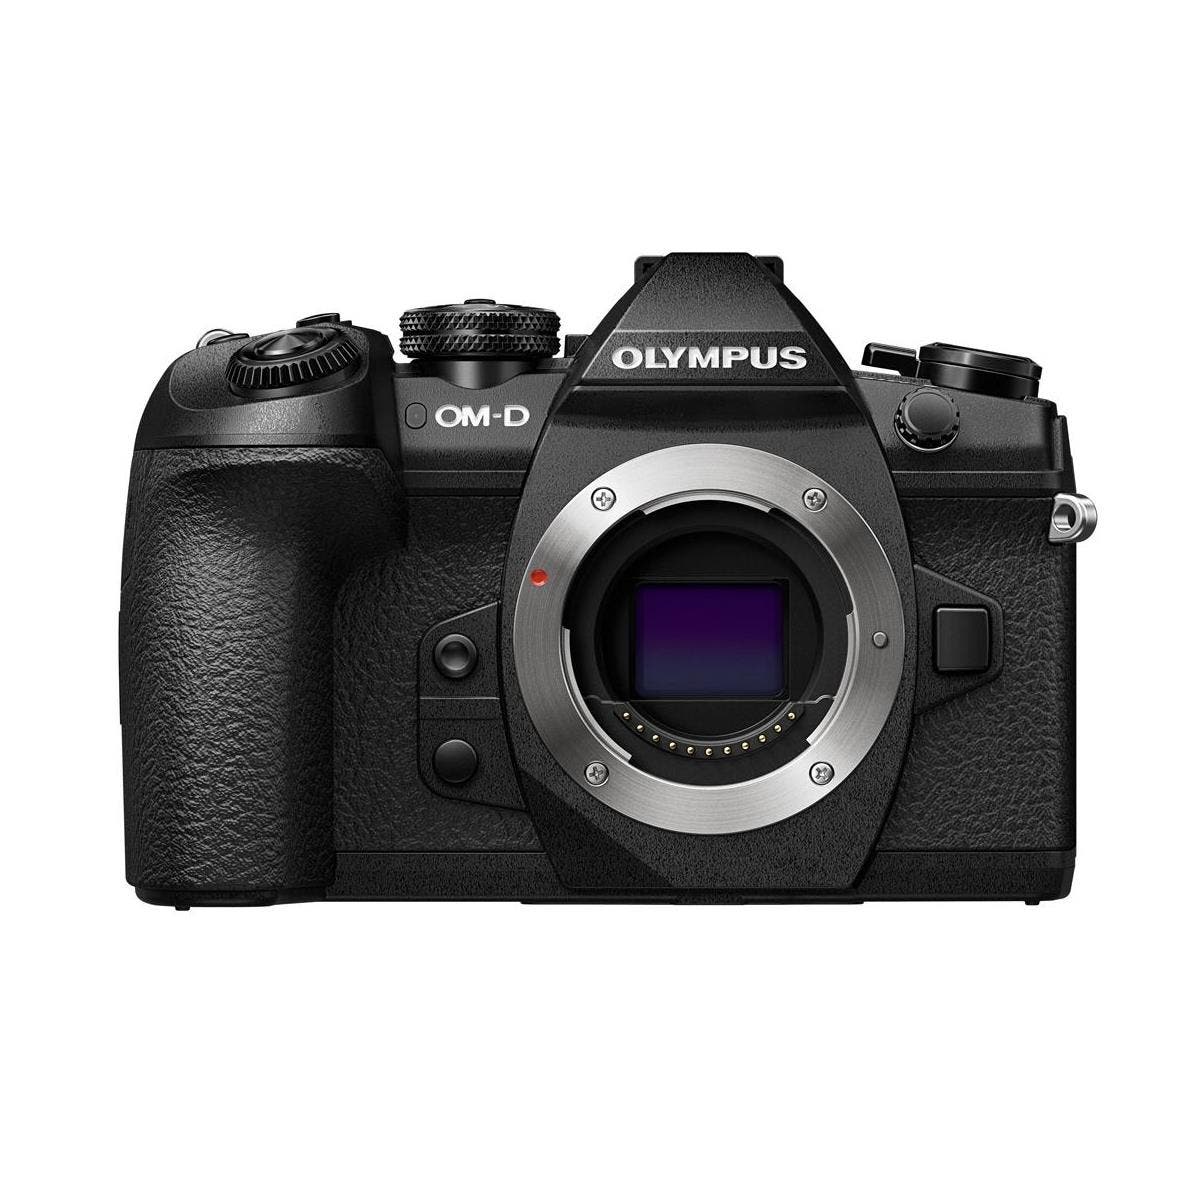
The compact size, class-leading image stabilization, and 2x output of the Olympus OM-D E-M1 Mark II has been a wonderful combination of features for the work I do. Additionally, greater depth of field provided by a Four Thirds sensor helps me to keep more of my subject in focus. Check out the E-M1 Mark II (or the updated E-M1 Mark III) to learn more about these features and other macro-specific bonuses like in-camera Focus Bracketing, Focus Stacking, and more.
Lens
The ability to focus from very close distances is what sets macro lenses apart from other lenses. Try achieving focus with a portrait lens a few inches from your subject and you’ll immediately realize that it’s impossible. I have three ways for you to reduce working distance and increase magnification.
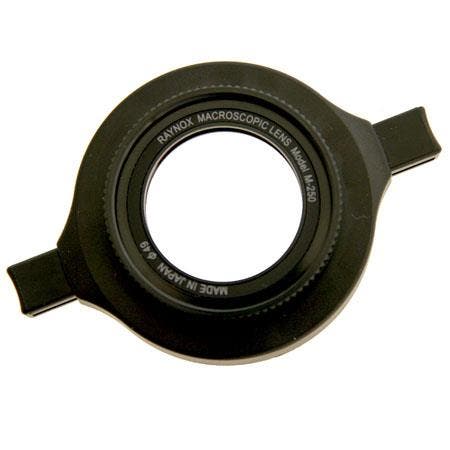
First, let’s work with what you’re likely to already own. You can convert your existing prime or zoom lenses into higher-magnification tools with extension tubes and/or macro conversion lenses. Extension tubes fit between the camera body and lens to act as spacers. The additional distance from lens to sensor results in higher magnification. A close-up conversion lens can be screwed or clipped onto the end of your lens to work like a magnifying glass. Both options can be used with virtually any lens and can even be used in conjunction with one another for even more magnification. The Raynox DCR-250 Super Macro Conversion Lens is my go-to solution when I want magnification beyond the capability of my macro lens.

Speaking of macro lenses, let’s get into that third option: an actual, dedicated macro lens. Macro lenses are specifically engineered to produce high-magnification output and focus at close distances. Many offer special features like function buttons, magnification indicators, or focus limiters. You’ll want to look for the right combination of features, benefits, and price to align with your needs and budget. Aside from the big camera manufacturers’ own macro lenses, remember to take a look at specialty lens makers like Venus, Tamron, or Sigma.
My personal workhorse is the small-but-mighty Olympus M.Zuiko Digital ED 60mm F2.8 Macro Lens. It’s compact, sharp, produces 1x output (2x full-frame equivalent), and works great with my Raynox DCR-250 or extension tubes. It’s even fully weather-sealed. For a deep dive into my love affair with this lens, check out my 42 West article Lens in Focus: Chris McGinnis’ Favorite Olympus Lens for Insect Photography.
Flash
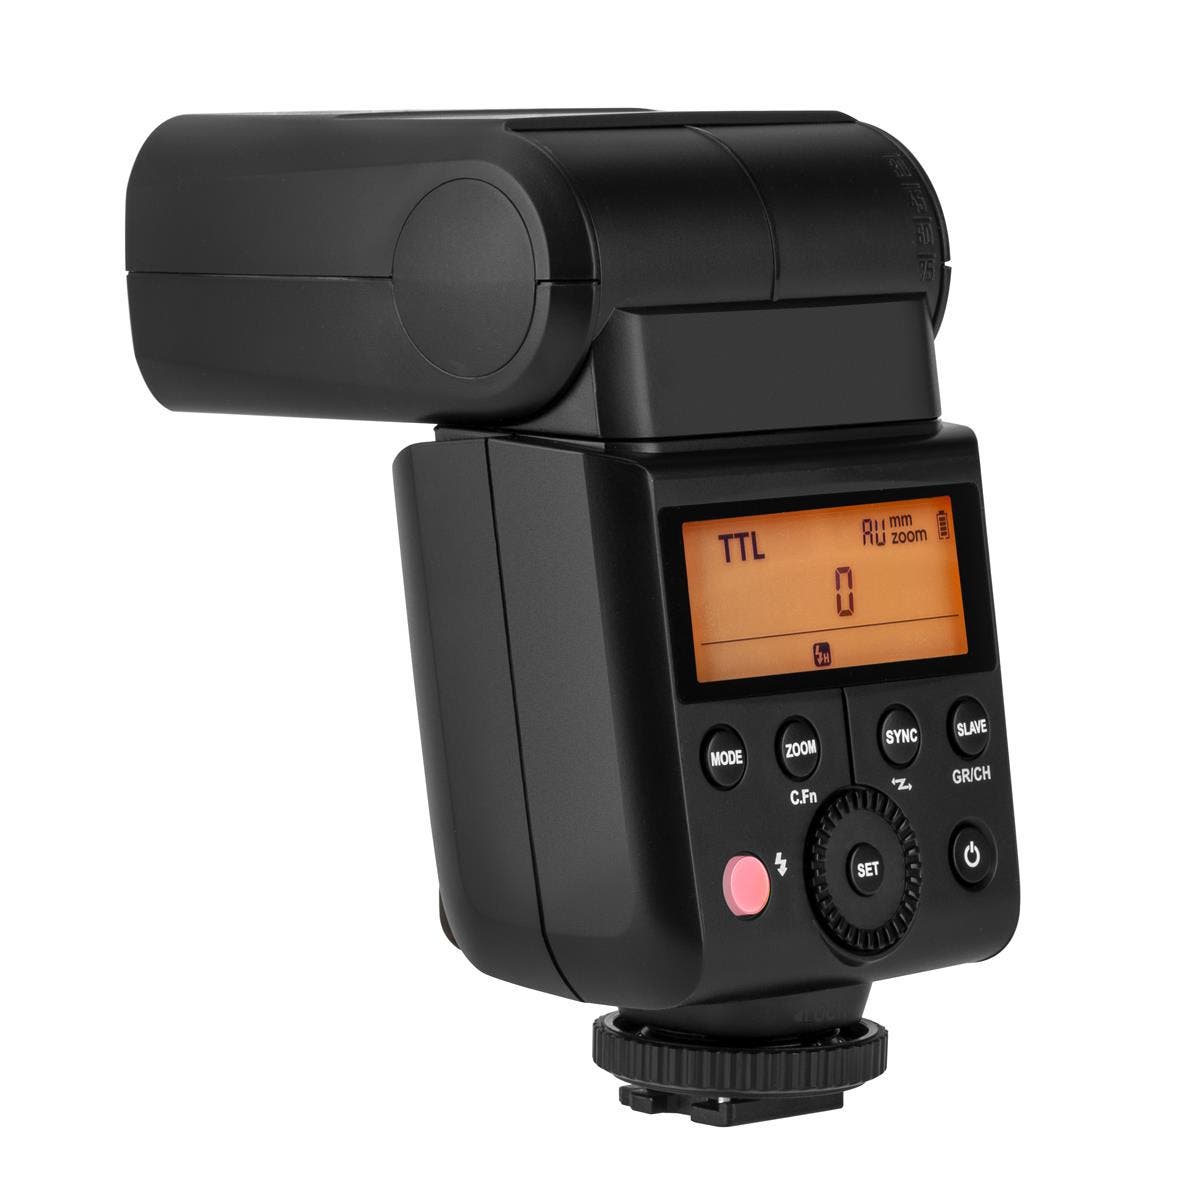
This piece of macro photography gear might be new for you. If it is, allow me to calm your nerves. Using a flash for macro — especially of live insects or spiders — is an absolute game changer. It will let you reduce shutter speeds, guarantee ample light, and illuminate the smallest details. While I prefer manual mode, you can start with TTL (through the lens) metering to automatically adjust flash power from shot to shot.
Also, you don’t need a specialty macro flash. Almost any shoe-mounted speedlight can work great for macro. I love the Flashpoint Zoom-Mini (TT350) for its affordable price, simple operability, and small size. It takes just two AA batteries which can be easily swapped for a fresh set while in the field. If you prefer a rechargeable Li-Ion battery or need slightly faster recycle times, step up to the Flashpoint Zoom Li-ion Mini V350.
Diffuser
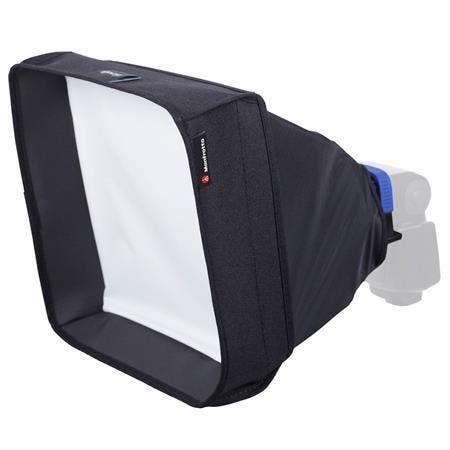
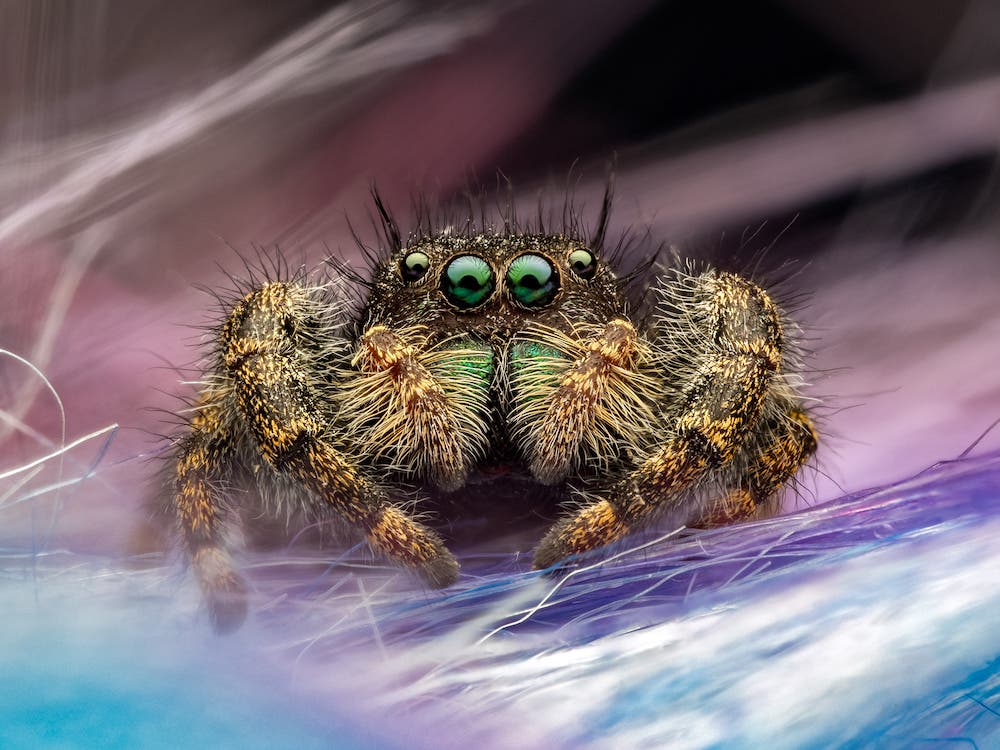
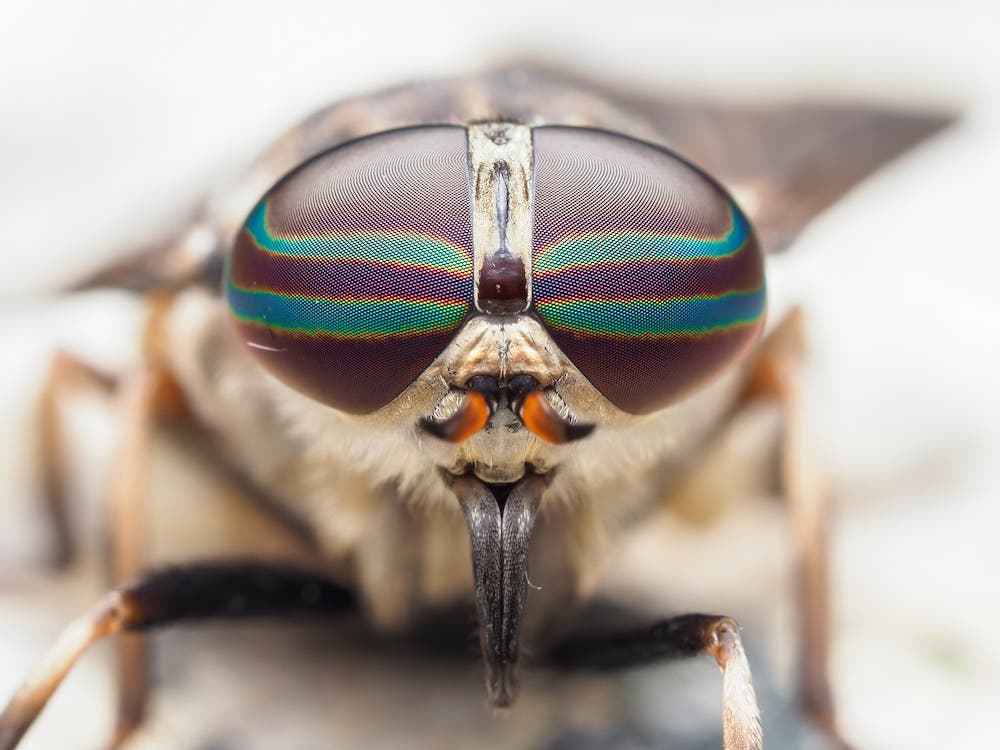
The final essential item for creating beautiful macro photography is a diffuser. By adding a layer of diffusion between my flash and subject, I can soften and spread the flash’s light so I don’t get unsightly hotspots or overly darkened areas of shadow. This is particularly important when working with highly reflective bits like beetles’ shells or jumping spiders’ eyes.
Finding the perfect diffusion solution is a personal and never-ending quest. Many macro shooters (myself included) enjoy experimenting with different materials to build their own DIY diffusers. While it can be fun to customize the look of your photography with a personalized setup, I recommend starting with a basic softbox diffuser that affixes to your flash. This simple accessory will help improve results.
Additional Gear
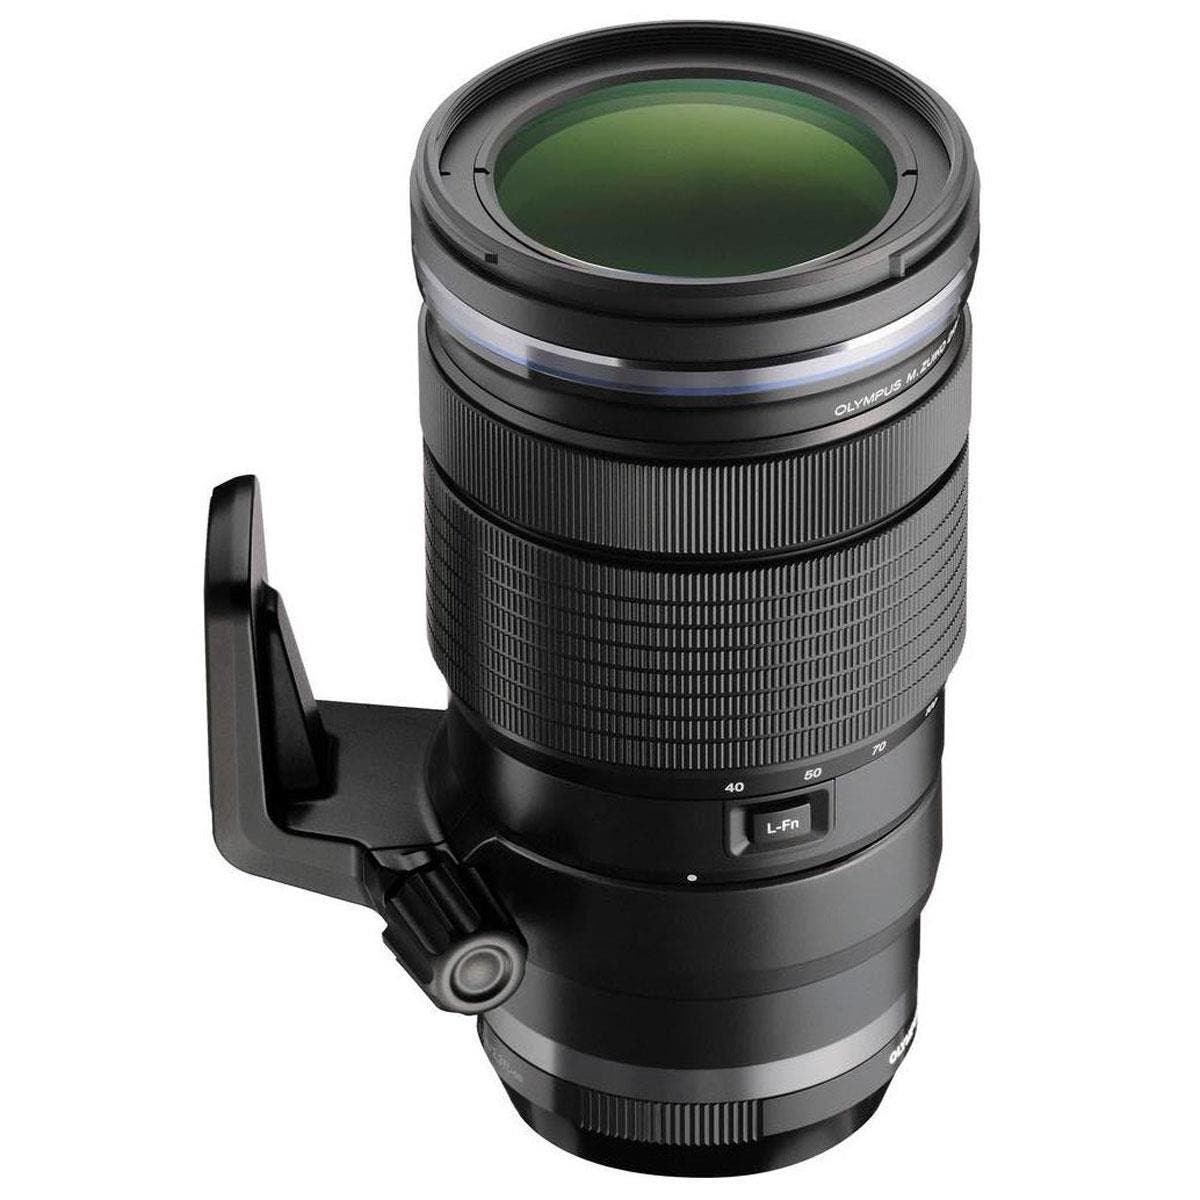
The macro photography gear I’ve listed to this point are all you need to get started with macro. If you’re looking for some bonus items, consider a close-focusing telephoto lens, a small flashlight or headlamp, or some colorful props. With a focusing distance of under two and a half feet, the Olympus M. Zuiko Digital ED 40-150mm F2.8 Pro Lens is awesome for longer-range pseudo-macro shots of dragonflies or butterflies.
Flashlights or headlamps are helpful to locate small critters when lighting is poor (and critical when shooting at night). You can even use a rubber band to attach a tiny LED light to your flash to work as a modeling light. Finally, remember to stay creative with props. Try holding a flower, leaf, or sheet of colored construction paper behind your subject to bring a pop of color to the scene. My favorite prop is a fuzzy pom-pom for jumping spider portraits.