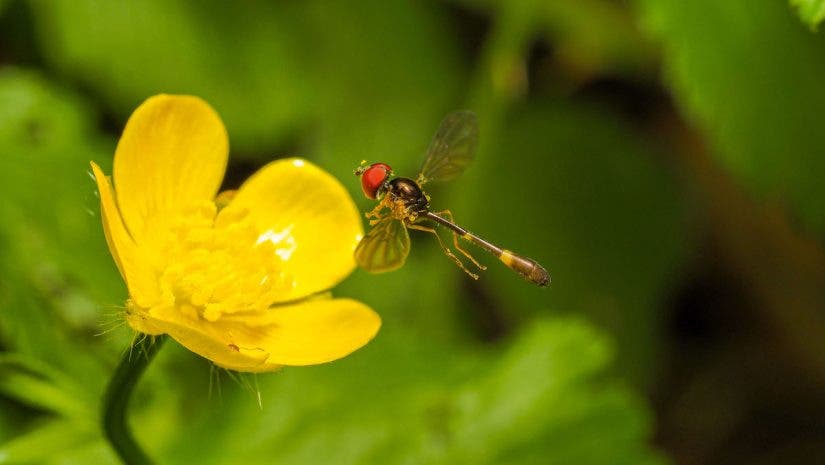
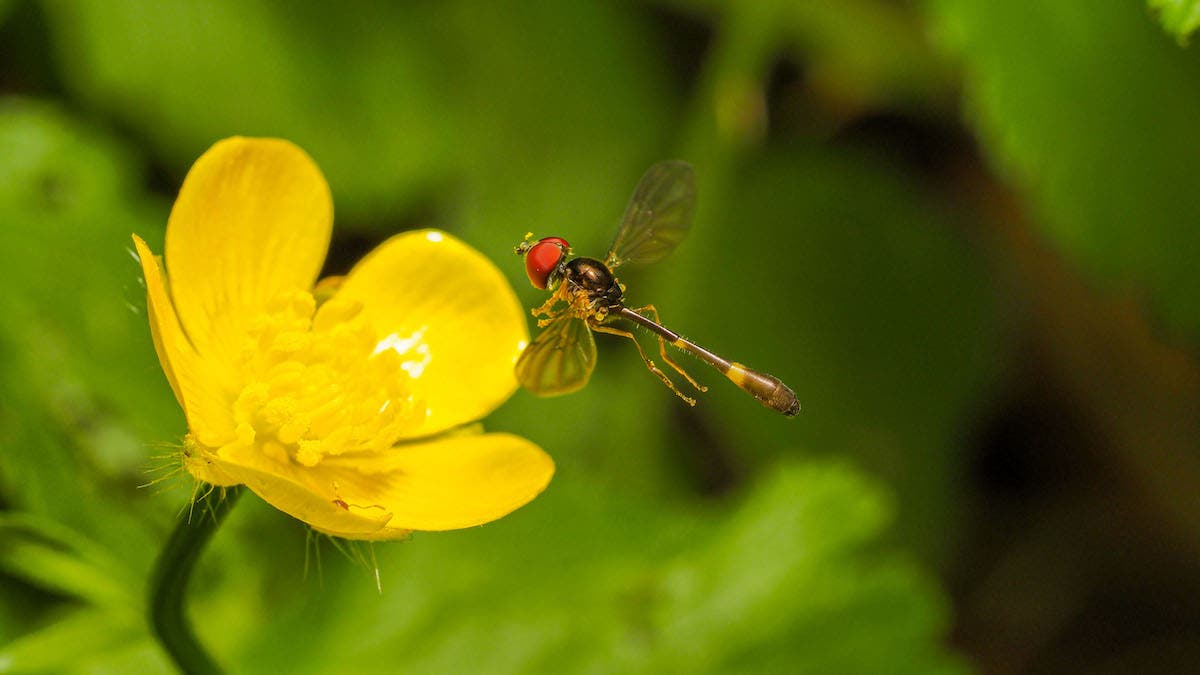
The closer you look, the more you’ll see. That simple truth is what makes macro photography so appealing to me. The best part is, you don’t even have to travel very far to enter this amazing, alien world. A garden, backyard or park is the perfect place to explore the tiny world of macro bug photography. Check out this guide to garden photography using a macro lens and accessories.
Macro Photography Gear for Garden Photography
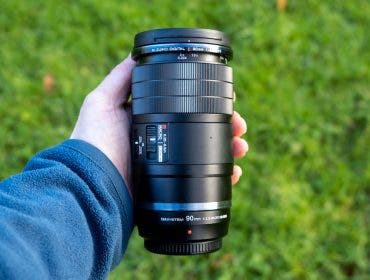
Your macro journey all starts with the lens. With so many true macro lenses to choose from, how do you decide which to get? Well, for starters, make sure it can do 1:1 or life-size images. That’s the secret to focusing super close. Next, look at the lens focal length measure in millimeters. More millimeters means you get the same magnification but at a longer distance. If you also find a macro lens with a manual focusing ring, it’s well worth it.
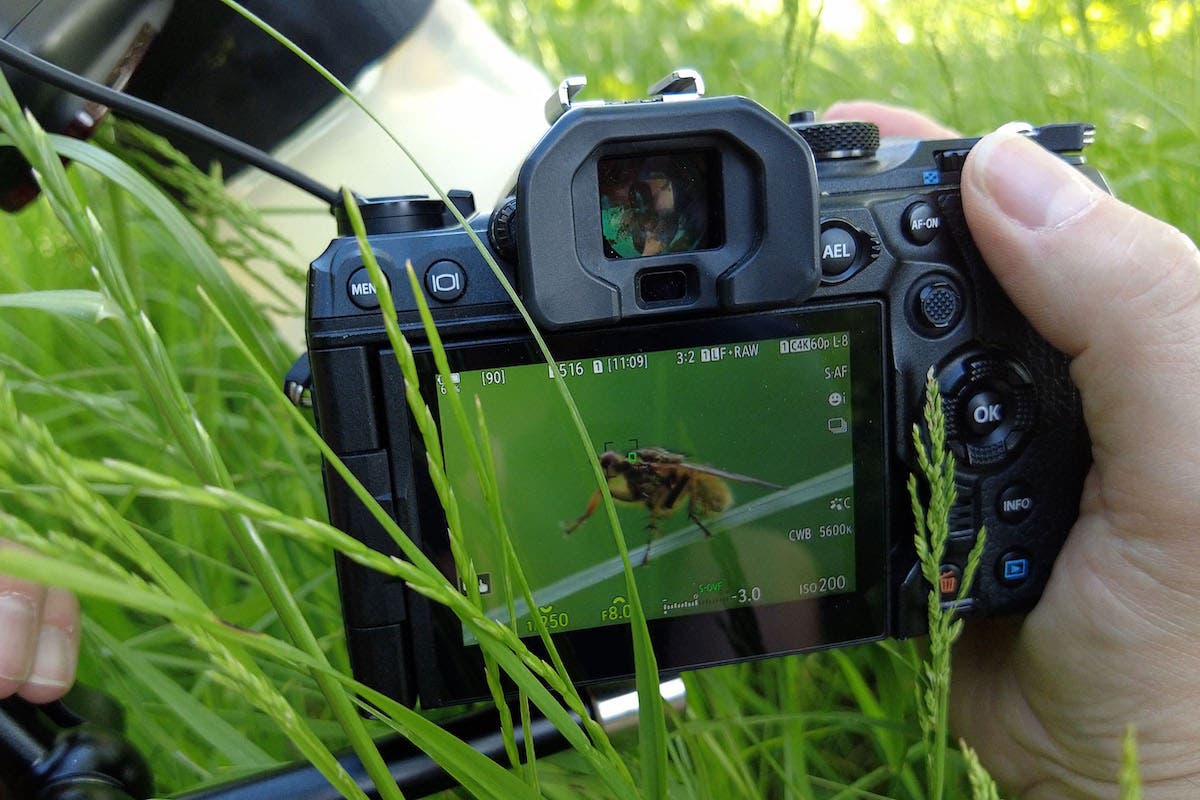
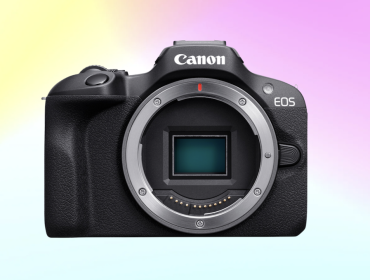
My camera body of choice for macro work is the OM System OM-1. It has all the essentials I need for close-up photography, including a great articulating screen since macro subjects are rarely at eye height. It also has fantastic in-body image stabilization. This feature is essential for the handheld macro shots that I take.
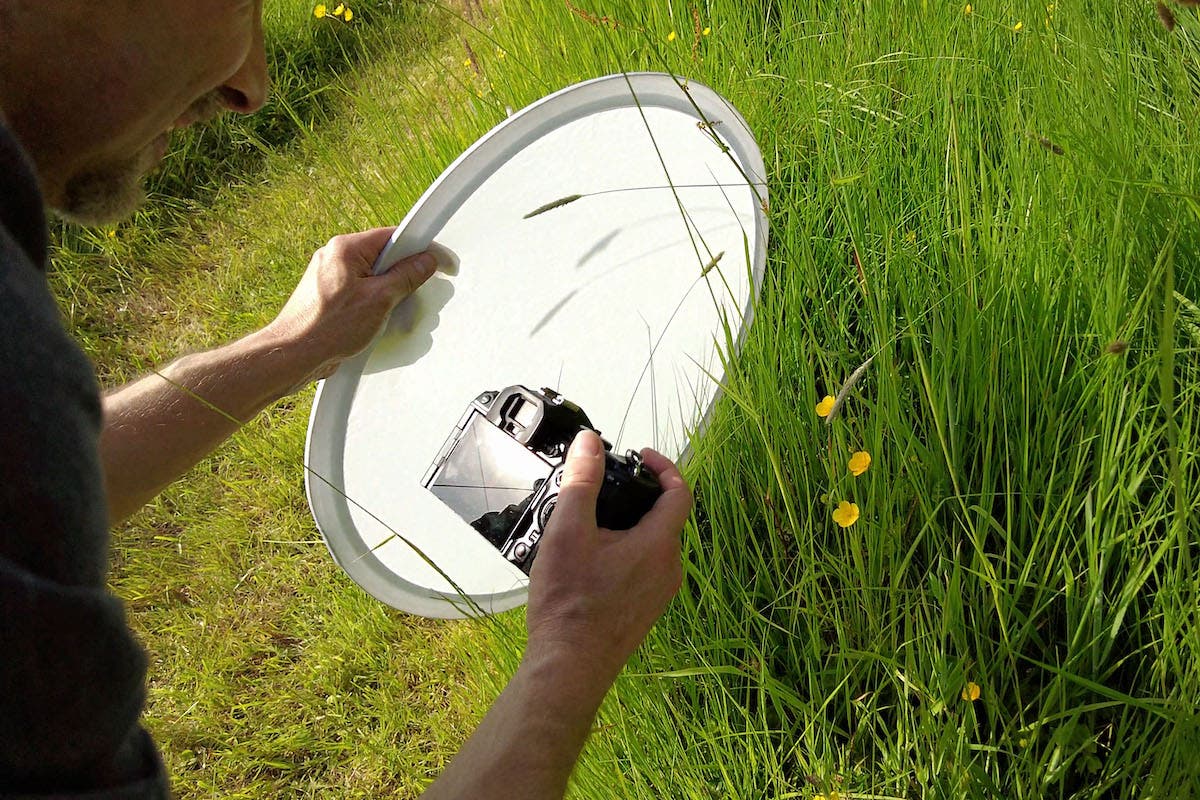
Light is next on your list of essential items. You can make your own (more on that shortly) or make use of the sun. But just like portraits of people, portraits of bugs in harsh sunlight rarely look good. You can wait for a cloudy day or use a tiny pop-up diffuser. For example, this Glow 18” diffuser with a handle is the perfect partner for a macro photographer.
For me, flash is the best choice of lighting. In some situations, it can help make your photos sharper by reducing motion blur. Although there are flashes specifically for macro work, I prefer the ease, familiarity, and price of a manual speedlight. If you need more control, a dedicated TTL speedlight is the way to go.
Flash is a lot more limiting, especially the manual speedlight that I use. Its direction and power are set to a point just a few inches in front of my macro lens, so anything beyond that will be underexposed. The advantage is consistency of exposure, handy when you need to focus stack multiple images into one (more on that later).
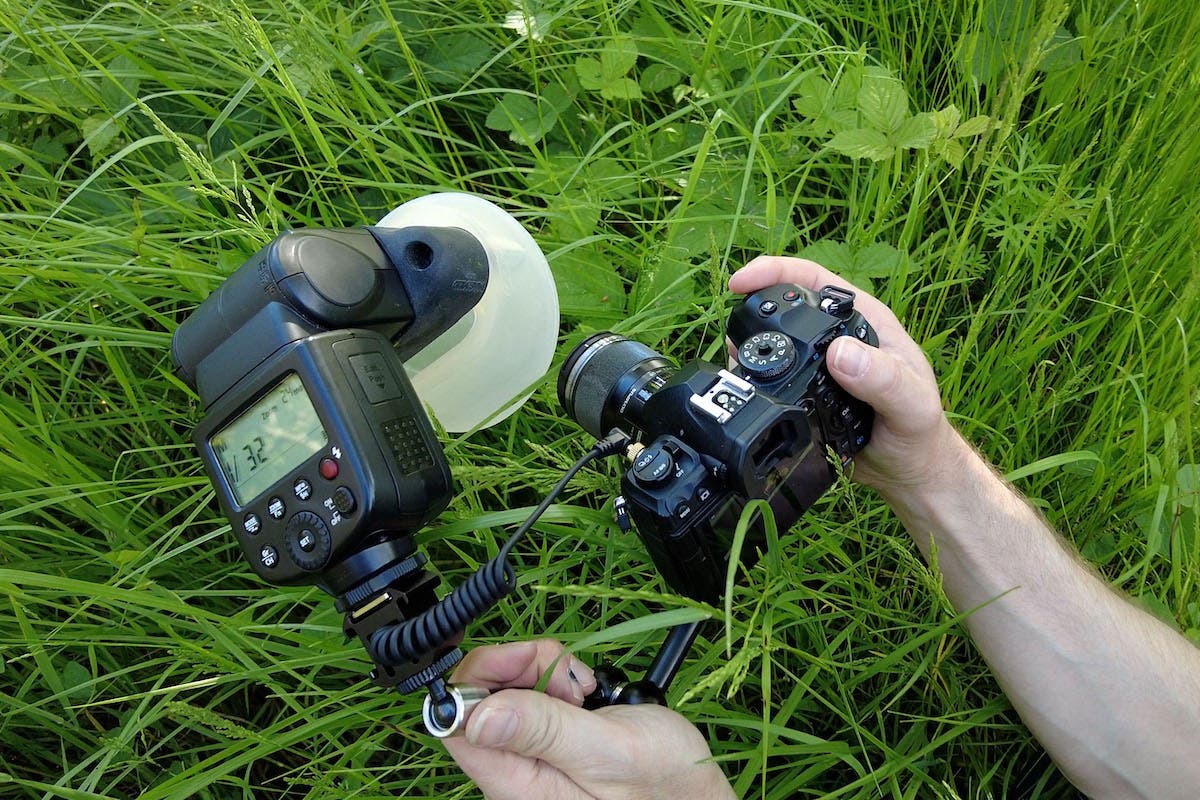
Although a bare speedlight can work, I use a diffuser from Magmod to give a larger catch light. It’s not designed for macro work but, being squashy, it’s actually surprisingly durable and effective. There are also a lot of specialist macro flash options on the market. Personally, I’d avoid the classic “ring flash” as it’s all-around light lacks the direction I love. But if you really get into your macro, then close-up lighting is an area that’s full of options.
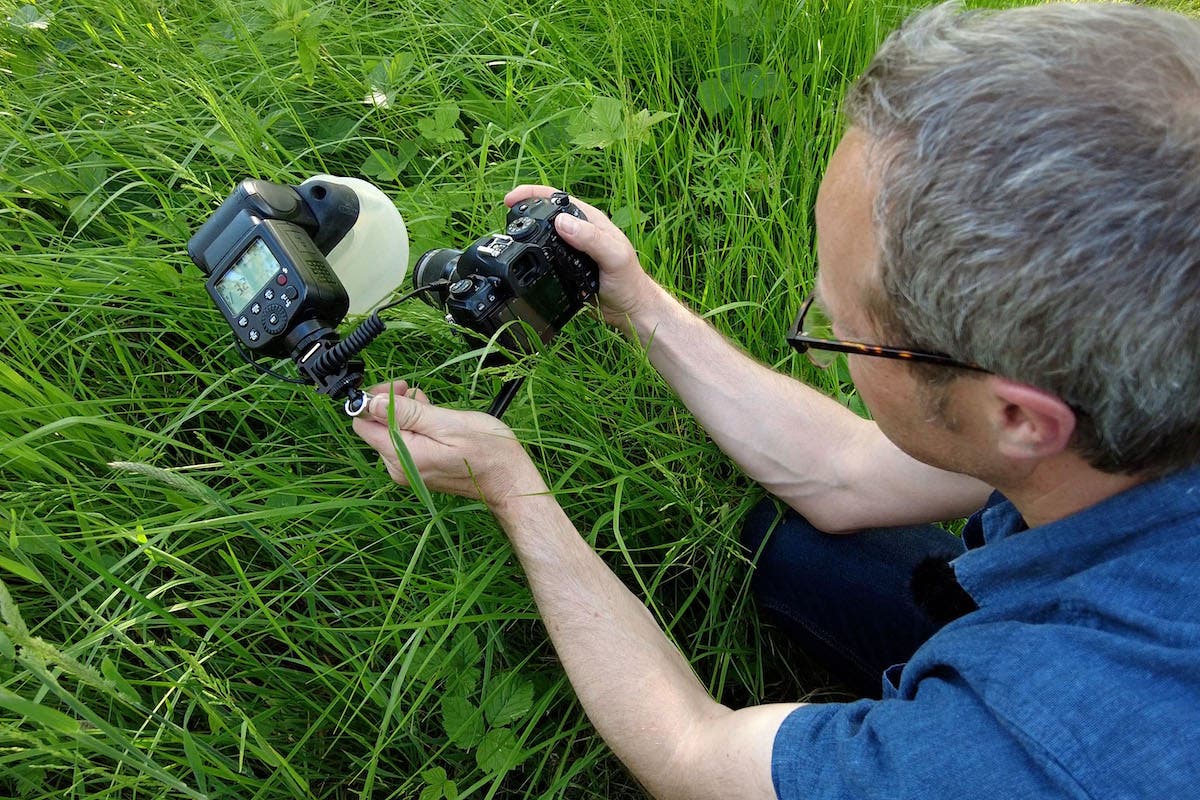
While you can mount your speedlight directly to the camera’s hot shoe, I prefer to add some direction to my light by using off-camera flash. A SmallRig Magic Arm with a cold shoe adaptor works wonders. As both my OM-1 camera and Flashpoint manual flash have a PC-Sync port, a short cable is all I need to connect the two together.
Need to get even closer? Extension tubes fit between the macro lens and camera body. The extra distance equates to extra magnification. Sounds good, right? The down side is a loss of light and greater camera shake, so choosing a set that maintains the electronic communication between your camera and the lens is essential.
When, Where, and What to Look for in Your Garden
There are macro subjects everywhere — from the coins in your pocket to flowers in a garden. There are always some amazing details to be discovered. But I have a fascination for macro wildlife and insects being cold-blooded, therefore summer’s warmer weather is my prime photo opportunity.
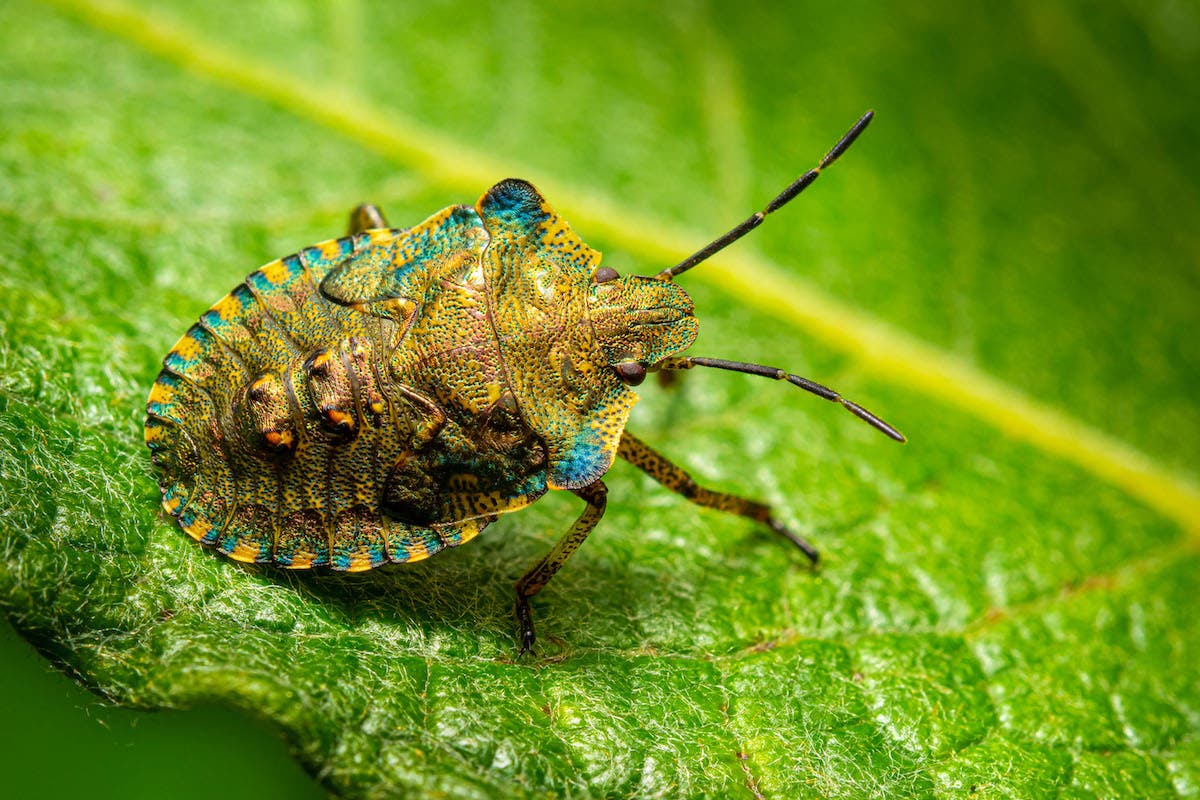
As the day warms up, so does the amount of insect activity. Having a lot of insects around means plenty of photo opportunities and, while that might seem like the best time of day to go on a bug hunt, just like taking people portraits in the midday sun isn’t a smart move, making great insect portraits is equally challenging. If you’re up early, mornings offer some unique photo opportunities. The insects are often much slower as they are yet to warm up and, if you’re really lucky with the weather, early morning dewdrops on insects look amazing.
Flying insects are easy to spot but they’re not the only subjects. Spiders are one of my personal favorite bugs to photograph. They come in a wide variety of sizes and colors, and can be found in almost any habitat. They are mostly a camera-shy creature hiding out of sight but, fortunately, once you spot one, they tend to stay in one place.
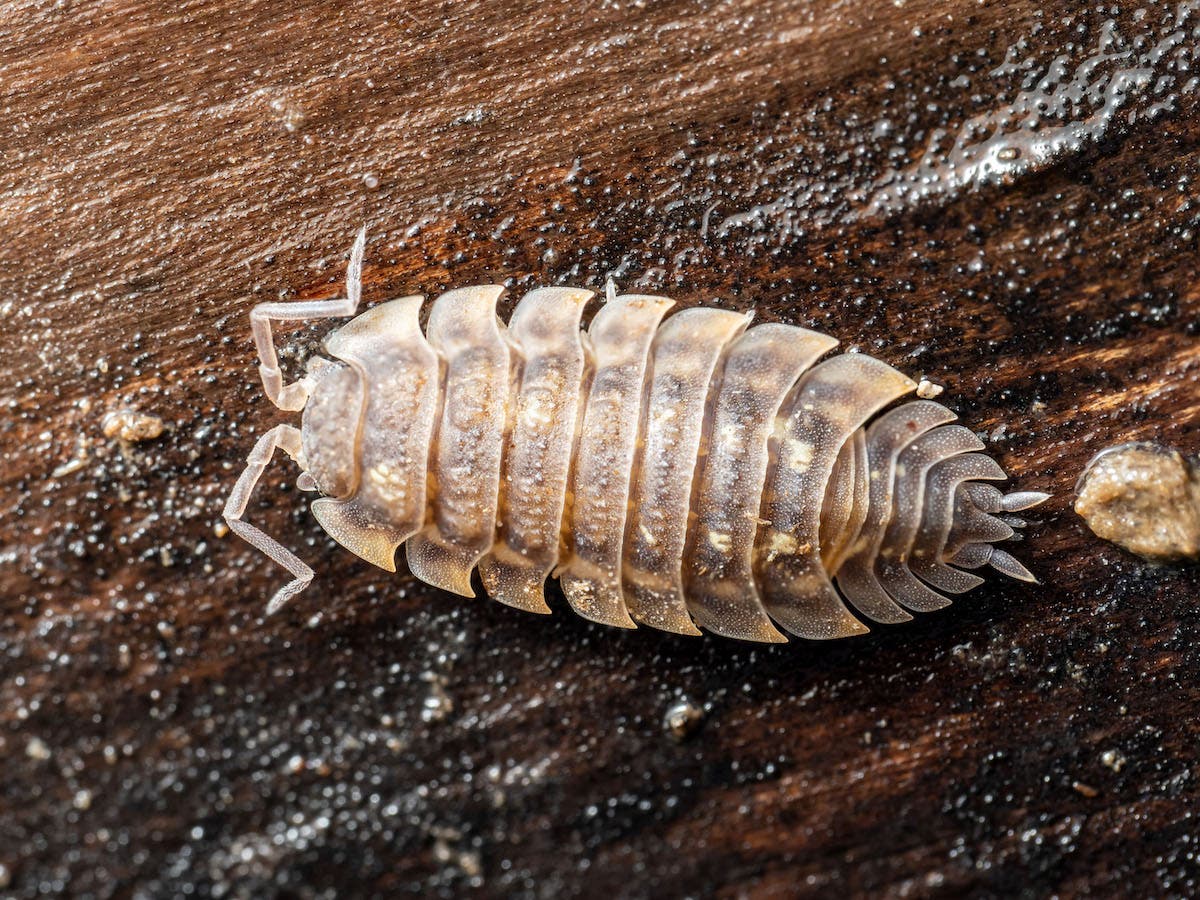
Carefully lift a piece of dead wood (and carefully return as you found it afterwards) and you’ll find invertebrates like woodlouse underneath. Their incredible armoured bodies really become visible when you get a super close macro photo.
Ants are another one of my unsung heroes for some macro garden photography. They’re usually completely oblivious to me and my camera as they go about their business. These tiny, hard working creatures are always busy either foraging along the floor, or in our garden farming aphids. Incredibly, the ants will herd the aphids to the best plants, protect them from predators, and harvest the sweet secretions the aphids produce.
One thing seems almost universal in my garden. The best insects are found on the plants that have spikes or stings. So, at this point, it’s worth mentioning bug spray, sun screen and appropriate clothing are usually required.
Camera Settings for Macro Garden Photography
A sharp photo is the first building block of all macro garden photography. With macro work, camera shake is usually the prime cause of blur. If you’re using ambient light, you can set a fast shutter speed to reduce camera shake. Although, you’ll need to balance that by increasing your ISO to maintain good exposure. If flash is your light source of choice then you’ll likely be working at your camera’s flash sync shutter speed. Either way, there’s no magic setting. Trial and error is the best way to learn.
Depth of field reduces as you get closer to your subject and, in the case of macro garden photography, you’re always going to be very close. This is where aperture comes into the mix. The bigger the f number, the bigger the area of acceptably sharp focus. You might think f/22 is the place to go — but it’s not!
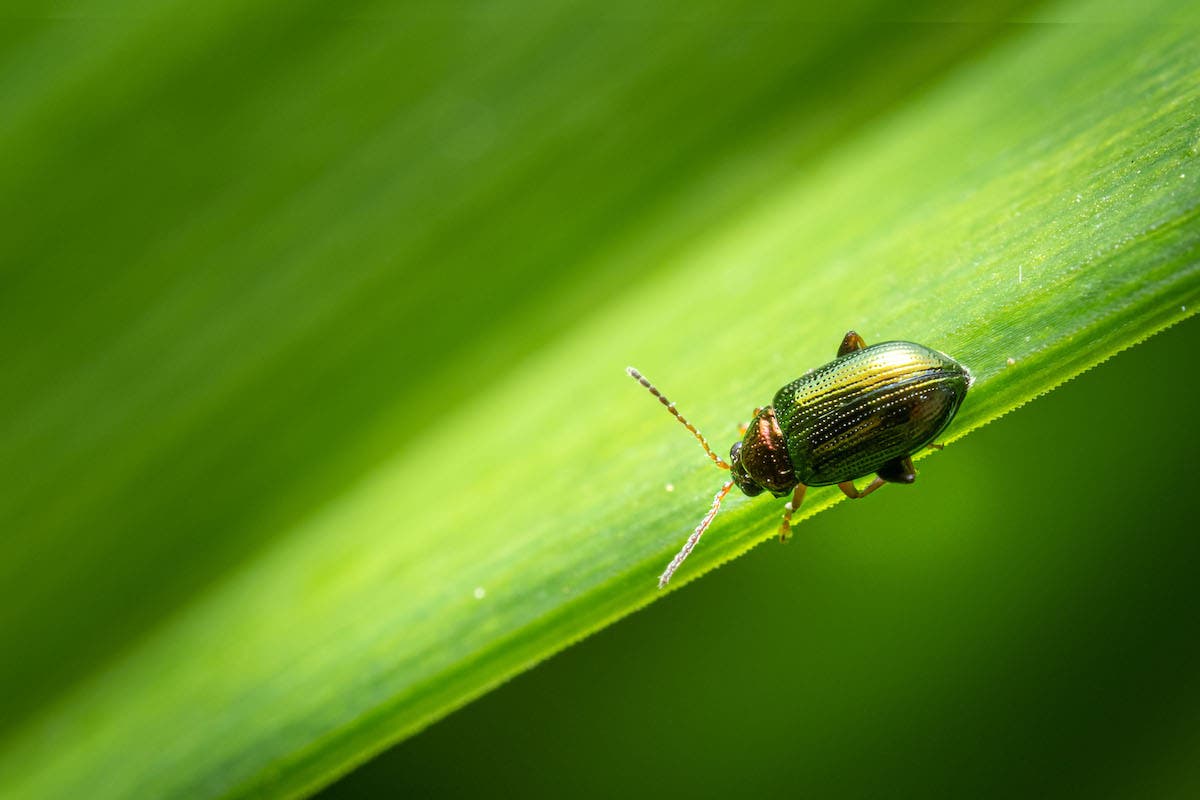
Diffraction is a complex subject but, at a practical level, it means your images get softer passes a certain aperture. In my case, if I use apertures of f/11 or smaller, my macro images are noticeably soft. It’s worth testing your own camera and lens at different apertures to find the diffraction point for your kit and comfort level.
Focusing (and Focus Stacking)
When I’m photographing people, my focus point is always on their eyes. This is exactly the same with macro bugs. Compound eyes fascinate me and, to get them sharp, I use the smallest AF point possible. If the subject is moving, I’ll use continuous AF but keeping that tiny AF point on, say, an ant’s eye is almost impossible. Therefore, I also use sequential shooting and fire off a burst of three or more photos at a time.
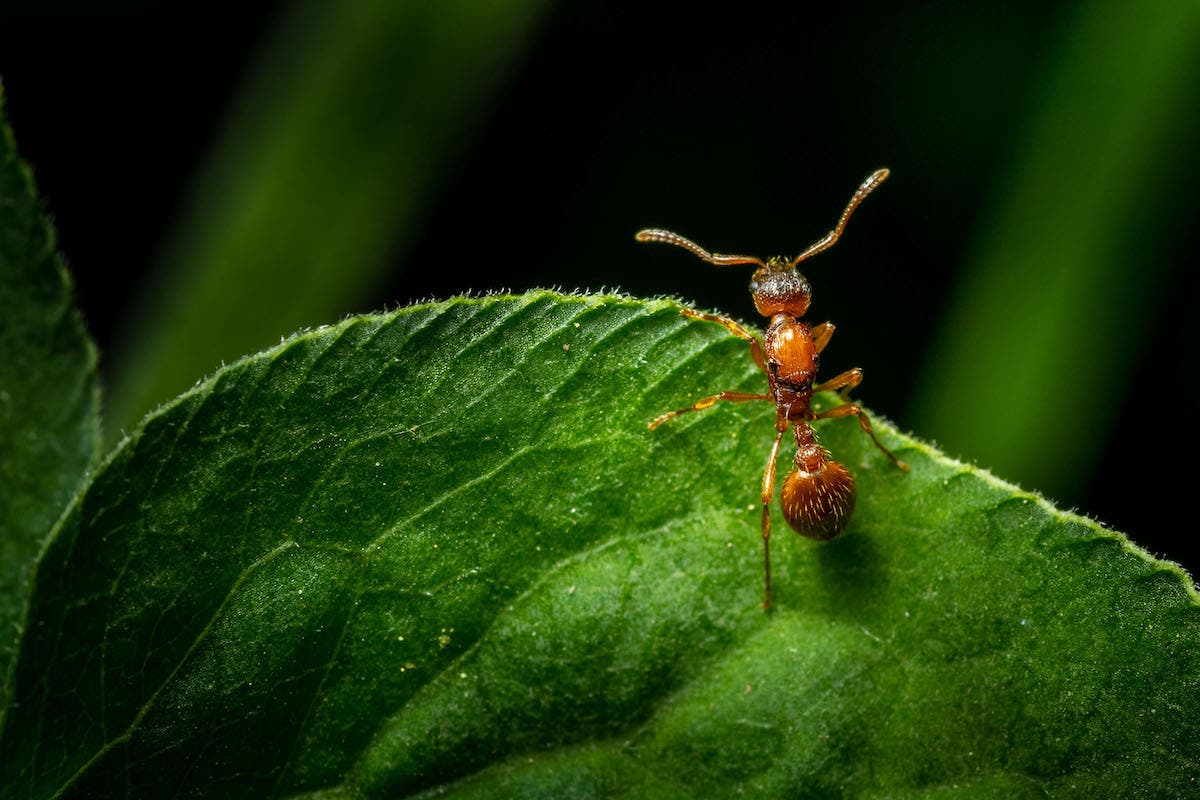
At full macro, I often use manual focus to avoid focus hunting and keep the maximum magnification. Tiny shakes of my hands often make a sizable difference to what’s in focus. Although it means I miss more photos than I hit, often those missed shots can be invaluable for focus stacking — something that my OM-1 can do in camera, but I prefer to do in Photoshop.
An insect in full sun doesn’t look good, but cast a shadow over it and it’s probably gone! That’s what happens most of the time but, if it doesn’t disappear instantly, my technique is to start at a distance and move closer taking photos as I go. This is where using daylight as your light source is ideal as your camera can quickly change its exposure to match the scene.
Tips for Macro Garden Photography
Know When to Back Up
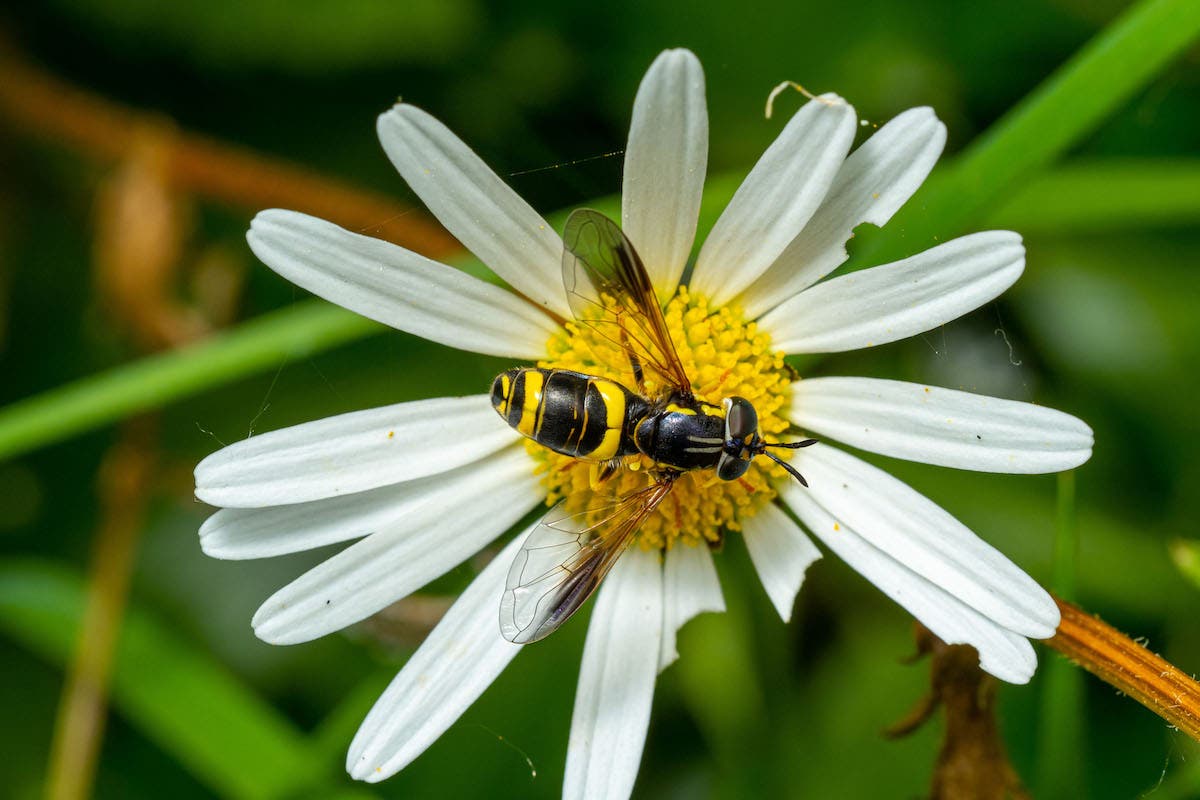
The level of detail you can get with macro photography never ceases to amaze me. Who’d have thought that annoying fly in your office is such a complex organism? But remember to back off occasionally. Some of my favourite macro photos are not technically macro. A close up photo showing your subject in their environment can be equally stunning.
Research Your Subject(s)
Knowing a little about your subject goes a long way. Basically, is it a flight or fight kind of creature? Just like us, insects have a comfort zone. Go too close and their fight or flight instinct will kick in. The art is to take your time, move slowly, and remember it’s only a photo so don’t risk you, your gear, or your subject.
Try an Extension Tube
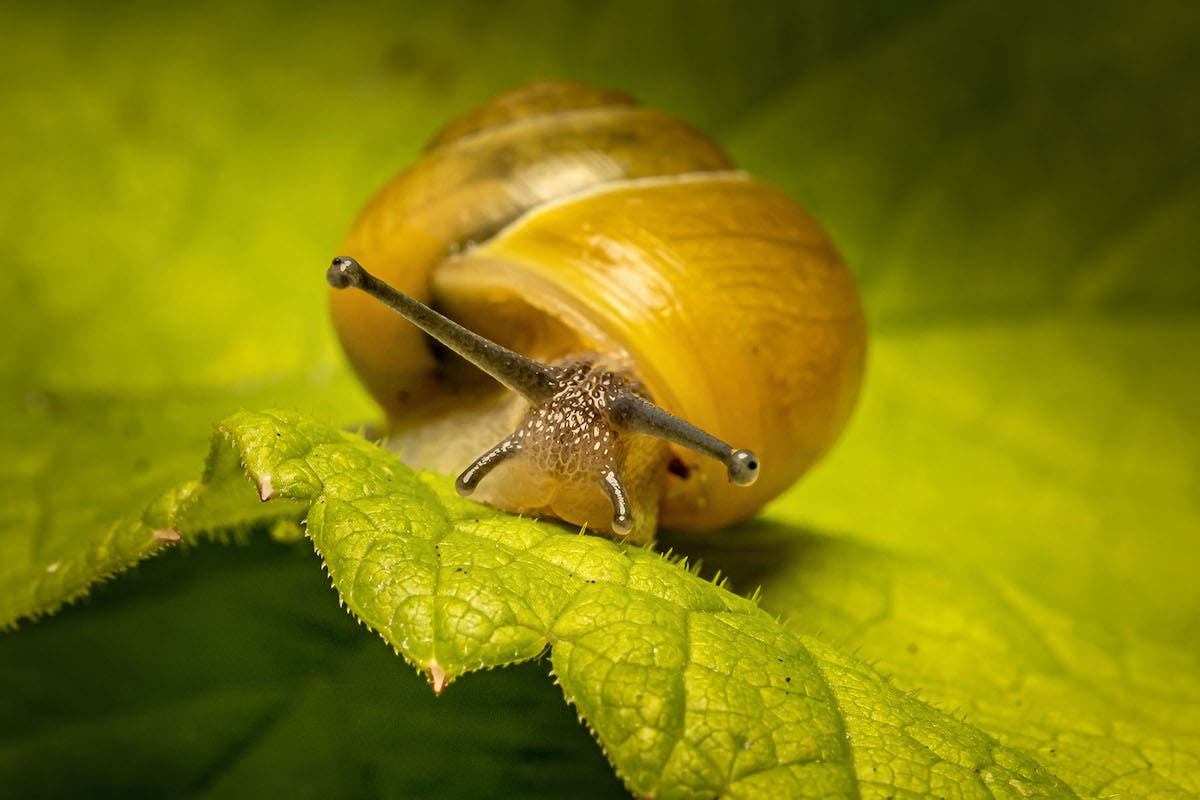
A set of extension tubes can turn a kit lens into a macro lens and a macro lens into a microscope. They’re cheap and they work — what’s not to love? Well, there’s the trade-off in lost light. Also, they’ll seriously affect your cameras auto focus range. But that’s all part of the learning curve and extension tubes should be in every macro photographer camera bag.
Try a Close-Up Filter
If you just want to put your toe in the water of macro, then close-up filters are worth a look. These screw onto the front of your lens and allow you to focus closer. You won’t get the same magnification as a macro lens, and the quality of your images towards the edges will take a hit, but for not a lot of money, it’s a new way to use the kit you already have.
Macro photography allowed me to discover a hidden world that I’d been almost unaware of. In its own tiny way birth, death and work are all playing out in every tree, pond or garden. All you have to do is pick up your camera and find it.
