As a nature photographer, you mostly rely on natural light. But sunlight is unpredictable even when the forecast says good weather. After a short summer shower, imagine photographing mushrooms in a deep, dark forest. Or following a tiny bug that insists on staying in the shade of a leaf. Furthermore, nature is particularly beautiful during golden and blue hours and even at night. Wildlife is also often active at this time of the day, providing more opportunities for unique photographs. So read along to find out the best tips for taking great photos in low light conditions and taking your nature photography to the next level.
Shoot in RAW Format
If your camera allows it, use the RAW format when photographing in low light conditions. It helps you capture details otherwise invisible (especially in the darker areas), create a wide dynamic range, and edit your photos more extensively (including white balance adjustments). Shooting in RAW format also helps you capture accurate colors and improves the clarity and contrast of your compositions. Although it takes a toll on the memory card, shooting in RAW is the most efficient way to produce beautiful low-light nature photographs.
Master Exposure Settings
As you know, aperture, shutter speed, and ISO are the settings responsible for getting the right exposure. While you can let the camera decide when shooting in ideal light conditions, you may want to set the camera in manual mode and take control over these three settings when shooting in low light conditions.
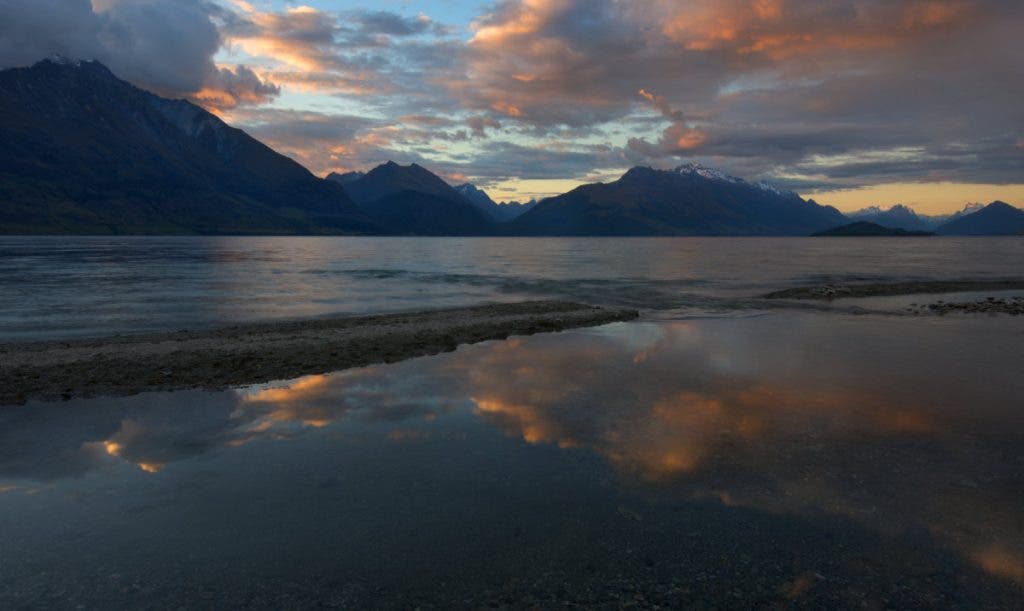
Low Light Landscape photography
For landscape photography, you can keep the ISO low in most cases, as shutter speed is not crucial in many scenarios. With many compositions, there are no moving parts in the frame, and as long as you use a tripod, you can keep the ISO low and just use a slower shutter speed.
Low Light Wildlife Photography
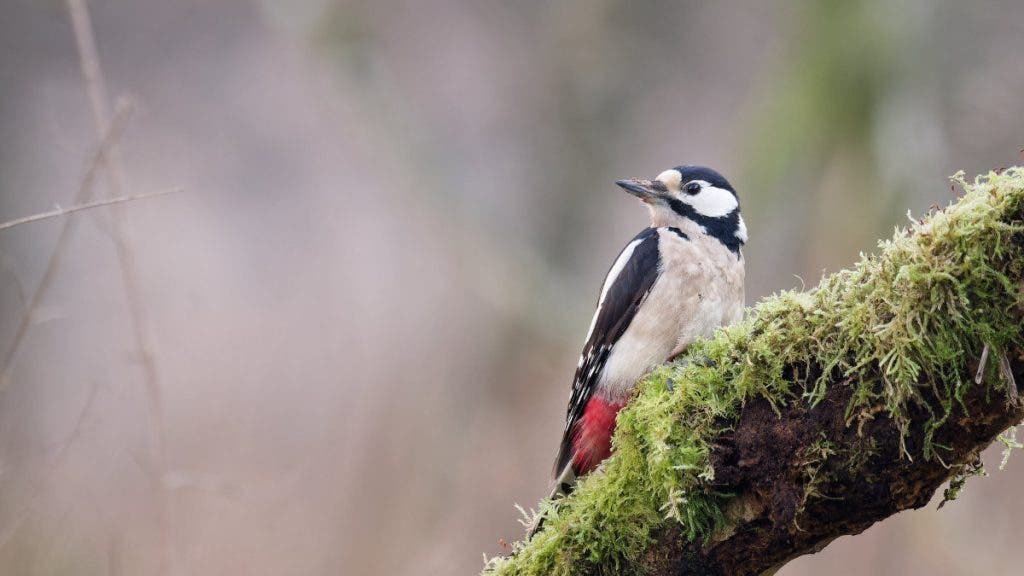
For wildlife photography, your settings are often a bit more fixed. You cannot change the aperture because you need all the depth of field you can get. Of course, you need to keep the shutter speed high to avoid motion blur. This makes using a higher ISO your best, if not only, option.
Many professional photographers use a technique where they try to lower the ISO gradually. Here’s how it works. Set your camera to use Auto-ISO. First, take a safe shot with the shutter speed (i.e., 1/800s); you need to be sure to get the shot. This will likely give you quite a high ISO, like 6,400. Once you have your safe shots with no movement blur, gradually use longer and longer shutter speeds. In turn, because of the extra light hitting the sensor, the Auto-ISO adjusts the ISO to a lower and lower ISO. Your keeper rate will go down, but if you shoot in bursts, you can still get a sharp image at 1/100s and an ISO of 800 if the subject isn’t moving too much. ISO 800 isn’t bad at all, given the circumstances.
Low Light Macro Photography
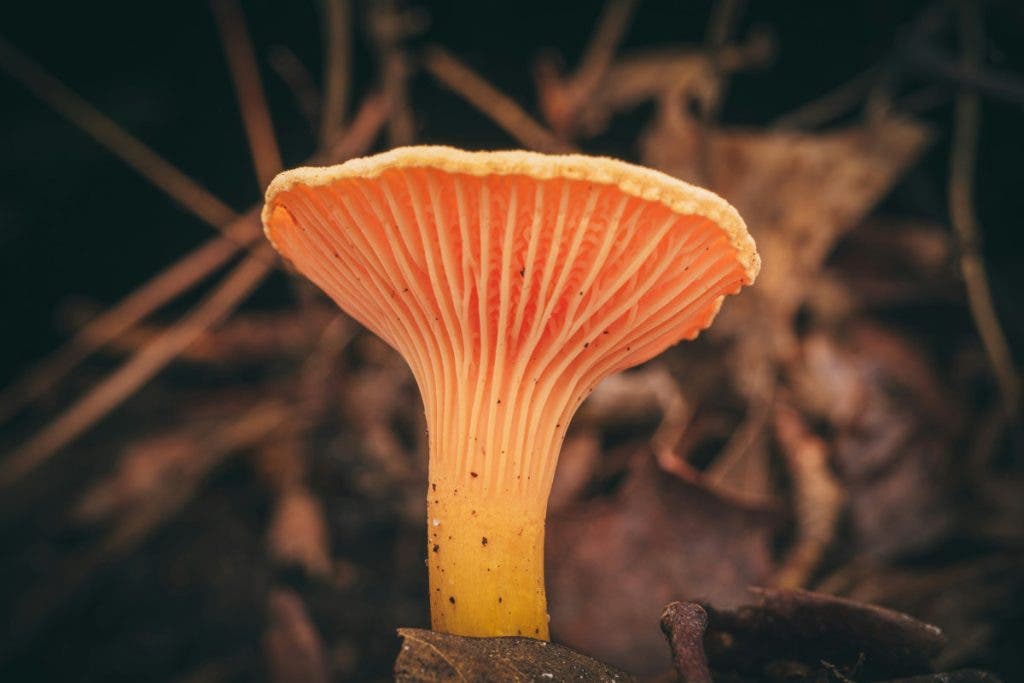
You can easily add a flash for macro photography because the entire composition is a very small area close to the lens that is easily lit by a macro flash. This means that you don’t have to worry about shutter speed, as the light from the flash will freeze any motion. When you use a flash in macro photography, your biggest worries are focusing, getting the depth of field right, and making the flash look natural.
You may need to increase the ISO value regardless of the other two settings if you have very little light.
If you aren’t sure about the exposure, check the histogram on your camera’s LCD. It’s a more precise measurement than evaluating the image with the naked eye. But remember that with a dark scene, it is okay that most of the histogram is a bit to the left side, which represents the shadow tones. If you force it to peak to the right, you will brighten up the shadows too much, making them gray, and get the wrong exposure. Focus on getting the subject as bright as you need it, not the entire scene.
Keep an Eye on the ISO
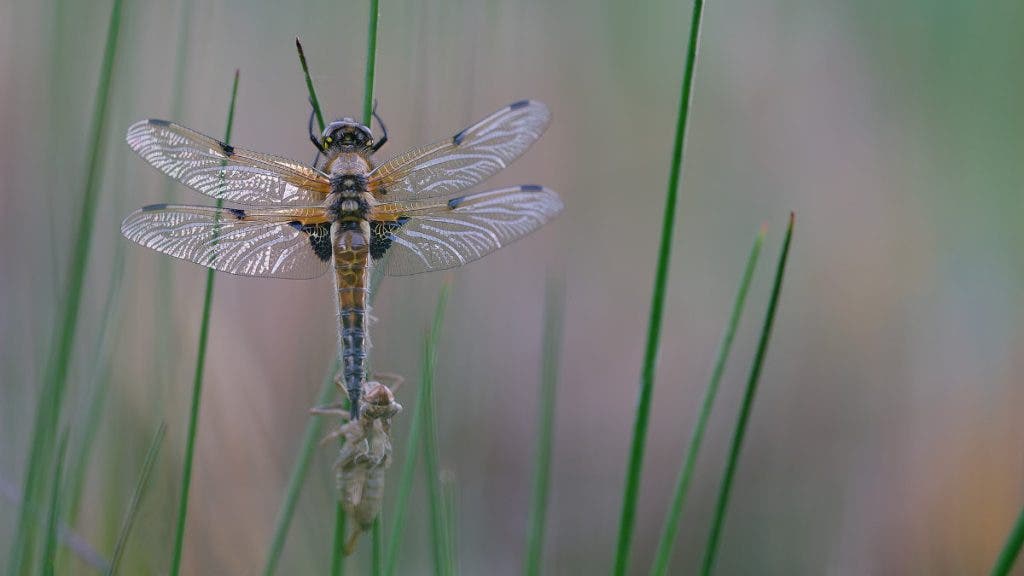
Speaking of ISO, although it is extremely helpful in low light conditions, it comes with a drawback. High ISO values add what is called ISO noise, a grainy effect that reduces the clarity of your images.
Therefore, verify how high your camera can go regarding the ISO values without adding noise.
As a rule, try to keep the ISO value at the minimum value that offers the brightness you need. Modern photo editing software is amazing at reducing ISO noise. So don’t be afraid to let the ISO get a bit higher if you absolutely need to. However, you still need to keep an eye on it, as you lose a bit of detail in high ISO images.
Focus Manually
Similar to exposure settings, focus requires more attention than usual when shooting in low light. It’s very easy to miss focus as some cameras and lenses don’t focus as well in low-light scenes. So, you might want to focus manually. This is useful for both macro and landscape photography.
If you aren’t sure about the focus, enlarge the image on your camera’s LCD to 100% when previewing. Also, take more than one photo of the same scenery to increase your chances.
Try Long Exposures for Landscape Photography
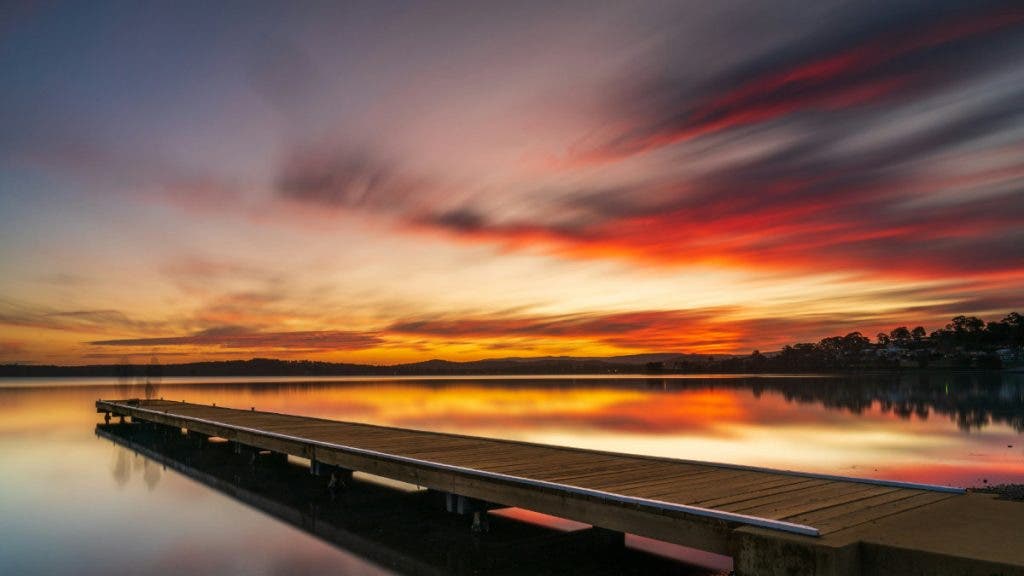
Nature and low light conditions often translate into long exposures. That’s because long exposures capture movement (e.g., a waterfall, clouds passing by, etc.) and produce a soft, natural-looking image. By slowing down the shutter speed, you increase the luminosity without needing to increase ISO (thus, less noise) or use a wide aperture (thus, a deeper depth of field).
Don’t ever try long exposures without stabilizing the camera first. You will need a sturdy tripod for nature photography, capable of stabilizing the camera on any terrain, resistant to rain, dust, mud, and snow, and able to sustain a heavy load.
Gear for Low Light Nature Photography
Although you can use any gear to take nature photographs, a few items will make your life easier and your photographs more color-rich, clear, and natural-looking. So, if you haven’t yet completed your gear set, here is what to add.
Large Sensor Camera
A camera with a large sensor, such as a DSLR or mirrorless full-frame camera, will most likely perform well in low-light conditions and record more detail than any other camera. Furthermore, most of them support RAW shooting, provide built-in image stabilization, and feature a wide dynamic range. Nikon Z 6II, for example, features a 100 to 51200 ISO range.
Fast Lenses
A fast lens is a lens with a wide maximum aperture, such as f/1.8. It is called fast because it provides a wide aperture that allows you to use faster shutter speeds. A fast lens creates a narrow depth of field, which is ideal for making your subject stand out. Choose a prime 50mm lens for natural perspectives and endless creative possibilities. Canon EF 50mm f/1.8 STM features a minimum focusing distance of just 1.15 ft. (0.35m), allowing you to take close-ups and environmental shots.
Tripod
A tripod for nature photography should be light, versatile, and resistant. Go for aluminum or carbon ones, with a high enough load capacity to support your camera and lens, made of 2, 3, or 4 sections to make sure they are stable enough and give you the height you need. Look for a central column, too, because you can hang some weight there for extra stability (e.g., your backpack). Manfrotto 055 is a good choice because it is made of carbon fiber, includes a horizontal column, resists extreme conditions, and supports up to 44.1 lbs (20kg).
Flash
Direct flash may be too harsh and artificial for nature photography. Therefore it is important to use a diffuser on your built-in flash or an external flash unit. Furthermore, the powerful burst of light may create strange reflections. A diffuser will soften the light and create a more natural-looking light that complements rather than overpowers sunlight. If you prefer macro photography, go for a ring flash, such as Nissin MF18, because it attaches to the front of the lens and doesn’t cast a shadow over your subject.
Continuous LED Lights
A photo setup with continuous light sources is suited when you get to prepare the photo session’s location. For example, you can arrange a spot in your garden or nearby forest and photograph subjects that happen to be in that area. You also get to see the effect of the light before taking the shot. The Aputure MC RGBWW Mini LED light may be all you need.
Conclusion
You should get used to nature photography in low light conditions as soon as possible. It’s a skill you can use often. Once you’ve mastered using the camera in manual mode and manual focus and put together a minimum gear set, you are good to go. Take advantage of the subtle change in nature, embrace shadows and highlights, and soften the tone of your compositions. Remember, the best light is at the edge of the day when the Sun is low in the sky and light begins to fade.
