
A common thing I have noticed when visiting other professional photographers at their studios or on shoots is they rarely hold their cameras at eye level. Sometimes they are standing on a box, kneeling, or even lying on the ground. They have all figured out that the angle of your camera relative to the subject can be a key ingredient in telling your story. In this article, I am going to explore the value of low angle shots, how we can best use this technique, and how to avoid some common mistakes when shooting at a low angle.
What are Low Angle Shots?
Any time you need to tilt your camera up to create the composition you desire, this is a low angle shot. Of course, there are extremes that we will discuss. But, as a general statement, this is where we will start.
Typically we want to photograph from a low angle to show grandeur and power, or to make the viewer feel in awe or submissive to the subject of our photo: for example, a mountain or skyscraper shot from the base, or Superman standing with his hands on his hips. This technique is used when photographing powerful executives, sports stars, or royalty. Use this any time you want your viewers to literally — and figuratively — look up to the subject.
Shooting at a low angle will make the subject seem taller, or loom over the viewer. Depending on the distance to your subject and the tilt of your lens, it can lengthen or exaggerate body parts such as legs. Being below your subject also makes it difficult to see into their eyes, thus adding mystery. Also, if the subject does look down at you, it often invokes a feeling of dominance.
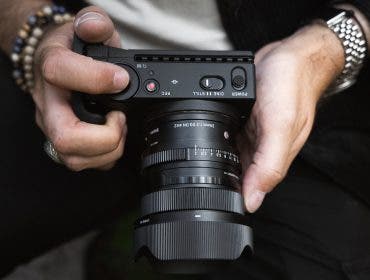
Best Lenses for Low Angle Photos
When approaching low angle photos, it is important to keep in mind how your lens choice will affect the final images.
A few weeks ago, I was asked on my Discord server about this. The photographer was trying to do the “exaggerated long legs” look. They had a 35mm lens on an APS-C camera (so roughly a 50mm in full frame). With that lens, to capture the entire body, even from the position of laying on the ground, they were just too far away to get the full effect because the distance to the subject changes point of view and perceived compression. To stretch the legs, you need to be close, and that was not possible with her lens choice. This example tells us that the more distortion you want, the closer you need to be. Of course, the opposite is also true.
For a typical “very stretched” look, I would start around 35mm or wider on a full-frame camera. Something like the Nikon NIKKOR Z 14-24mm f/2.8 S Lens would be amazing, but I find the Nikon NIKKOR Z 24-120mm f/4 S Lens is also a great choice.
Avoid Distortion
Because you will be tilting your lens and often using a wide angle, it is a good idea to find a lens that has minimal edge distortion and is sharp edge-to-edge to get the best results. What we want is controlled perspective distortion, not lens distortion.
Keep in mind that you won’t need a particularly wide aperture to shoot these types of images as more depth of field is generally preferred.
One final note on lens choice: Since you will be tilting your lens up and, most likely, your light source will also be from above, it is a good idea to use a lens hood for low-angle shots to reduce flair and increase micro-contrast.
How to Take Low Angle Shots
How we compose a low-angle portrait will depend mostly on how much of the aforementioned “stretch” we want to achieve. Let’s talk about two ways we might approach this:
High-Fashion Shot
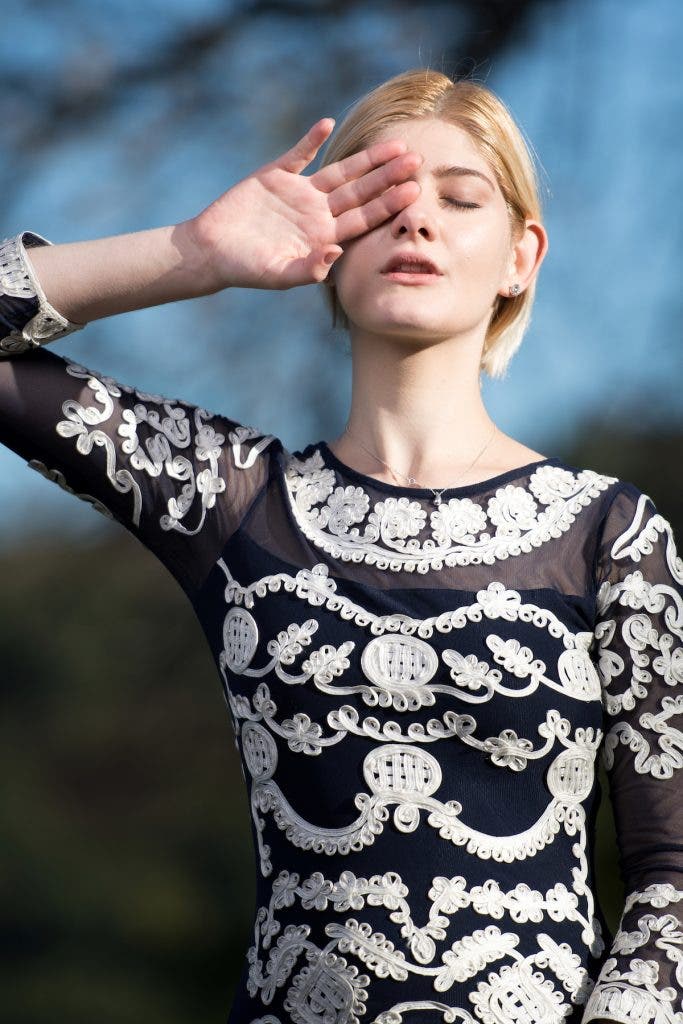
If we are creating an image of a fashion model in a sleek designer dress intended to hug the curves of their body, we want them to look even more statuesque, long, and powerful. We might place them on a raised platform and use a wider lens — like a 24mm. We would place the camera so the lens was tilted up, about 45 degrees, and position our model so that we capture their entire body. Because we are so low, we would instruct her to keep her chin level to the ground and not look at the camera.
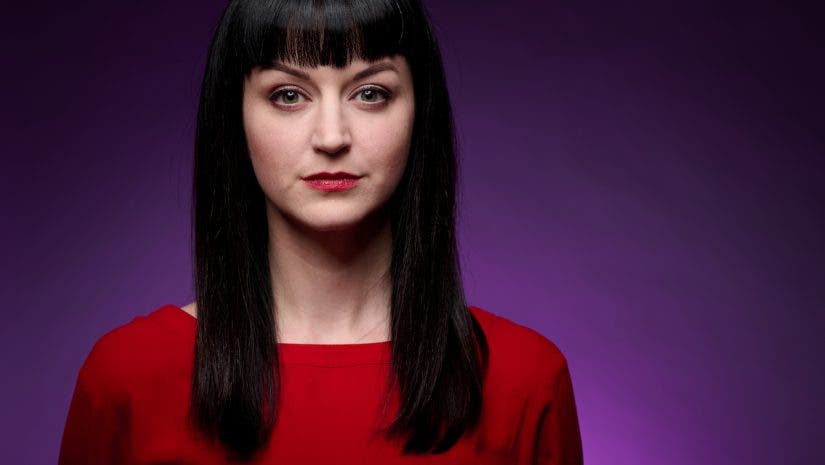
Commercial Shot
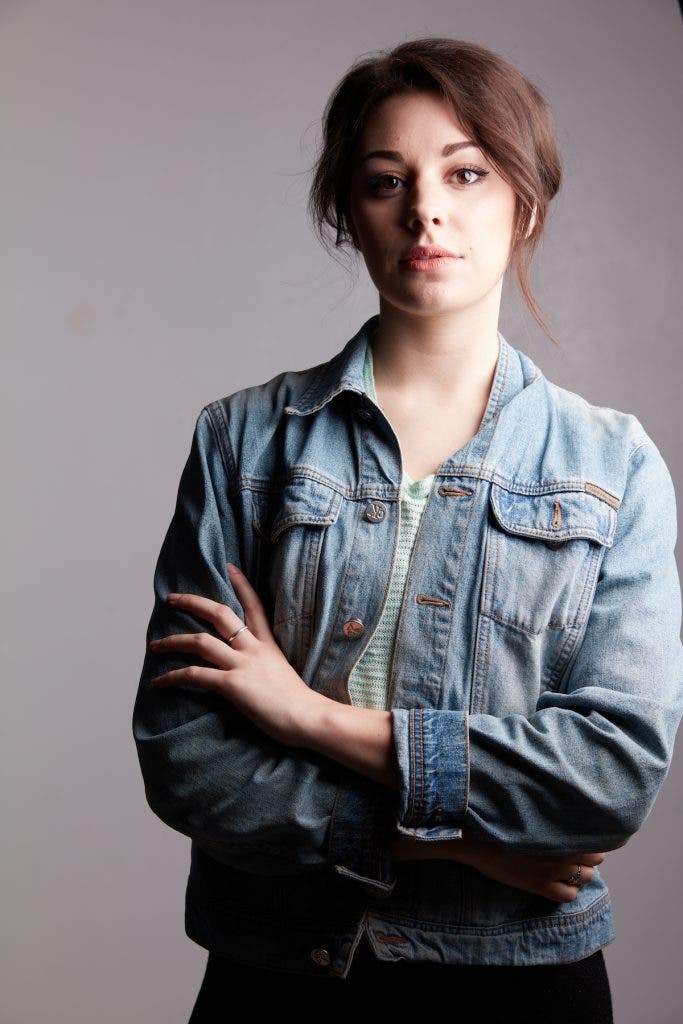
In the second shot, we want to photograph a businesswoman for the cover of a book she has written. We would likely have her standing and position our camera about waist-height, using a 50mm lens titled up just enough to capture the composition. She would be instructed to look at the camera with a friendly but commanding expression. This shows her power and rank (so to speak) but still humanizes her. The goal is to have the reader aspire to reach that level.
What to Avoid During Low Angle Photos
As you start to experiment with low camera angles, there are a few things we want to avoid:
The Double Chin
No matter the face shape of your subject, if they look down far enough, the camera will pick up an unflattering double chin. There are two simple ways to avoid this. First, if you are going for the super stretch distortion, don’t have the subject look down. However, If you do want them looking into the camera, the further from the camera the subject is standing, the less pronounced this doubling will be. It can be almost, if not completely, overcome by having the subject project their chin forward and down.
Up the Nose
Of course, having the subject look up might make their neck look better, but you may then be looking up their nose. While we do sometimes see a variation of this being used successfully in some beauty-type shots, more often than not, the camera is not tilted up. For a typical portrait, it is best to avoid the problem altogether.
No Fill Light
If you position yourself a bit further away and you have the subject project their chin, there is still yet another issue you may find with the subject looking down: no light in their eyes. Again, this can be used for certain shots for a dramatic effect but, generally speaking, eyes lost in the shadows are not what we are looking for in a classic portrait. One way we can overcome this is to use a larger light source and have it a bit further away from the subject. You will also want this source to be lower than normal (not too low or you will have horror movie lighting). A reflector fill may also help here.
Conclusion
A low camera angle can add drama to your photos, but it can easily be overdone and create less-than-ideal images — especially when creating portraits. For the highest drama, use a wide lens close and low, but be sure to pose the subject in a way to not create a double chin or shadowy eyes. Using a longer lens a bit further away can create a more subtle effect and give the feeling of power and confidence to your subject. In all cases, keep the lines of communication open to your subject so they understand how to help you create the shot that is going to be pleasing to both of you.