Mastering the art of long exposure is one of the essential skills in nature and landscape photography. If you want to demonstrate cloud drama, capture distant starts, or show motion, you must first learn the fundamentals of long exposure photography.
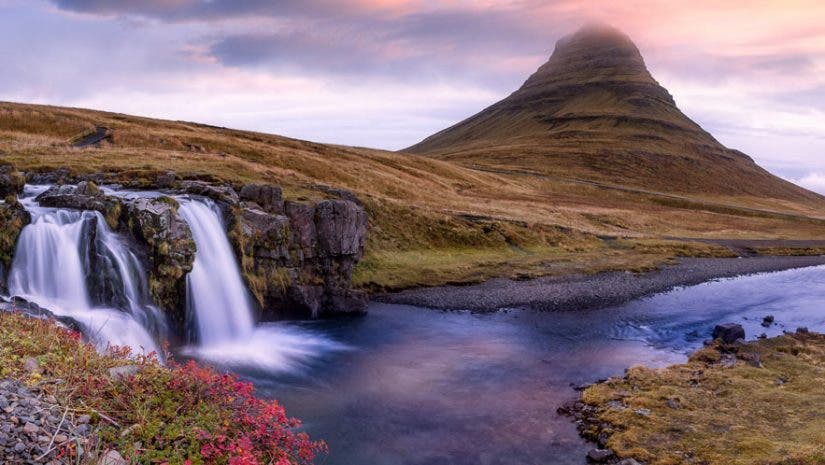
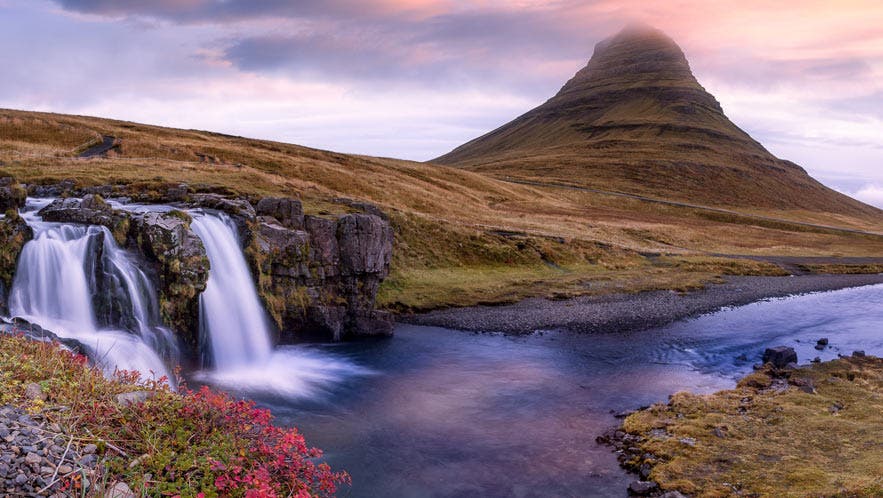
I recently returned from a one-week trip to Iceland where I photographed epic waterfalls and low-light scenes. In this article, I want to share with you my approach to waterfalls as a way to explain long exposure photography. You will learn techniques and skills which may be applied to other subjects that require extended shutter speeds.
What is long exposure photography?
Long exposure photography typically refers to a genre where the exposure time (the length of time the shutter is open) is “long”. Prolonged exposure times allow the camera sensor to gather more light or capture a sense of movement from certain subject matter. Some examples of long exposure photography include light trails from car headlights/taillights, the soft effect on moving clouds, waterfalls, and night photography such as astro. More often than not, long exposure shots require the use of a steady platform such as a tripod.
Types of long exposure photography
Let’s go over a few types of long exposure photography and how to approach each. Please note that a tripod (or some kind of steady surface) is required for all types mentioned here.
Waterfall Long Exposure
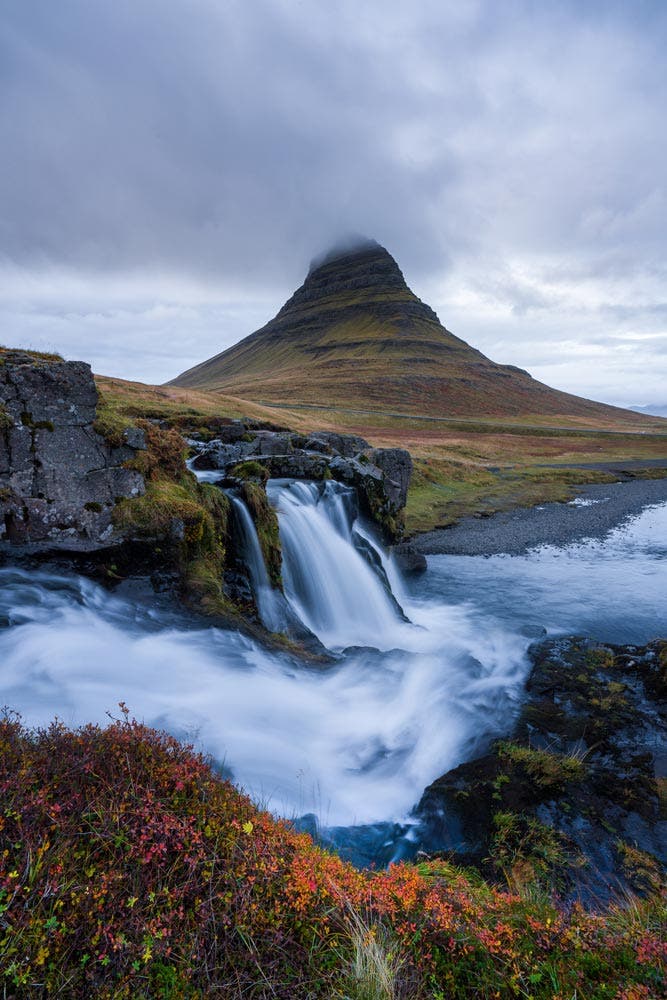
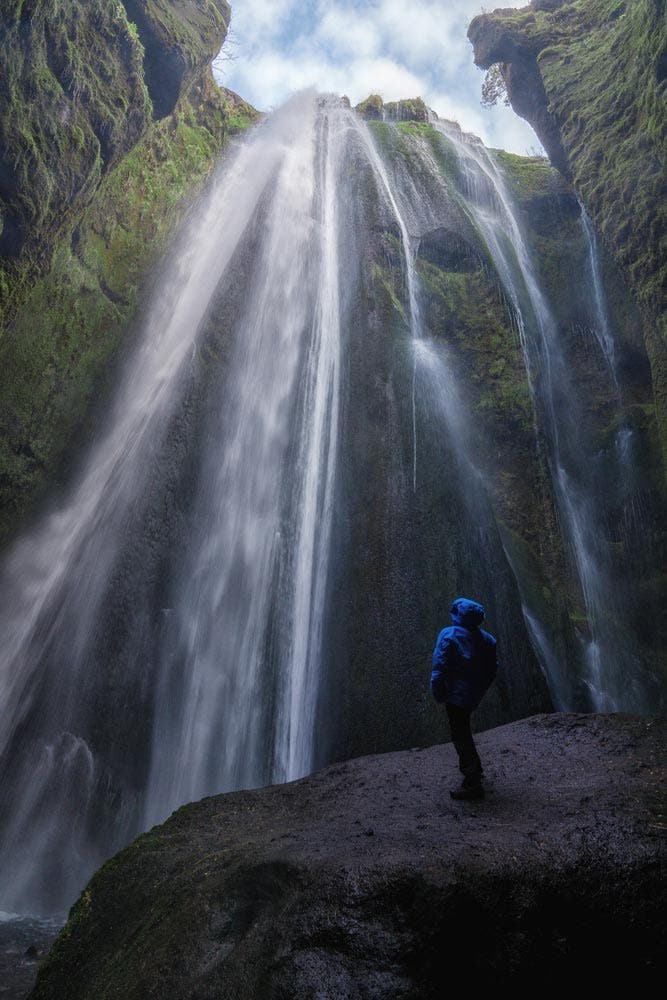
I always use a polarizer when photographing flowing water because it helps get rid of a lot of glare from wet surfaces and allows the camera to see below the surface of the water. You may also want to use ND filters to prolong exposure times during brighter conditions to achieve a smooth effect on the flowing.
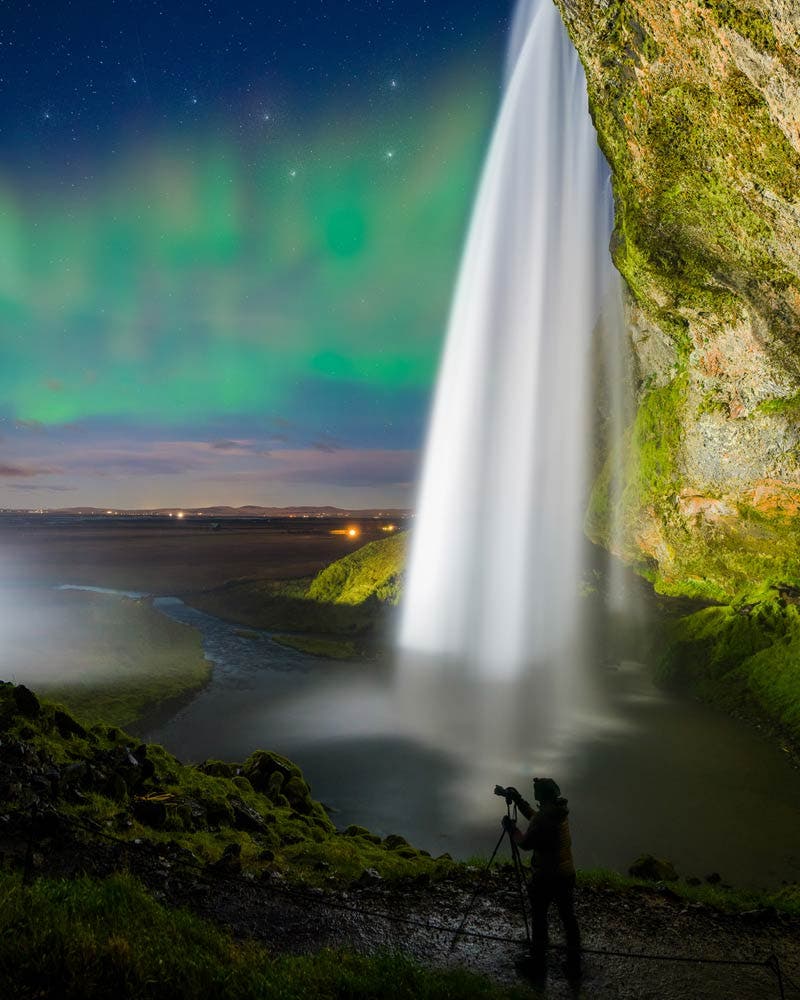
Astrophotography Long Exposure
For astrophotography, you’ll want to use a fast lens (e.g., a lens with a very wide maximum aperture such as f/1.4 to 2.8). Often, you’re trying to capture the point light sources from stars in a very dark environment. The wider the maximum aperture (the lower you can make you ISO value). As a start, I typically use a 24 mm lens at f/1.4 or f/2.0, shutter speed of 20 seconds, and ISO of 1600 on a full frame camera. I then adjust the shutter speed and ISO value until I achieve the look I want.
Headlight or Taillight Long Exposure
If you want to capture headlights or taillights from moving cars, you should use exposure times of about 20 to 30 seconds, so the light streaks are long. It also helps to use a medium aperture value such as f/5.6, which will allow enough light in to make the light trails bright but not so bright that colorful lights are rendered as pure white.
Long Exposure Photography Tips
Have the right gear: camera, lenses, filters, and tripod
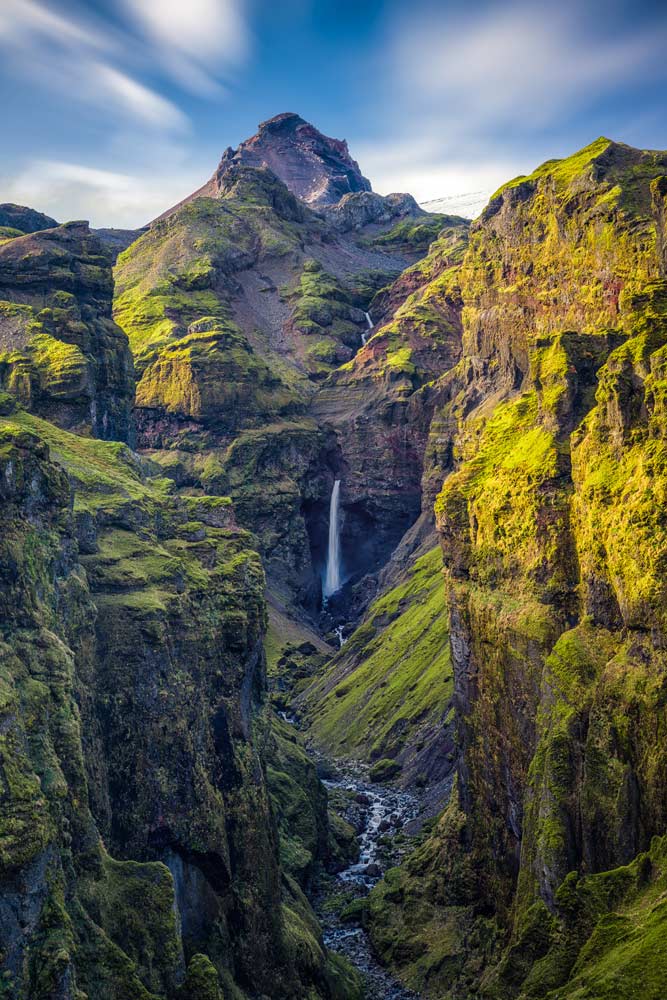
Photographing flowing water is easy; capturing its beauty is extremely difficult. Using proper gear is the first step. It’s not just about the camera and lenses. We must use filters to control light and employ accessories to minimize potential frustrations. My main camera on this trip was the Sony a7R IV (and you can read my hands-on review of it here). The lenses I used for most of my shots were the 16-35mm f/2.8 GM and the 24-70mm f/2.8 GM.
My sturdy but lightweight Gitzo traveler tripod and Sony wireless remote shutter release ensured rock-solid performance with virtually no chance of soft images due to camera shake. I recommend wireless over wired remote triggers because when you’re in a wet environment, it’s best to keep the doors closed on your camera ports. Be sure to take a spare remote, just in case.
I always carry a polarizer and neutral density filters. For the first time, I took a combination polarizer and neutral density filter. This unusual but extremely helpful combination is made by Breakthrough Photography. The neutral density strengths were 3, 6, 10, and 15 stops. Having a single filter pulling double duty means minimal vignetting on my ultra-wide lens, no chance of stacked filters “sticking” together, and no condensation between filters.
Do you need ND filters for long exposure?
You may need ND filters for long exposure photography, depending on the amount of available light present and the effect you’re going after. For example, if you want to prolong the exposure time to get a smooth effect on a waterfall in midday light, you’ll likely need a strong ND filter. The same scene late in the day might not require an ND filter at all.
Dial in the right camera settings
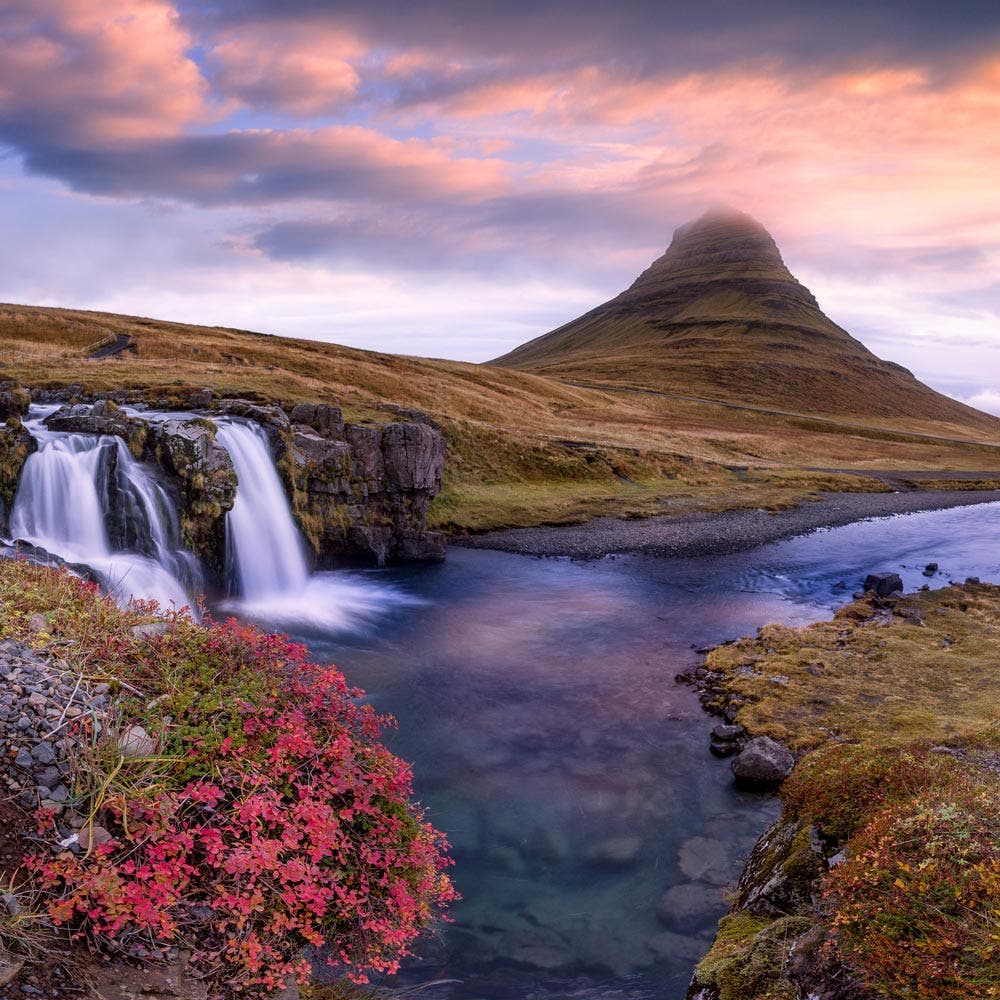
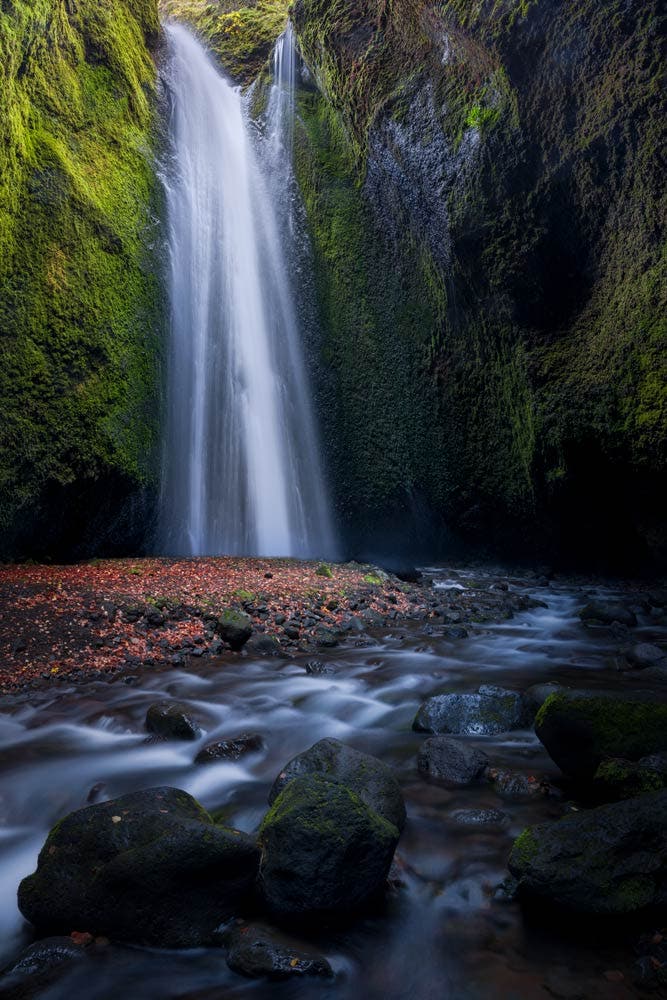
How do you like your waterfall to look? Do you prefer crisp droplets or do you go absolutely gaga for that silky smooth, almost shaving cream-like appearance? My taste is somewhere in the middle, usually obtained with shutter speeds between ½ and 2 seconds. I shoot waterfalls in aperture priority mode and prefer maximum depth of field, so I usually keep my aperture around f/8 or f/11. On most occasions, I try not to use f/16 or f/22 because such narrow apertures introduce diffraction associated softness to the overall image. One notable exception is if I have a point light source (such as the sun) in my frame which I want to render as a “starburst.” In that case, I do utilize f/22.
I start with the lowest native ISO, which on most full frame cameras is 100. Remember, the lowest native ISO has the most dynamic range.
What shutter speed is used for long exposure?
There is no exact duration where a short exposure becomes a long exposure. It’s more the “look” of the image. For example, a waterfall that’s exposed for just 1/3 second would be qualified by some a long exposure photo. At night, you may need just 1/100 second to capture a cityscape if the ISO is sufficiently high. While not technically a “long exposure” shot, it would still have the “feel” of a long exposure image.
What ISO should be used for long exposure?
In general, for landscape photography, you want to keep the noise as low as possible. That means the ISO should be as low as possible. I recommend keeping the ISO at the base level (e.g., ISO 100). Given a reasonable aperture value (e.g., f/5.6 – f/11) combined with a low ISO will allow you to get excellent long exposure shots. Please note that you will usually require a tripod.
Find the best perspective
A tripod is essential to obtaining a shake-free shot. However, it is also an obstacle to creativity and your ability to “see” all the possible angles. How many times have you done this: you arrive at a location, extend your tripod’s legs, and proceeded to take images of the scene? Once you place the camera on a tripod, you limit yourself to a certain vertical perspective and compromise your mobility.
Here’s my advice. When you’re ready to shoot, set aside the tripod, put the camera up to your eye and simply walk around, remembering to examine the scene from both high and low perspectives. A few steps left or right or a few inches up or down can completely change your viewpoint, especially if you’re shooting with an ultra-wide angle lens. Once you’ve found that perfect position, then get your tripod.
Start with quick time intervals
My advice above about ½ to 2 seconds is just a starting point and may not apply to every situation. You might never get another opportunity to come back to that location, so take as many shots as possible to cover all the possible angles and shutter speeds.
Shoot RAW images
More often than not, waterfalls are captured during overcast conditions and dim environments, such as a forest. From the deep blacks of dark rocks to the bright whites of flowing water, the camera sensor is challenged with tremendous dynamic range. Therefore, I strongly encourage shooting in RAW, which gives you the most flexibility in post-processing — RAW files are a lot more malleable than JPEGs.
Fight glare with a polarizer
I also advise that unless a large part of your scene includes the sky, use a polarizer. A polarizer will minimize glare from reflective surfaces such as water, foliage, and rocks to bring out more vibrant colors. This might seem like an obvious point to many, but is still worth stating: be sure to engage your polarizer! Just because you have a polarizer screwed on to the front of your lens does not mean it’s engaged. You need to twist the polarizer while looking through the viewfinder to appreciate the effect.
Also, if you change the angle of our perspective, you might need to adjust the polarizer to a slightly different position. Two occasions where you shouldn’t use a polarizer or only partially engage it is if you want to capture rainbows or reflections on water.
How to make your long exposure sharper
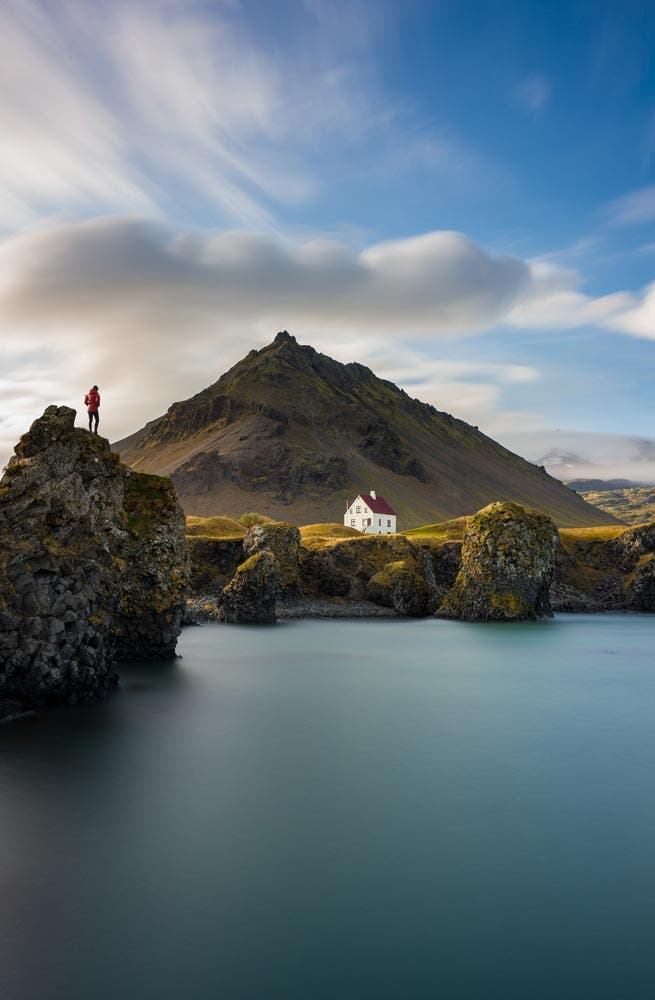
The best thing you can do to make sure your long exposure shot is sharp is to use a tripod. You should also consider using a smaller aperture (e.g., use f/8 instead of f/2.8) if you’re noticing that only certain parts of your image are sharp. This is likely because of the wider aperture establishing a narrower range of distance where elements are sharp.
How to plan for a long exposure photo
If you do landscape photography, chances are you already have most of the equipment necessary for long exposure photography. You should carry a sturdy tripod, a set of ND filters of varying strengths (e.g., 3, 6, 10 stops), a polarizer, head lamp, and a remote shutter release.
A tripod is essential to keep everything steady (see above section). ND filters will allow you to prolong your exposure times during bight, daylight conditions. A polarizer will help minimize glare from reflective surfaces such as wet leaves, rocks, and water. A polarizer also has a weak (1-1.5 stops) ND effect. A head lamp will allow you to find your equipment and camera buttons when photographing at night. Finally, a remote shutter release will let you trigger your shutter button without having to physically touch your camera, which might cause some vibrations resulting in an image that isn’t maximally sharp.
Conclusion
I hope my tips have been helpful in your own journey and learning of long exposure photography. I think most photographers who attempt this technique can appreciate that planning and preparation are essential to making compelling long essential images. But the advice I’ve offered extends to many other facets of long-exposure photography, including but not limited to astroscapes, beachscapes, and cloudscapes. Proper gear and technique are crucial ingredients for success. Be familiar with your environment and take lots of images while varying your perspectives. Most of all, have fun!
Feature photo by Mahesh Thapa
