A wireless mouse opens up freedom of movement in your workspace. Forget about the restrictions of too-short USB cables locking up your mouse, and reserve precious USB ports for the hardwired peripherals that need them. You can tidy up your desktop by getting rid of cables strewn across the surface and choosing a wireless mouse instead.
A quality mouse isn’t just about wireless maneuverability, though. They have the power to completely transform your workflow in a variety of creative and professional ways. Advanced scrolling functions and multiple customizable buttons let you build dedicated profiles tailored to the program you’re operating. Read on to check out some of our favorites, and learn how to connect a wireless mouse quickly and easily.
How a Wireless Mouse Works
The primary components of any wireless system are a transmitter and a receiver. These devices speak to one another using radio frequency (RF) signals to eliminate cabling. In the case of a wireless mouse, the transmitter is contained within the mouse itself while the receiver connects to the computer.
There are two types of wireless mice: those that use a USB receiver plugged into a port on the computer, and those that connect straight to a computer’s built-in Bluetooth receiver (Bluetooth itself utilizes RF signals for data transfer, too).
In many cases, a wireless mouse will give you the option to connect to your computer via USB receiver or Bluetooth. USB has a slight advantage over Bluetooth in that it minimizes battery consumption and latency. However, both connections are perfectly viable for everyday computing, and Bluetooth frees up a USB port on your computer.
Wireless Mouse Options
Logitech MX Master 3S Performance Wireless Mouse for Mac, Space Gray
The Logitech MX Master 3S is the ultimate wireless mouse for Apple ecosystems. It contains Logitech’s most accurate 8,000 DPI (dots per inch) optical sensor for precision and sensitivity, and clicking retains tactile feel without the excess noise. The mouse connects to up to three Apple devices at once, and a low-energy Bluetooth connection helps it last up to 70 days on a charge.
Logitech G Series G502 X Plus LIGHTSPEED Wireless RGB Gaming Mouse, Black
PC gamers rely on high-performing peripherals to play their best. The G502 X Plus sets you up for success with 13 mappable buttons, up to 25,600 DPI, and up to 120 hours of battery life under constant movement. In true gaming fashion, eight-zone RGB lighting lets you customize the look to match the rest of your rig. The mouse reliably connects to your computer over RF with the included USB receiver.
Logitech Lift Vertical Ergonomic Wireless Mouse, Graphite
Logitech’s Lift is an ergonomic wireless mouse made for small- to medium-sized hands. The unorthodox shape situates the users hand in a natural “handshake” position to alleviate wrist strain and place the arm and upper body in a healthier posture. The mouse includes a Logi Bolt USB receiver, or it can also be connected over Bluetooth.
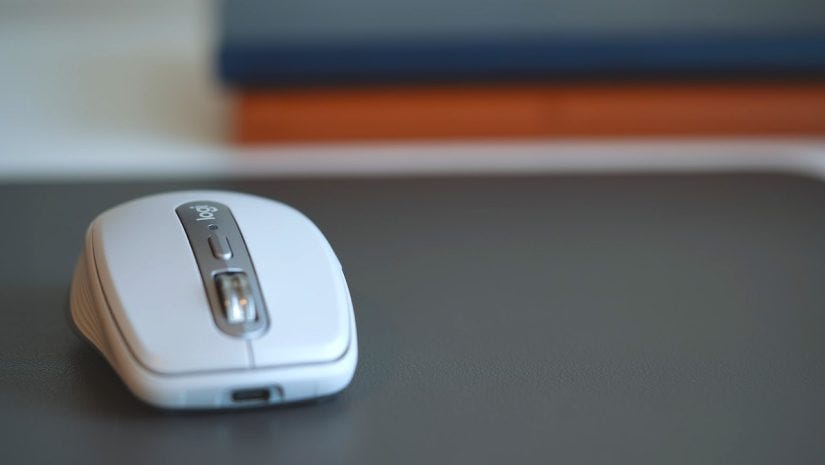
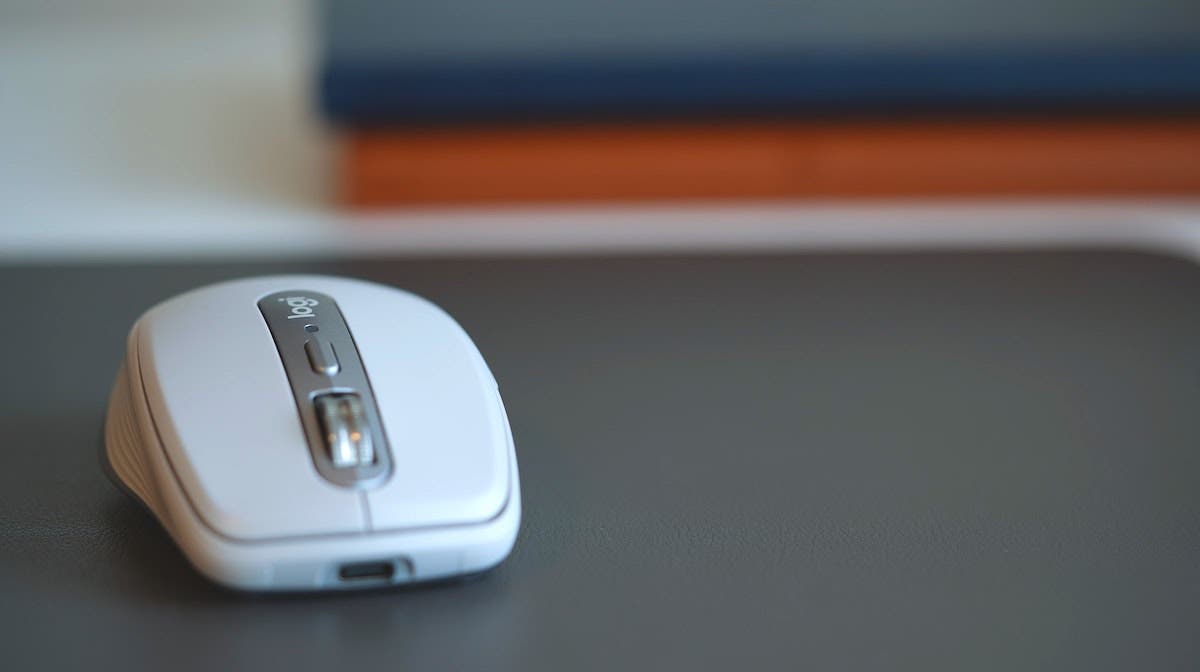
Logitech MX Anywhere 3 Wireless Mouse for Business, Pale Gray
The MX Anywhere 3 mouse is the ultimate jack-of-all-trades wireless device for business and work from home. Specialized users such as coders, analysts, and creatives can access a slew of features to enhance their workflow. This includes the ability to scroll 1,000 lines per second or access pre-defined control profiles for programs like Adobe Photoshop, Adobe Premiere Pro, Apple Final Cut, Google Chrome, Safari, Microsoft Word, and more.
How to Connect Using Bluetooth (on Windows)
Connecting your new wireless mouse to your Windows PC over Bluetooth is a simple three-step process, with an optional fourth step which allows you to access additional settings.
Before we get started — and before you purchase your mouse — verify that your computer meets the minimum software requirements for compatibility. Currently, that would be Windows 10 for Logitech wireless mice specifically. You’ll want to avoid any potential compatibility issues in the event your machine is running anything older than Windows 10.
The first step is to locate the power switch on the mouse, usually placed on the bottom of the device. Switch it to the ON position. An indicator light will let you know if it’s powered up. If it doesn’t appear to turn on, connect the mouse’s included charging cable on models equipped with rechargeable batteries. On those using regular battery power, make sure the AA/AAA batteries are installed.
There should be a fast-blinking LED light, which indicates that the mouse is ready to pair to your computer. If there isn’t, hold the Easy-Switch on the bottom of the mouse for three seconds until the LED begins blinking.
Now you’re ready to finalize pairing to your Windows PC. From Start, locate the Settings icon on the left-hand side. Click Devices and locate the Bluetooth & Other Devices subheading. There should be a “+” icon allowing you to add a Bluetooth device to the machine. With the mouse powered on and ready to sync, the computer’s Bluetooth receiver will recognize the device and allow it to pair.
The final, optional step is to download the Logi Options+ software for your Windows PC. This provides advanced customization and button mapping to get the most out of the wireless mouse.
How to Connect Using Bluetooth (on Mac)
Pairing a Logitech wireless mouse to a Mac computer is similar to the process above. Begin by opening up your new mouse and make sure it’s powered ON and ready to pair. Out of the box, Logitech wireless mice with rechargeable batteries should come with a charge that’s ready to use. If not, just connect it to your computer for bus-powered charging over USB. You can still use the mouse while it’s charging.
The mouse is ready to pair with your Mac computer when the LED indicator is blinking rapidly. Again, you may need to hold the Easy-Switch button on the bottom of the mouse for three seconds to enable Bluetooth pairing. Locate the Bluetooth settings on your Mac once the mouse is ready to go.
From the Apple menu in the upper left-hand corner of the toolbar, navigate to System Preferences. Here you’ll find a separate menu represented by a colorful Bluetooth icon. Click the icon to access your device’s Bluetooth settings.
If your computer has Bluetooth turned off, you’ll be able to turn it on from here. Additionally, you’ll see a list of previously connected devices and their current status. The wireless mouse, ready to pair, should automatically populate in the Devices list. Click its name and icon to finalize pairing and use your brand new mouse. There’s also a handy tick box in Bluetooth settings called “Show Bluetooth in menu bar.” Check the box if you’d prefer to have easy access to Bluetooth settings straight from the toolbar, including ON/OFF and a list of currently paired devices.
The final, optional step is to download the Logi Options+ software for your Mac. This provides advanced customization and button mapping to get the most out of the wireless mouse.
How to Connect Using a Receiver
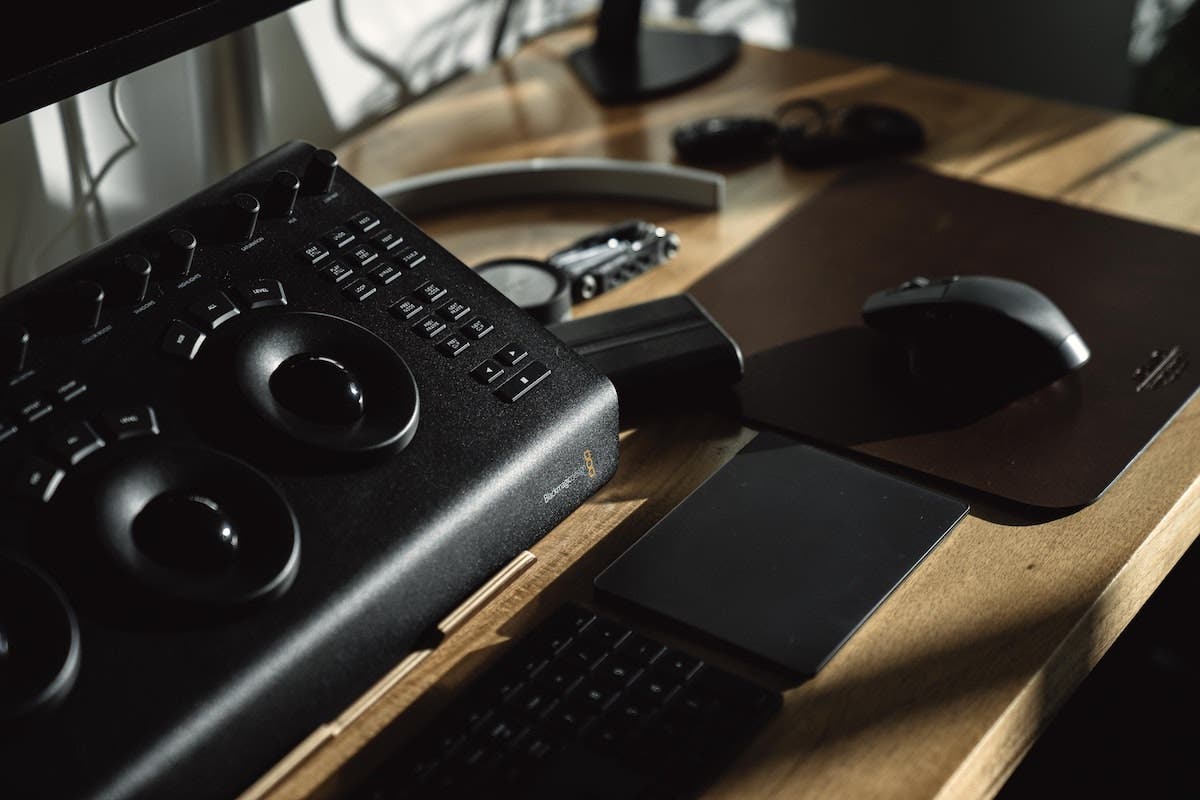
Under certain circumstances, it’s preferable to use a wireless USB receiver instead of Bluetooth to connect your mouse. While both USB receivers and Bluetooth pairing make use of RF signals to transfer data, the former is more stable and ensures a more solid connection. This is especially useful in a busy workplace, or anywhere there may be numerous Bluetooth signals in the air causing potential interference. The USB receiver is a straight line from your mouse to the computer.
Low-energy Bluetooth has mitigated much of the battery-draining tendencies associated with the wireless protocol. But, in many cases, you’ll still get more efficient consumption when using a USB receiver. Furthermore, even though it’s increasingly rare these days, some computers may not have a Bluetooth receiver altogether. This is most often the case with custom-built PCs, where the builder can opt to exclude Bluetooth and even Wi-Fi modules in favor of USB and hardwired internet connections. If that’s the case, they can still make use of a wireless mouse by using a USB receiver.
Connecting with a receiver is simple. Turn the mouse on and connect the receiver to an open USB port on the computer. They should automatically speak to each other, though you can hold the Easy-Switch button for three seconds if that isn’t the case. Consider downloading Logi Options+ for Windows 10/11 and Mac OS 10.15 or later for refined control over the wireless mouse.
Conclusion
By now, we hope you’ve gotten a sense of what Logitech offers in the way of wireless mice, as well as how easy it is to connect them to a computer. A mouse seems like a minor addition to a computer set-up, but they have the ability to place powerful functions right at your fingertips. Knowing how to connect a wireless mouse can reduce time spent clicking through menus or relying solely on the keyboard for everyday and advanced program functions.
Photo by Ravi Palwe on Unsplash
