Millions of photographers rely on Lightroom every day to catalog and edit their photos, turning files from their camera into works of art. Lightroom was originally released in 2007 and, over the last 16 years, the software has seen major improvements. For years, photographers looking for quality noise reduction had to look further to Lightroom plugins and additional software. However, earlier in 2023, Lightroom released their brand new AI-driven noise reduction feature.
What is Lightroom’s Noise Reduction Feature?
As you likely know, Lightroom is Adobe’s flagship photo management software. Lightroom users create a Catalog where their photos can be stored in folders, or Collections. These can then be edited in Lightroom’s Develop Module. For first-time users, Adobe Lightroom is available for $9.99/month, or $19.99/month when bundled with Adobe Photoshop.
Lightroom’s noise reduction feature was released in the April 2023 update (version 6.3). Prior to this update, users had a few sliders to adjust for noise reduction that never seemed to perform up-to-par when compared to other AI-based alternatives on the market. In the 6.3 update earlier this year, Adobe Lightroom has harnessed the power of AI to reduce noise with the simple click of a button.
Whether you shoot action images at high ISOs, night photography, or portraits in poorly lit areas, this noise reduction feature will help you to remove noise from your images and restore the original detail back to your photography.
How to Use Lightroom Noise Reduction: Step-by-Step
To utilize the new AI-based noise reduction feature, be sure to update your Lightroom Classic to Version 16.3 or newer. This feature is available in both Lightroom and Lightroom Classic on desktop, but not yet available on mobile. For the sake of this article, we’ll be showing you how to use the denoising feature in Lightroom Classic. It is recommended to do the denoising at the beginning or at the end of your photo edit, but it can technically be done at any point in time.
1. Select Your Photo
First, select the image you wish to denoise in Lightroom Classic’s develop module. Scroll down on the right side of your screen until you reach the section that says “Detail”. Expand this box.
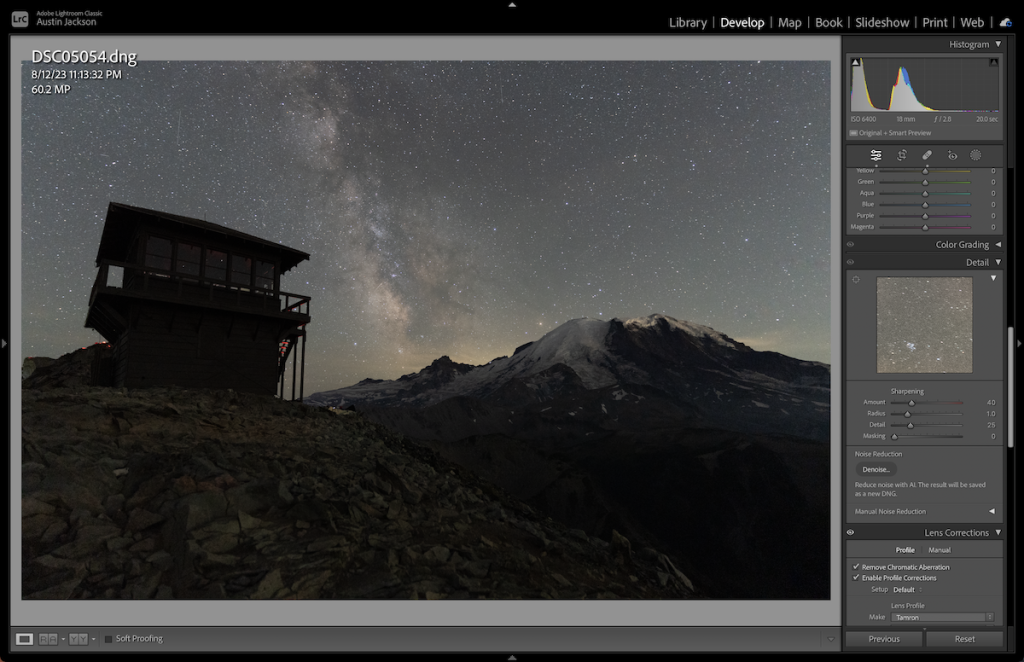
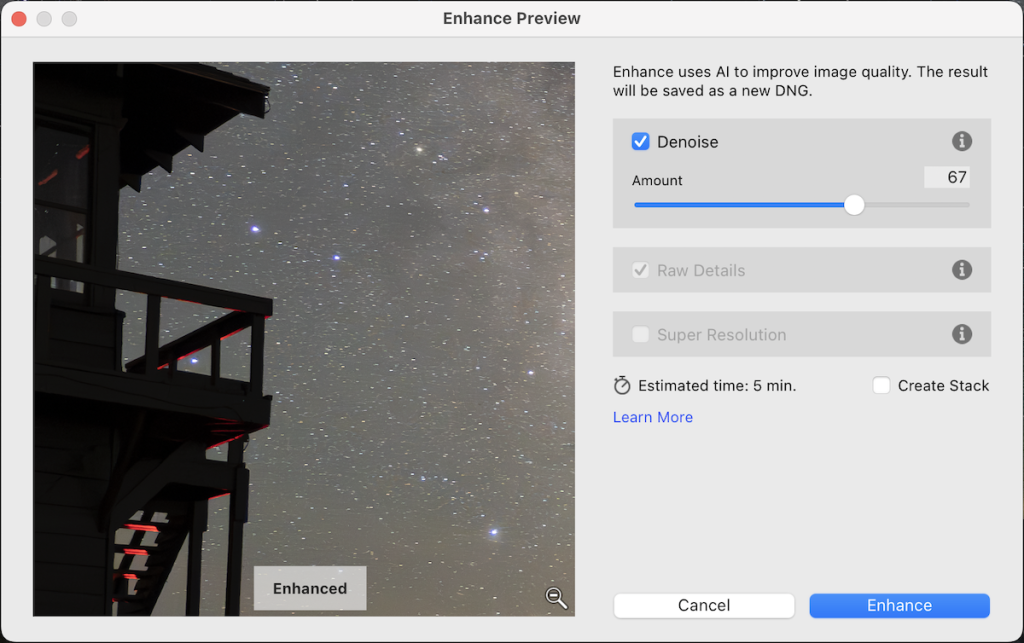
2. Choose “Denoise” and Dial Amount
Next, click on “Denoise.” This will show a pop-up box giving you options to adjust the amount of denoise you’d like to apply to the image. On the left side of this pop-up box, you’ll notice an image preview. You can click around on the preview to look at different areas of your image.
Clicking on the image within this box shows what your image looked like before denoising, and releasing your click shows what it looks like after. Dial in the amount as you see fit, and click “Enhance.”
3. Check the New Image for Irregularities
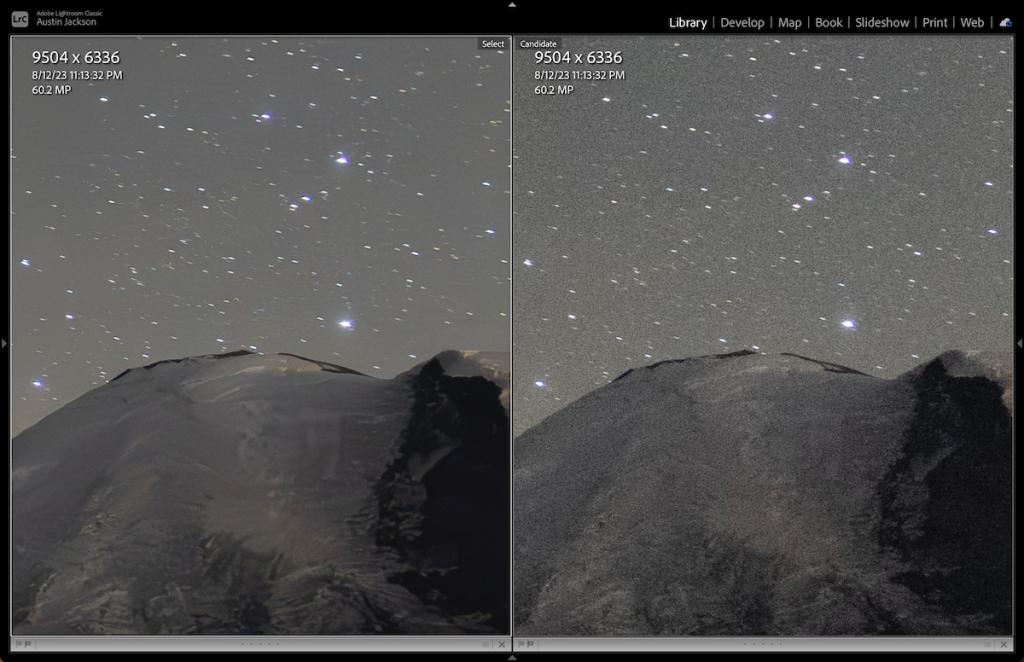
After waiting for your denoised image to load, a new file will be created. Click on the image to zoom in and pan around the image, checking for any unwanted artifacts that can be created by using a denoising technique. You can also select both the newly created image and the original image and tap “C” on your keyboard. This will bring up Lightroom’s comparison view. Here, you can easily see the before and after views of your image.
If you want to re-do the noise reduction to either increase or decrease the effect, click back on the original image and repeat this process. Once you’re happy with the results, you can continue to edit your image using your normal workflow.
Who Should Use the Noise Reduction Feature?
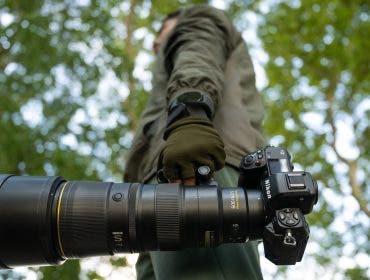
The noise reduction feature is really for anyone who wants to reduce the noise and increase the quality of their images. First and foremost, this is an excellent tool for wildlife and sports photographers who frequently encounter situations where a fast shutter speed limits the amount of light allowed into the camera’s sensor. This forces the photographer to turn up the ISO to properly expose the image. This new feature in Lightroom will help to get rid of noise and regain detail in your image.
Astrophotography
Astro and night photographers will also get great use out of this tool. Night photography often requires both long shutter speeds and high ISOs, resulting in images that are oftentimes both underexposed and noisy. Even if you are using some of the best camera technology on the market today, you will still experience noise in your night photos. Having the ability to quickly reduce noise after your shoot in Lightroom will certainly be well-received.
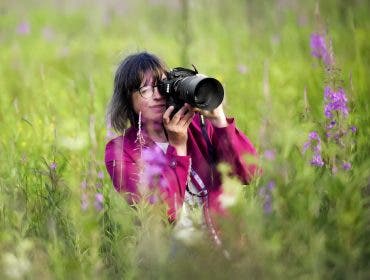
Portraits and Weddings
Lastly, portrait and wedding photographers that already use Lightroom Classic for culling through their images now have a high quality tool for reducing noise in their photos. While there have been other ways to reduce noise using other softwares, these programs would take hours to denoise hundreds of images from one shoot. Now, these photographers can quickly use the software they’re already using to reduce noise.
Even though many photographers opt to use flash, there are situations where shutter speed must remain at a certain level, aperture is totally wide open, and you still don’t have enough light at ISO 100. Turning up the ISO to properly expose the photo is the only option and, knowing that you now have a very powerful software to help denoise your images, you can shoot at higher ISOs with ease.
Other Ways to Reduce Noise
Try a Full-Frame
There are a few different methods to reduce noise in addition to this new feature in Lightroom. First and foremost, full-frame cameras are generally going to perform better in low light situations. Sensor technology in the last few years has made capturing quality images in low light better than ever before. If you are using an older crop-sensor camera, it may be time for an upgrade!
Shoot Manual
If you aren’t shooting in manual mode, it’s time to learn! Shooting in automatic could be causing your images to be noisy. If possible, you want to keep your ISO at 100 at all times. While this won’t always work, you probably don’t need to be shooting at ISO 6400 in the middle of the day on a tripod. Automatic settings don’t always pick the best settings. Manually adjusting the shutter speed, ISO, and aperture can ensure that you keep your ISO as low as possible, helping you to further eliminate noise.
Use a Tripod
Lastly, if you’re shooting scenes that aren’t moving, using a tripod can reduce the noise in your images. When shooting handheld, you’re limited to a shutter speed around 1/30 of a second before you’ll start seeing blur from your movement on a wide-angle lens. To increase light, some photographers increase the ISO so they can continue shooting handheld. If you purchase a tripod, you’ll be able to leave the ISO at 100 and open up the shutter speed instead. This will help you capture an image with far less noise.
Conclusion
Reducing noise in your photography has never been easier than it is with Lightroom’s new AI-based denoising feature. Not only does this help to reduce the noise in images you’ve already taken, but it gives the photographer peace of mind when shooting in situations at higher ISOs.