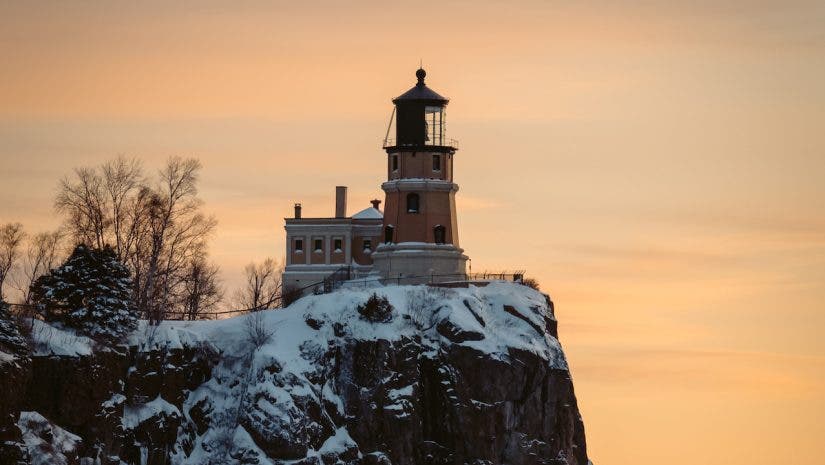
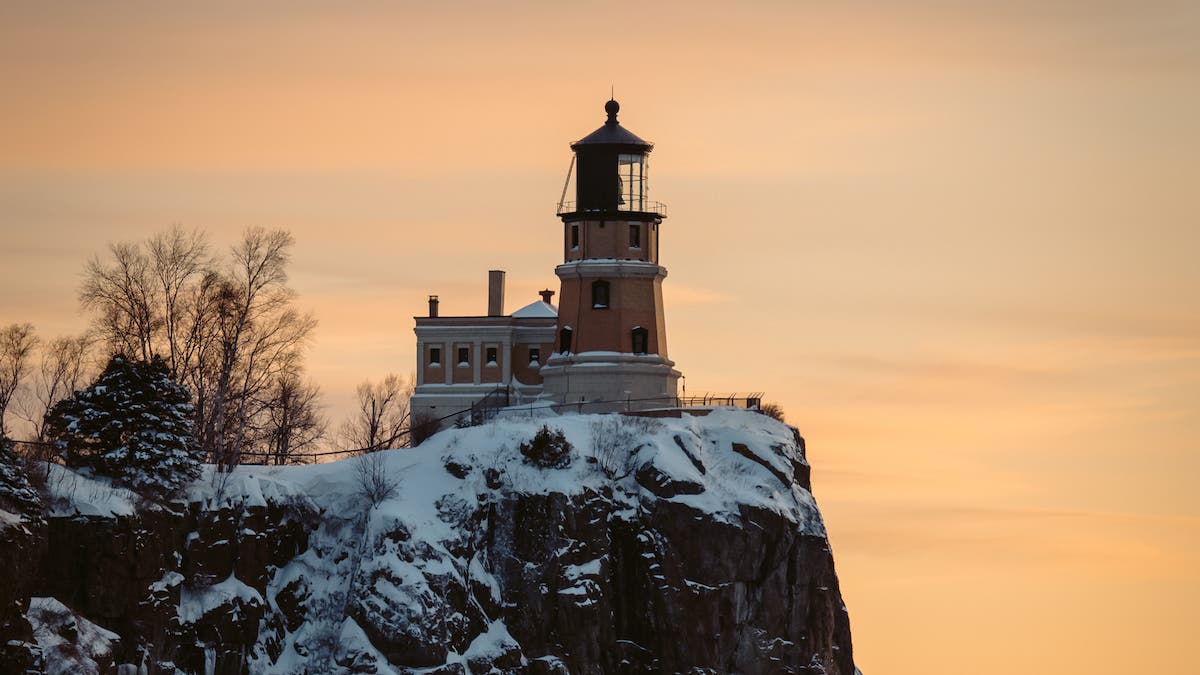
When it comes to scenic and photogenic structures, lighthouse photography is both a historic and contemporary staple when it comes to photographing architecture. Lighthouses aren’t just pretty, they have remained a symbol of hope and guidance to those that seek passage. Whether you are planning to shoot a lighthouse soon or perhaps you come across one in the near future, here are some helpful tips for getting the best shot you can.
Best Compositions
When it comes to getting the right composition, there is no right or wrong way to create yours. In fact, it is better to experiment and play around with different framing, lighting, and points of view. Since a lighthouse is a static object, being creative with different compositions will diversify your shots. Think about what you want from the shoot. Do you want to shoot it during the day or night? Do you want to shoot the beacon? How about photographing it from above? Is it a particular season or weather? Figuring out exactly what you want will help you prepare.
Lens choice will be the main factor in determining your composition. Lighthouses are tall and usually located at the edge of water. Figuring out your point of view will allow you to choose the best lens. A wide-angle lens will feature the lighthouse in a natural setting — between land and sea. Getting a closer vantage point would show the dominance of the lighthouse as well.
Using a mid to telephoto lens creates a more intimate frame of the structure. These lenses are more handy when you can’t get a closer vantage point of the lighthouse. Utilizing the lens compression, you can effectively make the lighthouse look much larger and closer.
Best Gear for Lighthouse Photography
Camera
Honestly, you can shoot lighthouses with just about any camera, including a smartphone. The only time you may need a mid-high level camera is when you are shooting in lower light situations and want to open your shutter.
Lenses
Your composition will depend heavily on the type of lens you choose to use. Most lighthouse imagery you will find will be taken with a wide-angle lens. Although, on occasion, you may see a shot taken with a telephoto lens. It all depends on how close you are able to get to your subject.
Tripod
Being near a lighthouse means being near the coastline, which often brings strong winds and rain. Having a sturdy tripod is essential to your setup and gives you the chance to take longer exposed shots.
Filters
Depending on what time of day you are planning to shoot, a filter can be beneficial to your composition. Using a mist filter can add a soft glow to the beam if you are shooting at night or dusk. An ND filter can allow you to open up your shutter if you’d like to showcase the movement of water in your frame. Lastly, a polarizing filter will take away reflections of the water, or bring out more color. There are so many different filters out there now, you just need to decide what kind of composition you’d like to achieve and go from there.
Drone
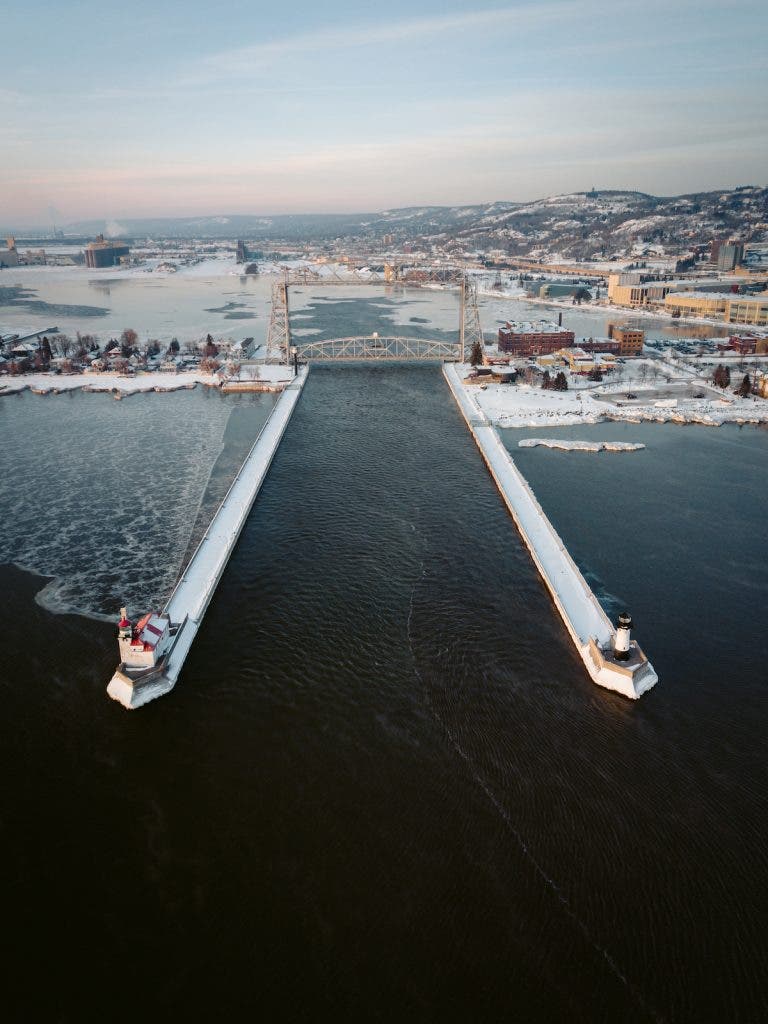
Drones aren’t often the go-to tool for lighthouse photography. Although, in an age where it seems like everyone has a camera, creators need to find new perspectives. Using a drone to capture a lighthouse can give you so many new frames and is often just a fun and dynamic way to shoot.
Preparing for the Shoot
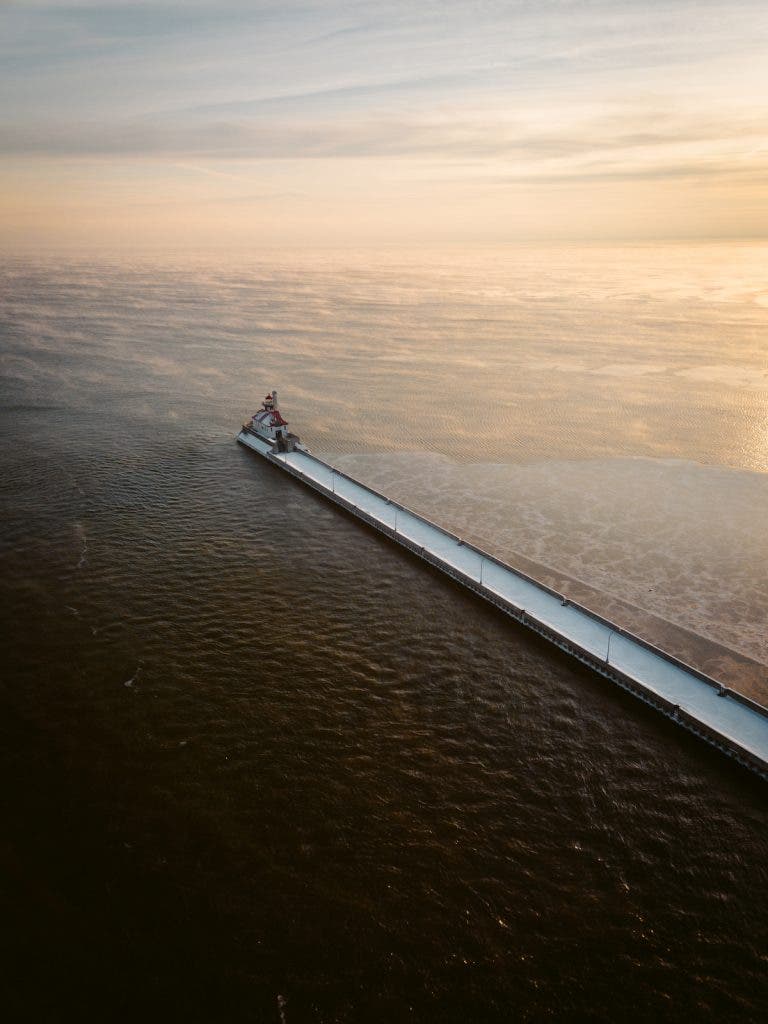
You will want to have a basic understanding of the layout around the lighthouse. Find out how much room you will have to work with. That will also allow you to find the best focal length to use. Scouting out the location ahead of time and seeing what time you can get the best lighting isn’t a bad idea either. Check to see if there are any photographic guidelines or regulations, and try to go at a time when there is likely to be less crowds.
Camera Settings for Lighthouse Photography
First, consider your shot as it pertains to your shutter speed. When a lighthouse is rotating, the light will give different beams at different widths. Opening up your shutter will make the beam appear wider in your image. Experiment with longer exposures until you find that perfect amount of light coming from the beam. You most likely won’t need to open it any more than one second.
Next, it’s time to determine your ISO and aperture. If you are shooting the lighthouse at night, generally, that means your ISO will need to be a bit higher. Keep your aperture as wide-open as the lens allows and go from there with your ISO — hopefully keeping it under 6,400.
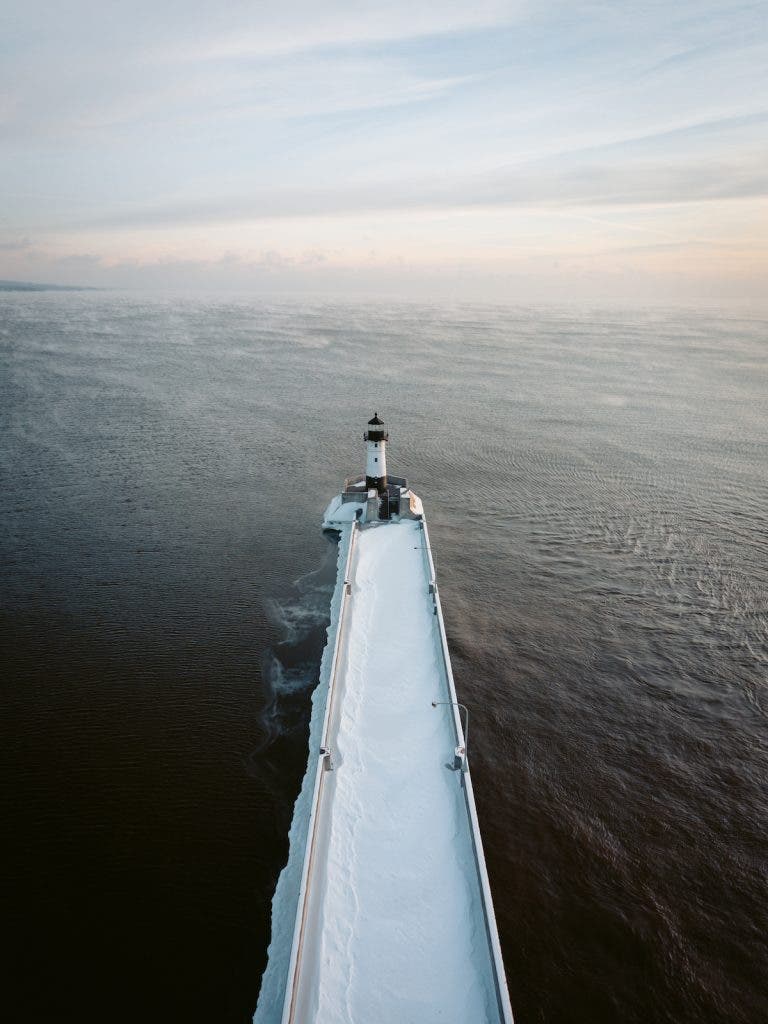
Have fun and experiment with different points of view and foregrounds. Open up your shutter, lower your camera to give a better sense of scale, or send up a drone to take a top-down shot of the structure. Stretch yourself to get as many compositions as you can and don’t be afraid to try something different.
Ideas for Lighthouse Photography
Add Foreground Interest
Establishing a foreground interest that complements the rest of the elements will usually give you a more visually appealing photo than one without. This can be a boat, a tree, some rocks scattered along the shore, and other nearby subjects.
Having a subject to focus on in the foreground creates a layered composition that allows you to draw the eye naturally, beginning with the focal point (the subject) and gradually moving on to other elements in the frame.
Use Long Exposures
Long exposures allow you to create the feeling of movement in your image. The effect of this approach is usually evident when you have moving water in the frame. It will appear frothy or milky and provide an interesting contrast to the parts of the image that are in focus. If you’re shooting on a particularly cloudy day, you can also use long exposures to create movement in the sky, rendering the clouds as colorful streaks.
Use a Fast Shutter Speed to Capture Movement
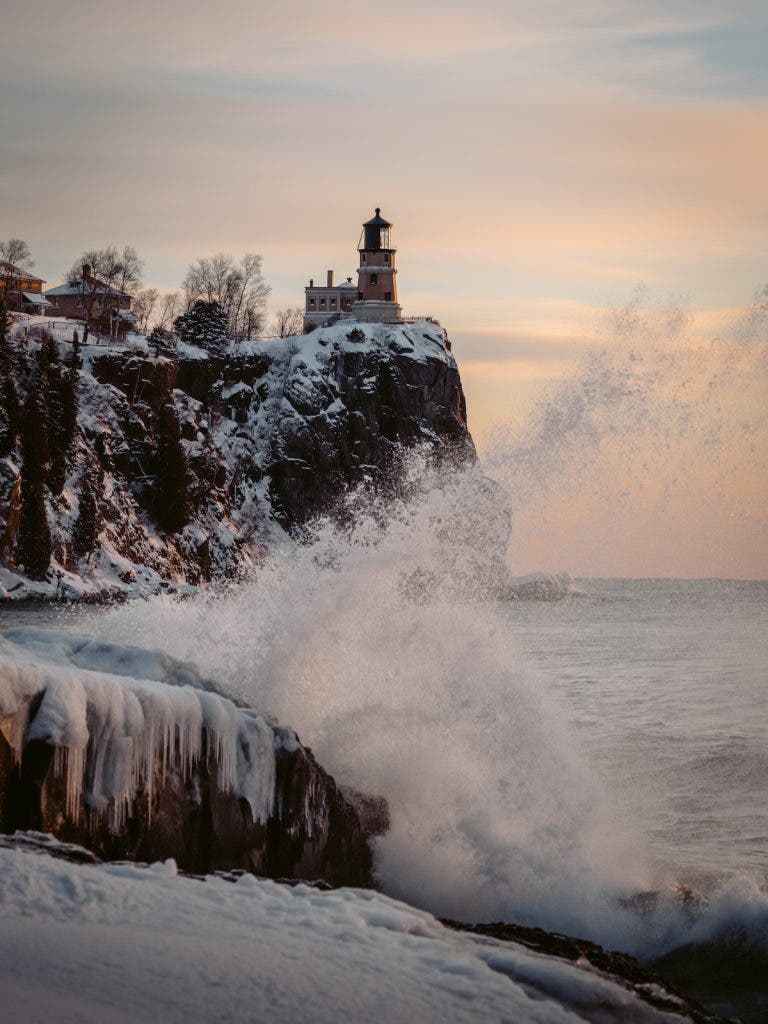
You can also try going the other way and using a fast shutter speed to freeze movement and capture those dramatic seascape scenes that include violent waves crashing against the rocks. To achieve this, use shutter speeds of about 1/500 of a second or faster to effectively freeze the action.
You may want to bump up your ISO and use a larger aperture to properly expose your image, as using incredibly fast shutter speeds won’t allow for enough light to enter the lens.
Go Black and White
Consider shooting your lighthouse images in black and white (or editing them later in the post-processing stage) to make them appear more emotional and dramatic. This is also a useful trick to salvage a good, well-composed photo that has a little too much noise due to using high ISO settings and fast shutter speeds. Image noise normally looks unacceptable in colored photos, but in a monochromatic image, it lends a grittier, more mysterious feel.
Blend Multiple Exposures
Another tip for breathtaking lighthouse photos is to shoot the same scene at different exposures and using photo editing software to blend them into one image that has a richer range of colors, shadows, and highlights.
This is the same process used for HDR or high dynamic range photography, although you can also use it to solve gradient issues when using a graduated ND filter. To avoid having the lighthouse go from dark to light in the image, shoot the scene without the filter while making sure that the lighthouse is properly exposed. Then, shoot a second photo with the filter to balance the exposures of the sky and ground. You can then blend the two images to create one that has correct exposures in the upper and lower half, without affecting the lighthouse itself.
For more tips, here’s a video from Jack Hollingsworth on how to capture that perfect coastal or seascape images with your iPhone:
Conclusion
If you live near or plan on visiting a lighthouse for photography, I highly recommend playing around with different compositions, exposures, and filters to find that perfect shot for you. Opening yourself up creatively will keep your shoot fun and interesting. You are sure to capture something unique and new to you.
