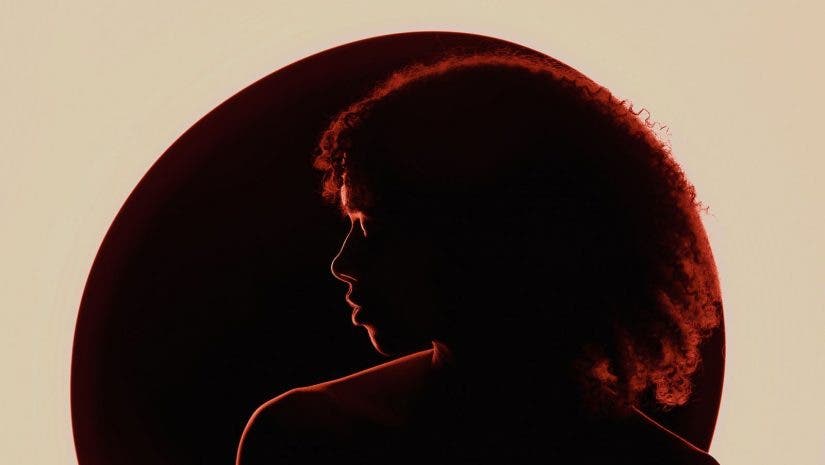
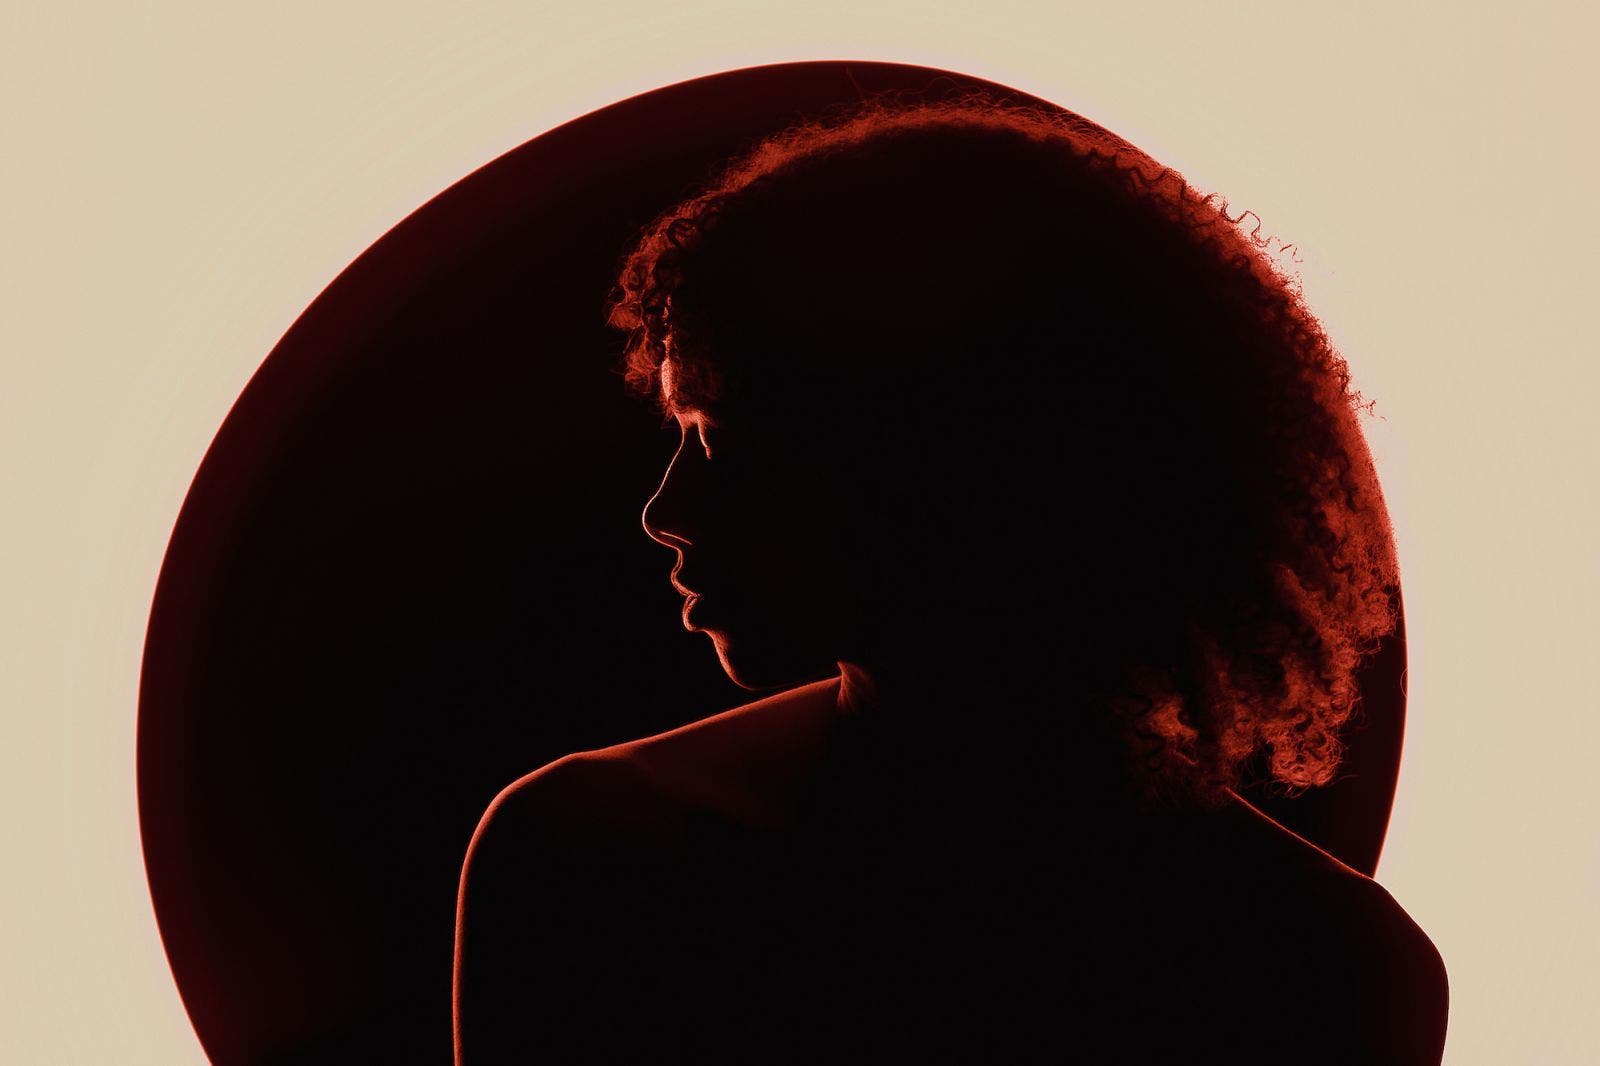
In some respects, all photography qualifies as a form of light painting. Light, after all, is the key ingredient in capturing a photo. How we control that light — and balance it with shadows for effect — defines the style of our imagery. One photography technique in particular, however, takes painting with light to a near-literal level. Using a long exposure technique known as light painting, photographers create motion with light to add a creative flare to their portraiture. Those new to the technique often find it opens new creative pathways for using light in photography. As a result, this one technique can impact how you approach photography in general. Use the following light painting photography tips to master this technique and take your creative portraits from ordinary to extraordinary.
What Is Light Painting Photography?
“Light painting” in photography refers to a long exposure lighting technique used with a handheld, continuous light source. Some applications incorporate flash as well. Using this technique requires a dark environment and strategic movement of the camera, subject or light source.
Light Sources for Light Painting Photography
You’ll find three techniques for using light sources when light painting:
Kinetic
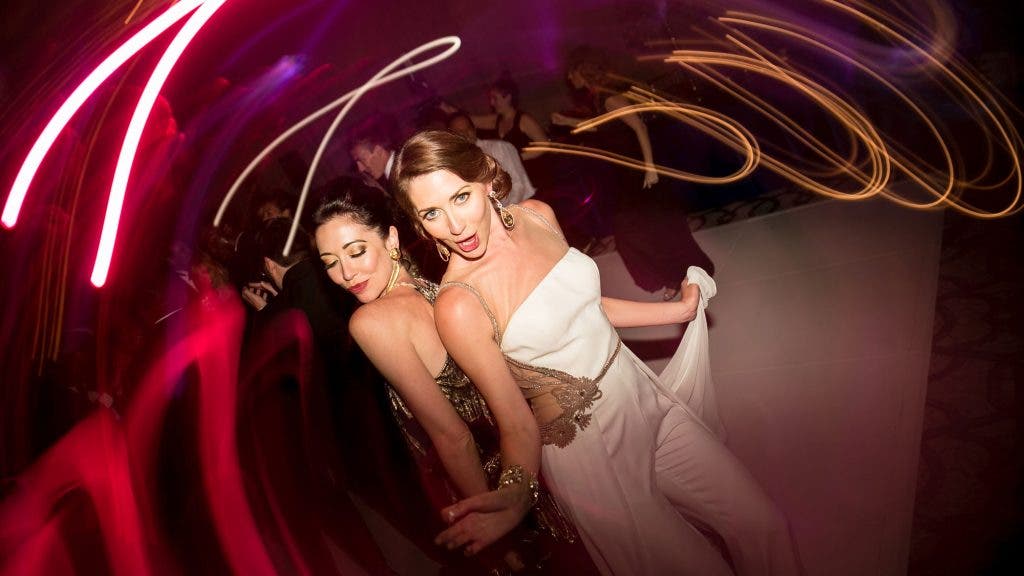
Kinetic light painting requires that you move the camera, as opposed to the light source. In other words, the light source will remain stationary while the camera moves. One example of this would be to zoom in or out while the shutter is open to capture movement. Of the three light sources, this is likely the easiest to use.
On-camera
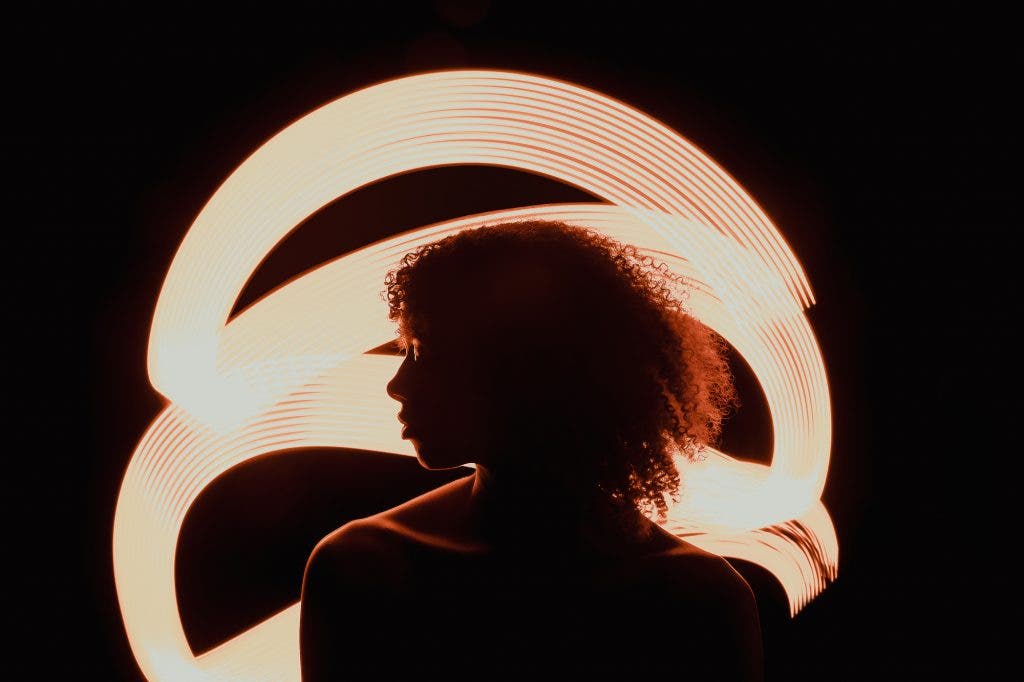
An on-camera light source for light painting is not the same as an on-camera light in flash photography. Instead, using an on-camera light source for light painting simply means you will include the light source in the frame as a visual element. If you’ve ever seen photos that feature words spelled out with sparklers, you’ve seen on-camera light painting. We’ll dive into other potential light sources in the gear section below.
Because you’ll need to step into the frame when using this technique, I recommend wearing darker clothing to avoid making an unwanted appearance. This technique can yield incredible results, but it does require a bit of practice. Also of note, you’ll need a tripod for this one.
Off-camera
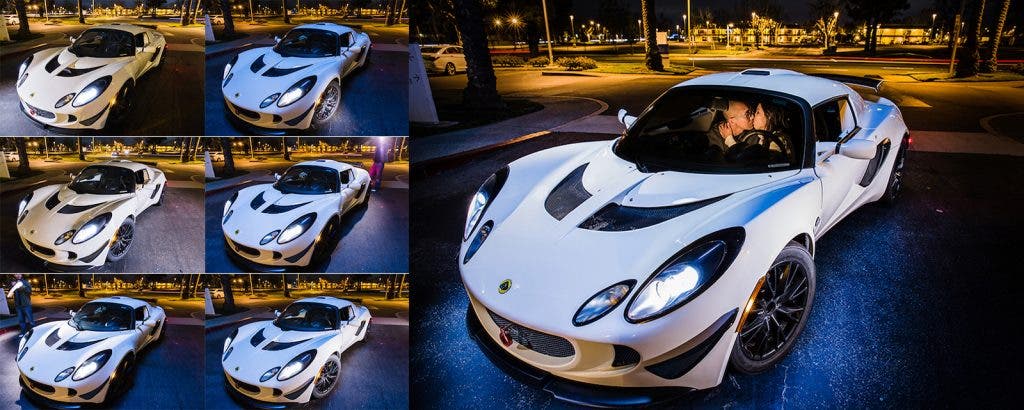
For this option, the light source will remain out of the frame. While it won’t appear directly in frame, however, it will add light to your subject. This technique allows you to be highly selective of the specific areas of the frame you choose to illuminate. And again, place your camera on a tripod when using this technique.
What Types of Photography Use Light Painting?
Light painting has been around for quite a while and photographers from most genres have used it at one time or another. Here are some genres in which you will commonly find light painting photography used (in no particular order):
- Automotive
- Macro
- Astrophotography
- Product Photography
- Engagements & Weddings
- Fashion
For this article, we’re going to focus on creative portraits when discussing light painting photography tips. You should still be able to apply these tips to other genres of photography.
What Is the C.A.M.P. Framework?
To simplify the process of painting with light, I will use the C.A.M.P. Framework. I designed this framework as a general tool to help photographers think critically about the art they create. Here’s how it works:
- Composition: Before we pick up our camera, we should assess our background, identify any elements we can incorporate, and decide on our composition. Consider how the scene should look, the angle, and the subject’s actions. Doing so will help you to create with intention.
- Ambient Light Exposure: For light painting, you’re going to need to bring the ambient exposure down before adding light. We’ll cover this in more detail for this specific technique in the tips below.
- Modify/Add Light: Light painting photos are all about the light you add to a dark scene. The long-exposed light streaks will reveal our subject in a way we can’t see with the naked eye. For this technique, you might decide to add colorful gels and include more (or fewer) lights for effect.
- Pose and Photograph: At last, we will pose our subjects and direct them for expressions. Because this can be a complex technique to incorporate, expect to practice and repeat until you’ve mastered the process. That said, let’s jump into our light painting photography tips.
Light Painting Photography Tips
- Create a Concept
- Gather Your Gear
- Use a Dark Location
- Compose the Frame
- Adjust for Ambient Light
- Add a Light Source
- Play with Light Patterns
- Edit for the Final Image
Tip 1: Create a Concept
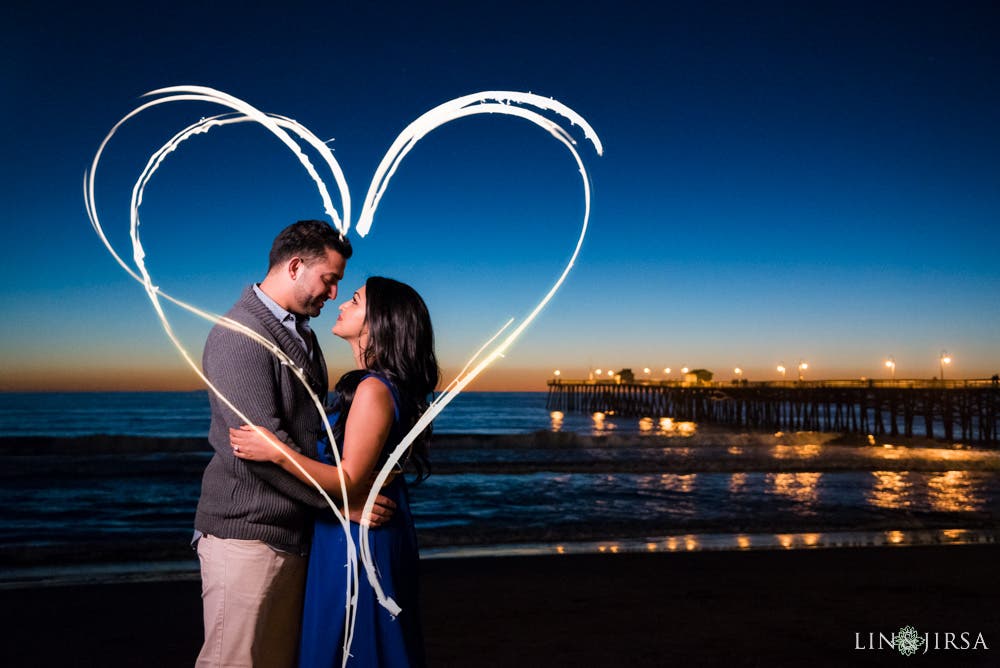
To kick off our light painting photography tips, let’s begin at the beginning. Anytime you set out on a creative endeavor, it helps to create a concept in advance. This can change after you begin experimenting, of course, but it’ll give you a place to start. All of the following light painting photography tips will vary to some degree based on your concept. Do you want to capture a fun action shot with colorful light painting, or are you going for a moody portrait? Will the light play a prominent role in the frame, or will it make a subtle impact off camera?
Tip 2: Gather Your Gear
Here’s a quick overview of the gear you’ll need in order to paint with light.
- Camera: Basically, any camera with manual mode will do. This includes an iPhone (or comparable device) with apps like Pro Camera that allow you to control the shutter speed.
- Lens: I have found over time that I prefer shooting on the wider side of a 24mm-70mm lens to broaden the canvas for light painting, but any lens will do. We won’t need a prime lens because we’ll stop down the aperture to control the light and get more of our subject in focus.
- Light Source: Your specific light source needs will vary based on the shot. For example, you would only need a small light source like string lights or a flashlight to photograph small objects, or you might use a more powerful light source in order to paint more light into the scene in a limited amount of time. Here are some more ideas for light sources:
- Flashlight
- LED Light Panel or Light Wand
- Smartphone
- Glow Sticks
- Light Modifiers: The lighting modifiers you use will also vary based on the shot. For instance, you might be able to place a napkin to soften light from a small flashlight, or use a snoot on an off-camera flash to minimize light spill when freezing your subject with flash. On the fun, creative side, you might want to try color gels.
- Tripod: You’re going to need a dependable tripod to help stabilize your camera and minimize camera shake. I prefer the Peak Design Travel Tripod, which is both durable and highly portable. It also includes a handy smartphone attachment, which is built right into the center column. Whatever your preference, get your hands on a sturdy tripod.
Light Painting Photography Tips, #3: Use a Dark Location
In order to effectively create a light painting photograph, you’re going to need to control the light. This means that you’ll need either a dark indoor space or to shoot at night in a space with limited light pollution. If you’re shooting indoors while it’s light outside, you may still need to place a blanket or a dark sheet over the windows to conceal as much light as possible.
Tip 4: Compose the Frame
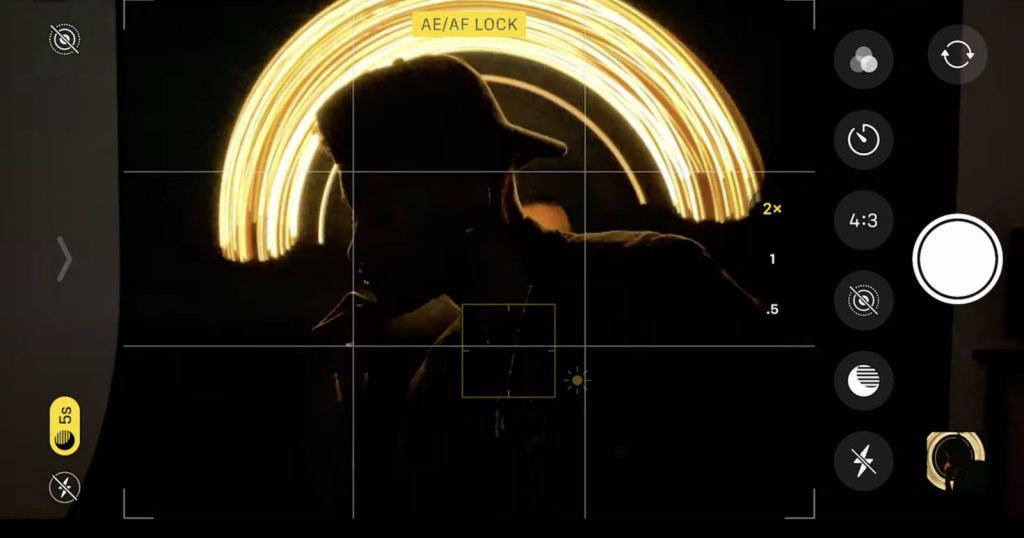
Composing light painting photos works similarly to composing other types of shots. The final composition, however, might vary based on the light source you’re using. For example, if you’re using the on-camera flash approach (as described above), you’ll need to plan for the light painting pattern you intend to use. Did you leave enough space around your subject for the light painting design? Or, if you’re using an off-camera light source, you may decide to zoom in closer to frame out the light source and focus more on your subject.
Moving Vs. Still Subjects
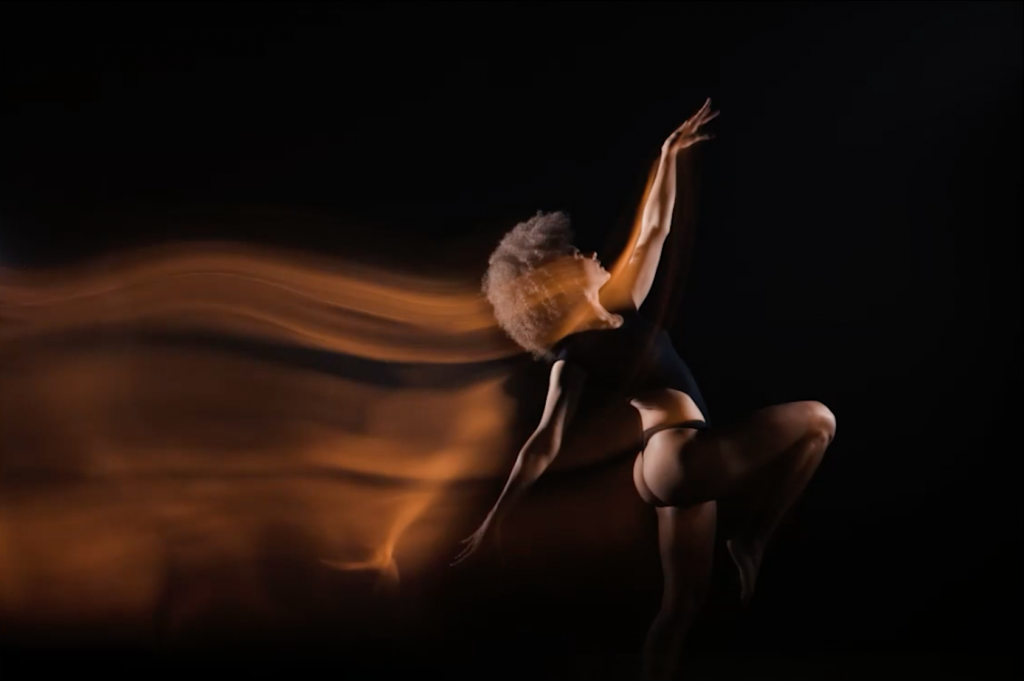
One of the factors I consider when setting up a light painting shot is whether my subject will move or hold still. Action shots tend to require wider angles in order to capture the action (see the picture above). These are fun (and challenging) shots to capture, but I typically seat my subjects and let the light move. By having them sit, they’re usually able to hold still for longer periods. The shutter might remain open for anywhere between 2-10 seconds, so their ability to remain still matters. We can use flash to freeze our subjects as well, but that might not be the look we’re after. It depends on the shot.
Light Painting Photography Tips, #5: Adjust Exposure for Ambient Light
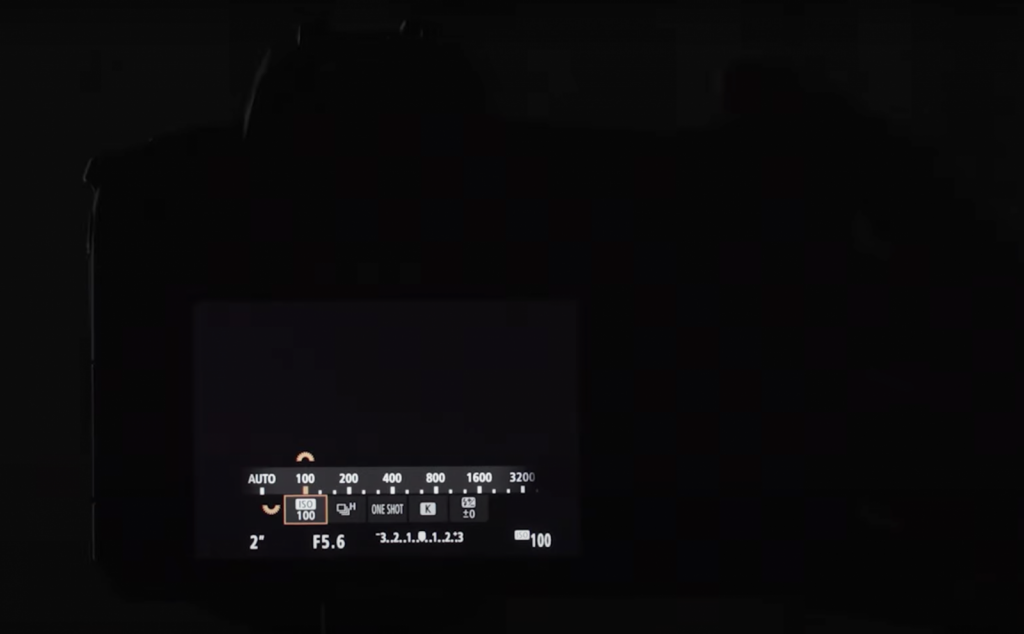
Once we’ve determined our composition, we need to adjust our ambient exposure. Light painting photography shares a number of characteristics with long exposure photography, not the least of which is a slow shutter speed. When it comes to setting your shutter speed, I recommend a setting that coincides with the amount of time you need to get the light movement you want. This will vary, of course, depending on how complex your light pattern is. A simple circle made with an LED Panel can be done quickly, but spelling out a word like “LOVE” will take more time.
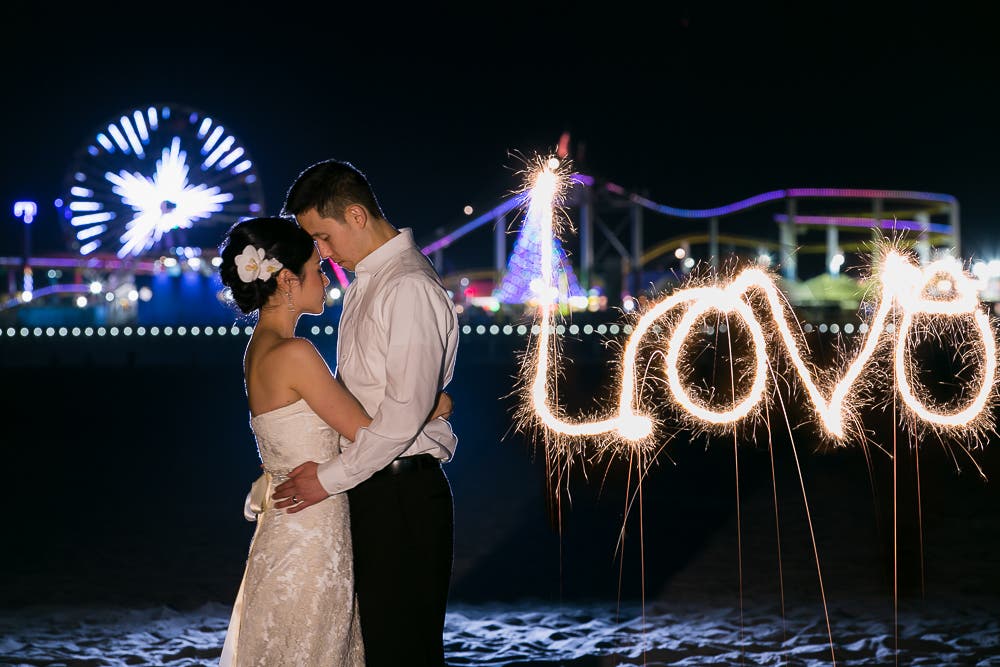
To start, I recommend setting your shutter speed to somewhere between 2-4 seconds. The closer you get to your subject, the shorter your flash duration should be so that you can keep the details sharp. The chances of your subject holding perfectly still for a 10-second shutter speed are slim. Beyond that, keep your ISO low (50-100 is ideal) to minimize noise, and set your aperture between f/5.6-f/10 to help control light.
RAW Files
As you may be aware, capturing RAW files will give you much more flexibility during post-production. This is especially important when working with light painting files as the dynamic range will already be limited. Shoot RAW so that you can do more in post to get the shot you want.
White Balance
While you can experiment with different white balance settings, I recommend going with an auto white balance setting like tungsten or incandescent to start and see how it looks. You can always switch over to another option (such as setting the white balance to 6000K) if necessary.
Tip 6: Add a Light Source
As the name of the technique suggests, we’re going to need to add a light source in order to paint with light. I mentioned a number of options at the top of the article. Your choice may be limited by budget or preference, but you have plenty of options to achieve a variety of results. In the video above, I use a Falconeyes F7 RGB light panel to get the look I’m after. I chose this light because of the control it gave me over the intensity and color of the light, which includes any color on the RGB spectrum. I also discuss how to use your smartphone as a light source in the above video, in case your budget won’t allow for specialty lighting gear.

Keep in mind that you can get different results from a single light source just based on the distance between the light source and your subject. The power of your light source and the speed at which we move our light will determine its brightness and how it paints our subject. In the images above, I changed the look of the light by simply taking a couple steps back from my subject.
Off-Camera Flash
There might be instances in which you’ll want to add flash while light painting to freeze a moving subject. I touched on this briefly in one of the earlier lighting painting photography tips, but I didn’t go into the flash technique. Basically, you can use a rear-curtain sync to fire your flash toward the end of the shutter release and freeze your subject. You will still have captured the motion blur caused by your subject’s movement, but the flash will give your subject a tack-sharp appearance. Check out this video for more details.
Light Painting Photography Tips, #7: Play with Different Light Patterns
Circles, wavy lines, or even words. These represent a few basic patterns that you can create when light painting. In the video above, Lindsay Adler uses a modeling light to spotlight areas in the frame that she wants to highlight to create a painterly look.
As you begin to experiment with different light patterns, you may need to adjust your shutter speed to have adequate time to execute the pattern. We already dialed in our ambient settings in one of the earlier light painting photography tips, but we may need to revisit our settings to keep our desired ambient exposure. Make an effort to keep it on the shorter side, however, ideally between 2-4 seconds, to help minimize any movements your subject might make, despite their efforts to hold still.
Practice Makes Perfect…Shapes
It’s important to realize that you might not get perfect shapes right away. Getting it right may require a few additional takes. Expect to practice for better control and results.
Clothing Options for the Photographer AND the Subject
Regardless of the light pattern you’re trying to create, you’re probably better off wearing darker clothing to help stay out of the shot. As long as you’re moving and you don’t block the light (which can make you appear as a silhouette in the photo), you should be okay. Still, darker clothing will give you better odds.
On the topic of clothing, your subject can wear flashier clothing for lighting effects. See how Lindsay Adler takes advantage of her subject’s shiny suit to capture motion blur in the video above.
Tip 8: Edit for the Final Image
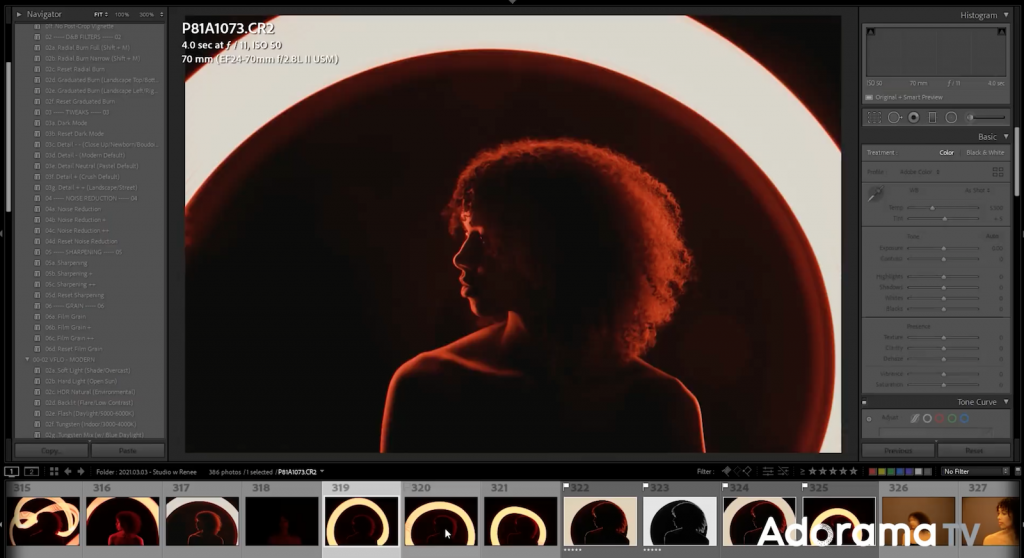
You might’ve nailed the shot in camera, but you might want to make a few tweaks before you call it “finished.” When editing a basic creative light painting portrait, we’ll focus mostly on adjusting the highlights, contrast, brilliance, and colors (all to suit your taste). Because we captured the photo in low light, there’s also a good chance that the image has a bit of digital noise (or grain) in it. A quick luminance adjustment (or a noiseware plug-in) can help here. You can do most of this in LR Mobile. Remember, you don’t have to go crazy. Simple edits are okay.
Conclusion
I hope you enjoyed these light painting photography tips. The more you practice and perfect this technique, the more creative you can get with it. Light painting should open up plenty of new opportunities for your portrait sessions, and your clients will love it.
