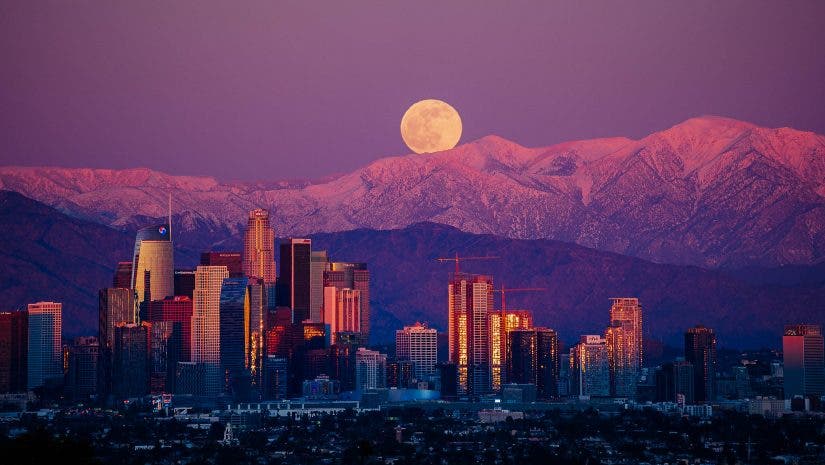
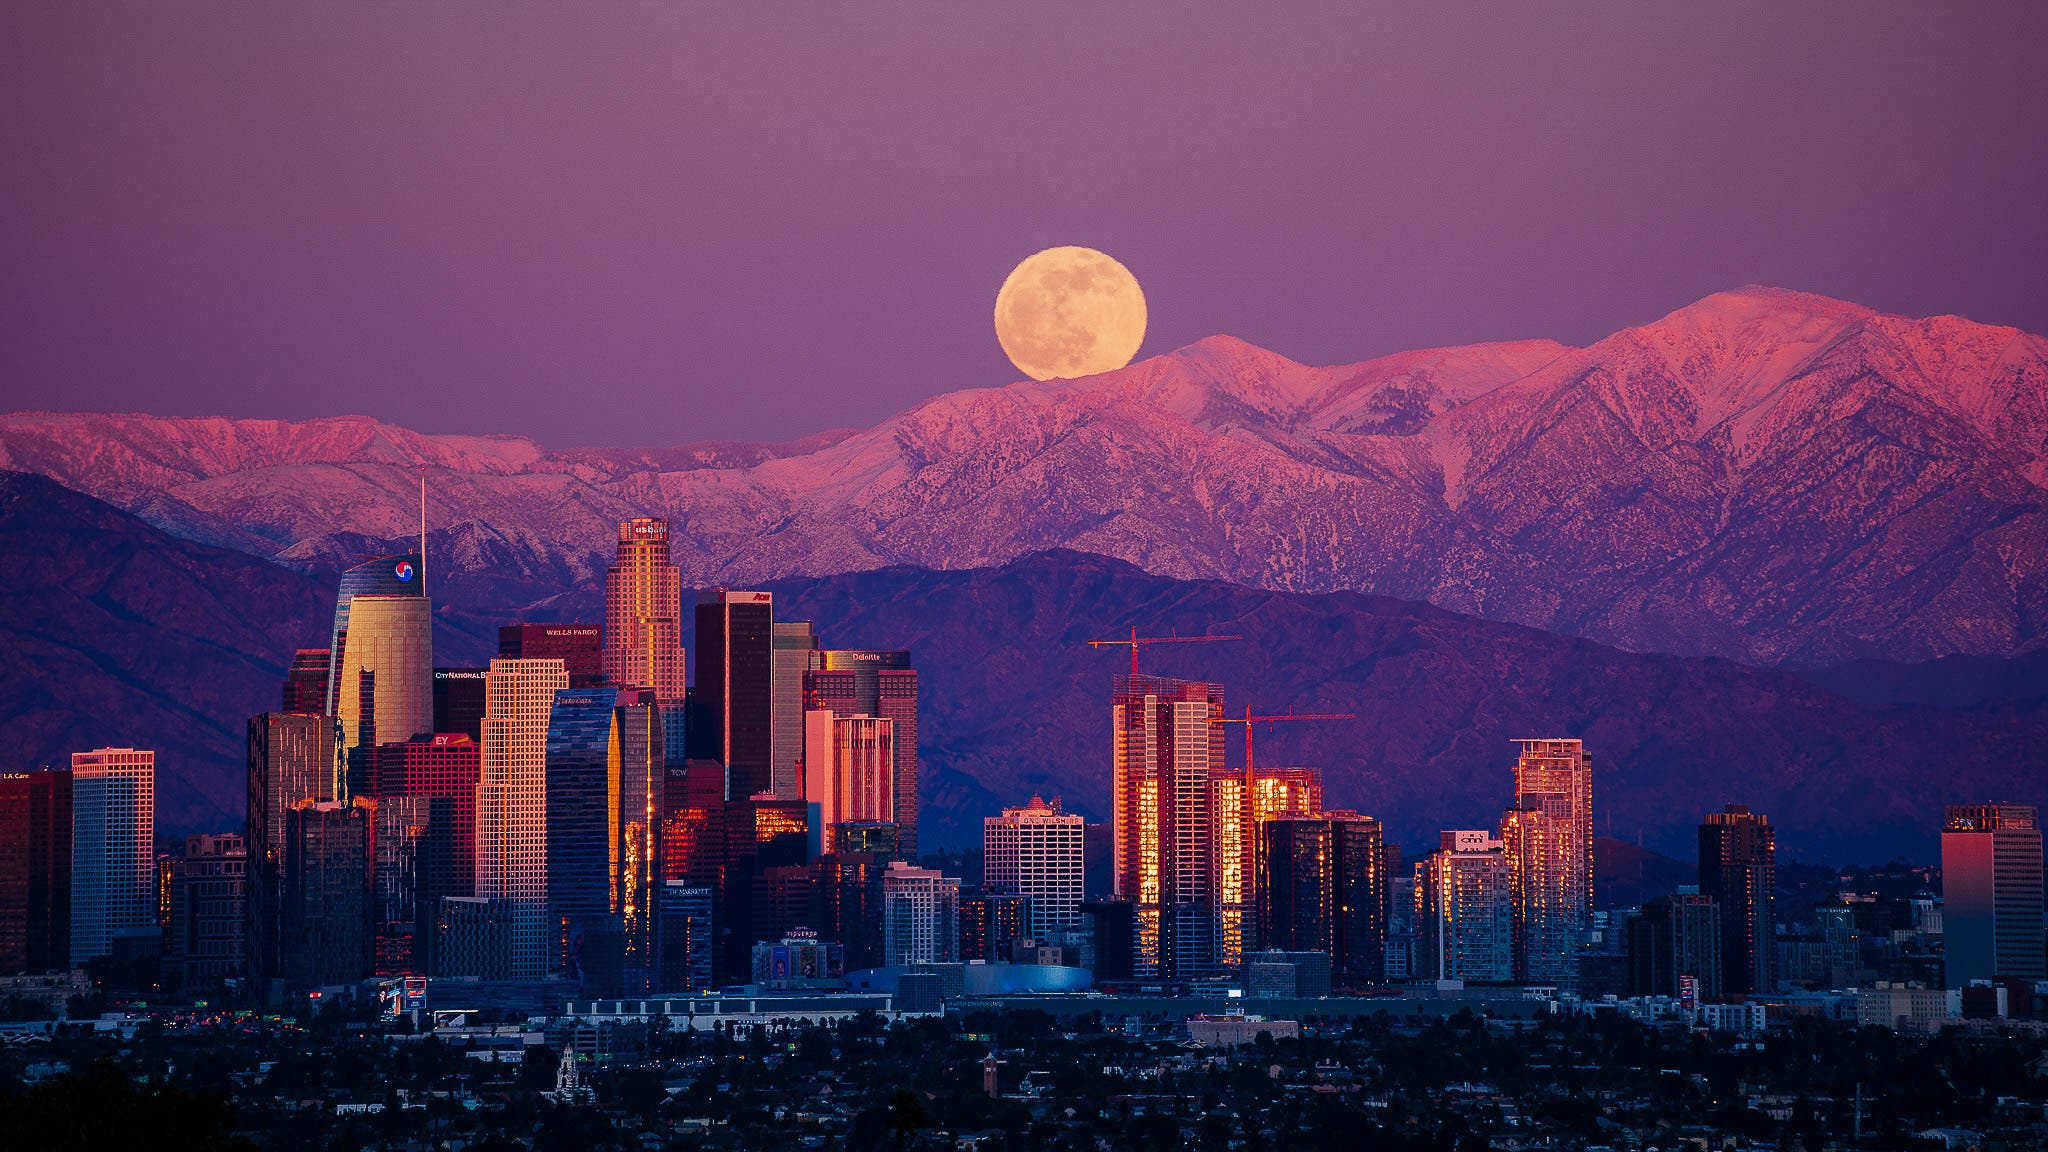
If you’ve ever been confused or unsure about the word “compression” when a photographer is describing an image or a lens, you’re in the right place! This article will give you a technical explanation of what lens compression is and how to use it. Just as importantly, we’ll provide creative examples so you can get an idea of how it will appear in your own images.
When used correctly, compression is one of the most powerful tools in photography. However, many photographers either never understand it or find it too confusing to truly master. We’re going to solve that problem right now.
What is Lens Compression in Photography?
Lens compression can sound complicated and confusing when highly technical photographers try to explain it, however, it is really quite simple! Here’s the basic idea: If your image has a clear subject and a clear background, then you can make the background appear bigger by backing up and zooming in. It really is that simple.
To get a little more technical, compression is possible because virtually all images have three specific distance measurements:
- Camera-to-subject distance
- Subject-to-background distance
- Camera-to-background distance
All three of these distances need to be significant in order for images with lens compression to be possible.
The Secret to Lens Compression Photography (Technical Explanation)
Here’s the secret trick: Lens compression is created when there is not just a lot of distance between you and your subject, but also, a significant distance between your subject and the background.
In other words, lens compression isn’t possible if the background is right behind your subject! Ideally, the background must be at least twice as far away.
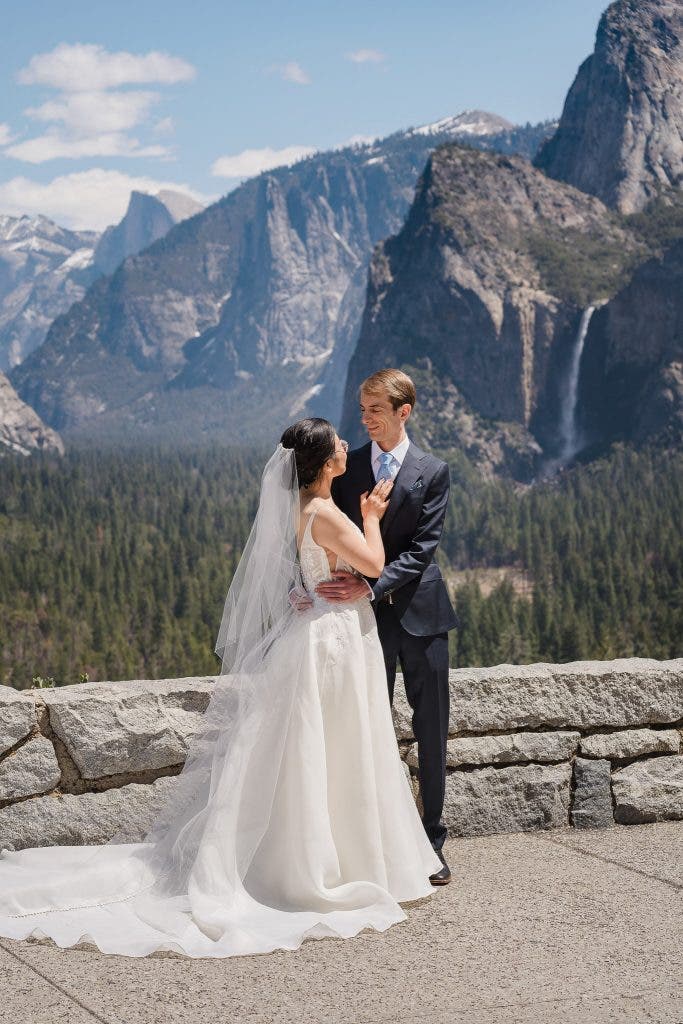
In the scene below, the subject is just a few feet away from the camera, while the background is over a mile away:
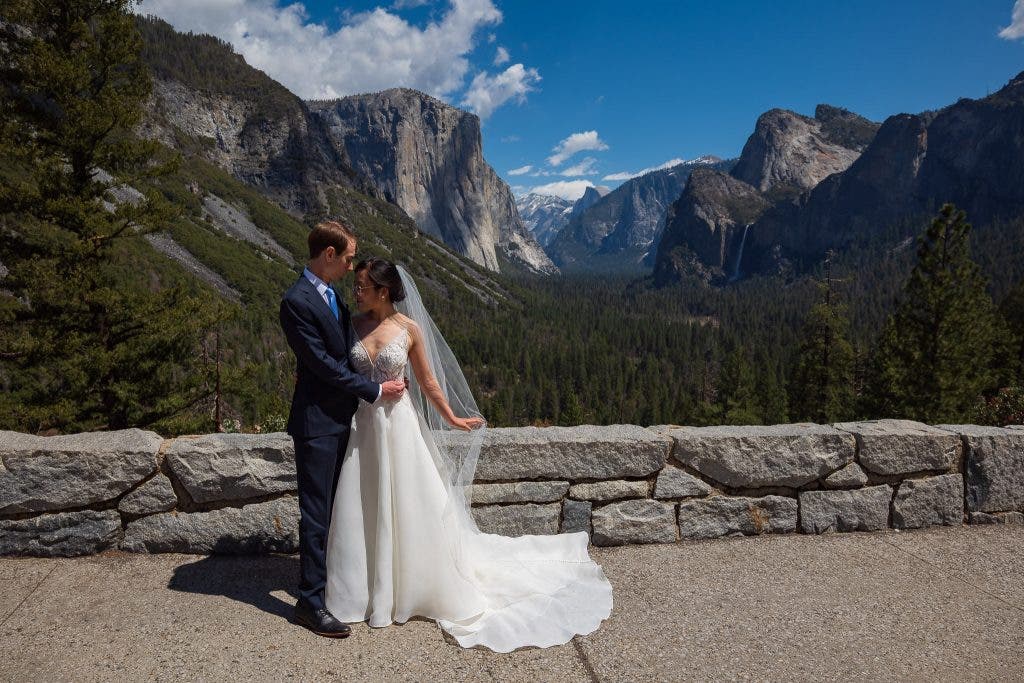
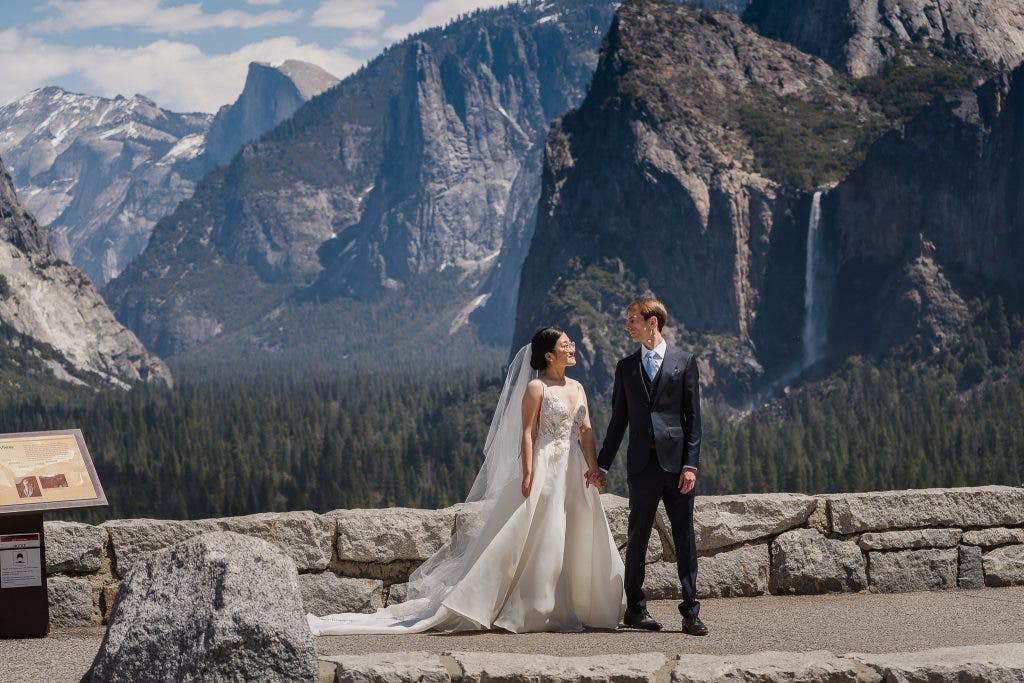
For example, let’s say there are some distant mountains that are many miles/kilometers away and a human subject that is a few yards/meters away. If you have a 70-200mm or 70-300mm lens, and you frame a full-body portrait at 70mm, the background will appear a certain way.
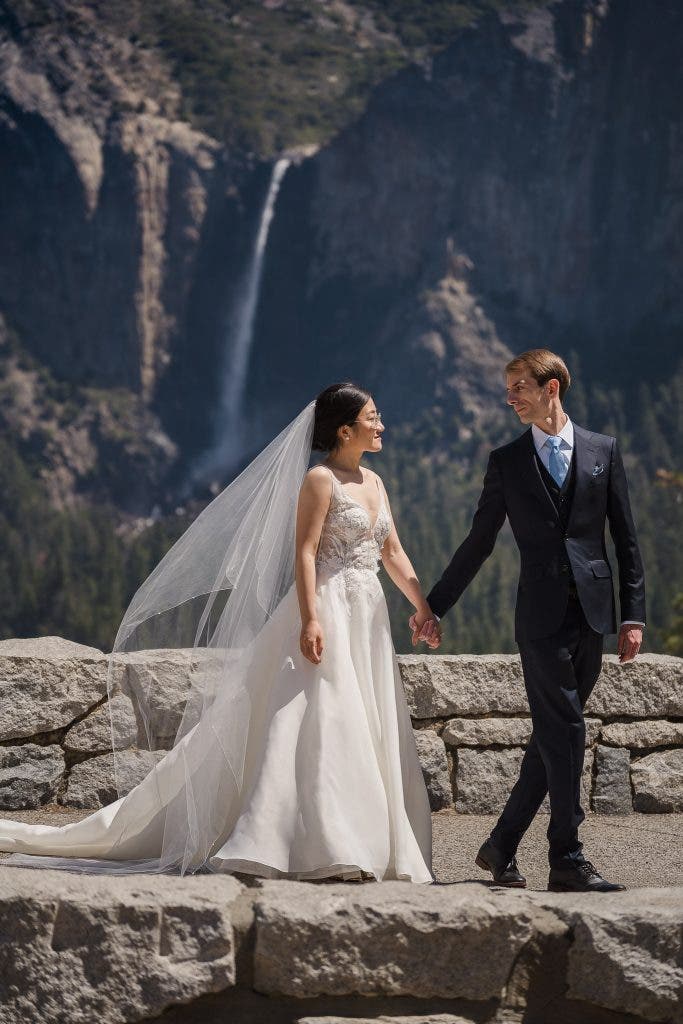
If you zoom in to a focal length of 200mm or 300mm, without moving, then of course you’ll have a more close-up image of everything. So, after zooming in, back up far enough to re-frame your subject the same as you did at 70mm. Those very distant mountains will now appear huge in the background! This is because backing up just a few yards/meters had a significant effect on the framing of your subject, but almost no effect on the distant, near-infinity mountains.
This simple technique is all you need to capture “real” photos of mountains, skylines, the moon, or other distant objects and make them appear to be looming over your main subject. (As opposed to “just photoshopping it” and adding/enlarging those mountains or the moon!)
Photo Examples
Here are some basic examples of lens compression, with important information that you’ll want to take note of. Specifically, the focal length plus approximate distances to each subject and background:
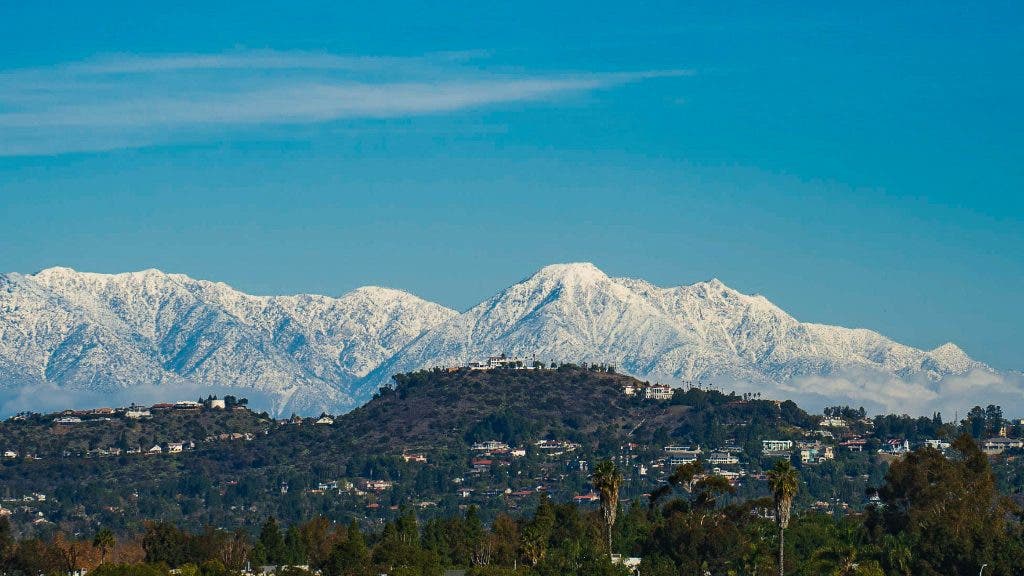
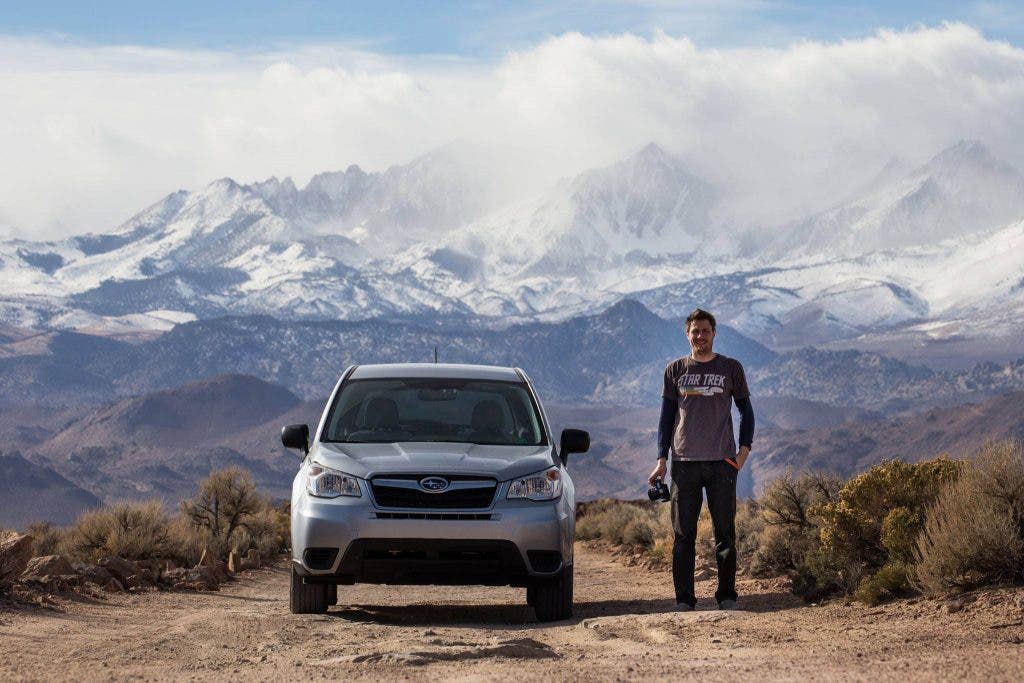

NOTE: Does lens compression require a certain aperture? Nope! The effect of lens compression is all about your focal length, AKA your angle of view. For this reason, any telephoto lens will do, including “kit” 55-200mm or 70-300mm lenses with a variable aperture. The image below was captured with the ~$500 Tamron 70-300mm f/4.5-6.3 Di III RXD on a Sony A7 III, a perfectly portable, sharp lens for landscape and travel photography.
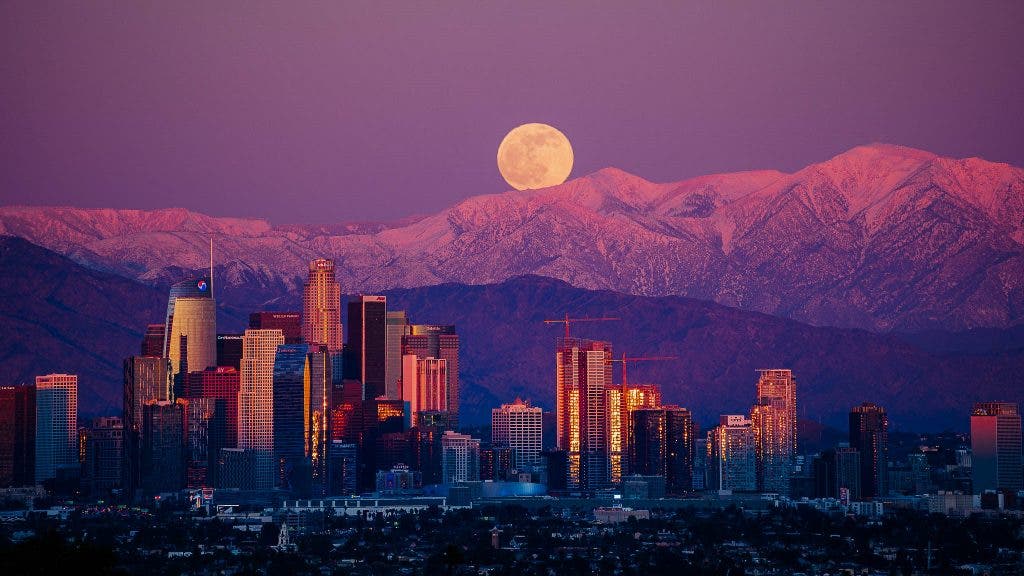
In fact, stopping down your aperture to at least f/5.6 or f/8 is often going to make your images’ compression even more dramatic. A blurred background can actually be distracting for landscapes and nature, though not as much for portraits.
How To Create Lens Compression Photographs
The trick to mastering lens compression is to simply practice. Grab your telephoto lens, find some near and far subjects, and work on understanding the distances and how they “bring the background closer”. Here’s a quick guide to which focal lengths are a good starting point, depending on your camera sensor:
- Full-frame sensors: start at 135-200mm
- APSC sensors: start around 85-135mm
- Micro Four Thirds sensors: start around 75-100mm
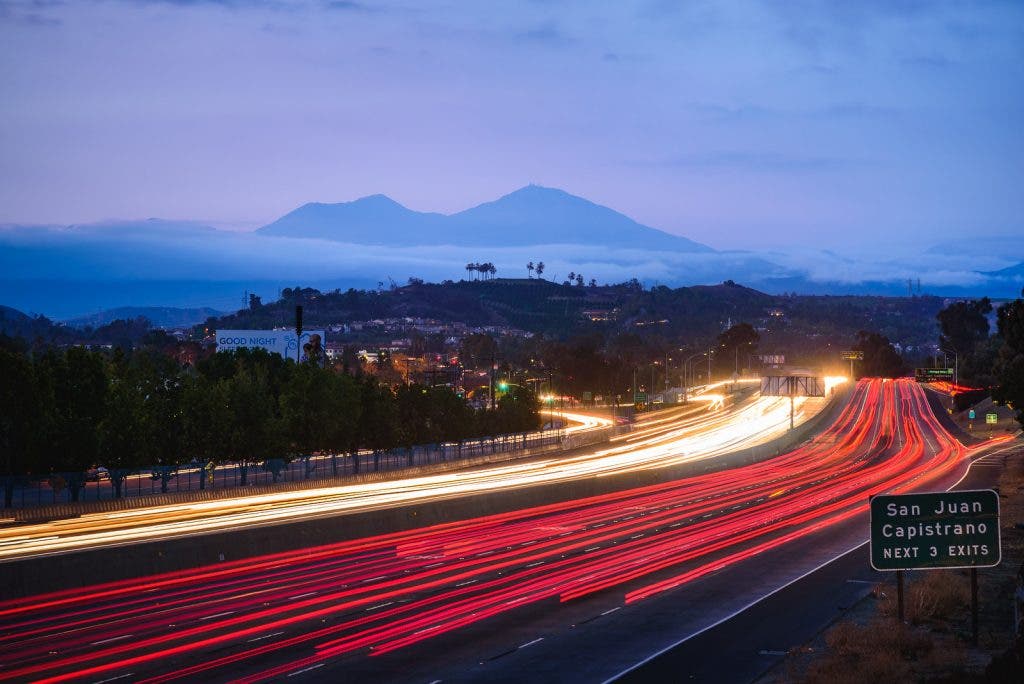
With such focal lengths, you will likely need to back up, away from your subject, until you can frame them however you want. Next, make sure that the background is at least the same distance behind your subject as the distance between your camera and your subject. In other words, your background should be at least twice as far away from you.
If you don’t see much compression yet, back up and zoom in even more. Alternately, you may have to find a different background that is farther away from your subject. Bonus points if your background is near infinity!
This basic setup of a distant subject, an even more distant background, and a telephoto focal length will create the perfect opportunity for at least a little bit of lens compression.
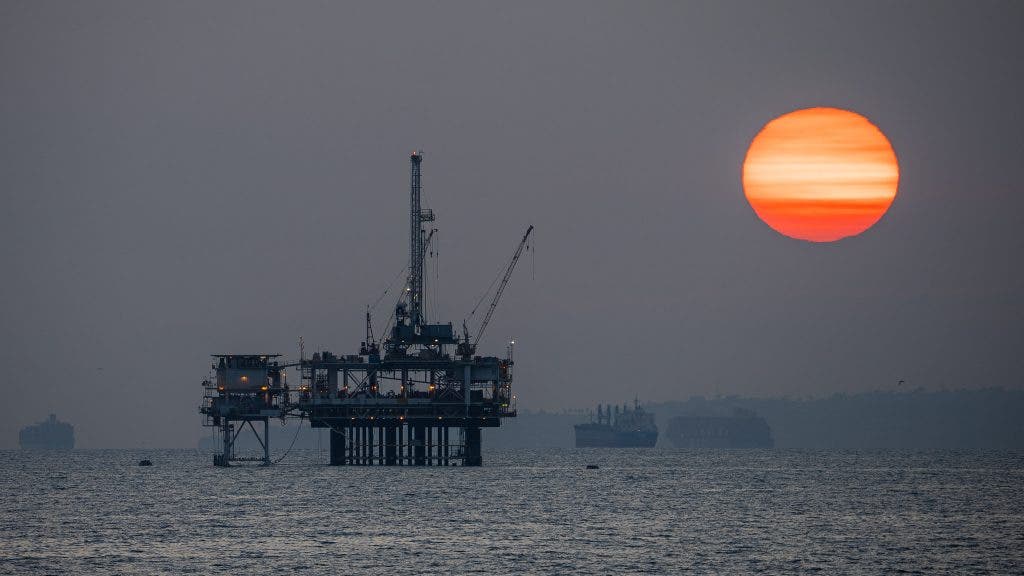
The greater the distance between you and the background, and the more zoomed in your lens is (e.g. 300mm), the “bigger” your background will get!

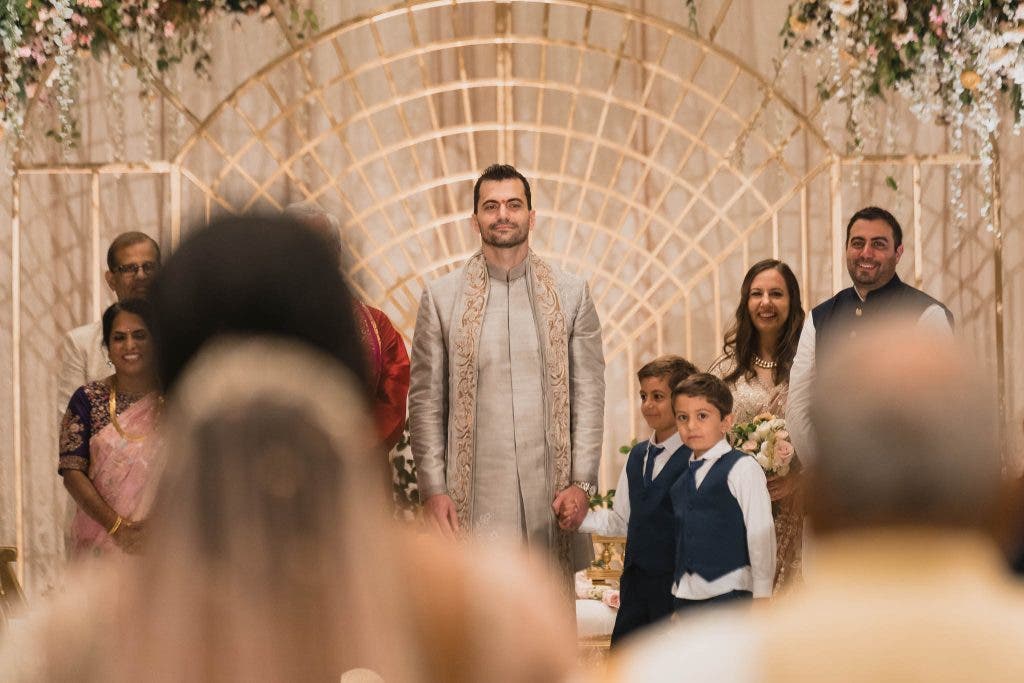
NOTE: lens compression works the same if your subject is actually the farthest object, and you want to make it appear prominent in the frame compared to a foreground element.
Conclusion
Indeed, you do not need an expensive lens or a high-end camera to create the impressive effects of lens compression. In fact, any telephoto lens will do! Also, believe it or not, your ability to compress a background will improve when using a smaller sensor camera.
With practice, you’ll learn where to stand and which focal length to choose to create images with impressive lens compression!
The most important thing is to understand distances, and how different focal lengths affect the different types of shooting conditions. With this basic understanding, you’ll easily master lens compression as a powerful creative tool.
