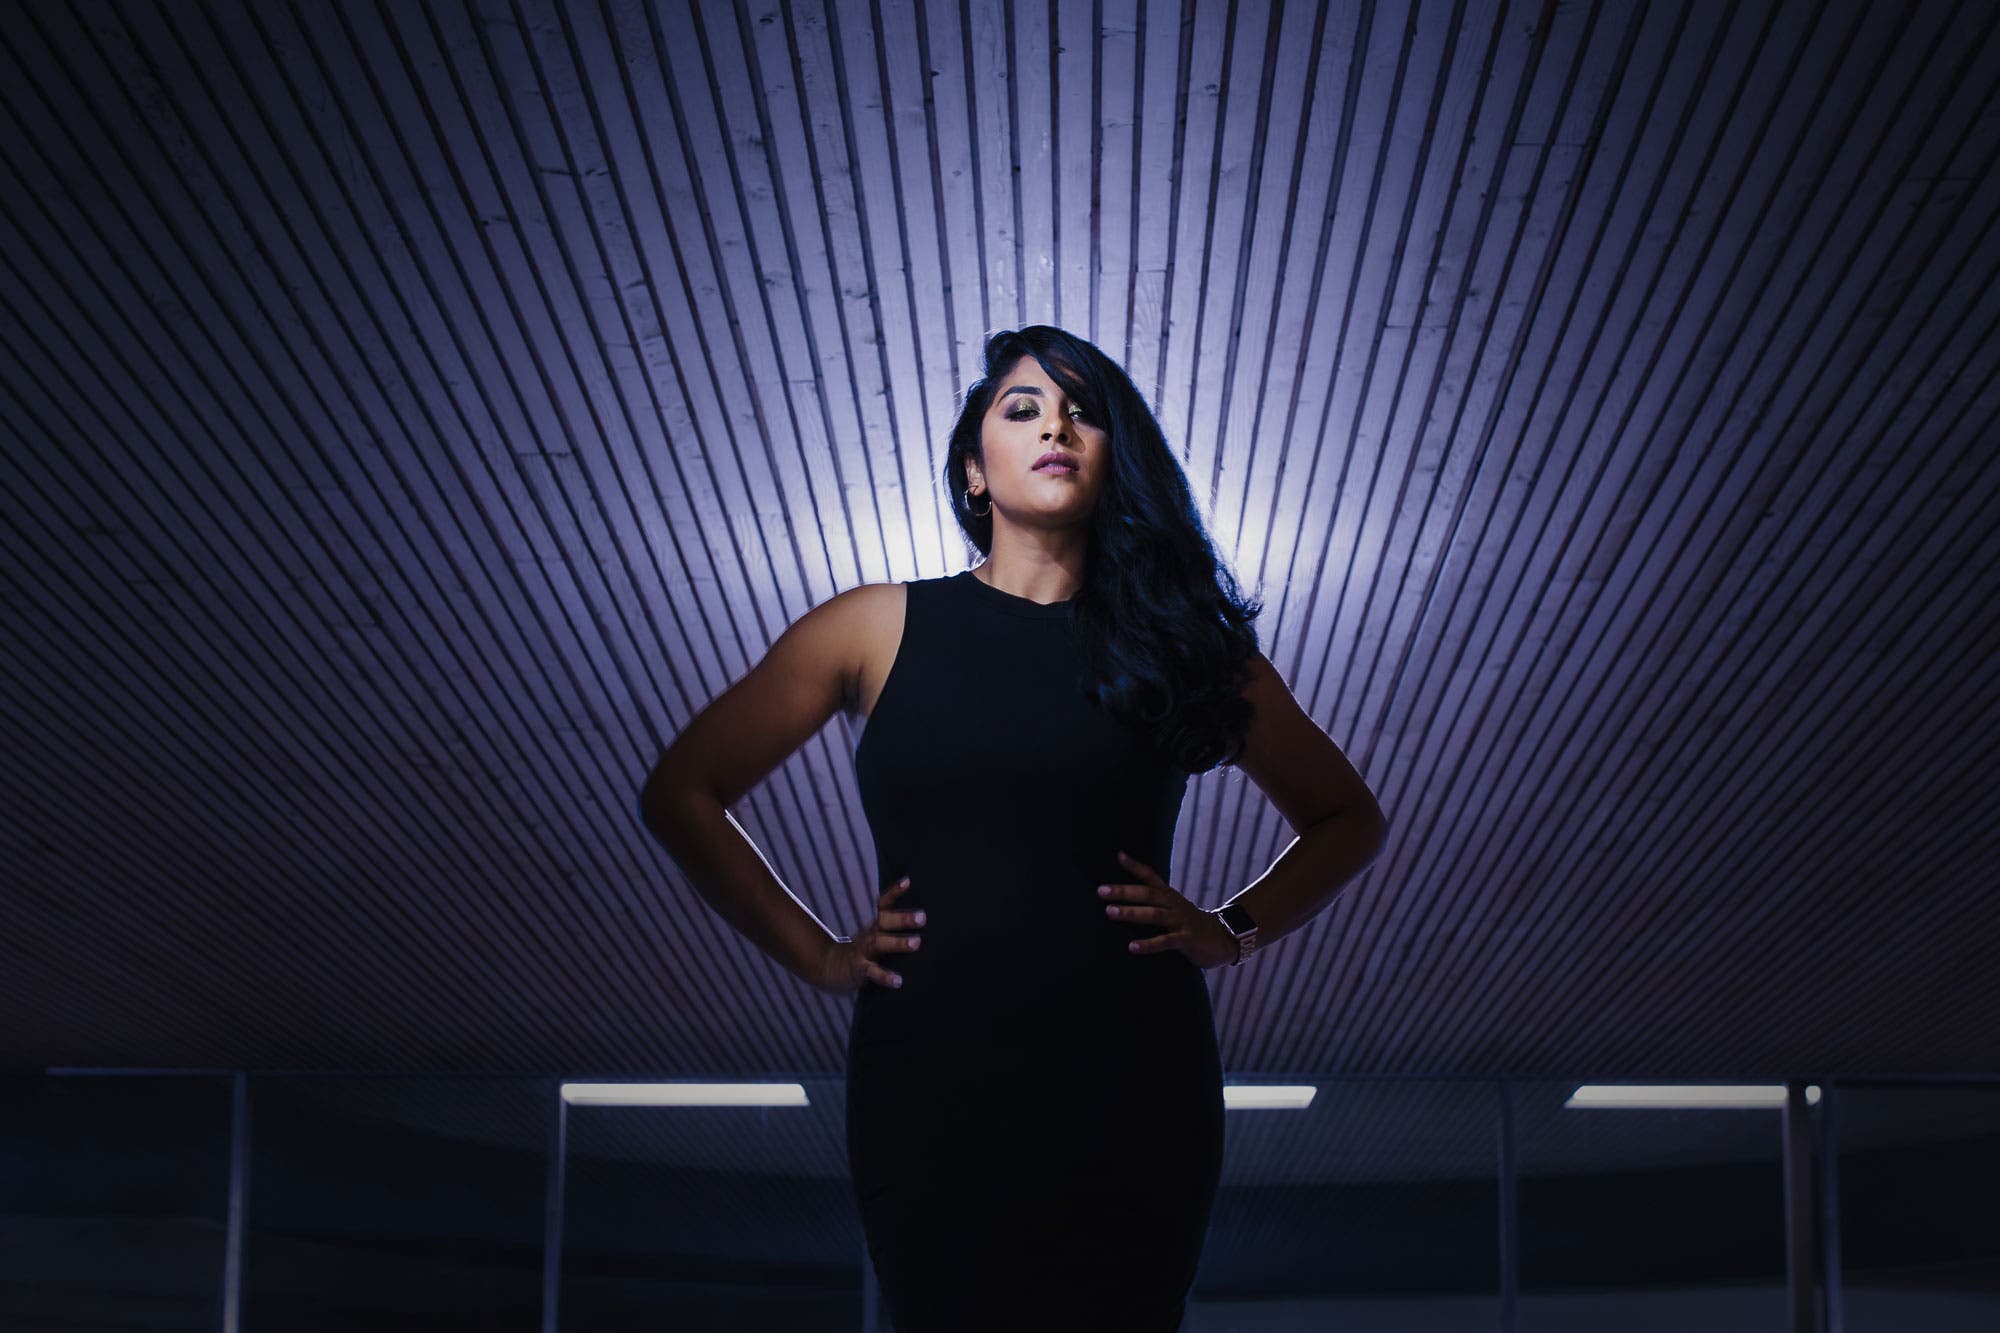
While light provides a means for creating photographs, composition gives our imagery meaning. In fact, the difference between ordinary and extraordinary photos often comes down to composition. Whether we realize it or not, we make several compositional choices with every picture we take. For example, even in a basic point-and-shoot photo, we frame our shot and choose what to leave in or out. The key to taking better photos, really, lies in understanding compositional tools and using them intentionally. In this article, we’re going to focus on one compositional tool that photographers in all genres use to great effect to direct a viewer’s eyes to a specific focal point in an image: leading lines. That said, here are 6 leading lines photography tips and examples that you can start using today to capture better photos.
6 Leading Lines Photography Tips and Examples – List
- Know Where to Find Leading Lines
- Shift Your Perspective
- Use Lines to Add Depth
- Frame It Again (and Again)
- Create the Impossible with a Double Exposure or Composite
- Bonus Tip: Combine Compositional Techniques
Tip #1: Know Where to Find Leading Lines
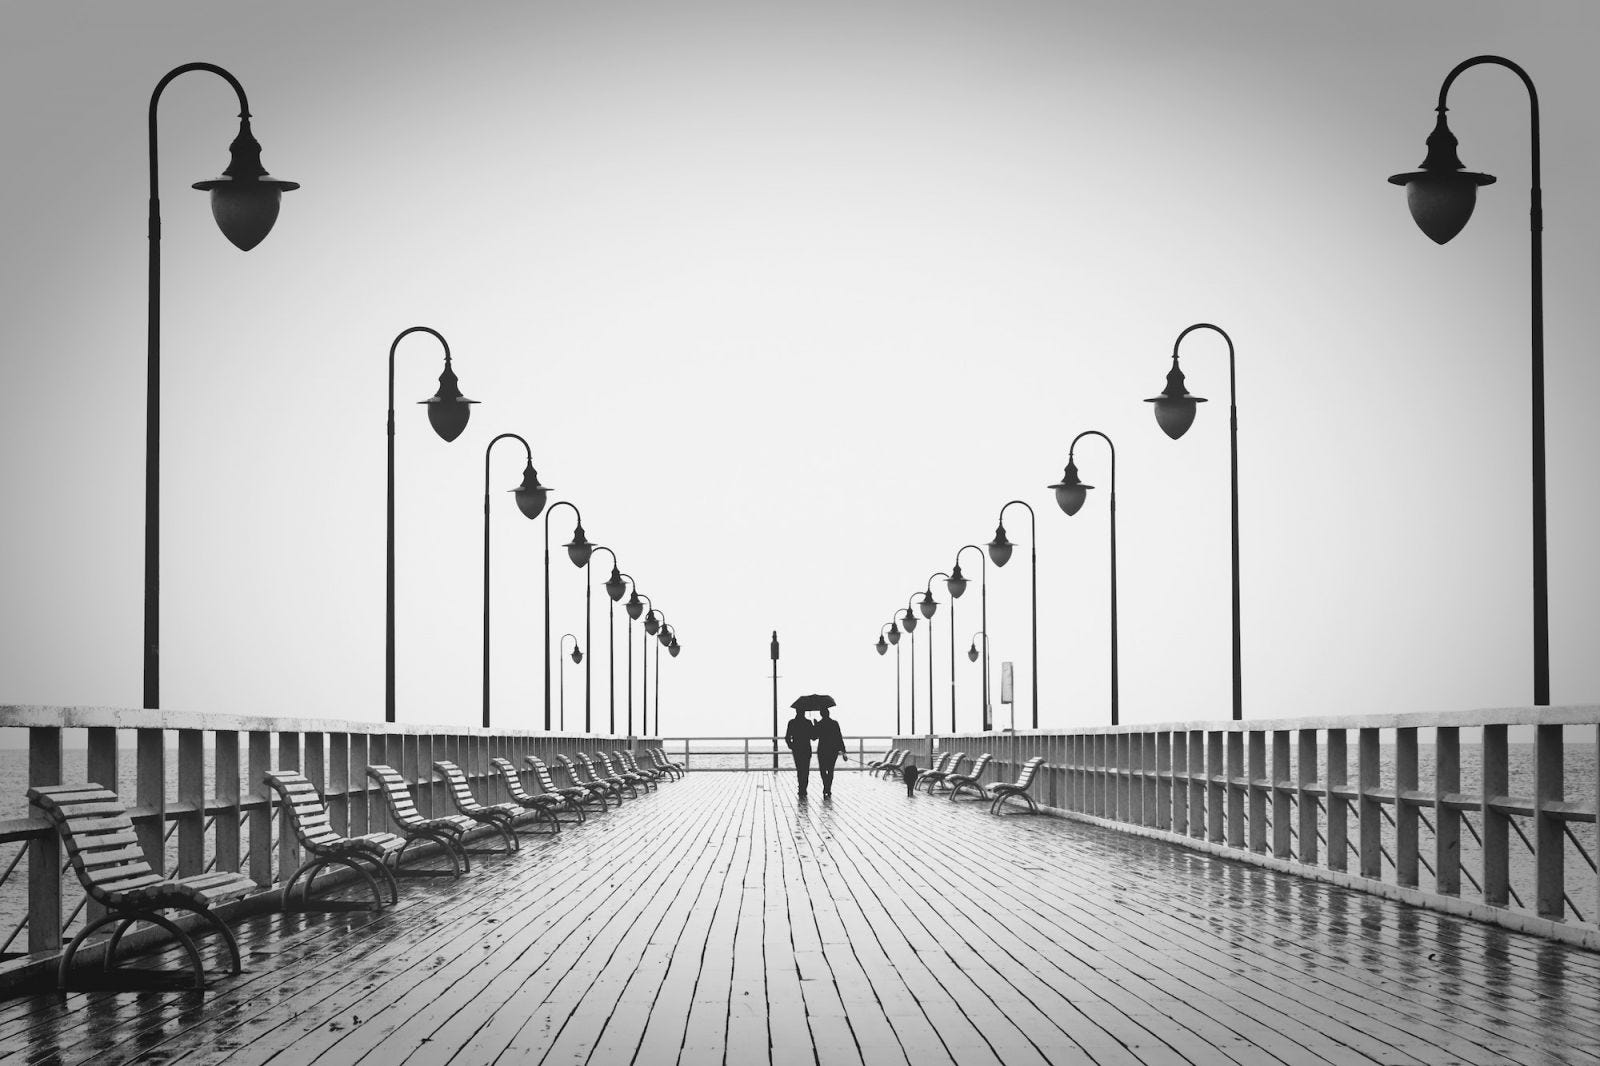
Take a quick look around, and you’ll no doubt find a number of leading lines in your location. Some of the more common leading lines you’ll find include roads or sidewalks, bridges, piers, railroad tracks, stairs, frames, walls, hallways, alleys, buildings, and so on. One thing all of these things have in common is they contain lines that naturally exist in the scene. These lines often converge, leading the viewer’s eye to a specific focal point in the image. Refer to all of the images in this article for examples of leading lines photography.
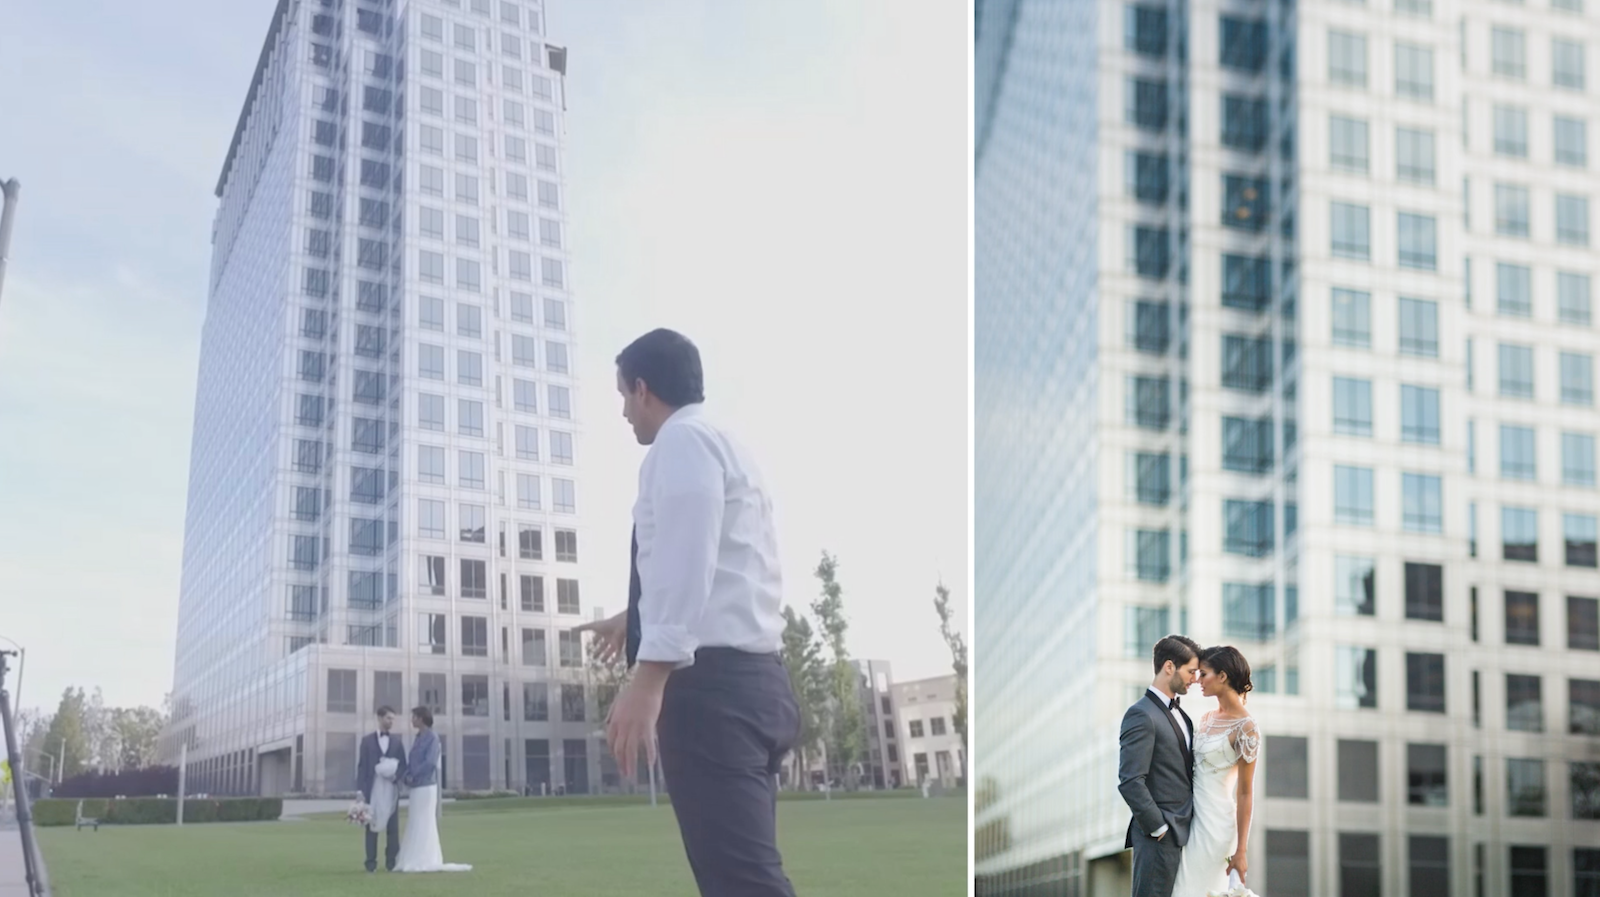
Keep in mind that leading lines don’t always have to be glaringly obvious to produce the desired effect. In the photo above, you’ll find plenty of lines, but the darker column of windows in the background building adds extra emphasis to the lines that direct our attention to the couple at the bottom of the frame. I used the Brenizer method and stitched together multiple wide aperture images in post to create a single panoramic image. The shallow depth of field serves as an additional means to draw attention to the couple.
Leading Lines Photography Tip #2: Shift Your Perspective
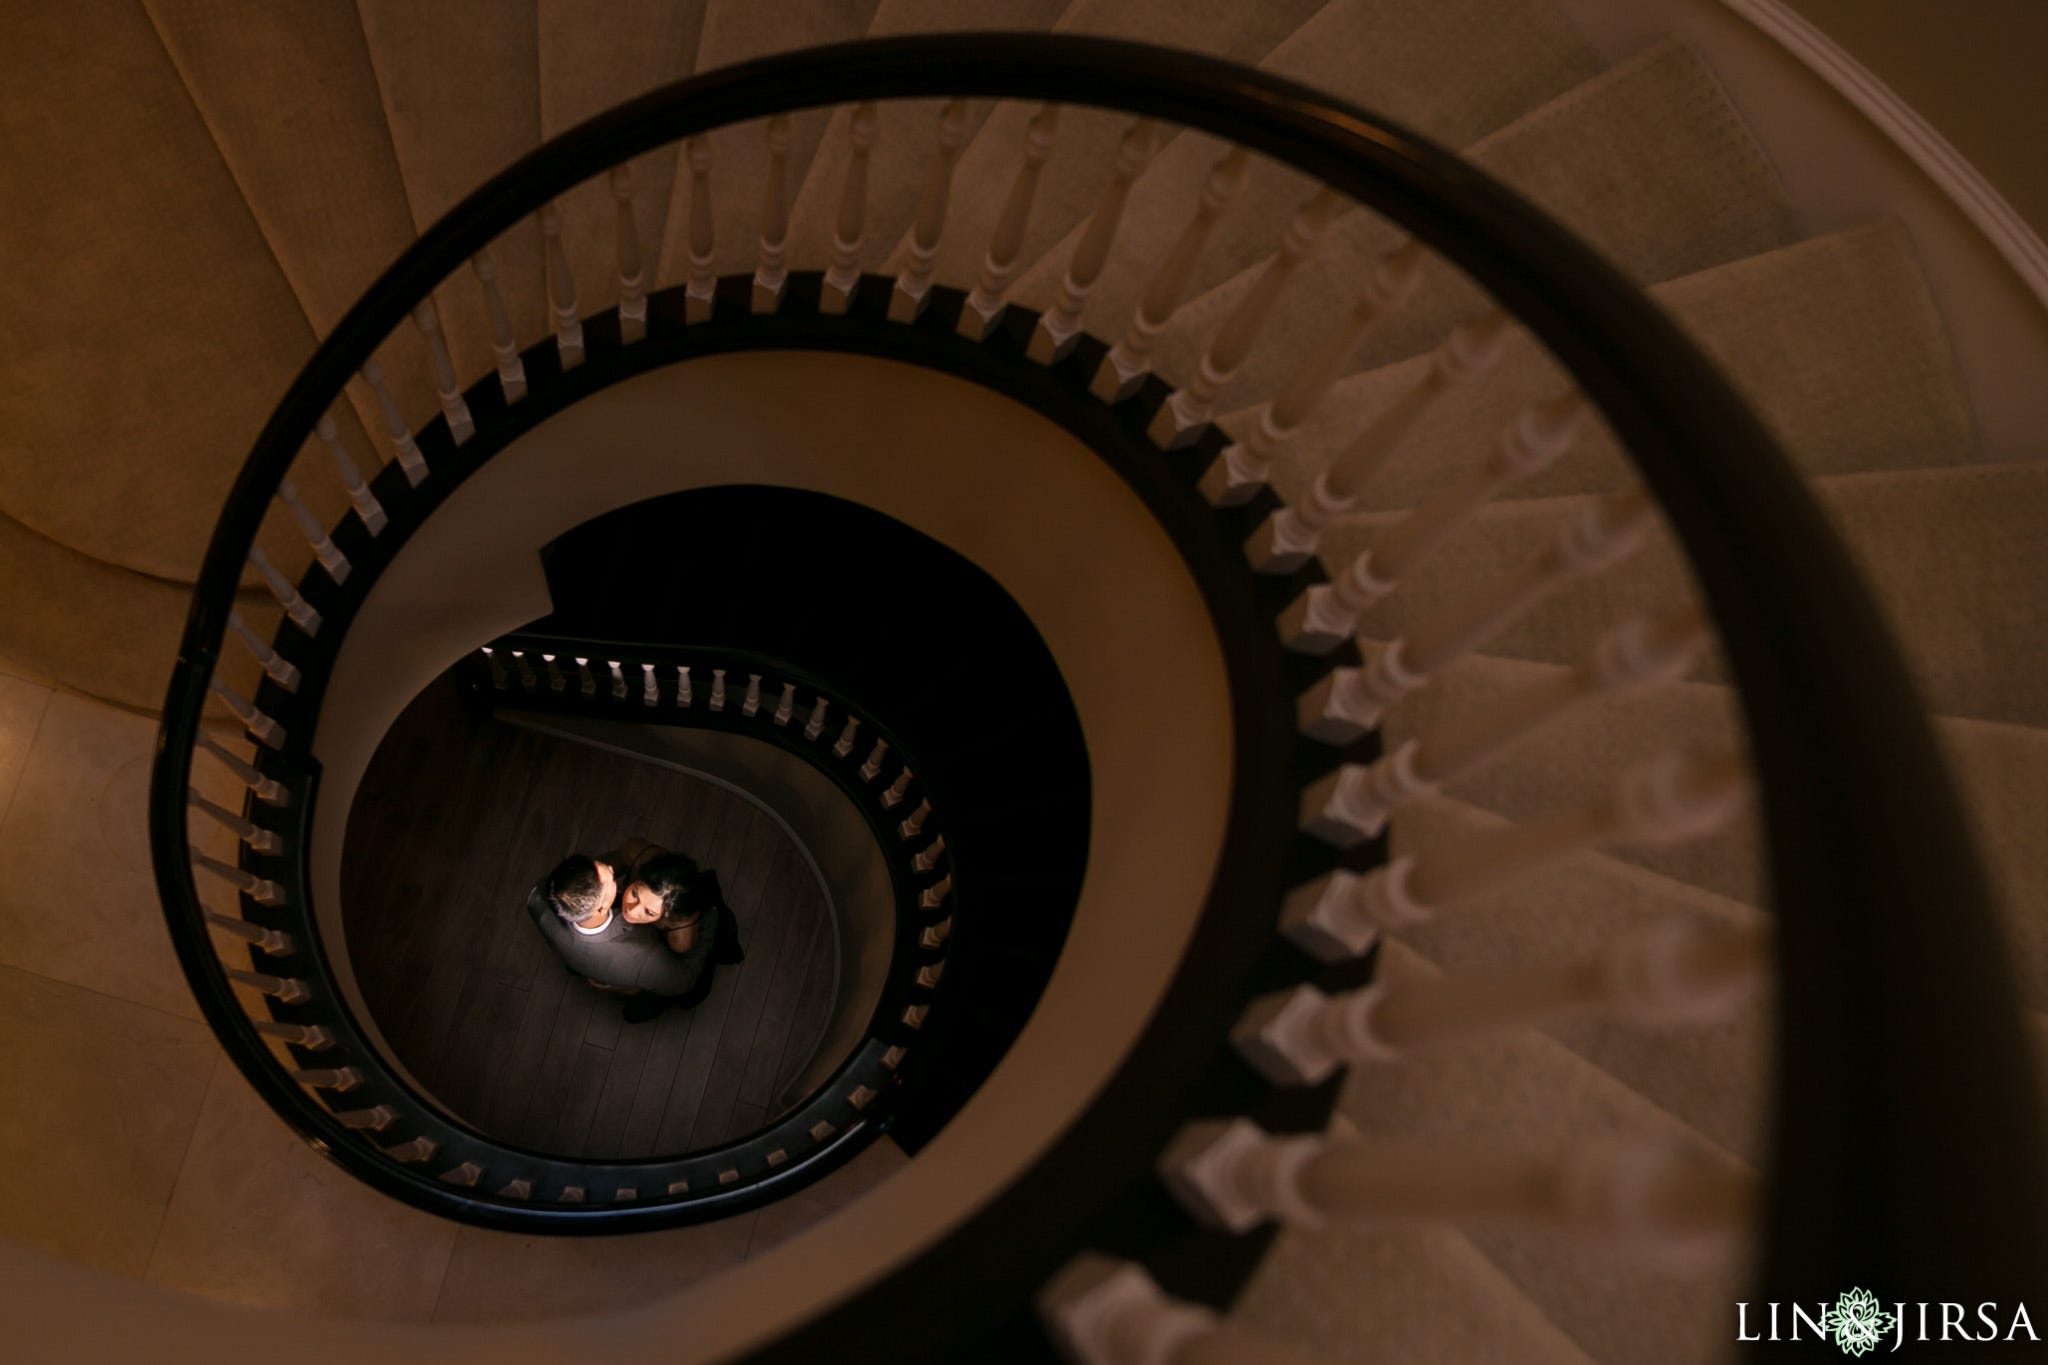
With a simple shift in our perspective, we can create unique imagery in any scene. For example, looking up or down as opposed to straight ahead changes how we see the world, or certainly how we expect to see the world. Consider a spiraling staircase, for instance. Looking down over the railing from the top of the stairs, we can place our subjects in just the right spot in the frame and effectively use the spiraling rail as a leading line. Place your subjects at the point of convergence to ensure that your viewer reaches your intended focal point.

Here’s another example of using leading lines from a unique perspective to further captivate our viewers. In this overhead image, we can’t help but follow the lines of travertine stone directly to the subject in the center of the frame. Her bright orange swimwear also pops as a complementary color to the blue water, further commanding our attention.
Tip #3: Use Lines to Add Depth
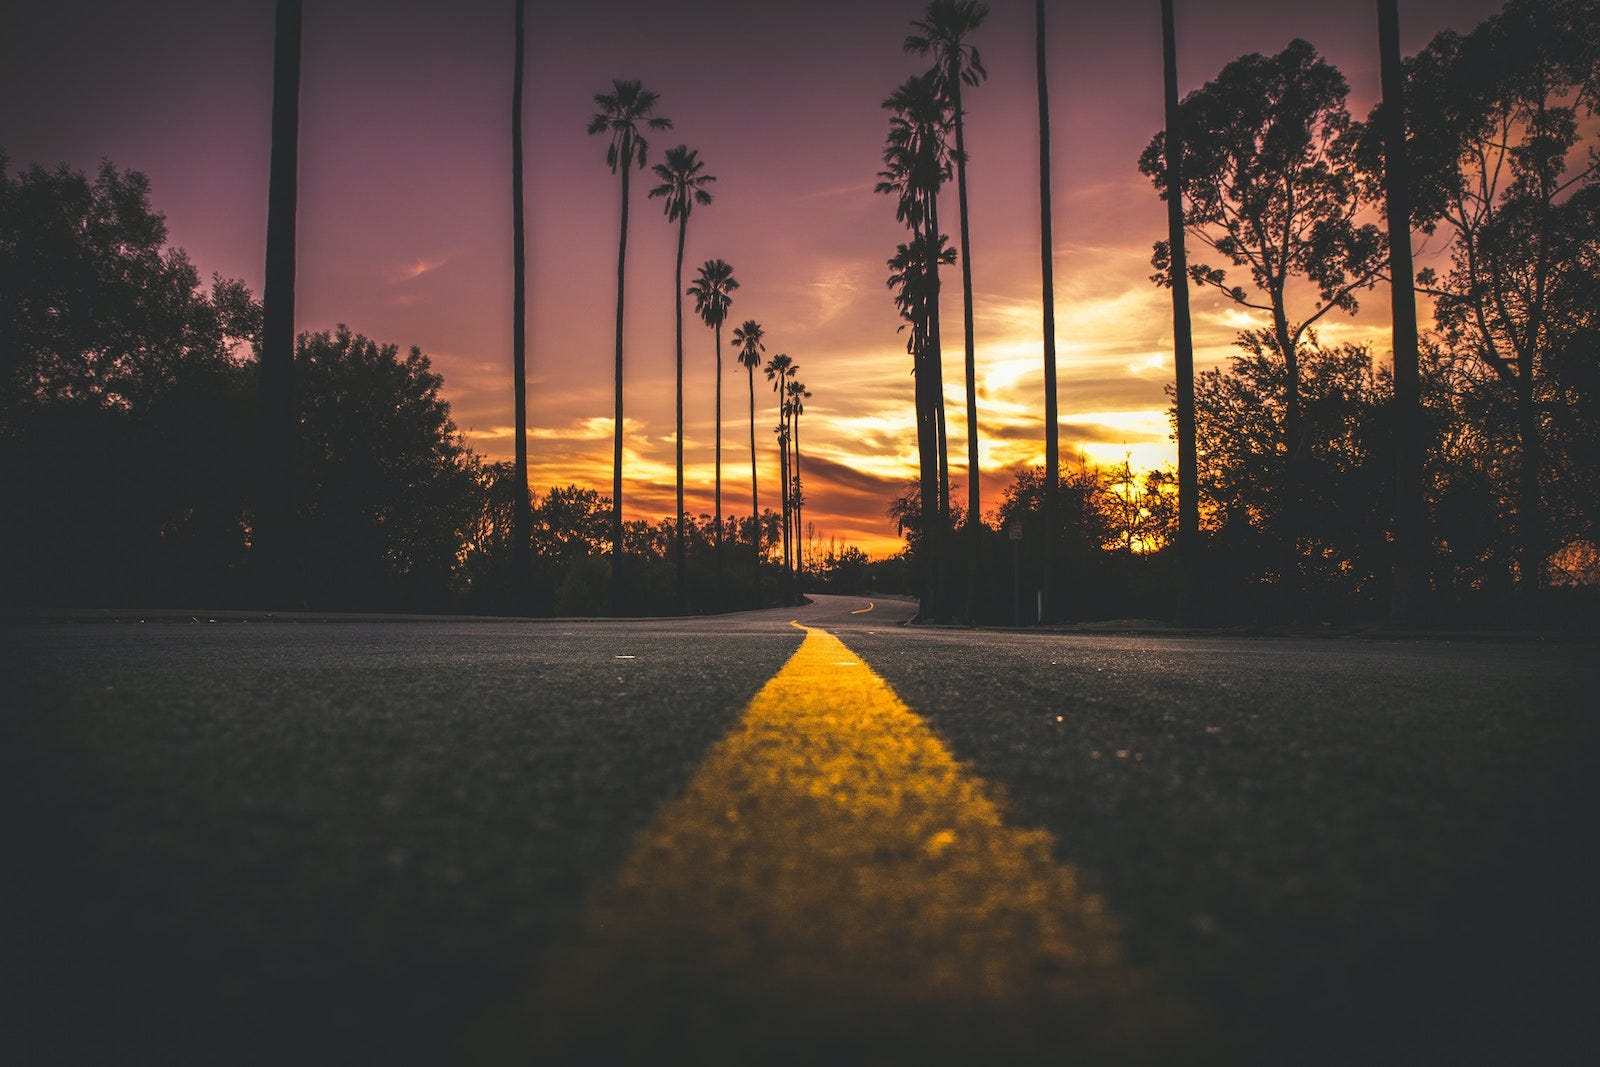
Photographs inherently exist in 2D, but we can use lines in our frame to add depth. Artists have long used linear perspective to create distance between subjects (or subjects and the viewer) in an otherwise flat medium. Roads, bridges, and railroad tracks work perfectly to add depth and emphasize scale because they usually exist in wide open spaces.

One way to use lines to add depth involves framing the image so that the leading lines extend from the foreground. Depending on your camera settings, you can exaggerate the effect further with a wide open aperture for shallow depth of field. In the image above, I placed the camera low to the ground to bring more attention to the lines that lead directly to our subject on the pier. The lines in the background, from the railing, also provide a nice framing effect.
Leading Lines Photography Tip #4: Frame It Again (and Again)
This is something we should pretty much always do. Work a scene for multiple angles (wide, medium, tight) before moving on to a new spot. Doing so gives us more options to put together better album or blog spreads. Taking this storytelling approach can also lead to increased revenue when selling prints to clients. When practicing leading lines photography, you’ll find that even the slightest variations in framing can profoundly impact the image. Let’s take a look at some of the ways we can frame and reframe our images using leading lines.
Change Your Lens
The quickest ways to reframe a scene include changing your lens or moving your position in regards to the subject. Because of certain lens characteristics (such as lens distortion), however, changing your lens – or focal length – can have more of an impact. For example, try switching from a wide angle lens (16mm, which accentuates lens distortion when used at close distances) to a telephoto lens, somewhere in the 70-200mm range. The latter will compress the background more and tighten the crop around your subject, giving the image an entirely different look.
Check out this video from Bryan Peterson on Adorama TV for a great example of the vastly different looks you can get by changing your focal length and perspective while using leading lines in your photography.
Place Your Subject Near the Top of the Frame

In addition to using a wide angle lens, you can exaggerate foreground by placing your subject near the top of the frame. We saw this above in the tip about using leading lines to add depth to a photo. Placing your subject near the top of the frame builds on that concept.
Emphasize Symmetry
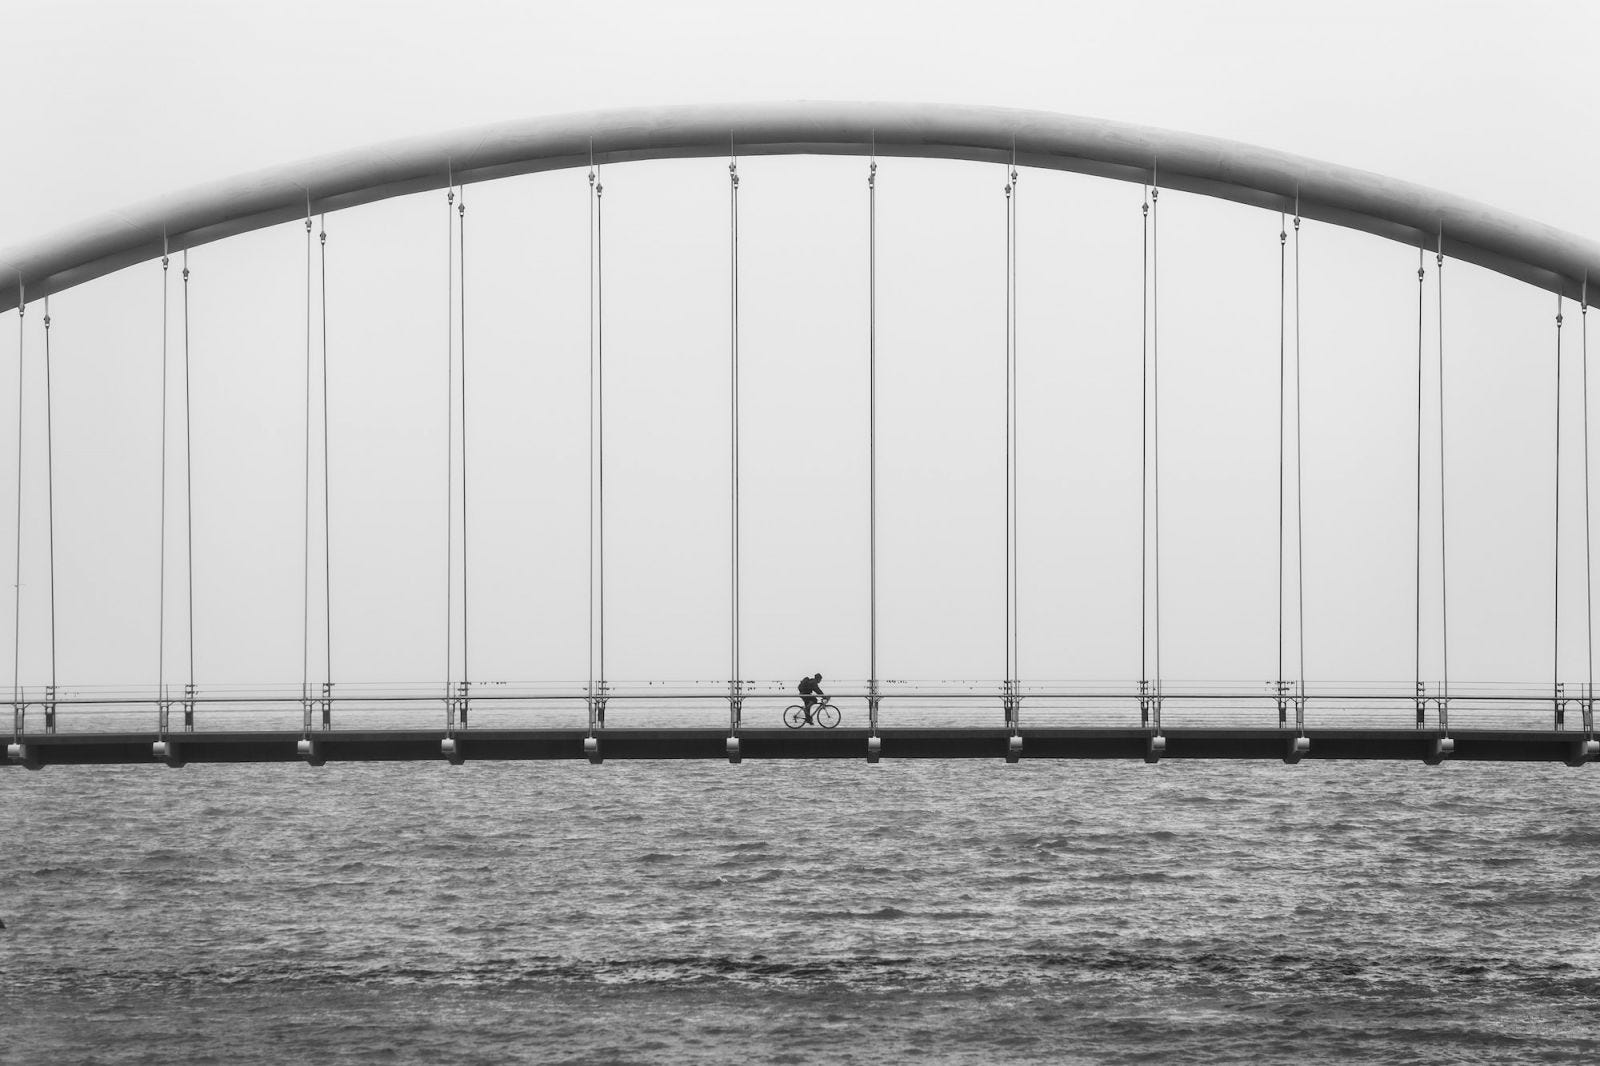
We’re naturally drawn to symmetry, so it makes sense to use it in our photography. Leading lines provide one of the best means for creating symmetrical patterns. Symmetry adds a sense of balance, and we can find it in unexpected places if we know what we’re looking for.
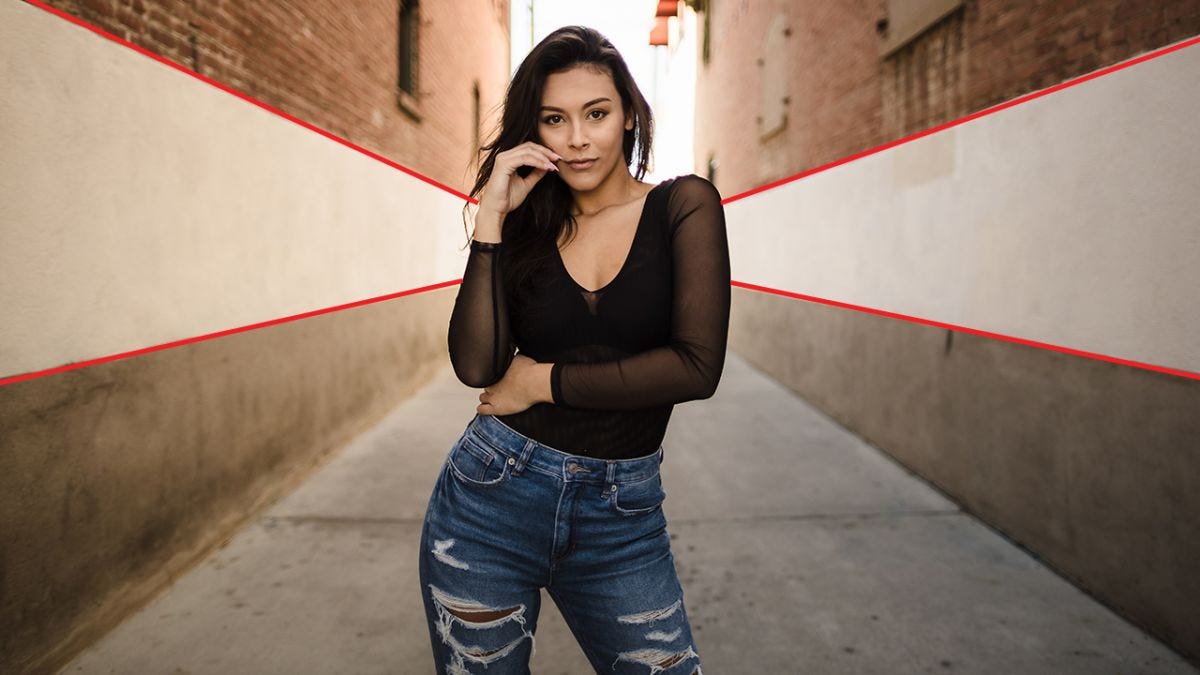
In the photo above, I placed the subject in the center of the frame and used the lines on the walls of the alleyway to draw the viewer’s attention to my subject. She also happens to occupy the brightest area in the center third of the frame. You’ll notice most of these images combine compositional techniques, which I’ll talk about specifically in Tip #6 below.
Tip #5: Create the Impossible with a Double Exposure or Composite
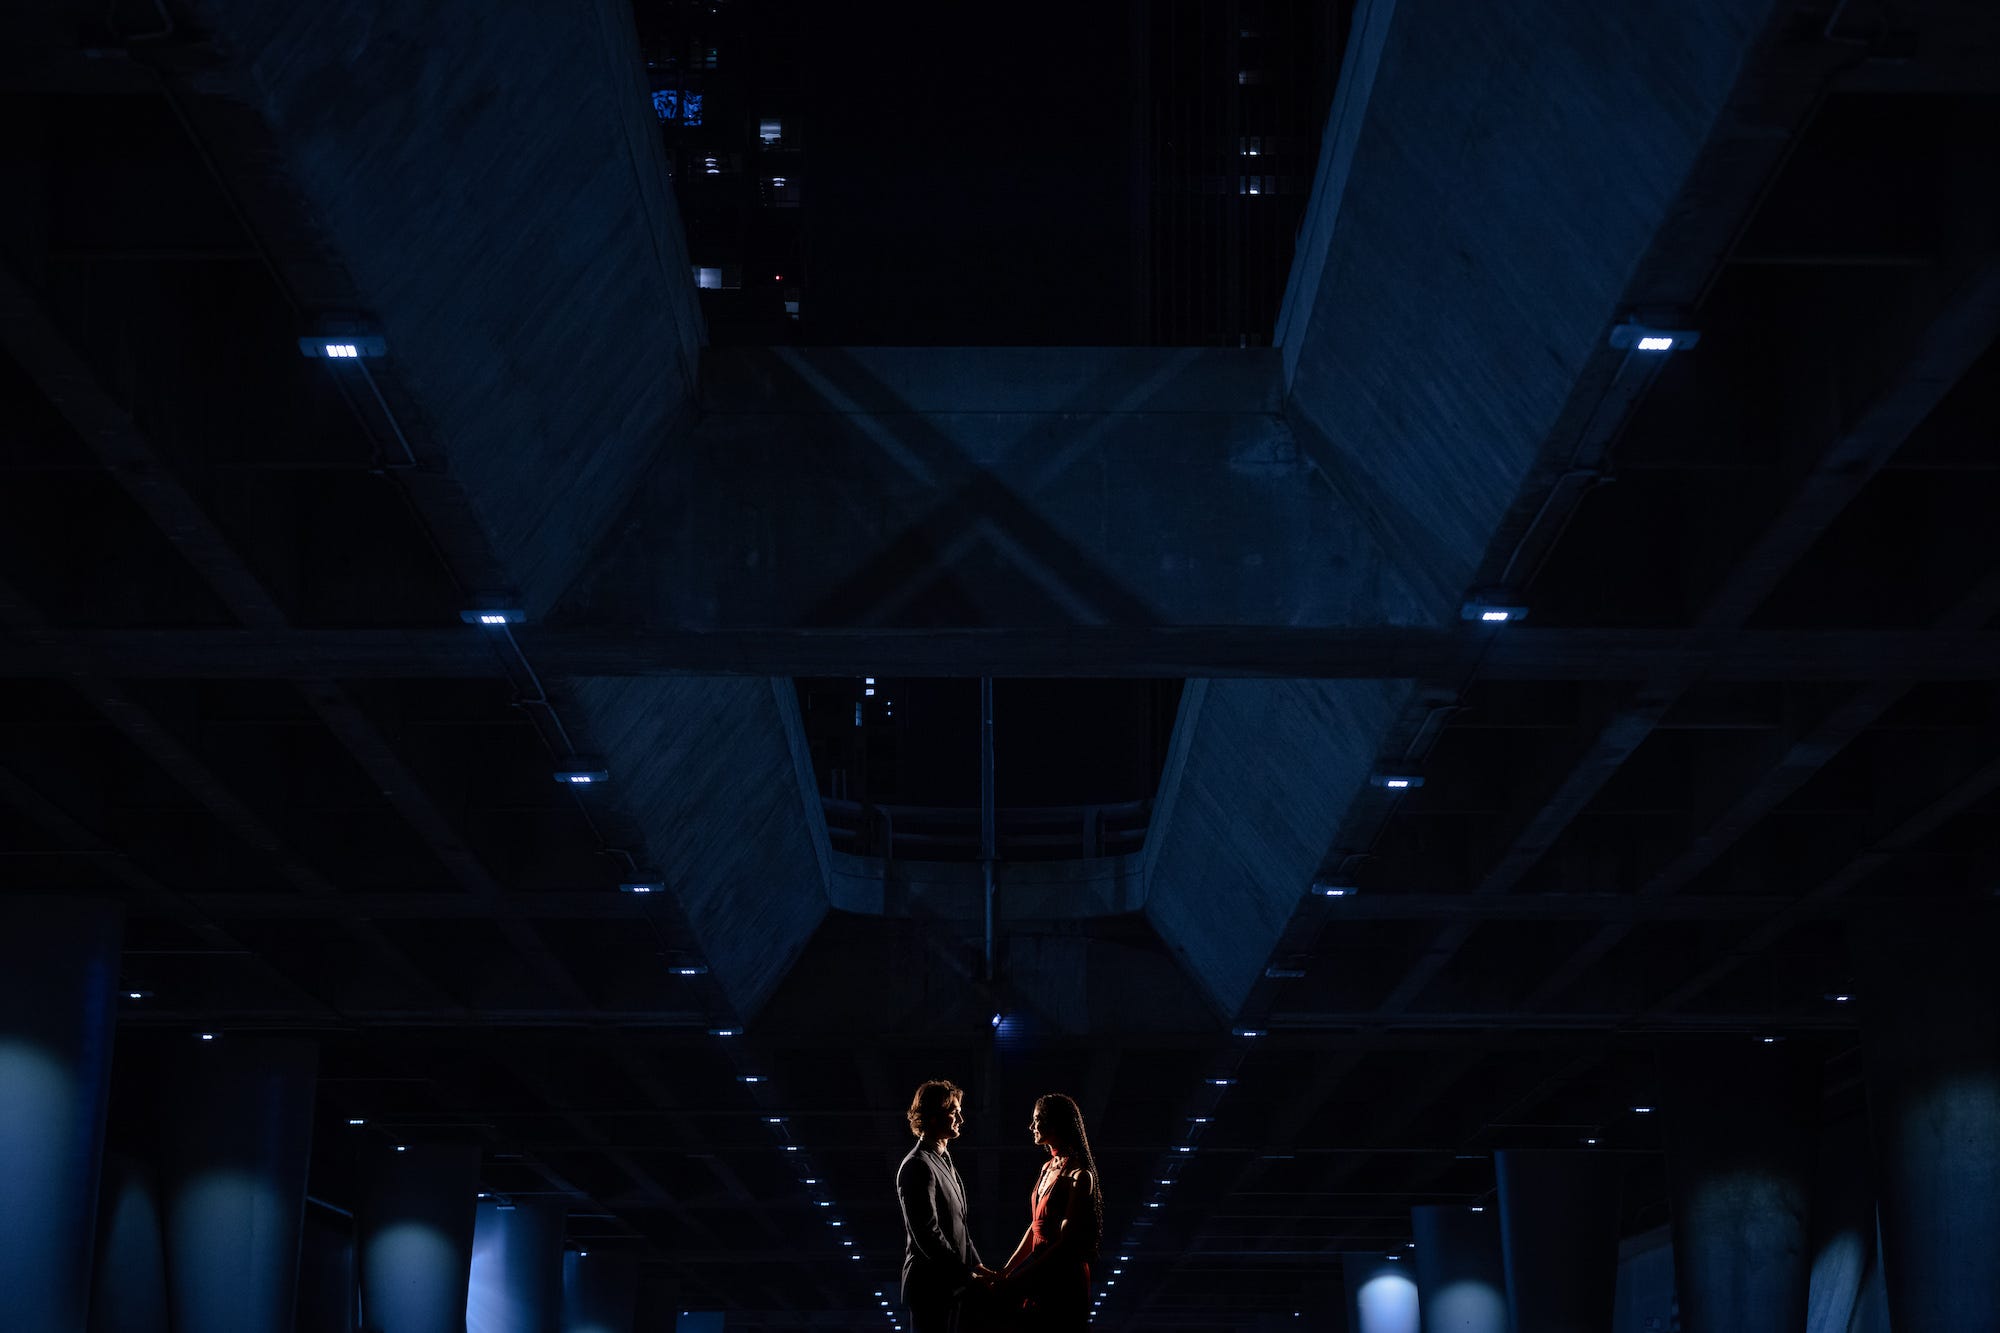
Occasionally, we’ll find that we can’t capture an image that we envision in a single shot. It may be for safety reasons or it might just be physically impossible. In those instances, we can create a double exposure in-camera or a composite in post. Knowing this, we can use lines in a scene in creative new ways and then add our subjects in later.
Case Study: Double Exposure
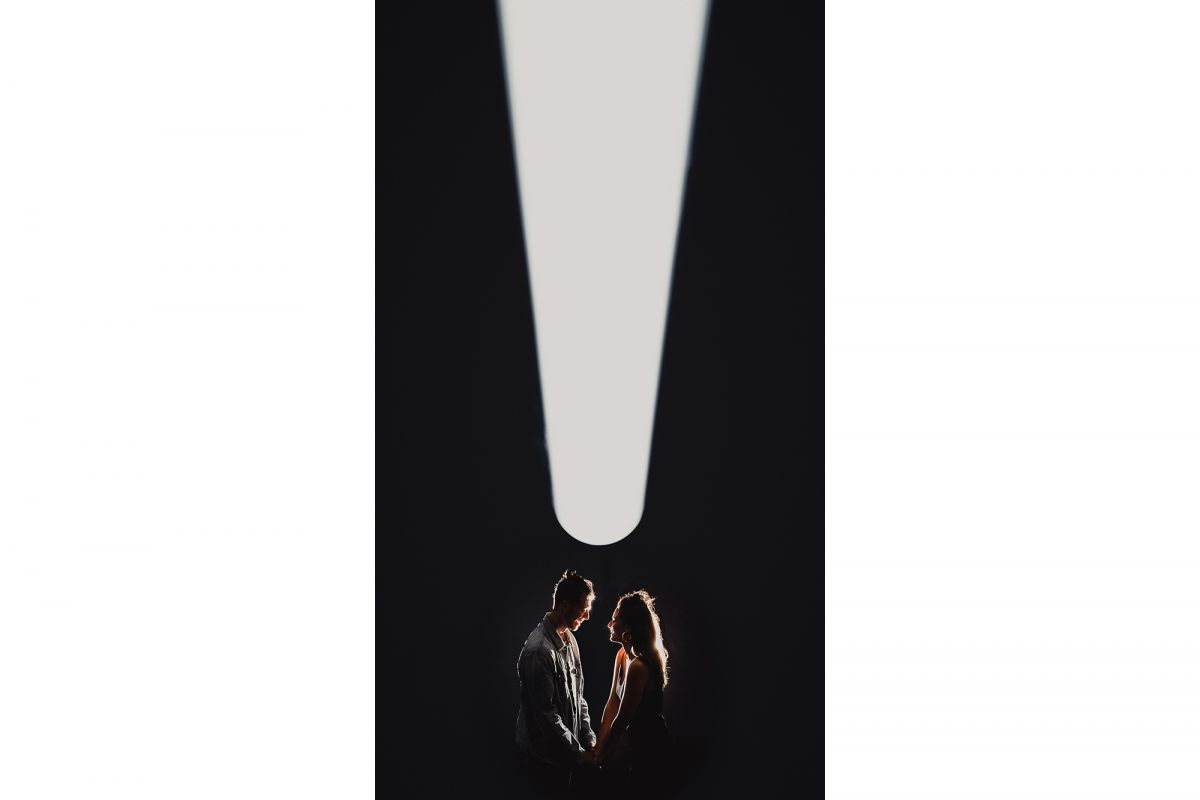
For the image above, I created a double exposure to take advantage of a unique leading line. In the first shot, I photographed an overhead lamp in a parking garage. I adjusted my exposure to black out everything around the light. Perspective and placement play an especially important role here as the lamp runs down the center, getting smaller as it nears the lower half of the frame. I left the bottom open so that I could add in the couple.
Then, I took a second shot of my couple. In the second shot, I found a dark background in the same parking garage and then highlighted the couple in the center using two flashes for a backlight. With my camera, I was then able to select “double expose” and choose the frames I wanted to blend. If you don’t have this feature, you can create a composite in post.
Bonus Tip #6: Combine Compositional Techniques
I call this last tip a bonus because it doesn’t focus on a single compositional tool so much as recommends “stacking” compositional techniques. Photographers already do this without realizing it, I think, but compositional stacking with intention gives us much more creative control with our imagery.
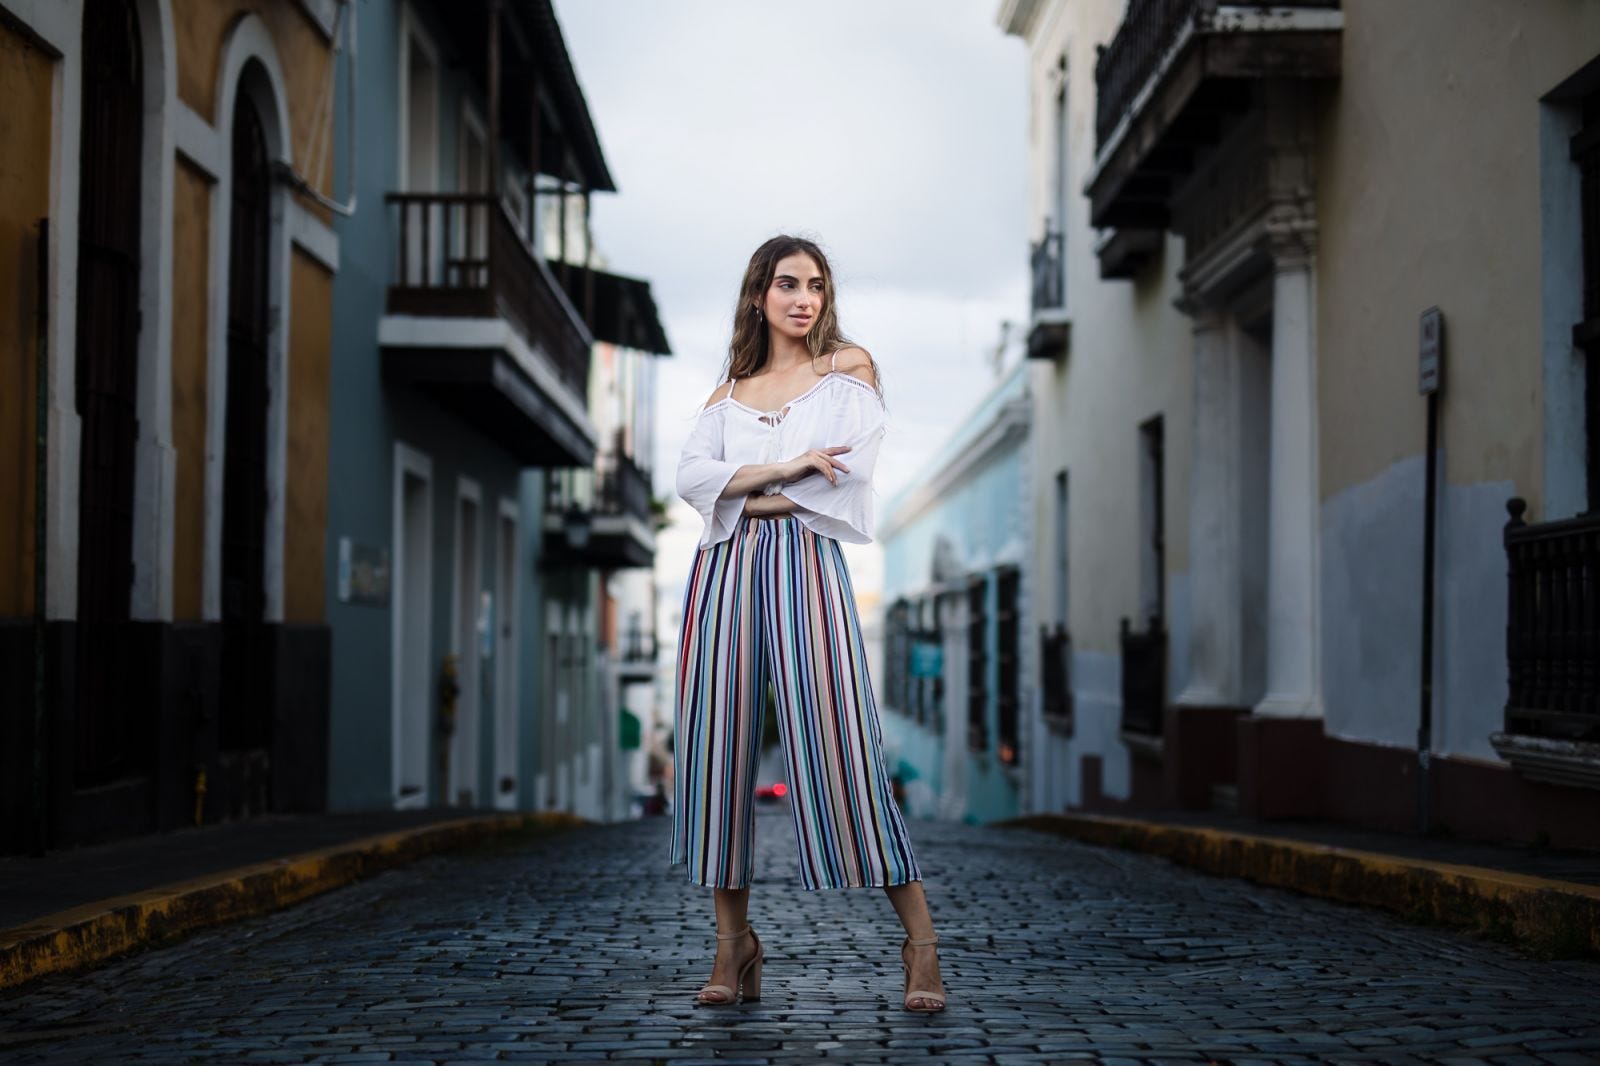
I typically start with a baseline composition, such as going for symmetry in an image, and then add additional compositional techniques until I get to the final image. In the photo above, you’ll find several compositional elements at play. I’ve placed the subject in the center third of the frame, the buildings and road provide leading lines and a bit of symmetry, and the subject also occupies the brightest part of the frame.
Conclusion
I hope you found these 6 leading lines photography tips and examples helpful. The rules of composition best serve photographers as guidelines to offer a starting point for creating more interesting photos. Leading lines photography, in particular, works especially well for guiding the viewer’s gaze. Take advantage of leading lines and place your subjects at the point of convergence. If you do, you can be sure that all eyes will follow the path you intended. Combine this compositional tool with other techniques and create better photos today.
