While other subject matters (such as nature and landscapes) are patient enough for you to use any technique and camera settings, children and babies usually have a difficult time standing still, posing, or looking at the camera for very long. However, portraiture of children and babies is one of the most popular photographic genres. It’s not only rewarding at a personal level, but also commercial and artistic. A portrait of a child or baby can be a precious family legacy, a documentary piece, an ad, or a fine art photograph. Check out everything you need to know about kids photography and how to master the portraiture of children and babies.
Best Gear for Kids Photography
In terms of cameras, kids and babies photography is quite versatile. You can use any camera, from point-and-shoot and bridge cameras to professional DSLRs or mirrorless cameras. However, having a camera with interchangeable lenses is helpful because children are unpredictable. Your photo setup needs to adapt to the child’s mood and environment.
For example, a 50mm prime lens may be very good for regular-size portraits, but when the child is agitated or nervous you need to put some distance between them and the camera. Therefore, a 100mm or 200mm telephoto lens may serve you better. Here is where zoom lenses come in handy. They allow you to change the focal length without taking the time to mount another lens. Also, they are helpful because you need to be fast when photographing children and babies. Kids won’t maintain a pose or facial expression for long. With a zoom lens on, you can simply step back, adjust the focal length, and take the photo.
Zoom lenses also provide a wide range of focal lengths that cover all types of compositions, such as close-ups, headshots, ¾ view portraits, and full-body portraits. The wide-angle focal lengths give a deeper depth of field and help you freeze motion. Meanwhile, the telephoto focal lengths create a beautifully smooth background or bokeh effect to make the subject stand out.
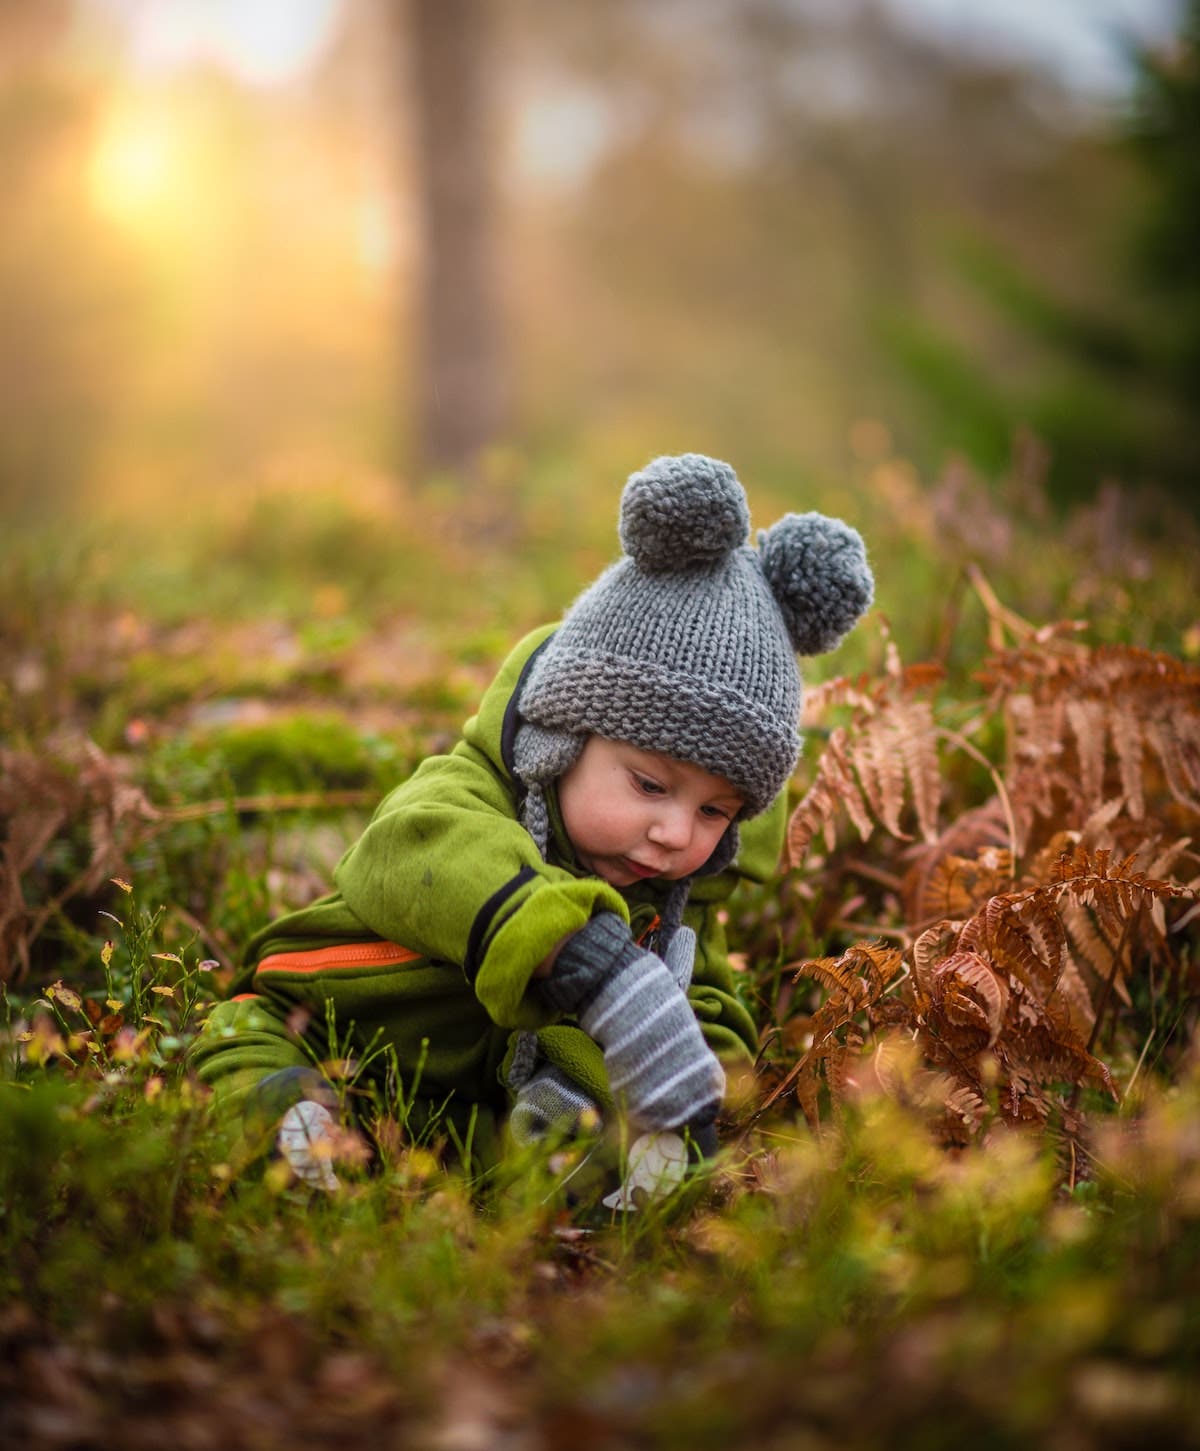
Because you need to follow the kids around, a tripod isn’t very useful for kids photography. Most time you will handhold the camera. But filters may come in handy. A UV filter to protect the lens and a circular polarizing filter to avoid glare and washout colors when shooting in natural light are good additions to your camera bag. You may also include other filters, such as a color intensifier filter or an orange filter for creating black and white portraits.
For an indoor photo session, opt for continuous light sources instead of flash or speedlights. An unexpected burst of light may startle your model.
Camera Settings for Kids Photography
Portraiture of children and babies requires a balance between art and efficiency. The camera settings you use depend on the model and context. For example, a sleeping baby gives you more freedom in choosing a slower shutter speed and a wider aperture. You can get closer to the baby and create dreamy compositions with blurred backgrounds. You can also choose lower ISO values to work in low lighting conditions because you can fix exposure from shutter speed and aperture. So, a static child or baby helps you get closer to fine art portraiture.
However, if the kid is active — playing or running around — you need camera settings that capture movement and create sharp photos in the given conditions. Choose faster shutter speeds (e.g., 1/500 of a second or more) to freeze motion. Increase the ISO value if needed, but keep the exposure as short as possible. To avoid adding ISO noise to your images, keep the ISO value below 800.
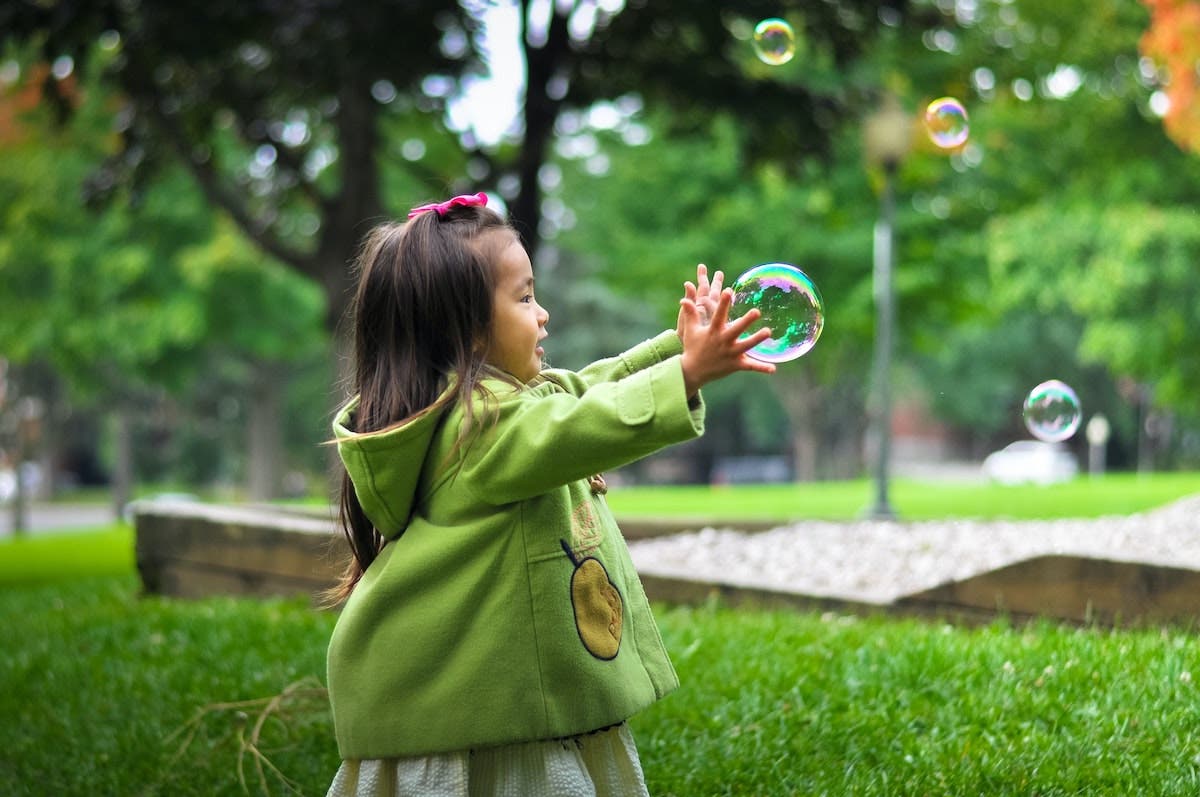
A narrow aperture helps you create a deep depth of field and integrate the background into the composition. But it reduces the amount of light that enters the lens and, therefore, forces you to compensate with a slower shutter speed or a higher ISO value. Use a wider aperture, such as f/3.5, and try to increase the area in focus by other methods (e.g., using a wide-angle lens, increasing the camera-subject distance). You can use the Aperture Priority mode to set the aperture and control the depth of field. But if freezing motion is more important than the depth of field, use the Shutter Speed Priority mode to ensure you use a fast shutter speed.
As the focus should be on the child or baby (usually on their faces), set the focus mode to Auto, or even better eye/face tracking if your camera supports it. For more precision, you can use a single focus point and place it over the child’s eyes. But without practice, this can be a little harder, if the child is very active.
Learn more about each camera mode at: Different Camera Shooting Modes Explained
Best Lighting for Kids Photography
Using natural light for the portraiture of children and babies has many benefits and is the preferred lighting setup for many photographers. First, it provides continuous lighting that is both pleasant for the children and flattering for their photographs. Then, it reduces to the minimum the need to use a flash and helps you avoid disturbing the baby. Last but not least, natural light is inviting, and good for storytelling. Outdoor photo sessions capture children in their natural environment and provide enough entertainment for them to enjoy the activity.
When shooting in natural light, you cannot control everything. Because it isn’t always possible to convince the child or baby to pose as you would like, you have to be flexible and adjust your technique and use of light to fit the child.
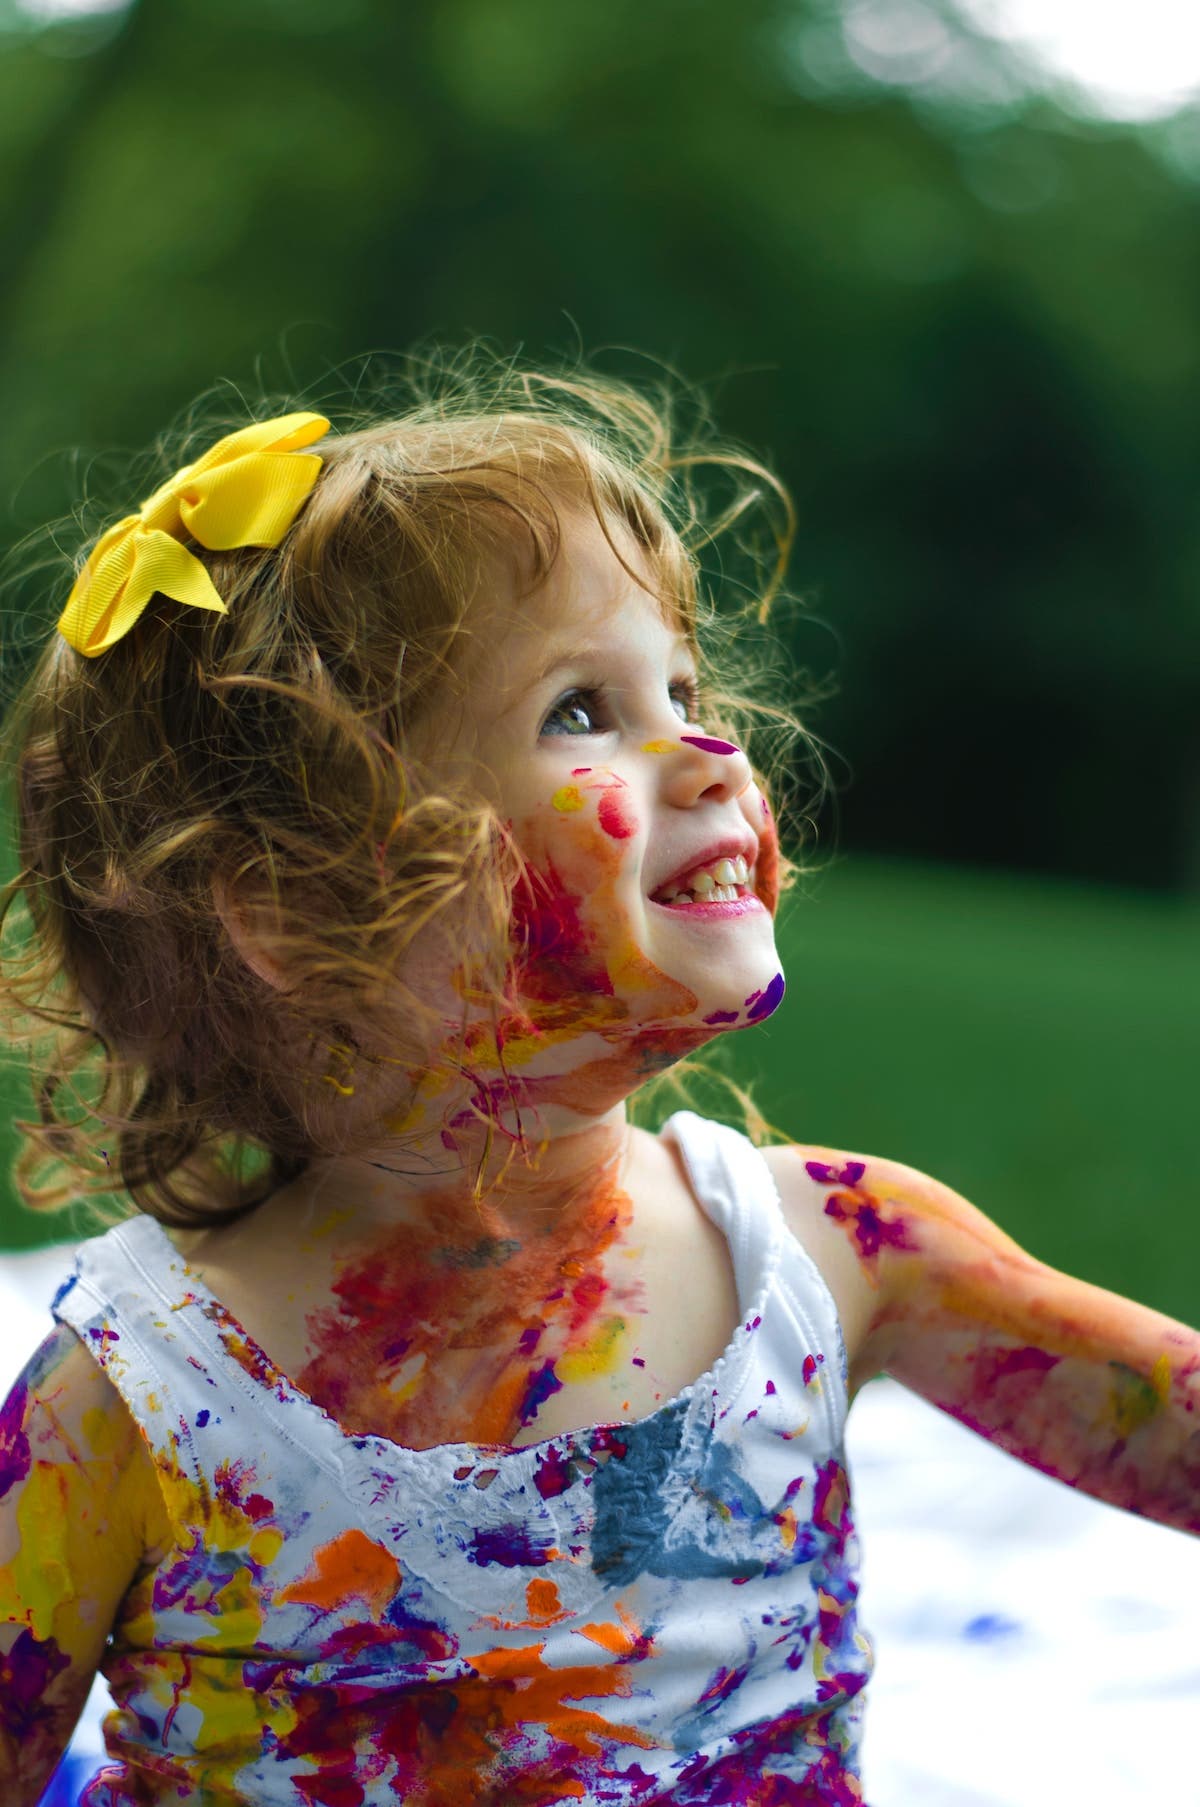
In outside sessions, you can change two out of the three most important factors when it comes to lighting. You cannot change the sun’s position, but you can try to change the way the child is facing, or your own position. Even though you cannot control the sun, you can modify the light coming from the sun. If you have an assistant, or maybe one of the parents can volunteer in holding a diffuser disc for a few of the shots.
However, if taking photos in natural light is not an option, you can use artificial light sources. Try continuous light sources, such as LED panels, to avoid startling the child. Choose warm colors and set the lowest intensity that provides enough light. Strong lights are tiring and upsetting. A diffuser will spread the light more evenly and make it softer. You should also consider where you place the lights. It’s better to position them at a safe distance and away from the child’s eyes.
For a classic portrait, you may need a front light, to illuminate the child’s face and make it stand out. When shooting inside the studio, you can change the placement of the lights. Experiment with positioning it at an angle up to 45 degrees to the side of the camera and a little from above.
A backlight will emphasize the child’s contour but hide their features. Expose for the child’s face if you want to capture their details. On extremes, you may want to expose for the background and create a silhouette.
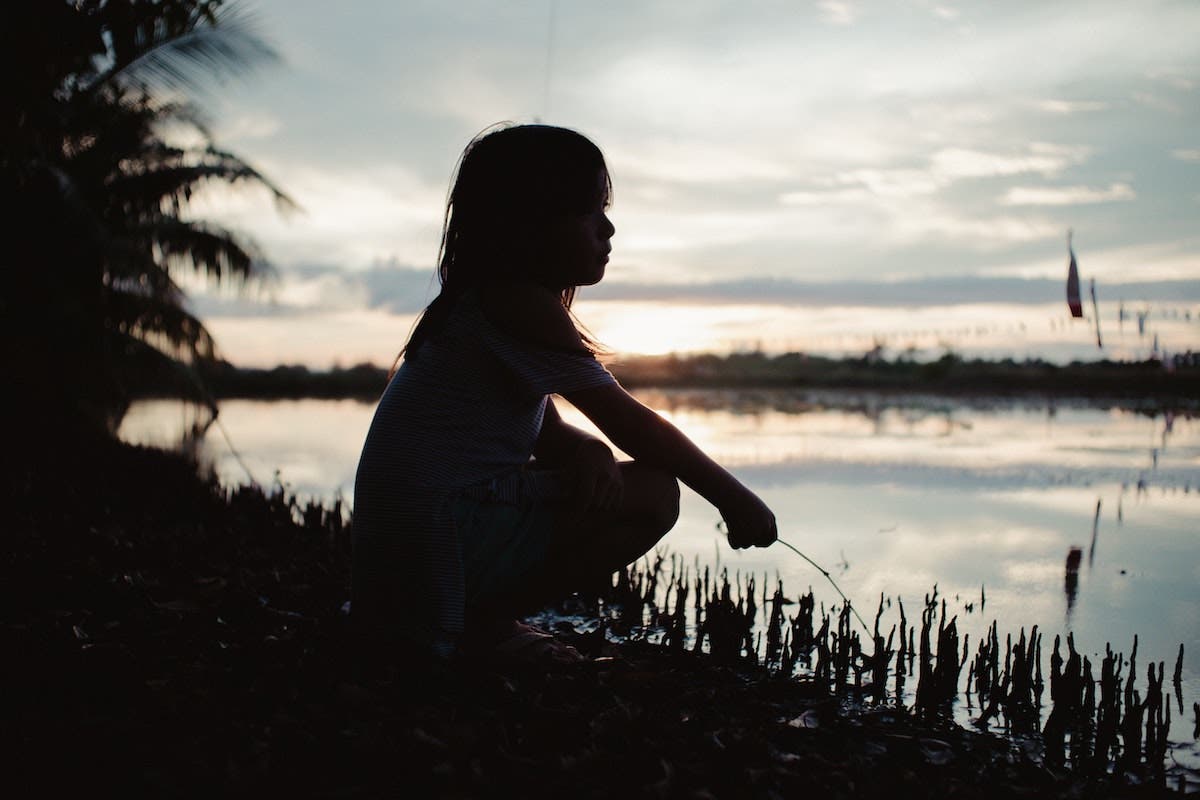
A sidelight enhances edges and creates a strong profile. It doesn’t disturb the child in any way and creates a natural ambiance. Sometimes the children prefer to hide their faces; sometimes they look directly into the light. This unpredictability adds to the story and creates powerful feelings and emotions.
Backgrounds and Props for Children’s Photography
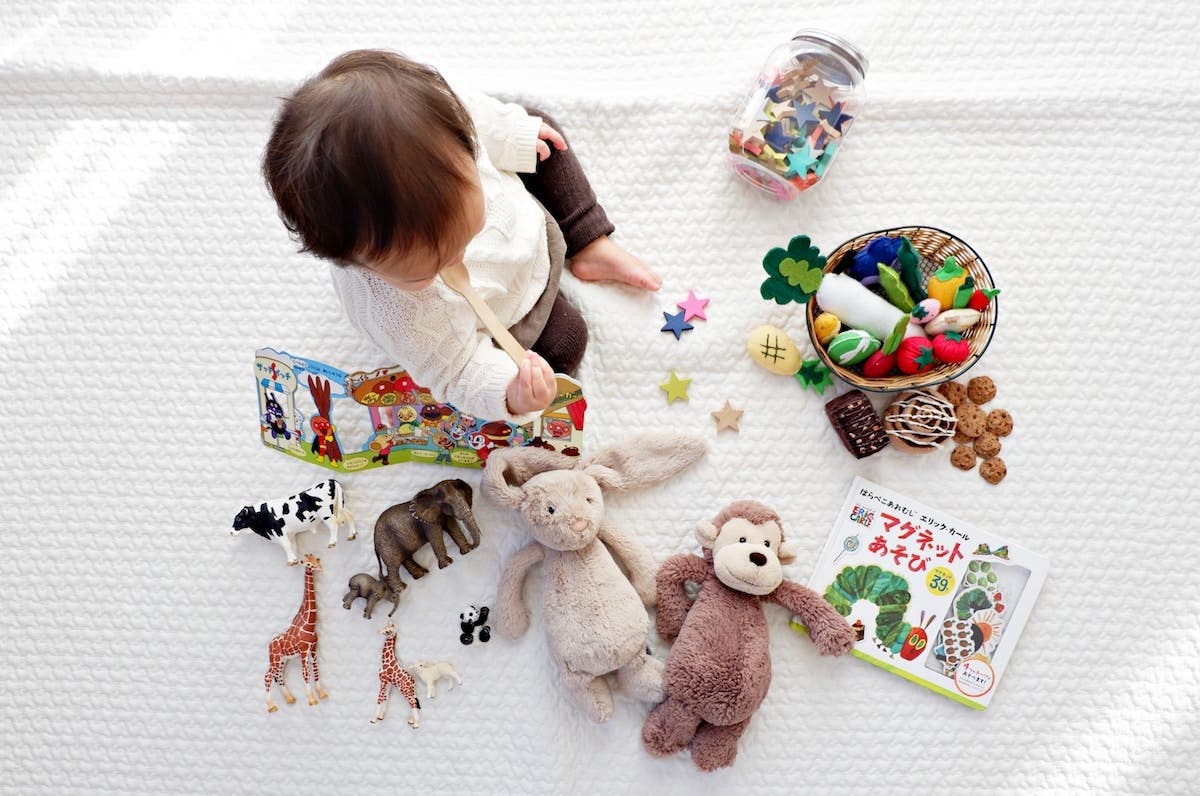
For children’s photography, backgrounds and props are arguably more important than the gear. They make the children feel comfortable, keep them occupied, and improve their mood. Moreover, they add contextual elements to your composition and enhance the visual story.
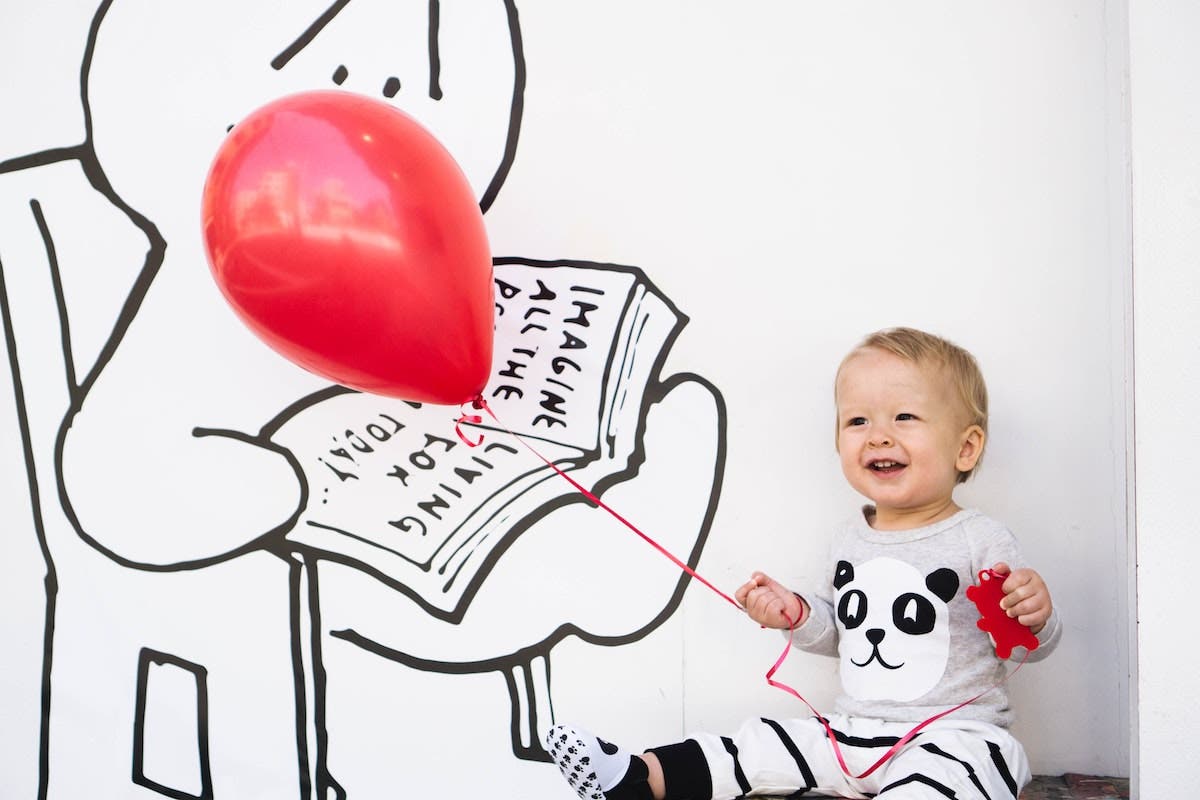
In terms of backgrounds, you can choose between a natural background, such as a park, garden, or street, or an artificial one, such as a colored panel, fence, or sheet. If you use an artificial background, it may be a good idea to use drawings and pictures kids love, such as cartoon characters.
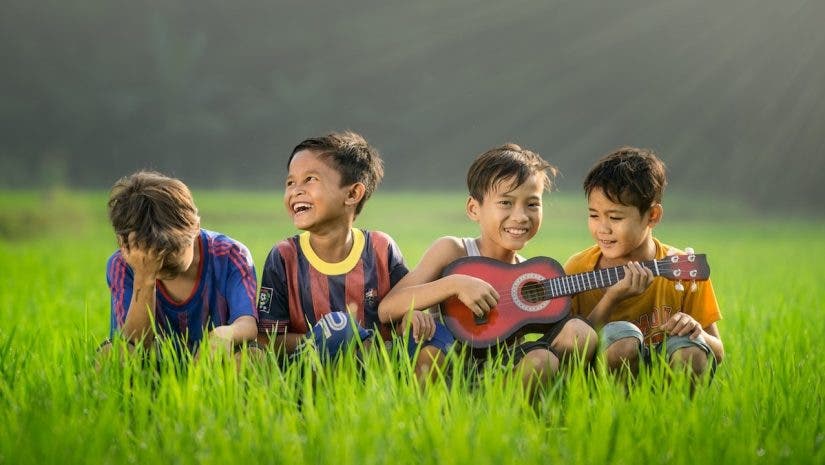
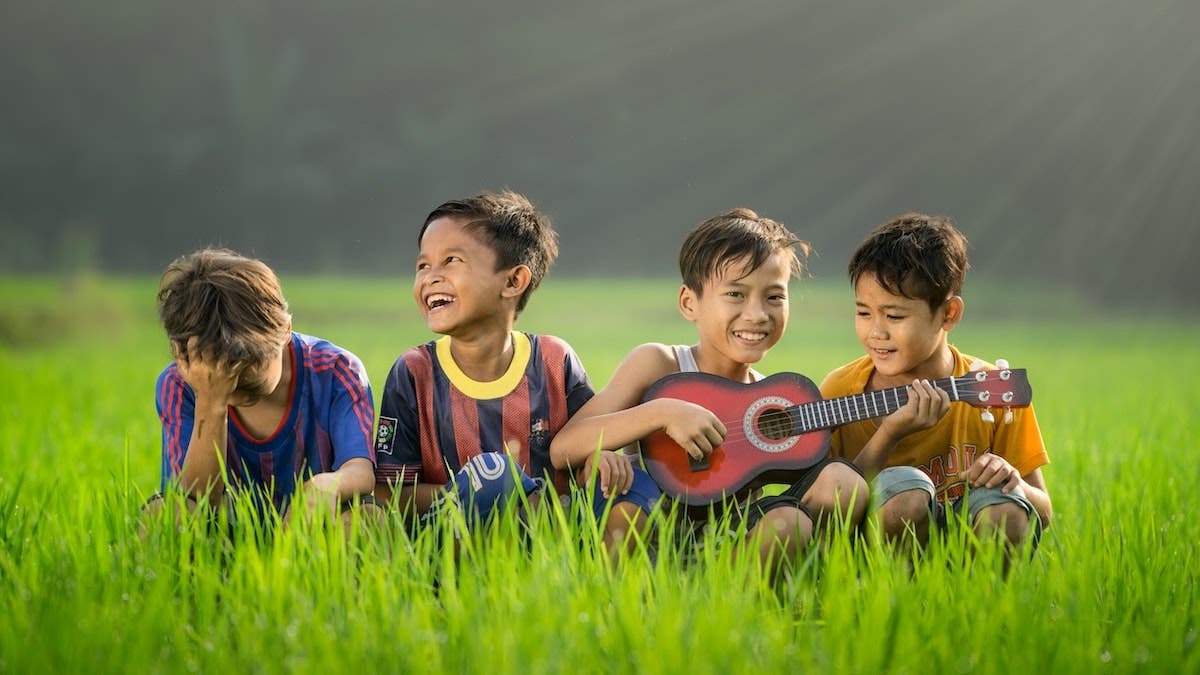
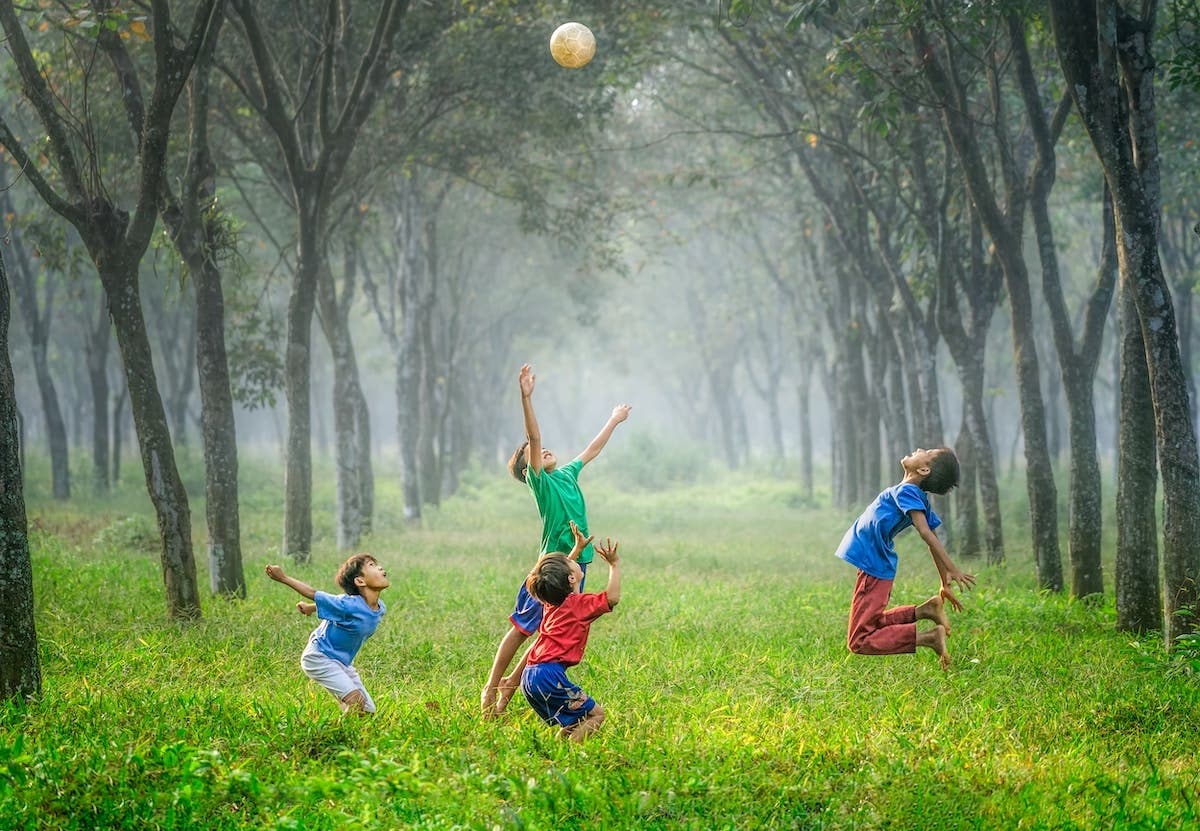
In terms of props, you have two options: use the children’s favorite toys to give them something familiar to play with or bring new toys to provide them with novelty and wake up their curiosity. Of course, you can mix old and new toys. Another good idea, especially for older children, is to provide an activity, in other words, to give them something to do. It may be painting or playing an instrument, but also a challenge, such as looking for an item, jumping and running, climbing, dancing, or building.
Often, children’s portraits include parents, grandparents, and siblings who provide safety and comfort. If you want to focus on the child, the family may be in the background, blurred using a shallow depth of field. But if you want to emphasize the family atmosphere, they may be in the foreground, engaged in a common activity.
Conclusion
Portraiture of children and babies is fun when you know how to connect with your subject and allow them to be themselves. Don’t force anything on your models — just observe them. Help them feel comfortable and safe and to have fun. In return, they will offer you unique moments, authentic emotions, and the most outstanding poses you can find. Be prepared and fast, and don’t forget to see the world through a child’s eyes. Children’s photography is much more about storytelling than it is about technique and gear. So focus on candid snapshots and enjoy the photo session.
