We often talk about aperture, shutter speed, and ISO because one can’t use the same camera settings for all their photos. Sometimes, we know that a particular set of parameters works best for a certain photographic genre. But these are just pointers, not the absolute truth. We still have to adapt camera settings to the real-life conditions in our photo setup, go through a try-and-error process, and improvise along the way. And while most of us heard about the aperture, few photographers know what the iris diaphragm is and how it influences their photos.
What is the Iris Diaphragm?
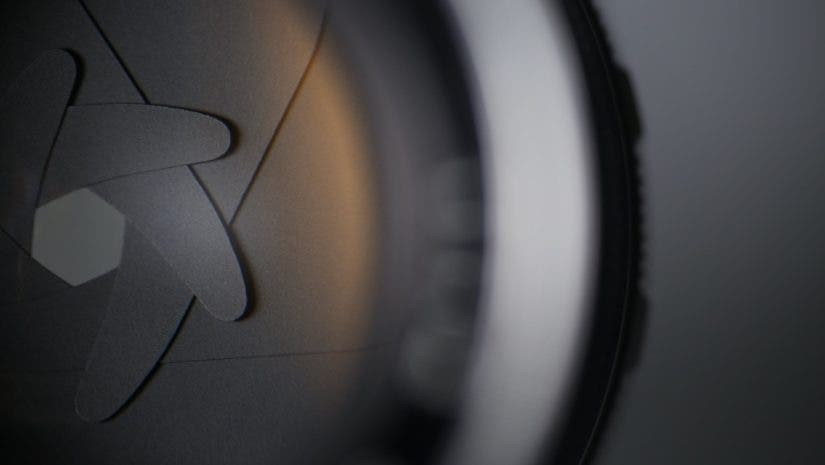
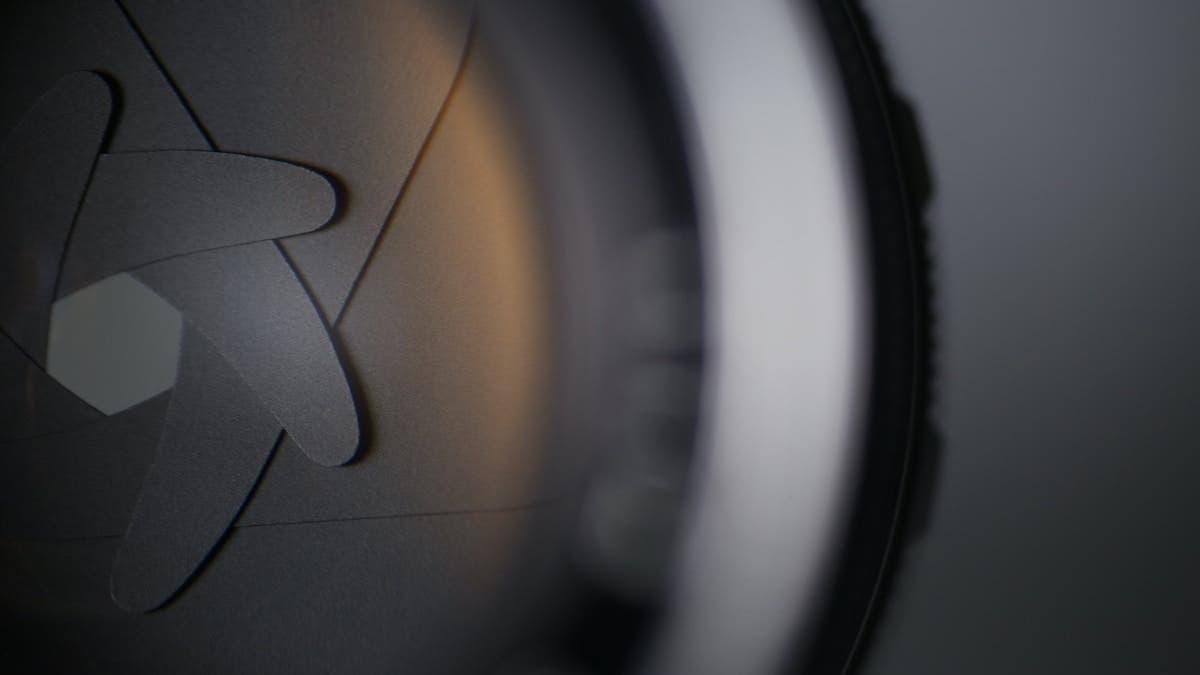
A iris diaphragm is a circular opaque device with one or more circular openings that let the light go through. The iris diaphragm is a diaphragm made of overlapping blades, with one central hole and the ability to change the diameter of the opening. It’s the type of diaphragm that resembles the human eye, which has the iris in the role of the diaphragm and the pupil in the role of the opening. The opening in the diaphragm is called the aperture. But, as we’ll see, it’s not the aperture we refer to in photography.
Where is the Iris Diaphragm on a Camera?
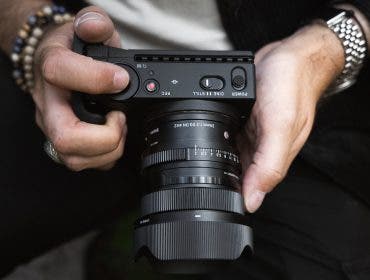
The iris diaphragm is in the lens, behind the front element. Therefore, it is part of the lens and not of the camera body, even if we adjust it from the camera.
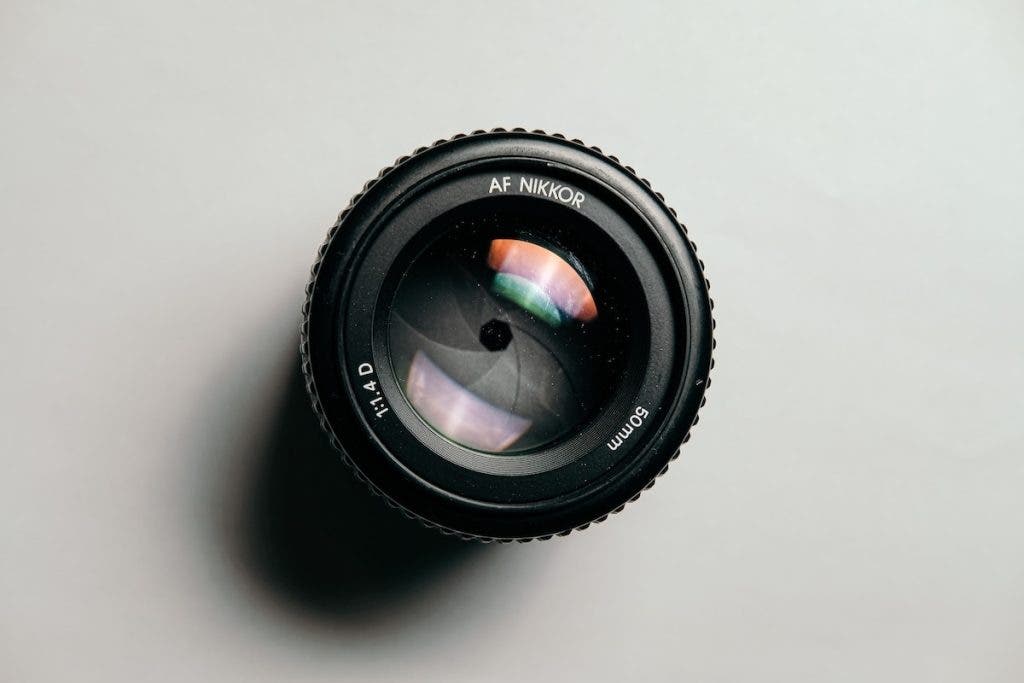
The opening’s diameter is adjusted by controlling the overlapping of the diaphragm’s blades. Hence, the opening of an iris diaphragm is never perfectly circular, even if manufacturers aim to make it as circular as possible. For example, the AF Nikkor 50mm f/1.4D lens has seven diaphragm blades, and its aperture’s shape is a heptagon.
Why is the Iris Diaphragm Important?
The iris diaphragm controls how much light enters the camera and is essential for creating a well-exposed photo. By adjusting the size of the opening, one can let more or less light reach the sensor and thus create a brighter or darker image. Having an iris diaphragm with a wide aperture may help you take photos in low-lighting conditions without having to slow down the shutter speed or increase the ISO value too much. As a result, you avoid camera shake blur and ISO noise.
The iris diaphragm also influences the depth of field, allowing you to have more or less of the scenery in focus. Wide apertures produce a shallower depth of field, blurring the background and keeping just a small area in focus. Narrow apertures, on the other hand, produce a deeper depth of field, keeping more of the frame in focus.
Depth of field is also influenced by the focal length of the lens and the camera-subject distance. But if you aim for a shallow depth of field and a bokeh effect, the construction of the iris diaphragm is the one that dictates the quality of the effect.
The iris diaphragm also impacts the brightness of what you see through the optical viewfinder, the apparition of the vignetting effect or chromatic aberration, the sharpness and contrast of the image, and even color saturation.
What Happens When You Adjust the Iris Diaphragm?
When you adjust the aperture of a lens, a mechanism operates the iris diaphragm blades, making the opening wider or narrower. As a result, more or less light enters the camera, reaching the sensor and producing a brighter or darker image.
You can only change the aperture in predetermined steps. You can’t close the iris diaphragm completely because no light will reach the sensor, and the camera won’t be able to take a photo. And you can’t open the iris diaphragm blades more than is physically possible by construction.
However, what is called aperture in photography is not the same as the aperture of the iris diaphragm. The concepts are connected but represent different things and have different measurement units. The lens’ aperture represents how much light gets through the lens at a given focal length and is measured in f-stops (or f-numbers). The aperture of the iris diaphragm is the physical opening in the diaphragm (aka effective aperture), and its diameter is measured in millimeters.
Understanding f-stops
So, to adjust the iris diaphragm and allow more or less light to pass through the lens, you need to adjust the lens’ aperture, moving one step at a time. The steps are called f-stops and are represented by an f followed by a slash and number (e.g., f/2). For most lenses, f-stops range between f/1.4 and f/22.
The relation between the f-stop and the aperture of the iris diaphragm is inversely proportional, as follows:

To open the iris diaphragm, you need an f-stop with a small number. If you want to close the iris diaphragm, you need an f-stop with a large number. For example, the diameter of the iris diaphragm’s aperture for a 50mm lens at f/1.4 is 35.7mm. At f/2, the diameter of the iris diaphragm’s aperture is 25mm. At f/22, the diameter of the iris diaphragm’s aperture is 2.27mm.
f-stop Scale
However, you don’t have to compute the diameter or surface of the iris diaphragm’s aperture to know how much light you let pass through the lens. Lens manufacturers thought about it and decided to use an f-stop scale that halves the amount of light at each step. Using the powers of the square root of 2, they offer an f-stop scale looking like this: f/1.4, f/2, f/2.8, f/4, f/5.6, f/8, f/11, f/16, f/22. With each step up from f/1.4 towards f/22, you halve the amount of light that enters the lens.
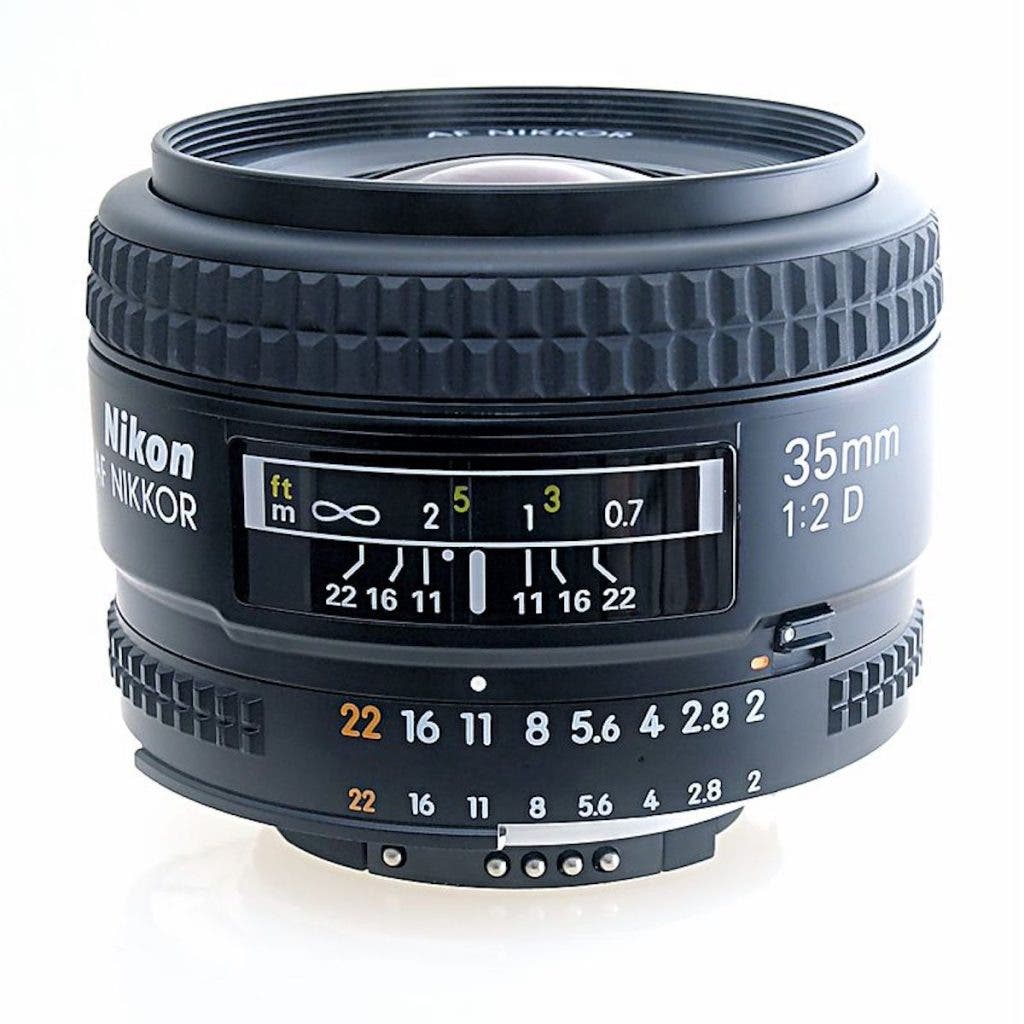
The f-stop scale is written on the lens (at least older ones), and a small dot sometimes marks the current selection. The maximum aperture of a lens is often included in the lens’ name (e.g., ZEISS Biogon T* 2.8/25 ZM). Some advanced lenses provide 1/3 f-stop intervals for increased aperture precision, and they mark the full stop positions to make it easier for you to comprehend the scale.
Therefore, the key to using f-stops is to remember that a full stop means doubling or halving the amount of light entering the lens. Similarly, shutter speeds double or halve with each step (e.g., 1/125, 1/250, 1/500, etc.). A twice faster shutter speed halves the amount of light entering the lens, while a twice slower shutter speed doubles it. Thus, if you want to increase the shutter speed with a certain number of steps and maintain the exposure, you need to set a wider aperture using the same number of steps.
Understanding Bokeh
Bokeh is an effect that changes the quality of the blur. Under certain conditions, the points of light in the blurred area spread out, soften, and get an almost round shape. The effect is pleasing to the human eye, producing a calming, reverie-like feeling. The conditions for getting a nice bokeh effect include a shallow depth of field, small light sources or highlights in the out-of-focus area, and a high-quality iris diaphragm.
The bokeh effect is based on an optical phenomenon called the circle of confusion. In short, the circle of confusion means that the points of light in blurred areas resemble the iris diaphragm’s aperture. Hence, instead of being seen as regular points, they become heptagons or other polygonal shapes. However, the most popular and appreciated bokeh effect has circular shapes.

Lens manufacturers aim to provide circular apertures and use iris diaphragm blades with curved edges for this purpose. But even with curved blades, the circular bokeh effect appears only at wide apertures. The best way to ensure a smooth circular bokeh effect, even at narrow apertures, is to increase the number of blades (e.g., 11, 12, and 15). The result is a high-quality lens with less chromatic aberrations but more expensive.
The optimal setup for a beautiful bokeh effect requires a high-quality telephoto lens with many iris diaphragm blades and a wide maximum aperture and scenery with points of light far behind the focal plane.

Conclusion
The iris diaphragm is an essential part of a lens with implications in exposure, composition, and overall photo quality. It is the mechanism behind the lens’ aperture and f-stops. And as you’ve seen, it influences the brightness of the photo, depth of field, bokeh effect, and other aspects.
Understanding how the iris diaphragm works helps you make an informed decision when purchasing a lens, use the aperture both as a technical and creative parameter, and produce high-quality unique photographs. Try to master the optics, mechanics, and math behind a camera because they provide a more reliable path for learning, and use the camera to your advantage without memorizing camera settings and parameters.