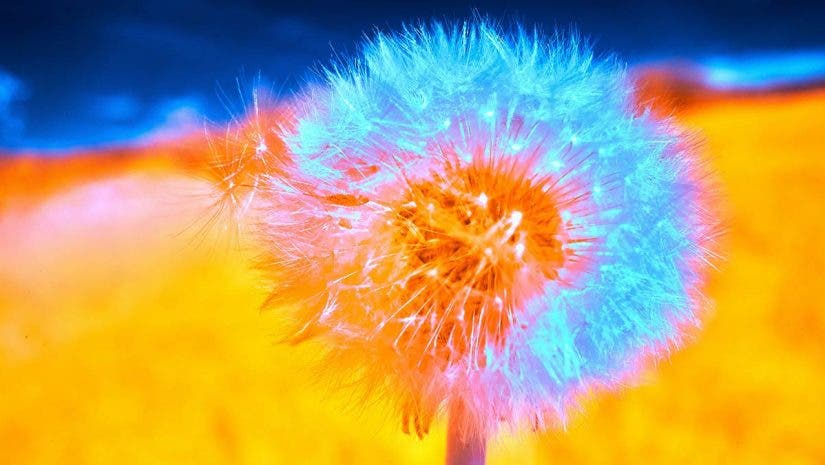
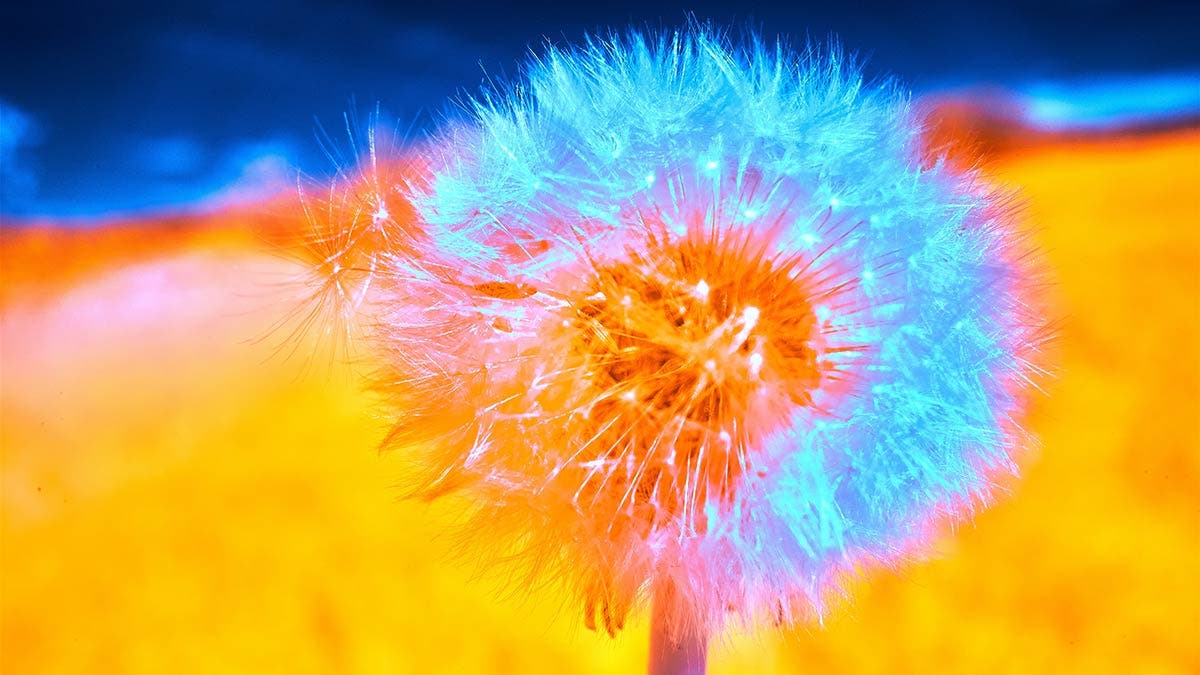
Traditional photography techniques show viewers the visible light spectrum, or what the human eye can naturally see. Infrared photography, or IR, shows viewers a different perspective by accessing infrared wavelengths of light.
If you’re looking for a unique method to expand your landscape photography or architecture photography, creating IR photos is an exciting new technique to explore.
Table of Contents:
- What is Infrared Photography?
- Infrared Photography with an Analog Camera
- Infrared Photography With a Digital Camera
- Tips for Infrared Photography
What Exactly is Infrared Photography?
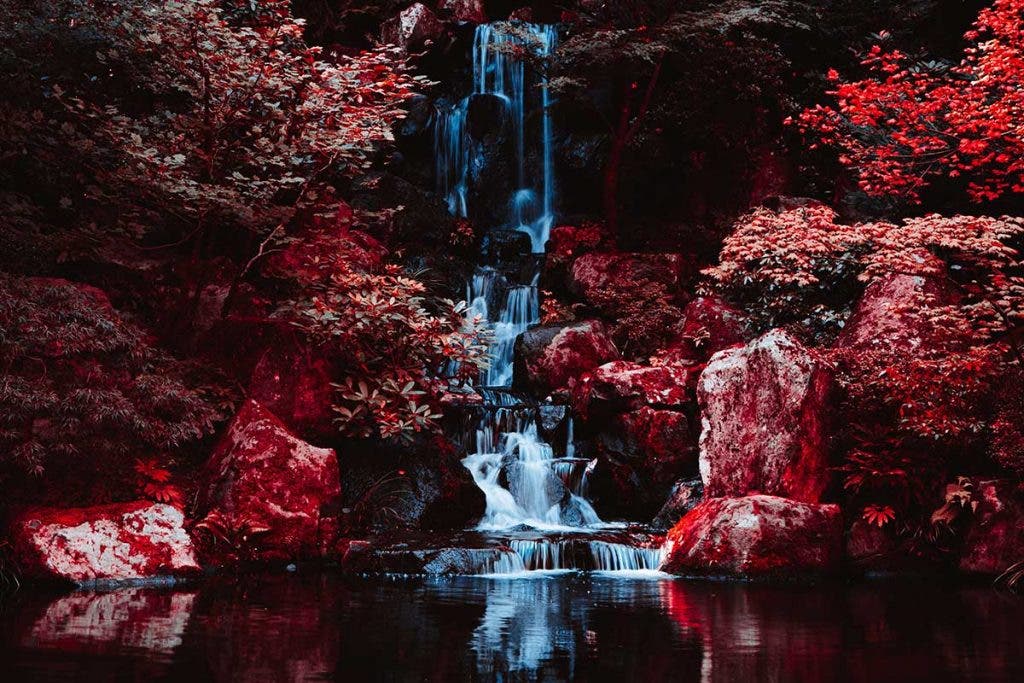
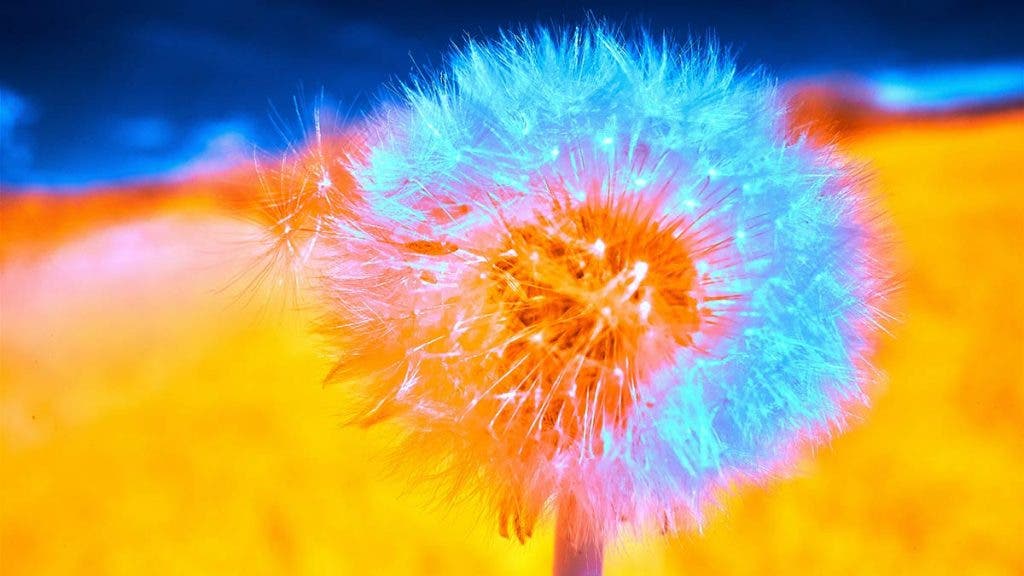
Most film cameras and digital cameras capture the wavelengths of visible light that fall between 400nm and 700nm. Infrared cameras can capture the infrared spectrum from 700nm to 1200nm. At those wavelengths, infrared light transforms common subjects like trees, skies, buildings, and vistas, rendering them in unique colors and shades.
If you want to try taking infrared photos, there are a few options to consider. The original method of taking IR pictures involves a film camera and a special infrared filter, but you can also try digital infrared photography with an infrared-converted camera.
Infrared Photography with an Analog Camera
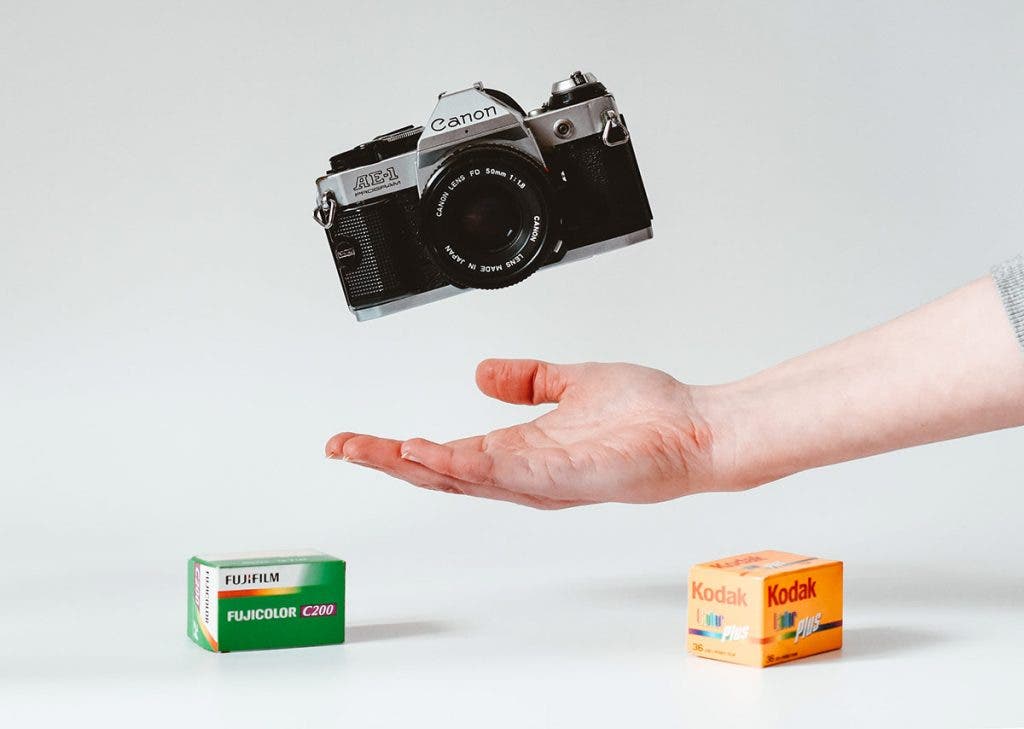
If you prefer to use analog cameras, all you need to get started is a film camera, IR film, and an infrared filter.
Infrared film records the full spectrum of light, including the IR spectrum and the visible light spectrum. To make sure your film camera only captures IR light, you need to use an infrared filter.
Most infrared film is for black-and-white photography. Color infrared film does exist, but it’s hard to find. So while your black-and-white photos will have a unique, contrasty, and somewhat ethereal look, they won’t show the interesting color casts more readily available with digital infrared photography.
Many photographers experience difficulty shooting IR wavelengths with film. Focusing and getting the correct exposure is complicated and takes trial and error.
Infrared Photography With a Digital Camera
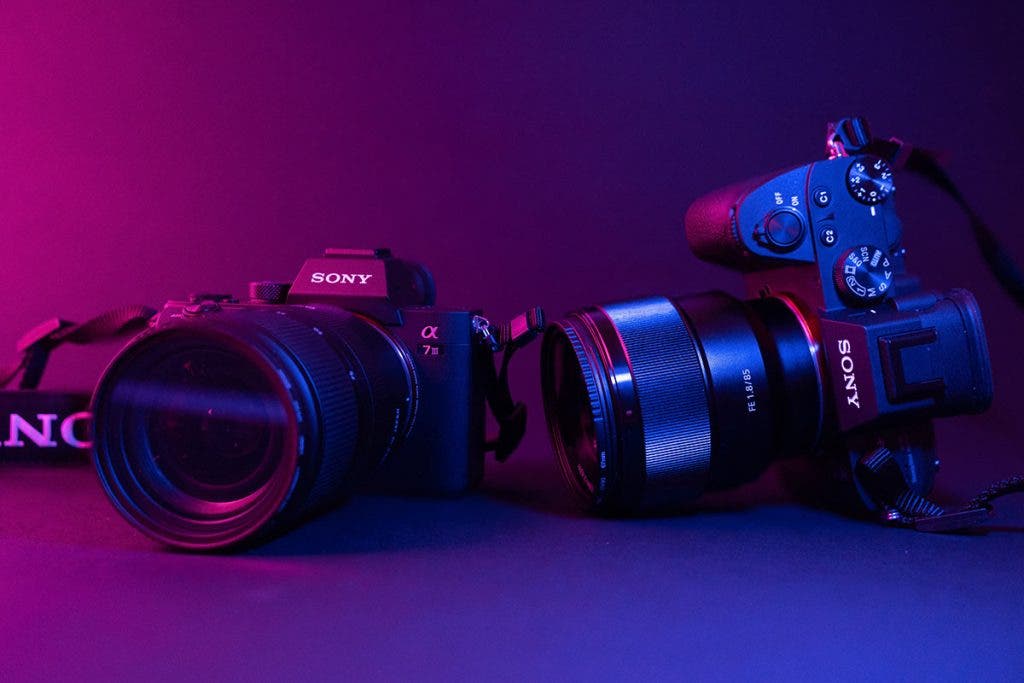
If you have an old DSLR or mirrorless camera laying around, you may want to consider an infrared conversion. Before you make any changes, it’s important to know that the conversion process alters your camera’s sensor. Following an IR conversion, your digital camera will only take IR photos.
How Does Infrared Conversion Work?
Most digital cameras feature a factory-installed IR cut filter on the sensor. This filter blocks the infrared spectrum, or cuts it, before it can reach the sensor.
To convert your DSLR camera or mirrorless digital camera to capture the IR spectrum of light, a trained technician will remove the IR cut filter from your camera’s sensor. They will then install an IR pass filter that allows infrared wavelengths to reach the sensor.
Once your camera is converted, you can use it without any special equipment or accessories and every photograph you take with it will be an infrared photograph. Whether you prefer to shoot in RAW or JPEG, your images will show spectrums of light invisible to the human eye.
Temporary Infrared Photography Options
If you’re not sure about permanently converting your camera to take IR images, you can try using an infrared filter with your digital camera. Many modern digital sensors capture the full spectrum of light from 300nm to 1200nm. Since IR light falls within that range, using an IR filter can help you access infrared photography temporarily.
Unfortunately, IR filters won’t work with all digital cameras and they also require you to shoot very long exposures with a tripod to get the effect. This is the best option if you’re looking for an inexpensive way to test out IR photography.
Things to Consider When Taking Infrared Images
You’ll need to change some of the ways you shoot in order to achieve the best infrared results.
Manual Focus
Manual focusing works better than autofocusing. Also, make sure your diopter is calibrated so you can focus successfully through the viewfinder.
White Balance
White balance is another important consideration for IR images. Nothing will look how you expect it to when photographing the invisible spectrums of light. Shooting in RAW mode vs JPEG will give you more flexibility for post processing in Lightroom vs Photoshop to make changes to color, exposure, contrast, and other key settings.
Remember to Experiment
As you find your way with infrared photography, it’s important to experiment to see what you like, what doesn’t work, and what settings and techniques work best for you. It’s just one of the types of photography out there, but can help expand your creative mind. Before long you’ll develop your own unique techniques for creating compelling IR images!
