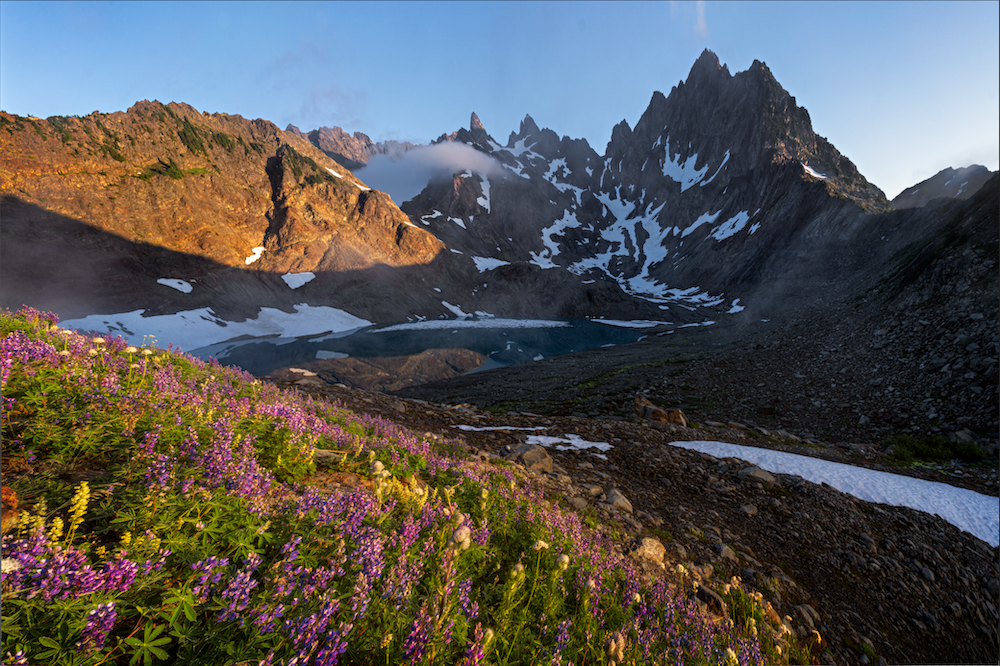
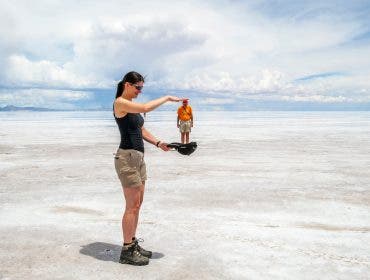
Have you ever gotten home to review your images, just to see that the photos didn’t quite seem as epic as the location itself? Perhaps you were shooting a mountain scene, and the mountain doesn’t look as large as you remember it. Or maybe you were photographing some flowers in a meadow, and the flowers aren’t as prominent as you’d like them to be. While it is ideal to get the composition perfect in the field, oftentimes this won’t happen. For times where you didn’t nail the composition, or you want to correct the distortion from your lens, you can turn to post-processing. One of the best techniques for fixing all these problems is to warp your photo in Photoshop.
This is a simple and effective way to improve your compositions or fix distortion you may be experiencing from your lens. Open an image in Photoshop and follow along with the rest of this guide to know how to warp photos!
Step 1: Open the image in Photoshop
The first step is to open the image in Photoshop. Be sure that the layer is not locked. You’ll be able to tell by looking in the Layers panel to see if there is a lock on the layer you are working with. If you’d like, you can duplicate the background layer so that you can see the before and after once you are done.
Step 2: Transform, then warp
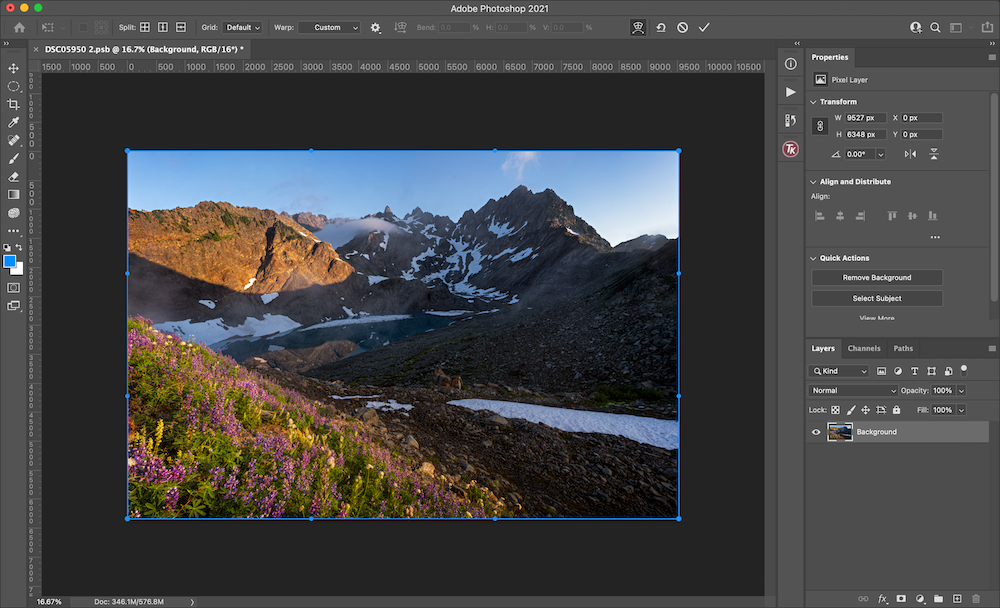
With your image layer selected, go to Edit > Transform > Warp. Then, you’ll be able to start dragging around on the image to warp your photo as you please. I prefer to zoom out (View > Zoom Out) to give myself a larger area to work. Your photo should look like this, with a blue outline.
Step 3: Start warping
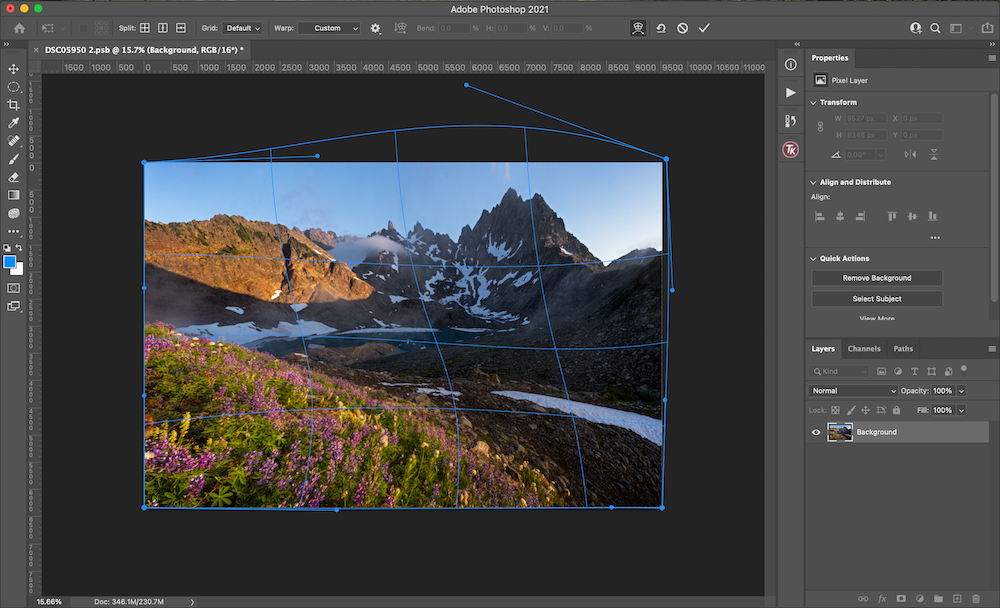
There are a couple different ways to warp an image. You can simply click and drag anywhere on the image, or you can grab one of the handles and push and pull the image from there. The handles are represented by the small circles, which are on the outside perimeter of the image.
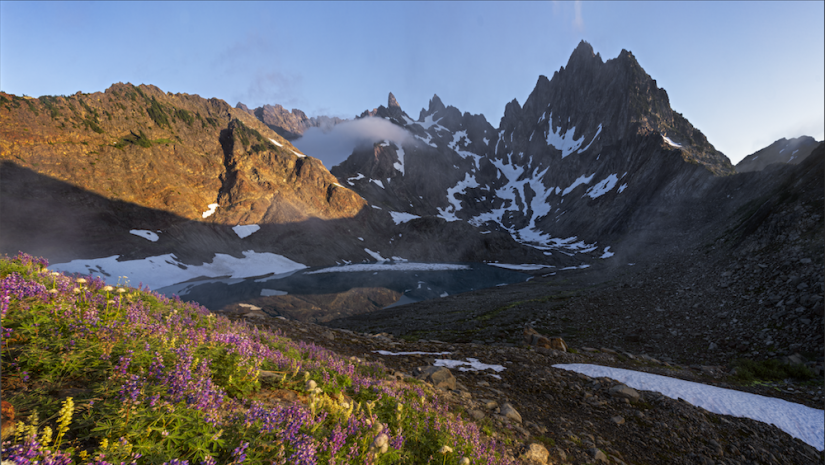
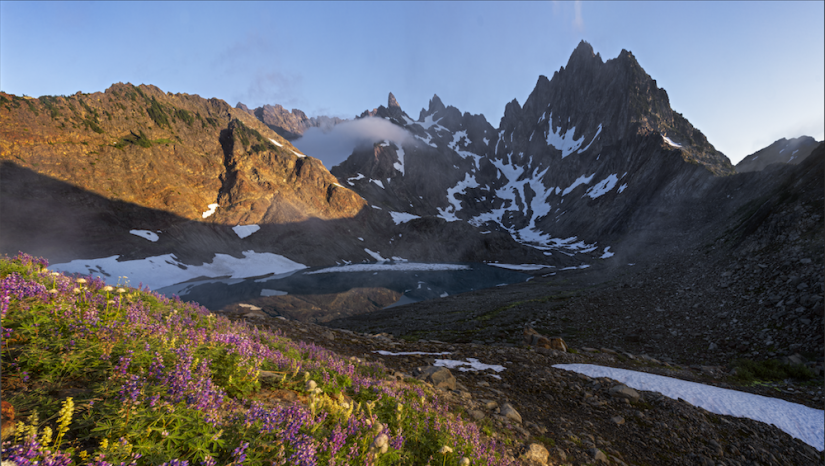
It is ideal if you know what you want to do with the image before you begin warping. On this image, I’d like to increase the prominence of the flowers and make the mountain peak stand out. I can increase the focus on the flowers by simply dragging from the center of my image to the right. Also, I can make the mountain taller by dragging the top half of the image down, and then dragging the mountain up individually. I prefer using the handle bar for an adjustment like this.
Step 4: Hit Enter/Return when done warping
Once you’re done warping, you can hit Enter/Return on your keyboard. If you duplicated the background layer, you can toggle the warped layer to see the before and after.
Things to look out for
When warping, there are a few things to watch out for in order to keep your image looking realistic.
First, if your image has trees in it, make sure these are straight. Obviously, it is okay if your image has a tree that was already crooked. Although, if you have many trees all slanting the same direction, it’s going to be obvious that the image has been warped.
Be sure that the image fills the canvas after you are done warping. Make sure that you don’t drag the outer perimeter of the image inwards. If so, the edges will be exposed and you’ll see the transparent Photoshop background.
Lastly, use this tool in moderation. While the technology continues to get better, there are still limits to how much you can warp an image. Be aware that warping will reduce the sharpness, as it directly affects the pixels in your image. Warping is a great tool. Although, it should be used sparingly in certain situations where your image needs a slight boost to the composition.
In addition to improving your compositions, the warping tool can also be used for things like adjusting the horizon, or making lines straight on buildings and other architecture. Regardless of what kind of photographer you are, the warping tool is something you can utilize to create amazing images!
BEFORE
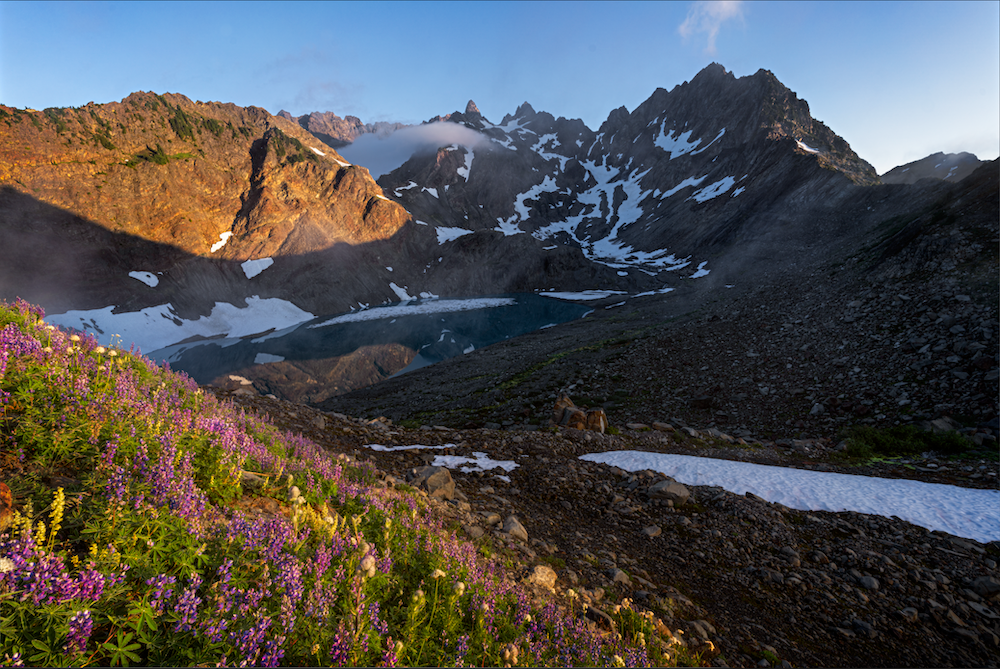
AFTER
