It may seem counterintuitive to look to basic rules and techniques when exploring creativity, but such is the case in many of the arts. Musicians use precise intervals in time and space to craft beautiful melodies. In photography, we regularly draw from centuries-old compositional techniques of master painters to give our images depth and meaning. Nature provides another source of inspiration in the many naturally occurring patterns we find, including the symmetry in our own human form. In fact, symmetry represents one of the most effective compositional tools we can use to take better, more impactful pictures. It’s been shown that we’re hard-wired to recognize and respond to it, so why not use it to our creative advantage? That said, we’ve put together a collection of tips on how to use symmetry in photography to help you create stronger images.
Let’s get started.
What Is Symmetry?
Simply put, symmetry occurs in an image when two halves closely mirror one another. As a result of this mirroring effect, a symmetrical image will feel balanced, even if the two halves are not identical. An image does not require symmetry to achieve balance, but balance is more easily achieved with symmetry. Also, an image may only include certain elements that are symmetrical while the majority of the objects in the scene do not meet these requirements. We’ll discuss this more in the following examples.
Types of Symmetry
Below, we’re going to look at three basic types of symmetry and then use specific examples to share tips on how to use symmetry in photography.
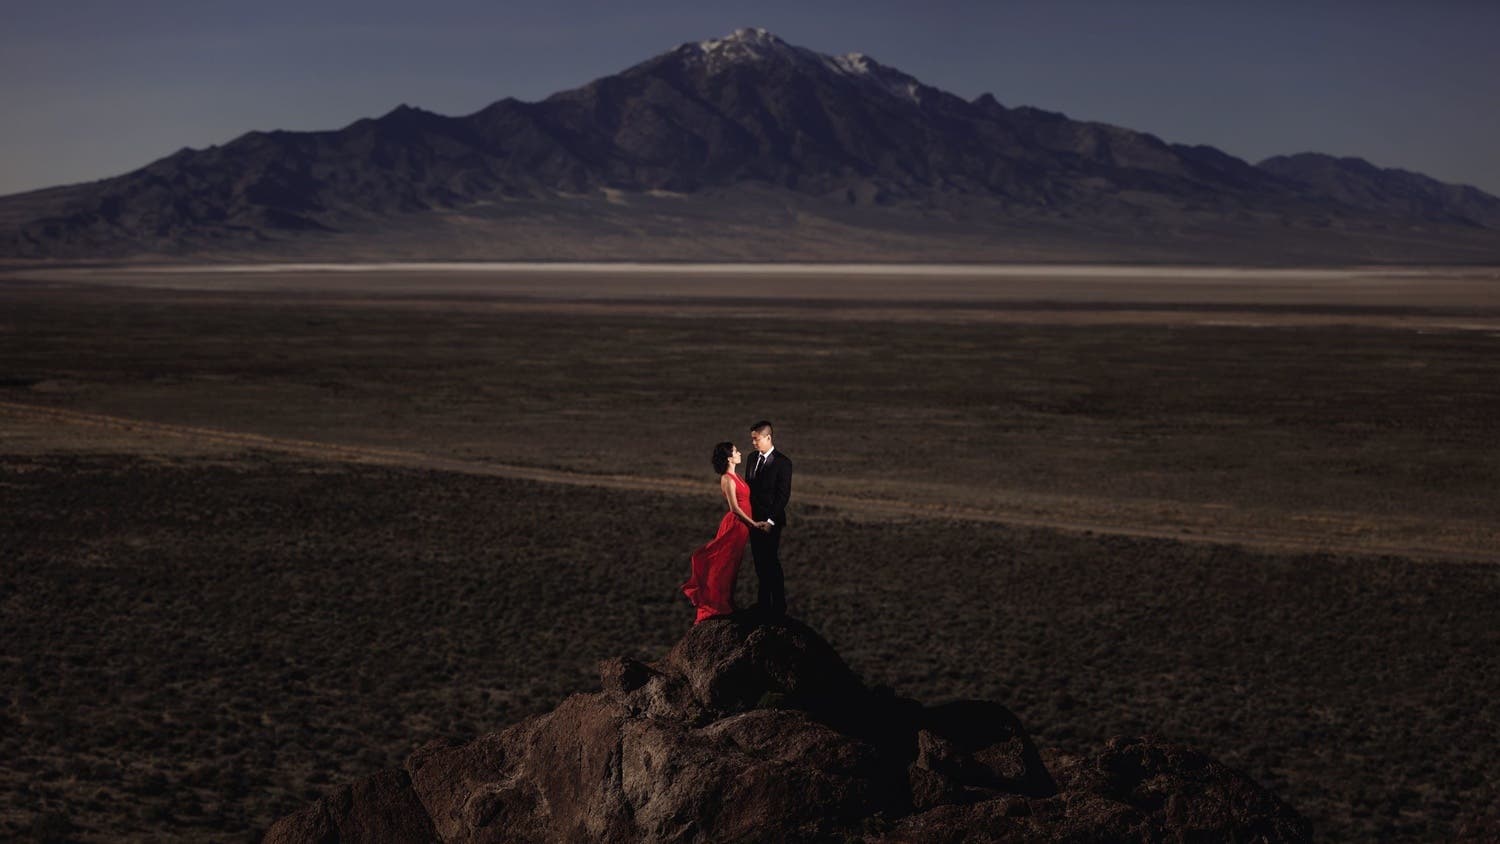
1. Vertical Symmetry
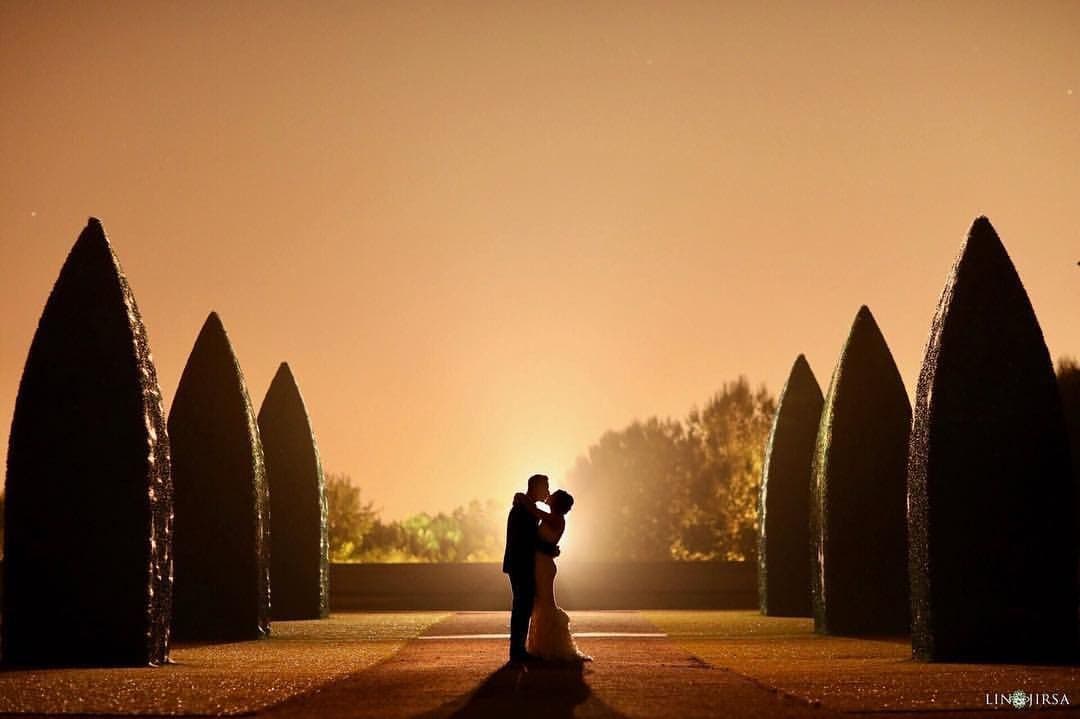
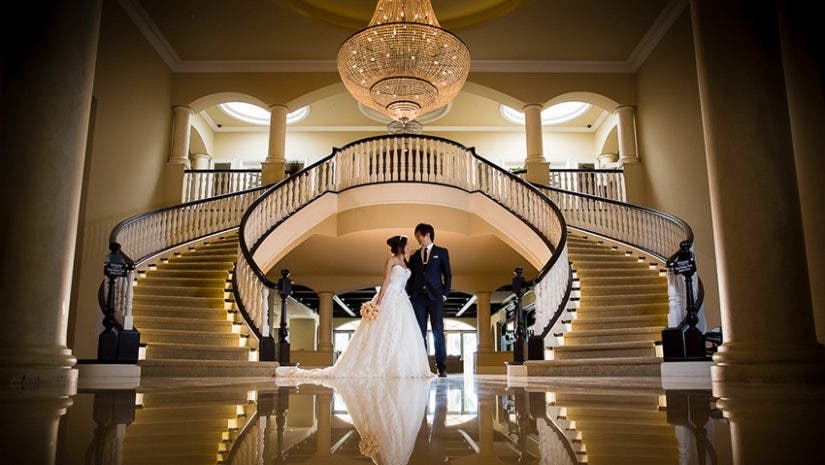
The first type of symmetry we’re going to look at is also one of the most common: vertical symmetry. In an image that features vertical symmetry, you’ll notice a line passing through the center of the frame from top to bottom, splitting the photo into two (mostly) identical halves on either side. In the image above, there’s no actual dividing “line,” but the image still splits in the center where we’ve place the couple. Because of the trees in the background and the couple in the center, the two halves of this image are not identical. However, you can see how looking for symmetry can guide us to a clean and impactful composition.
2. Horizontal Symmetry
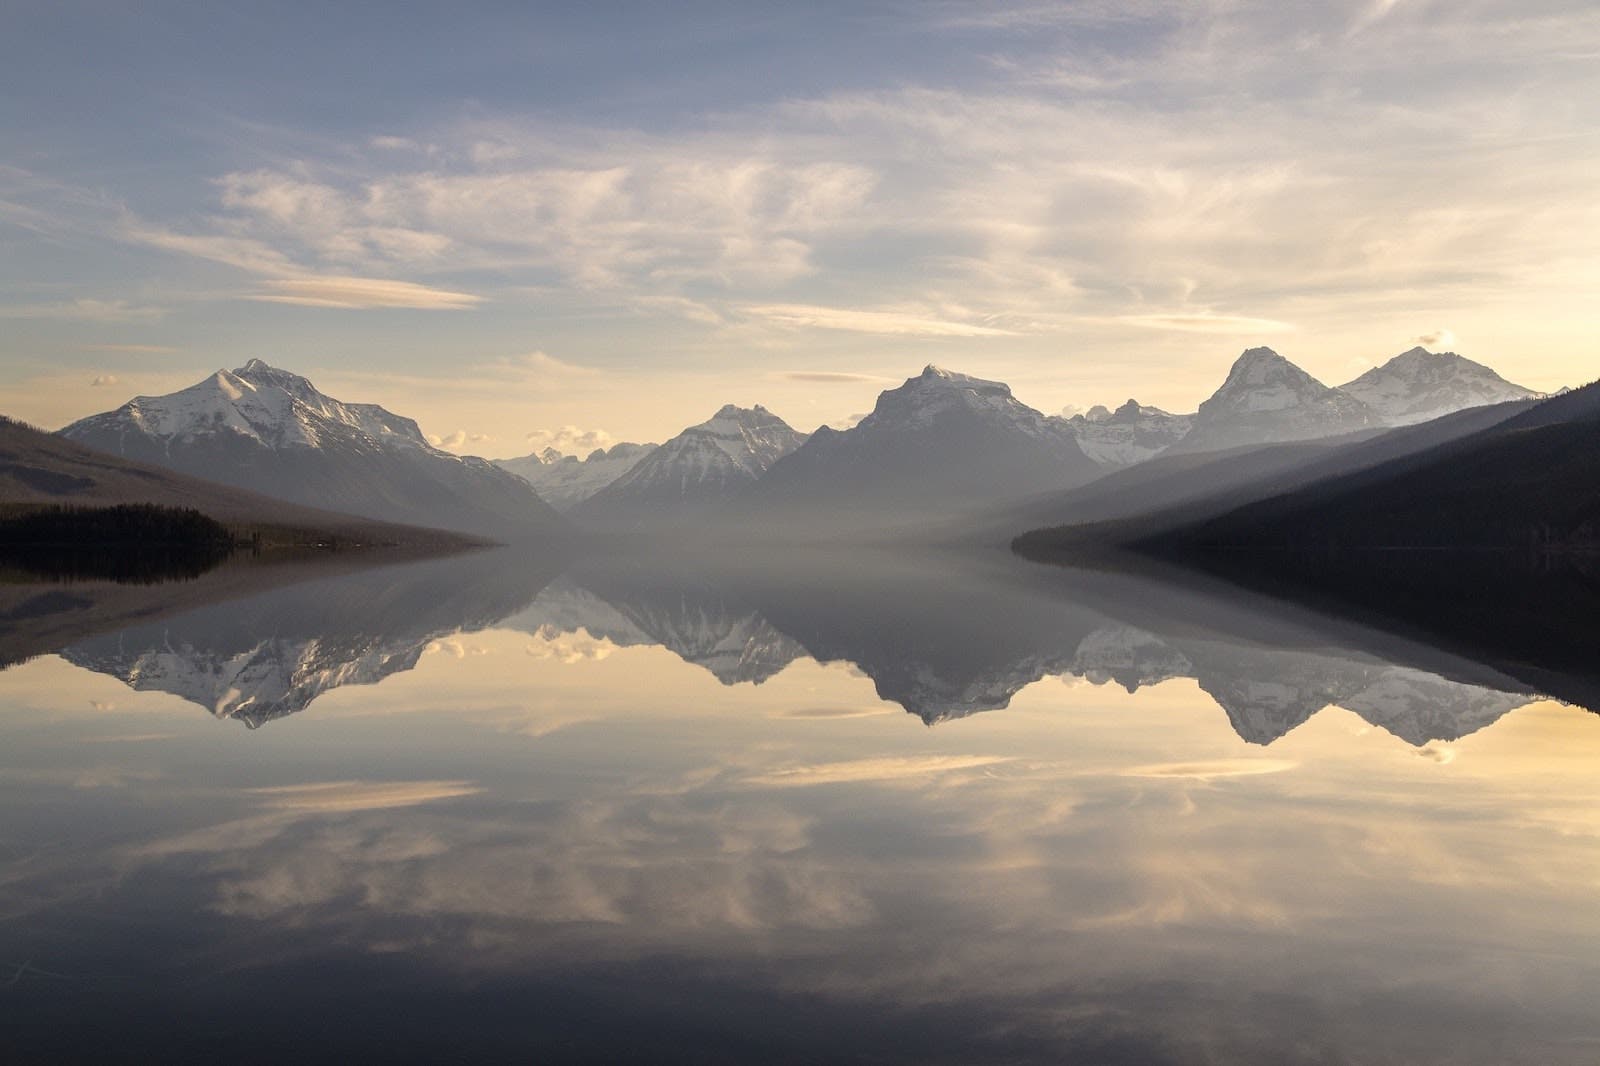
Similar to vertical symmetry, images with horizontal symmetry feature a noticeable line that divides the image into two halves. Only this time, the dividing line passes through the center of the frame from left to right.
Reflections
Many people classify symmetrical images that were created using reflections as falling under “Reflective Symmetry,” but I consider using reflections as a means to achieve a particular type of symmetry. You may disagree if you feel that symmetry must otherwise occur naturally, but that’s for you to decide.
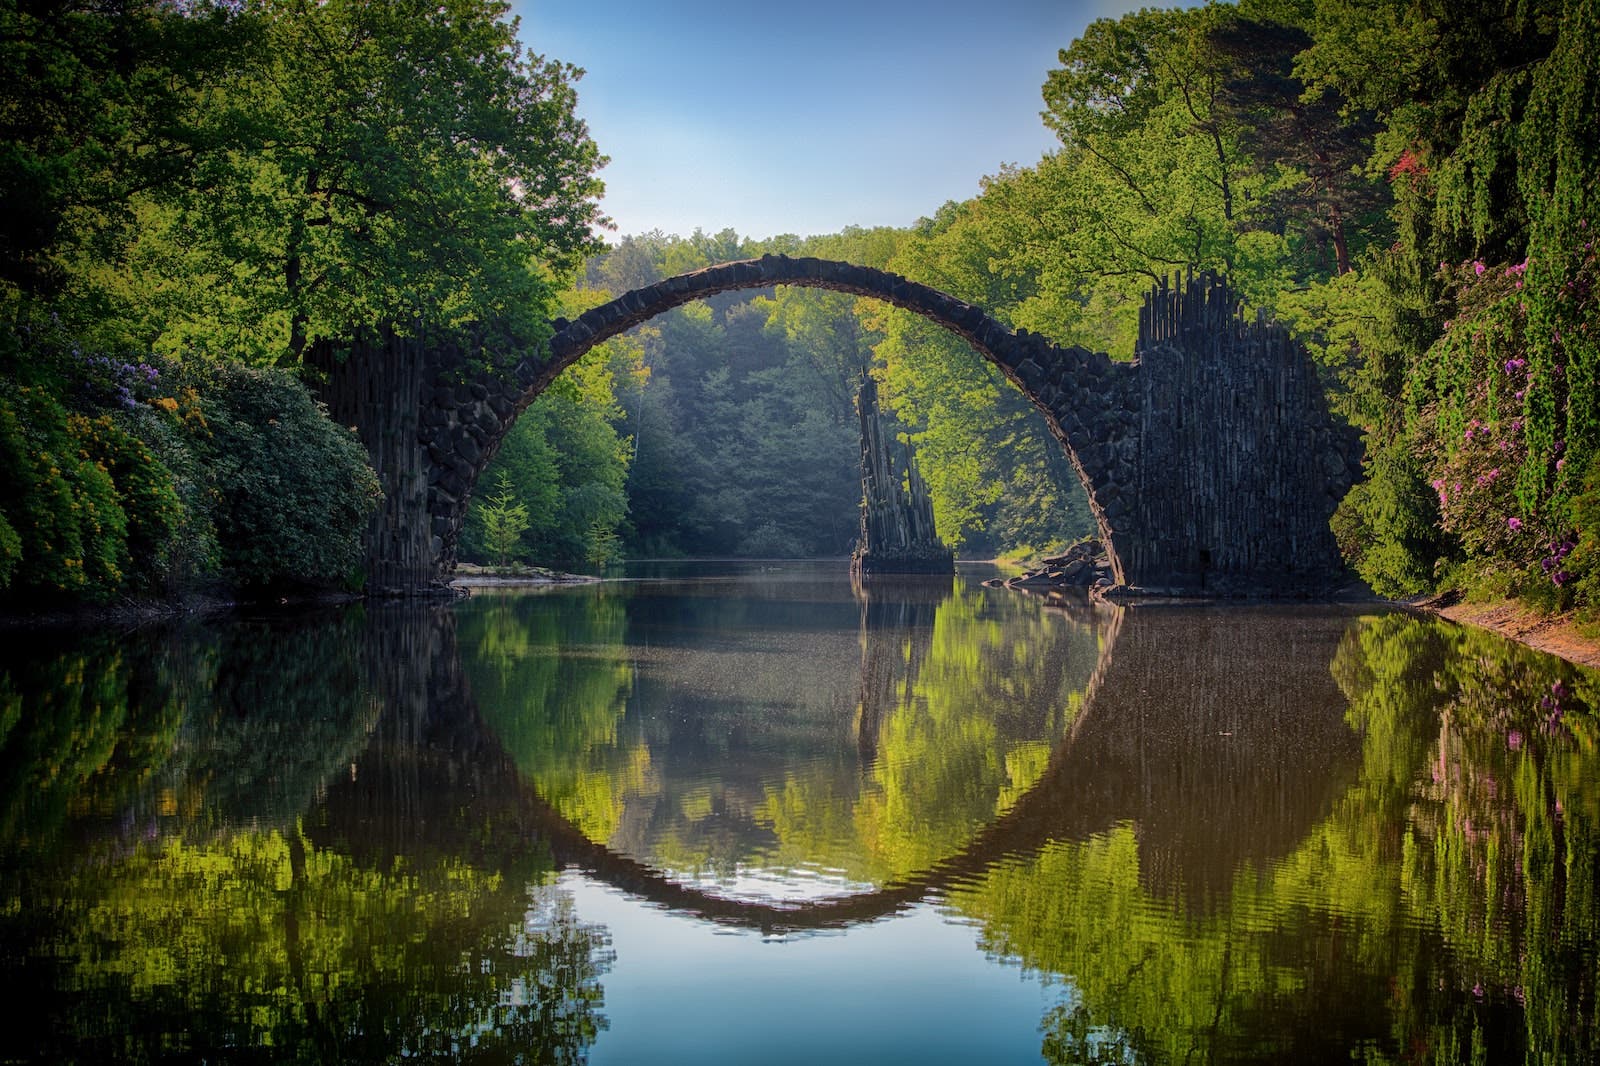
Photographers often use water like lakes and puddles, windows on buildings, or smaller objects with reflective surfaces like prisms and smartphones to capture horizontal symmetry in their photos.
3. Radial Symmetry
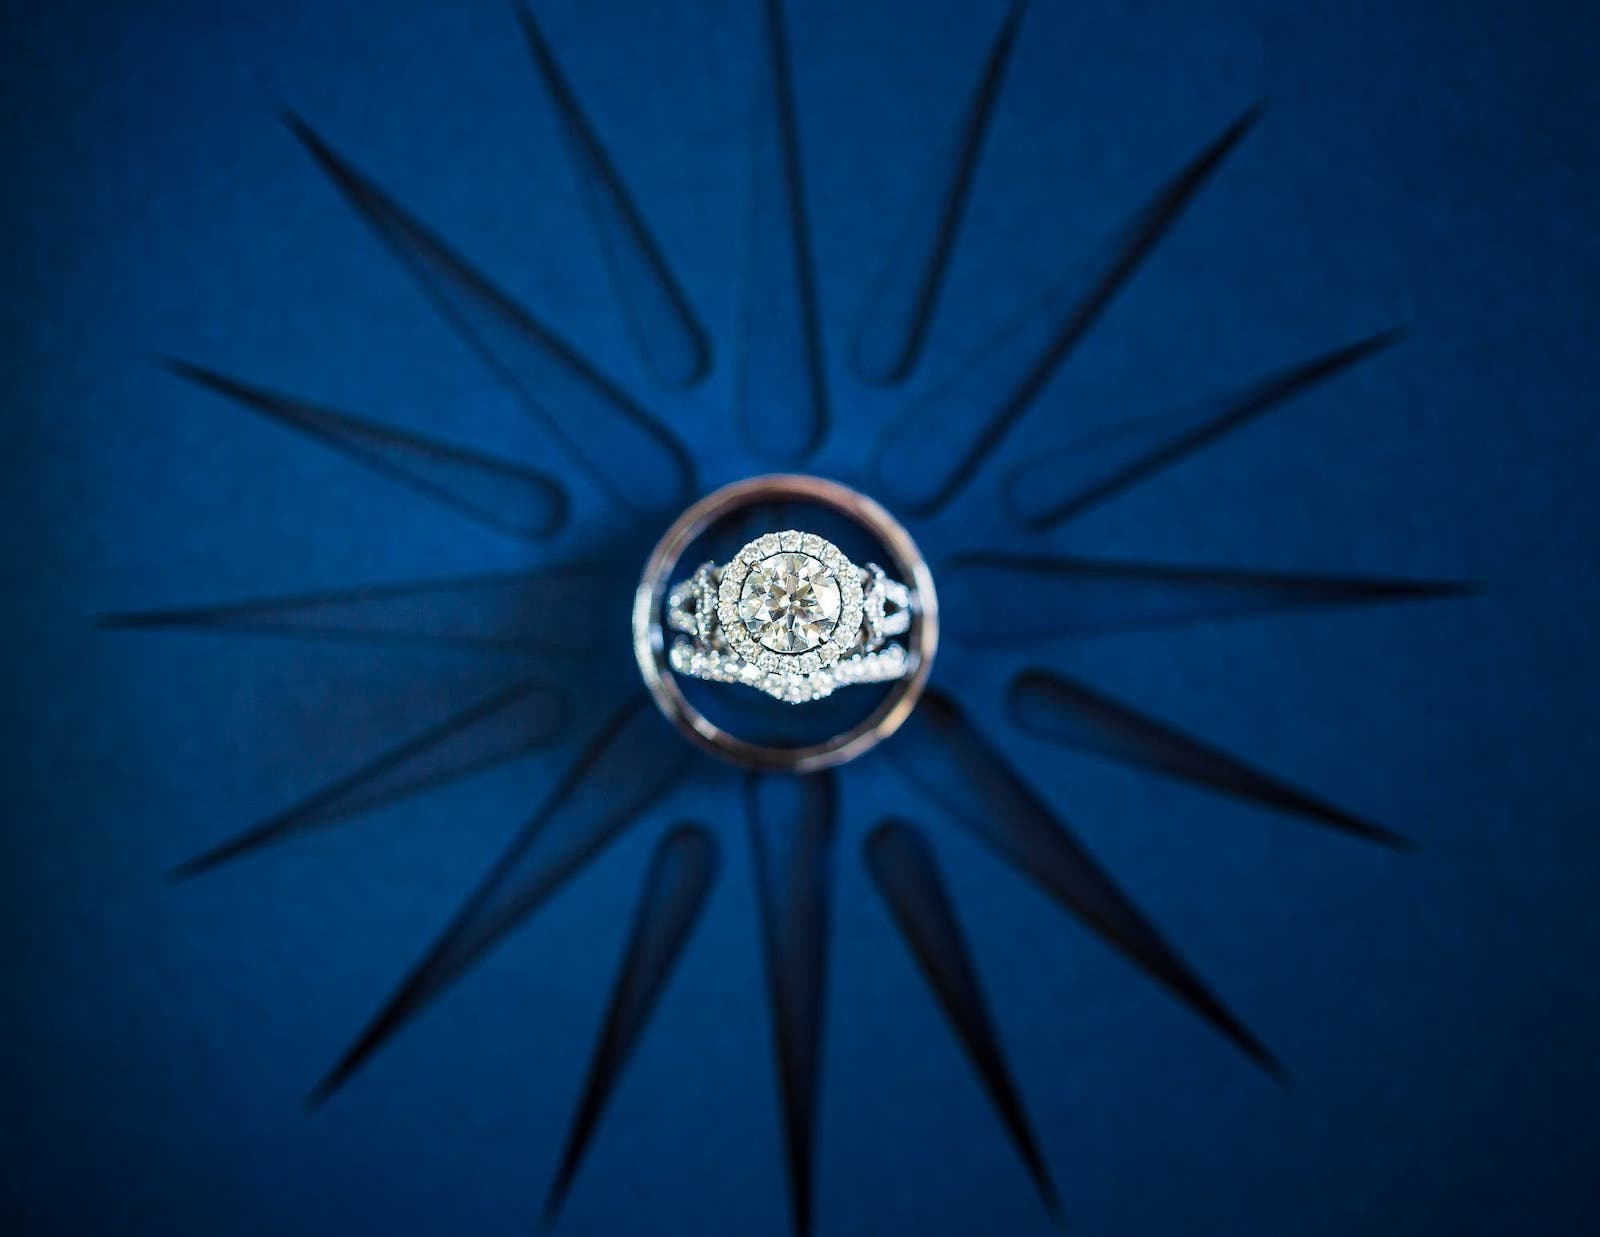
You’ll find radial symmetry in flowers, bike wheels, puddle splashes, and more. Radial symmetry occurs when patterns repeat around a central point. This type of symmetry differs from the others in that it exists around a singular point rather than solely on either side of a dividing line. Of course, you can have two symmetrical halves of a flower, but with radial symmetry, you can also further divide the image into 4 (nearly) identical quadrants.
General Tips on How to Use Symmetry in Photography
Now that we know the different types of symmetry and recognize their impact on imagery, we can look at how to use symmetry in photography to take better pictures.
1. Grid and Live View In-Camera
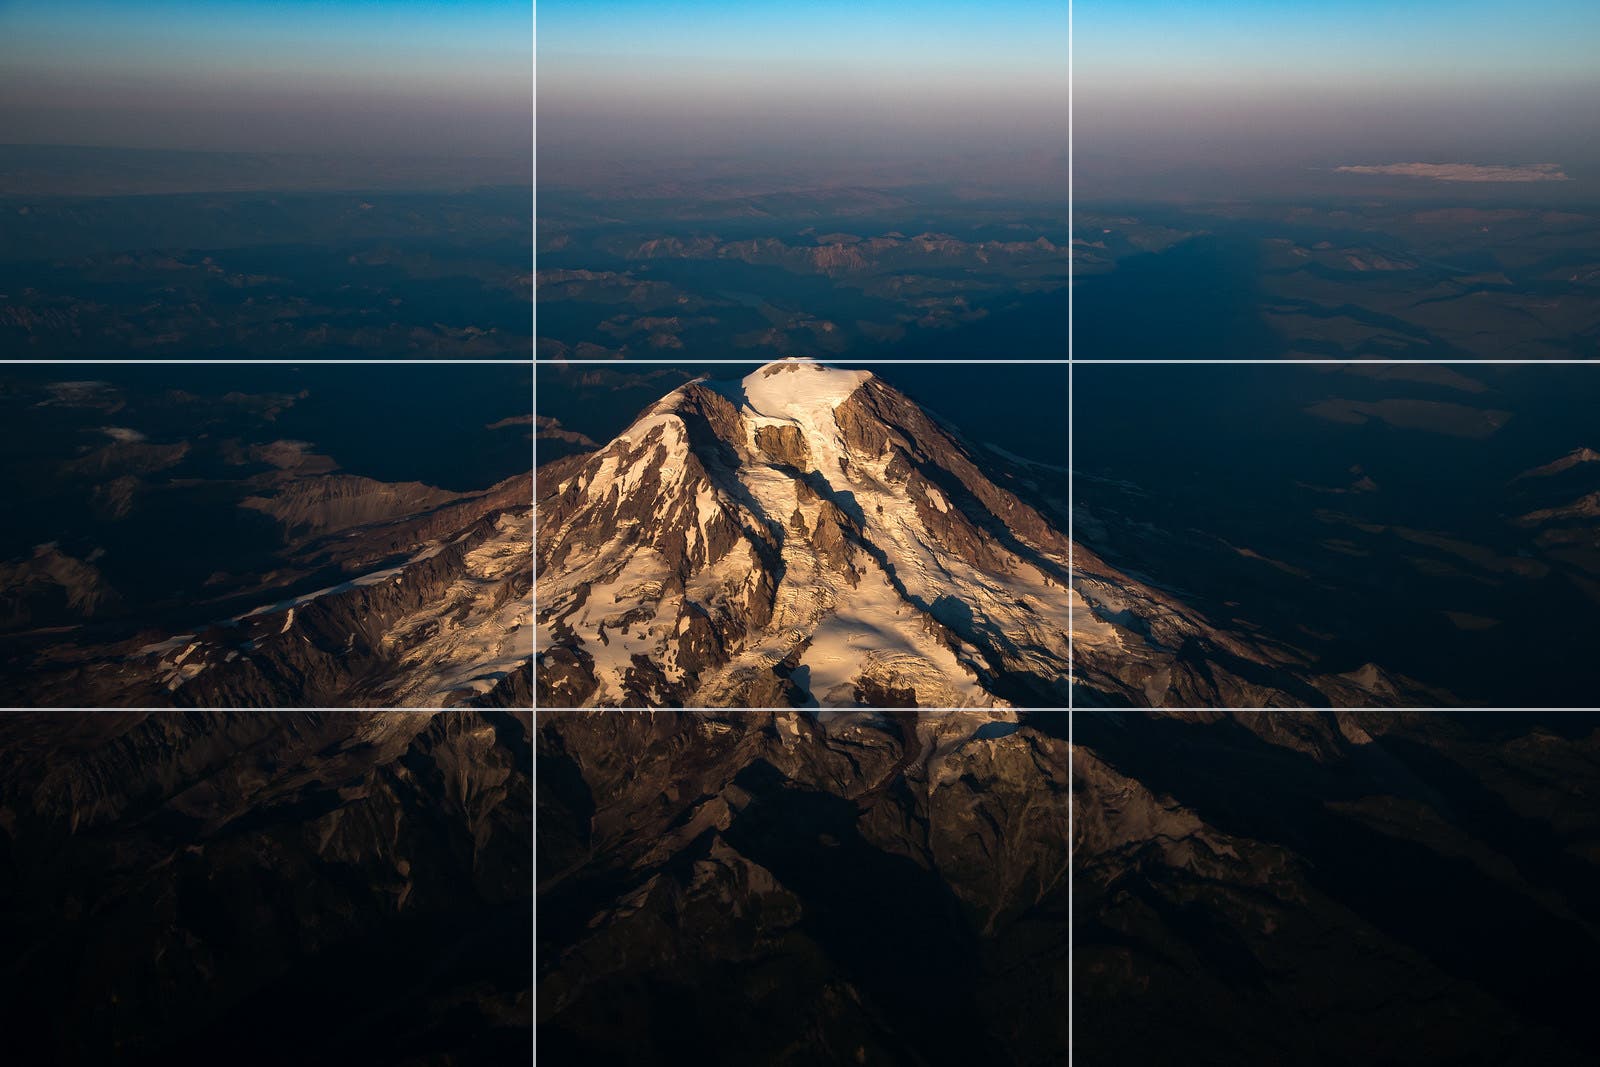
Most camera bodies these days include an option to display a grid on the screen and/or through the viewfinder. Photographers often use these lines for compositional purposes. They especially come in handy when using the rule of thirds, but that’s not the only way they help. The grid lines also help ensure you have a level horizon, and they work for all types of symmetrical photos.
2. Architecture
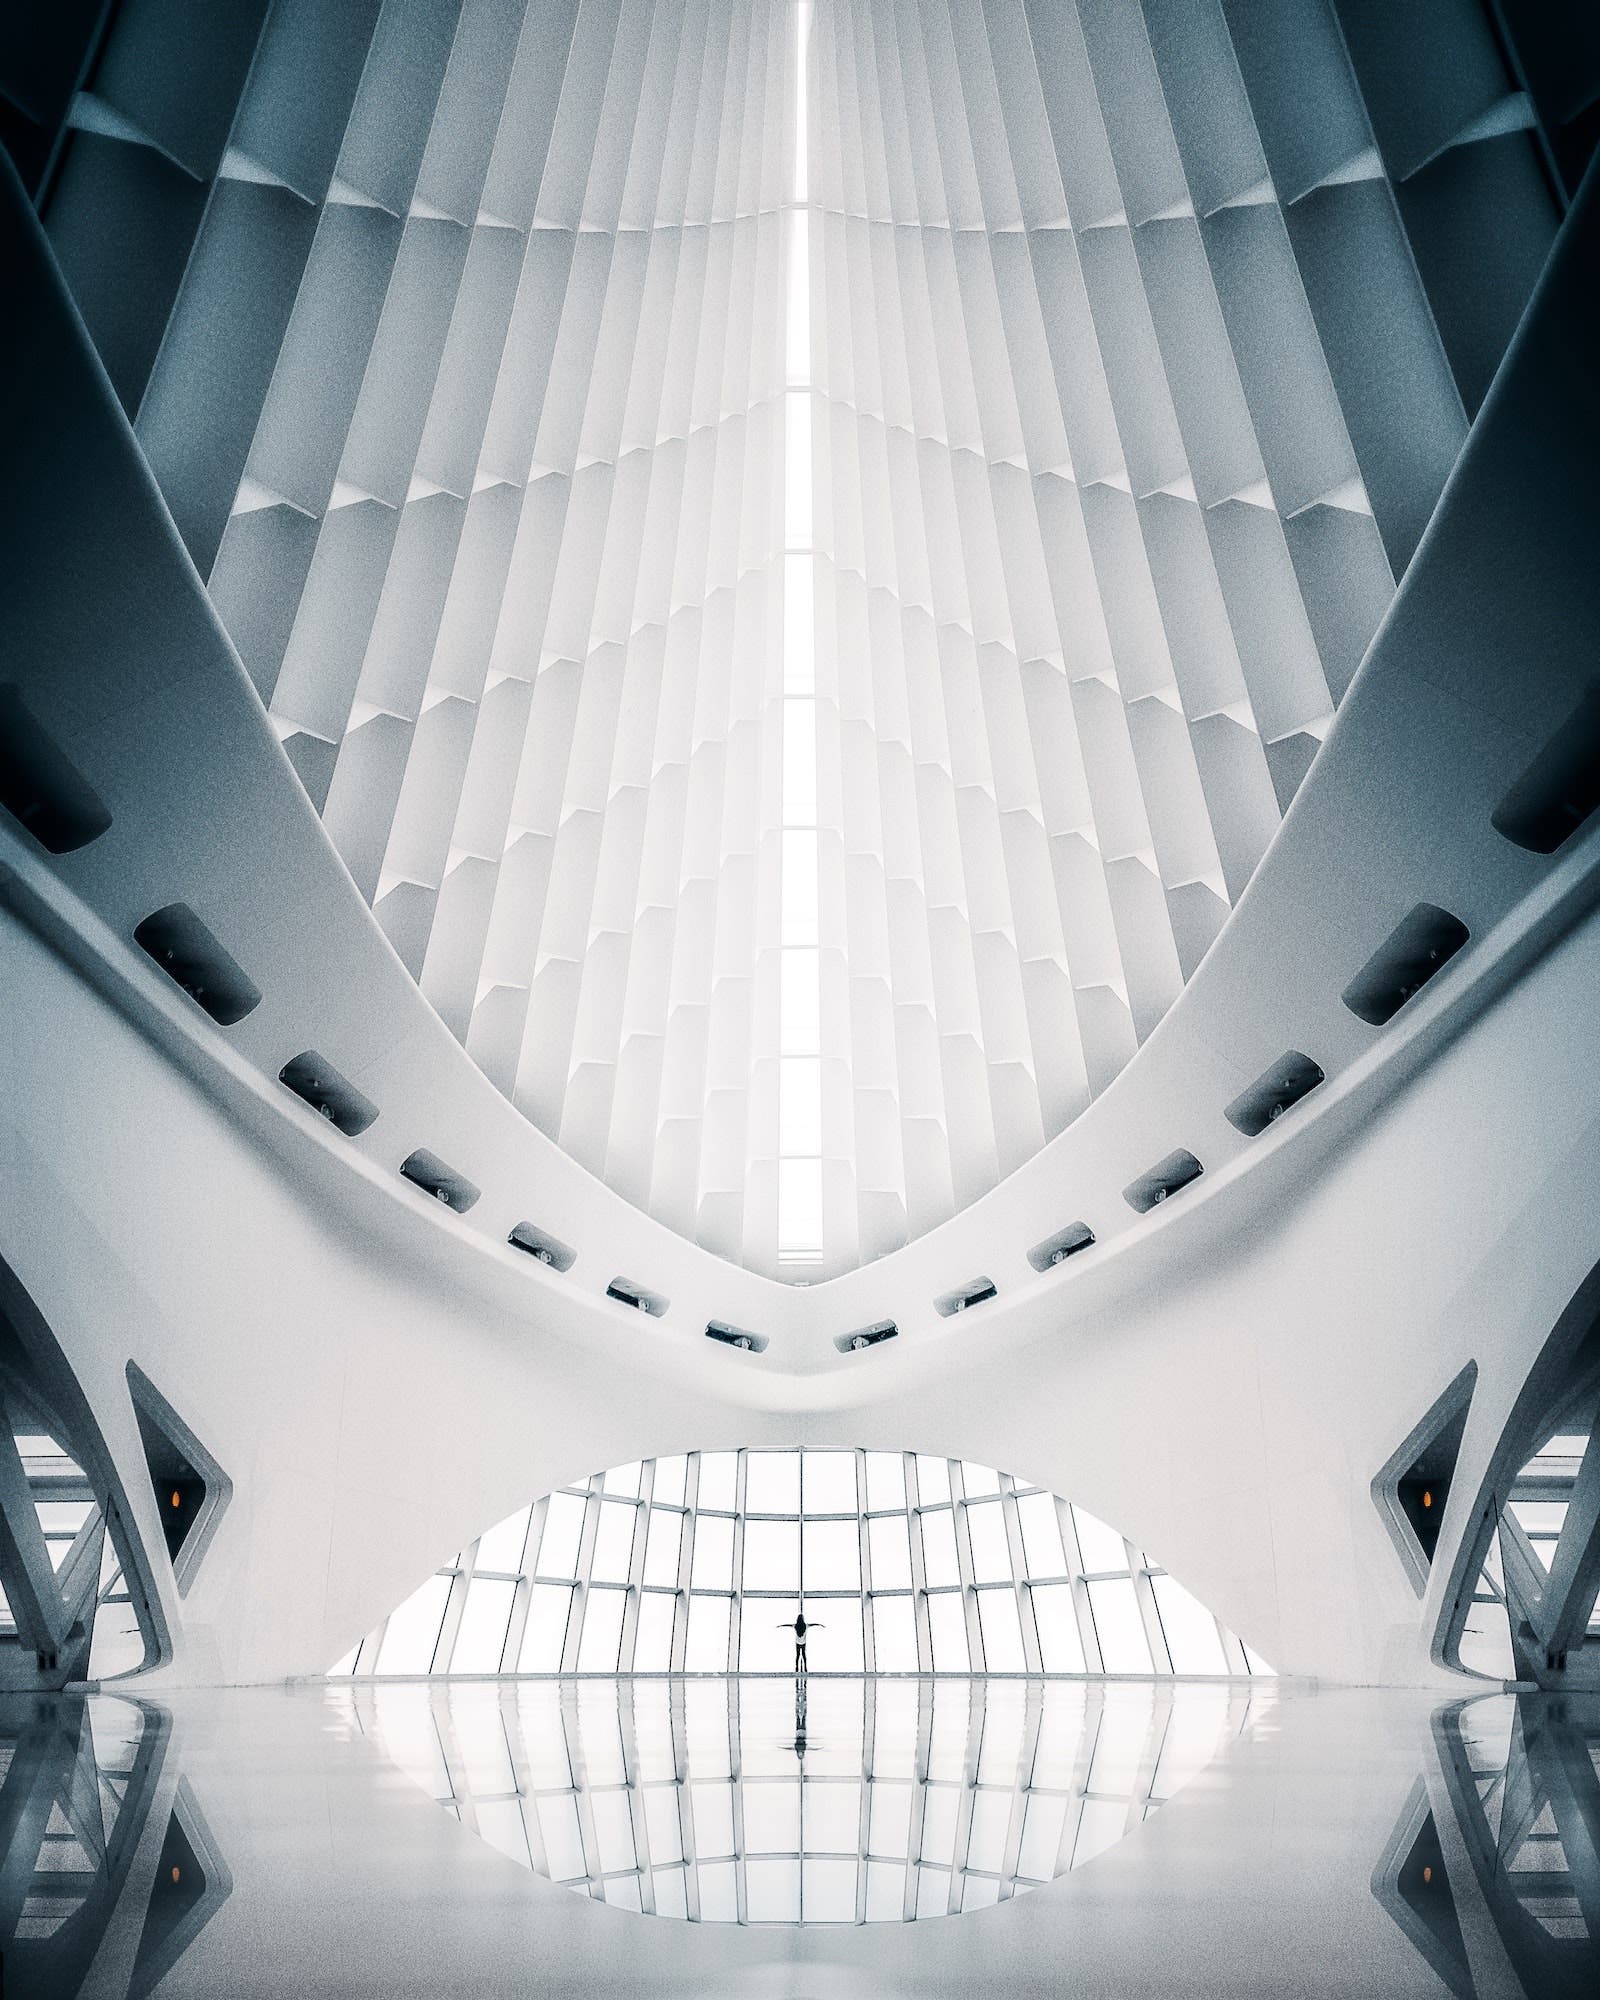
One of the best ways to learn how to use symmetry in photography is to photograph architecture. Bridges and buildings, in particular, tend to feature interesting elements and repetitive patterns that you can use to great effect in your symmetry-inspired images.
Mind the Center
It is crucial that you center your shot as precisely as possible when capturing symmetry in architecture. Make adjustments up or down, left or right, until you’ve dialed in your composition. Even if you’re off by just a fraction, it can make all the difference and make the frame feel off balance.
Find Interesting Angles
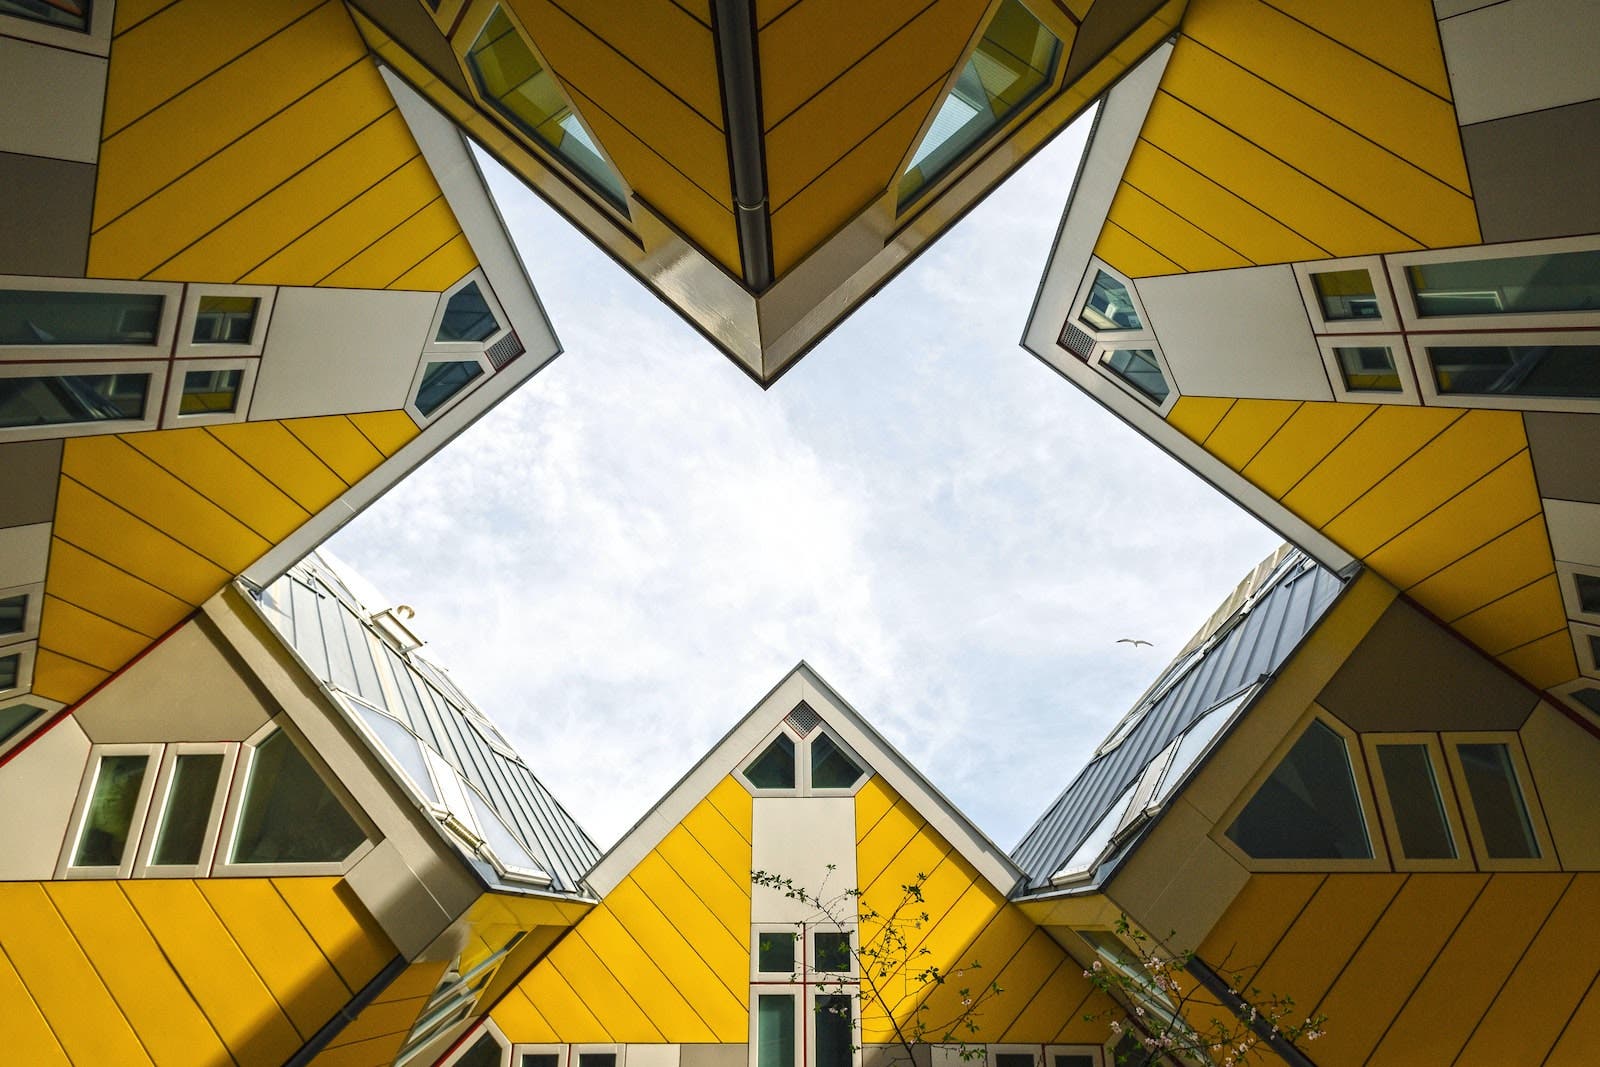
As photographers, we can find interesting angles and make selective crops to present the world around us in new and unique ways, as the image above from Stas Knop demonstrates. In other words, you can start off with basic captures, but challenge yourself to create an original frame that goes beyond a simple walk-up shot. Check out this article for more tips and ideas to improve your architecture photography.
Use a Wide-Angle Lens to Amplify Depth & Effect
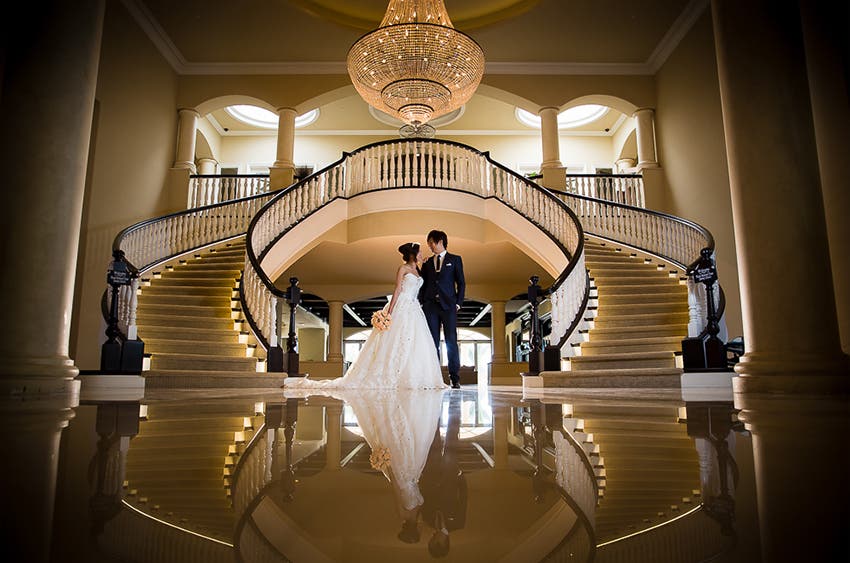
In addition to capturing a wider frame, wide-angle lenses are notoriously tied to a phenomenon known as lens distortion. There are different types of distortion, but one we see regularly is called barrel distortion. With this type of distortion, straight lines in the scene will appear to bend outward from the center of the image. As such, the effect becomes more exaggerated toward the edges of the frame. We can use this effect to our advantage to transform a scene and further amplify elements in our composition. It’s worth noting that the architecture itself doesn’t need to serve as the hero in the image. With a wide-angle lens and a low perspective, you can make great use of architecture to create a symmetrical background in couples portraits.
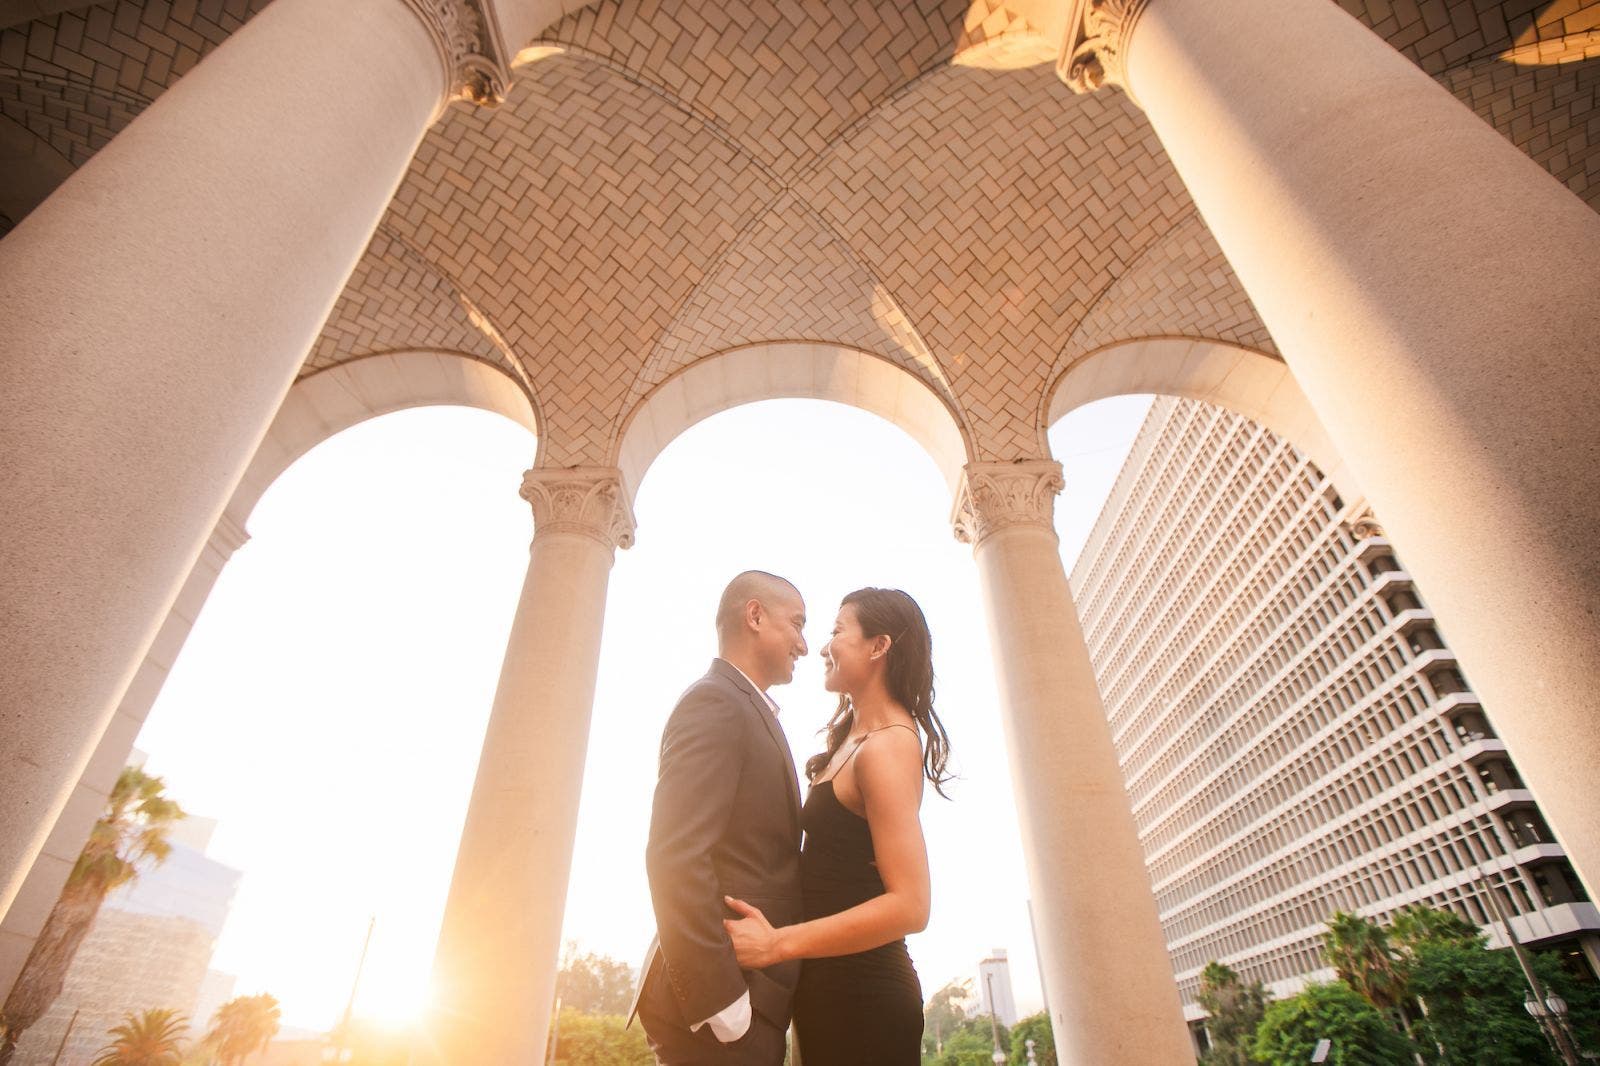
If you place the couple close to the camera while using a wide angle lens (see the image above), you’ll need to direct your couple to bend at the hips and lean toward the camera. If you don’t, the couple will appear to lean away from the camera and their bodies will become unnaturally elongated. This is due to what is known as wide-angle lens distortion. The effects of this distortion add visual appeal to the background and shapes around the couple, but you want the couple to look as normal as possible.
3. Group Portraits
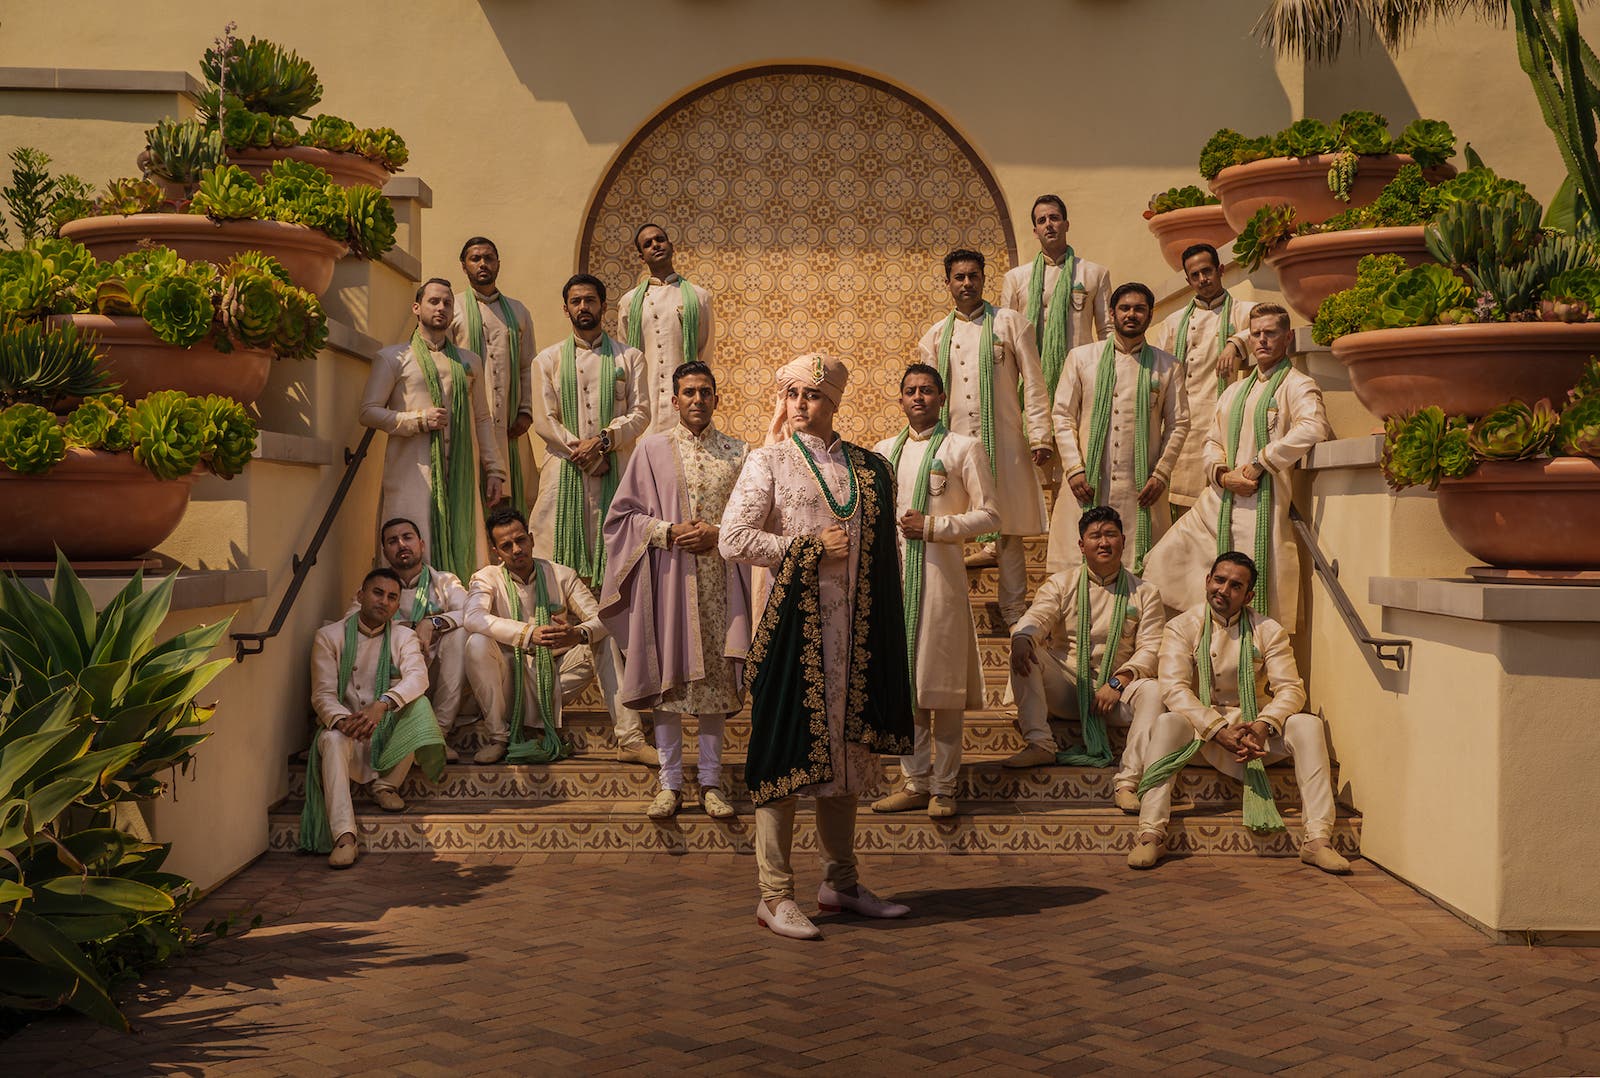
When posing groups, no matter if you’re going for a traditional symmetrical or editorial pose, balance is key. You may not always have an equal number of people and the background might not be exactly symmetrical, but you can strategically place your subjects to balance the frame, giving the appearance of symmetry. The main thing is to ensure that both sides of the frame feature equally weighted visual elements. In the image above, I staggered the subjects in various poses in an effort to find balance. As a result, the group portrait conveys a sense of symmetry, even though it is not symmetrical.
In the group portrait above, the use of chairs and staggered poses (sitting vs. standing) works well for creating balance.
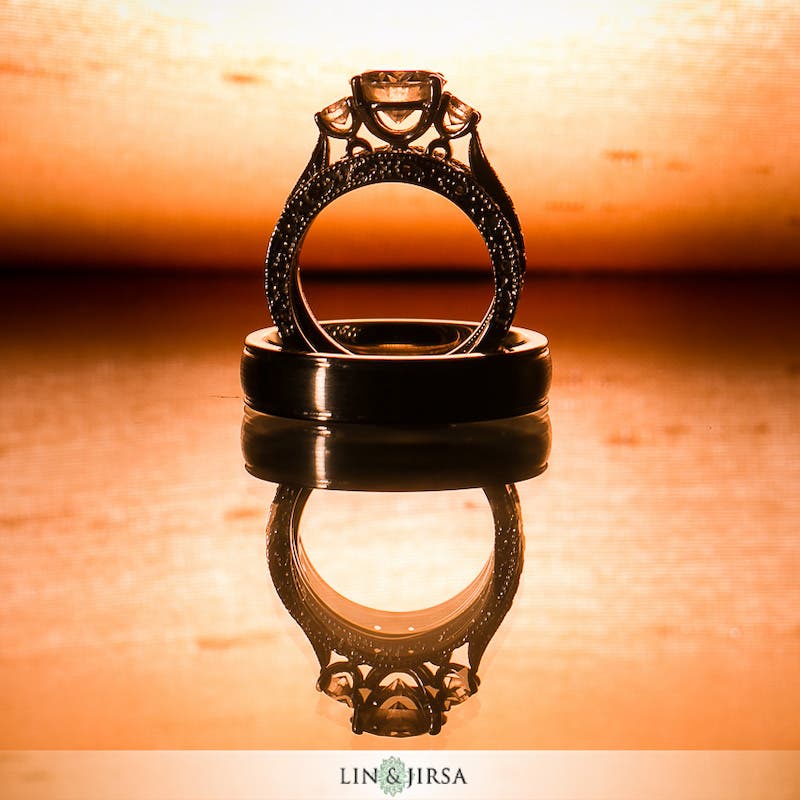
4. Details & Ring Shots for Weddings/Fashion
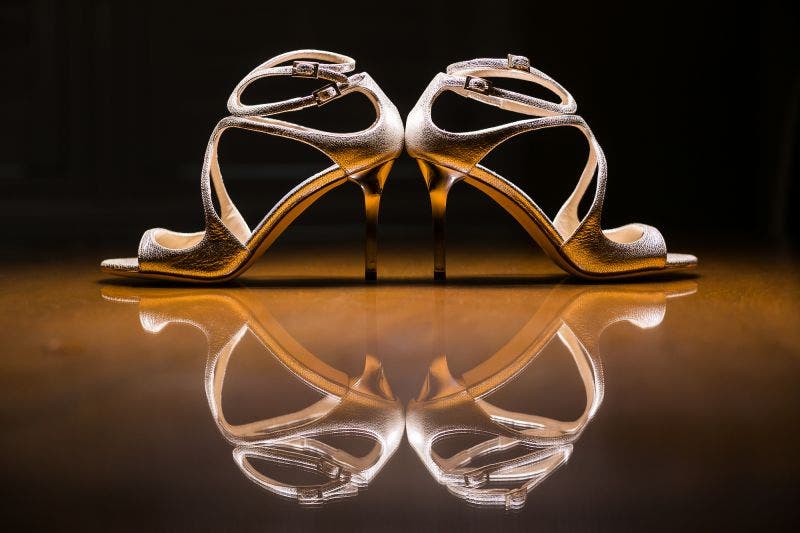
If you photograph weddings, look for ways to capture details and ring shots using symmetry. Reflective surfaces like tables and counters work especially well for further emphasizing symmetry in these images. I prefer breaking out a macro lens when capturing these shots to further separate the objects from the background. Also, I use lighting to give them depth and add visual interest.
For more inspiration in this area, you can find more tips on wedding ring photographing here.
5. Combined Compositional Tools
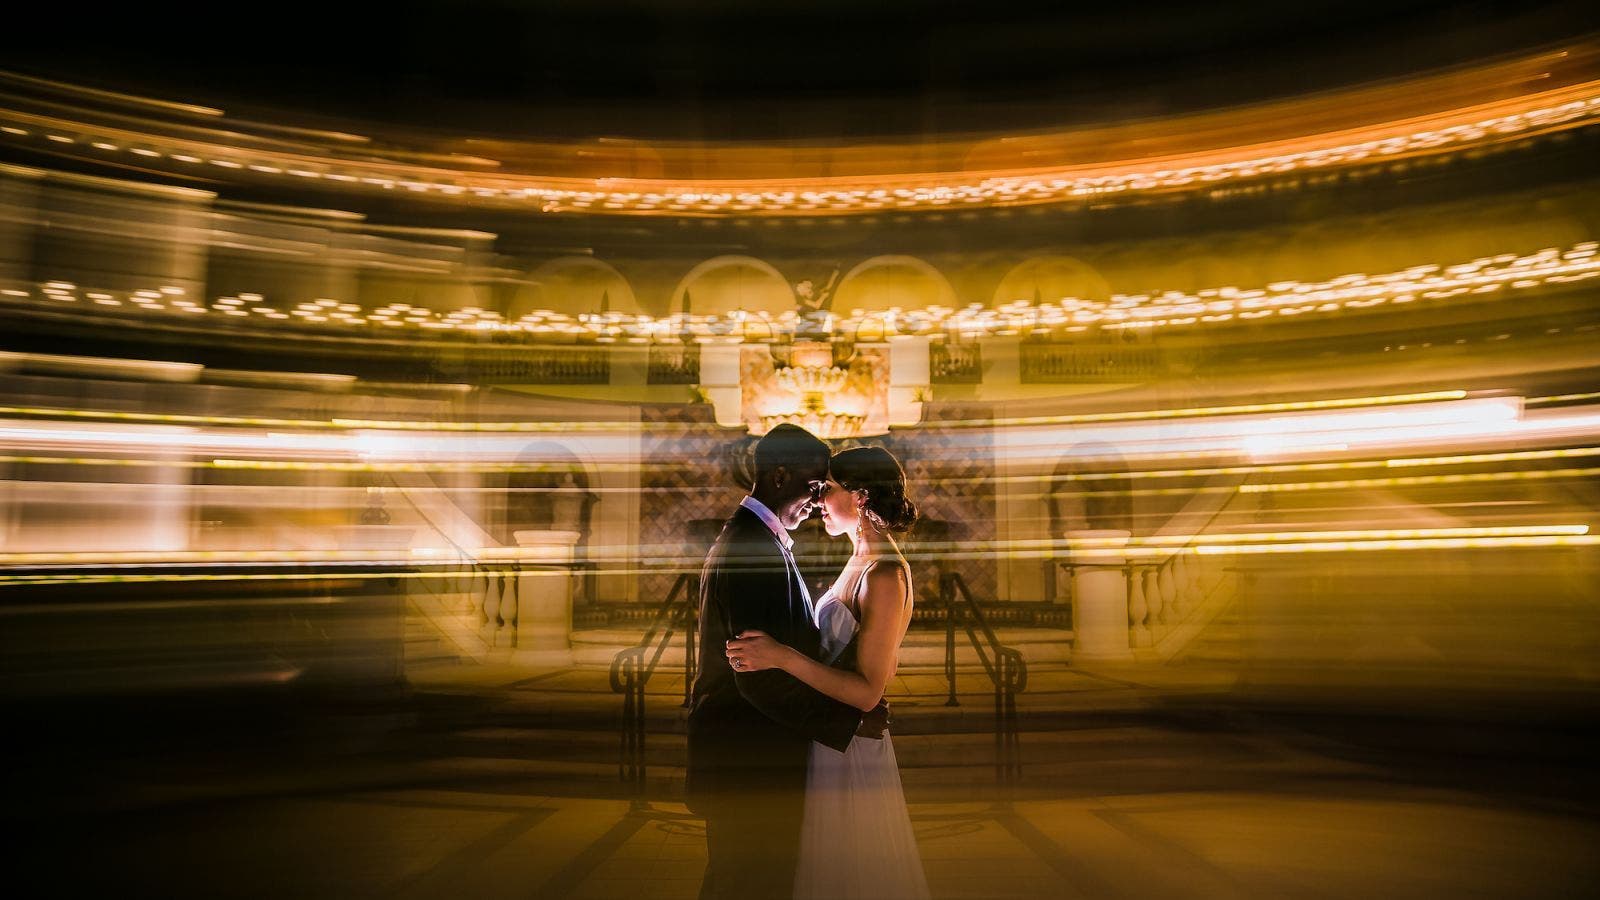
Symmetry, of course, is one of many compositional tools you can use. Combining, or “stacking” these tools generally leads to much stronger photos. For example, many symmetrical layouts also incorporate leading lines and repetitive patterns. You can use to direct your viewer’s gaze to your subjects. In the image above, I used a shutter drag technique called “whip panning” to add a sense of motion. The photo below is made stronger with the combined use of symmetry, leading lines, mirroring, and lighting.
Conclusion
I hope you found these tips and ideas on how to use symmetry in photography helpful. Learning to master compositional tools like symmetry helps guide our creative process and allows us to take better pictures. Remember that we can use symmetry for balance without having to capture perfect symmetry. The cleaner it is, however, the better. Look for symmetry in your surroundings the next time you head out for a shoot.