
Many experienced photographers use manual exposure, but not many fully understand metering. Metering is the process by which your camera (or any light meter) decides what a “correct” exposure is. A light meter measures the actual light in a scene and tells you which combination(s) of shutter speed, aperture, and ISO will give you a correct exposure. It is important to understand the basics of metering. However, to fully master your camera, you really should learn about spot metering.
If you learn how to use spot metering, you will feel like you’ve mastered manual exposure all over again. It enables you to consistently get perfect exposures in one click — especially when the lighting conditions are extremely challenging.
Many experienced photographers use spot metering in conjunction with manual exposure in order to maintain total control over each exposure. In this article, you will learn how spot metering works and how to use it effectively with manual exposure mode. Also, we’ll describe how to use spot metering with Aperture priority or other modes to deal with extremely dynamic light.
What is Spot Metering?

Basically, spot metering differs from other metering modes on your camera because it uses a simple concept. It meters one small spot in your image and totally disregards everything else. That’s it! Other metering modes try to balance your entire image. Sometimes they use an average of the entire frame, other times emphasizing the central part of your image. Some cameras can even meter off of human faces.
Spot meter takes back control and lets you decide exactly how your subject ought to be exposed.
Most cameras, when switched to spot metering in a default setup, take meter readings from the center of the image. This center spot is a circle that is as small as 1-5% of the whole image frame. Some cameras have a visible circle in the center of the images. With others, you’ll just have to make sure your focus point is dead-center. As I mentioned before, this tiny little spot is the only part of the entire image being metered. So, if other parts of the image are extremely dark, or extremely bright, you may blow out your highlights or lose your shadows.
Why You Should Use Spot Metering

Why would you want to do something this risky? Well, for starters, your subject better be very important, and any foreground/background better be a lot less important.
Of course, if you mostly shoot in flat light with no significant highlights or shadows, then the risk is low. In fact, you don’t really need spot metering in these conditions. All metering modes will give you almost the same reading.
Therefore, practically speaking, spot metering is mostly useful in situations where there is, in fact, a lot of extreme contrast that could “mess up” your other metering modes. Some common examples of these types of situations include:
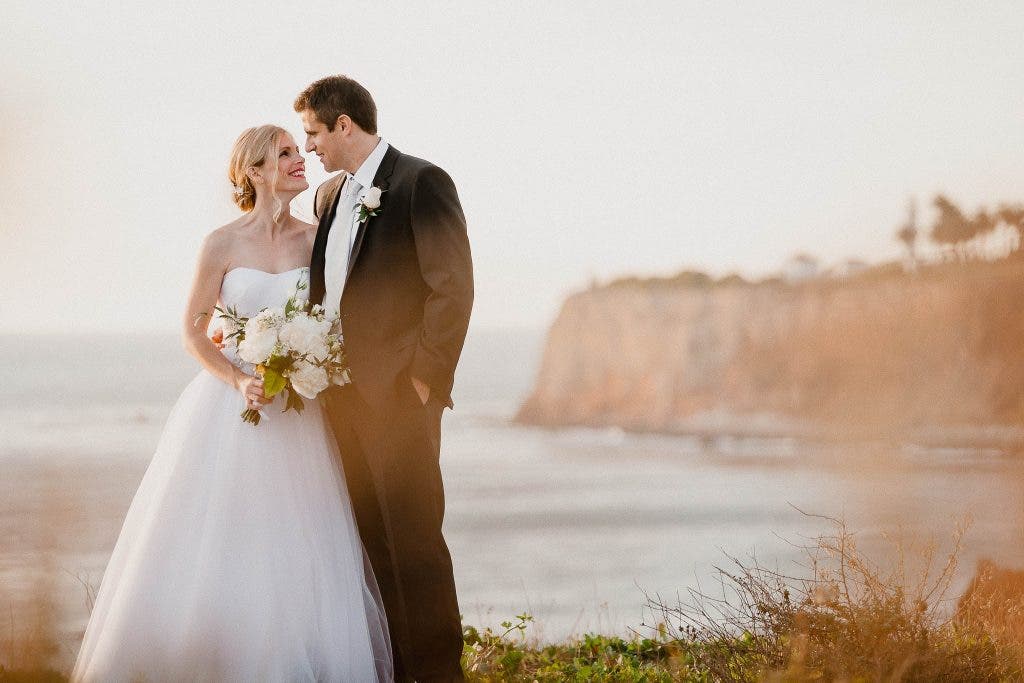
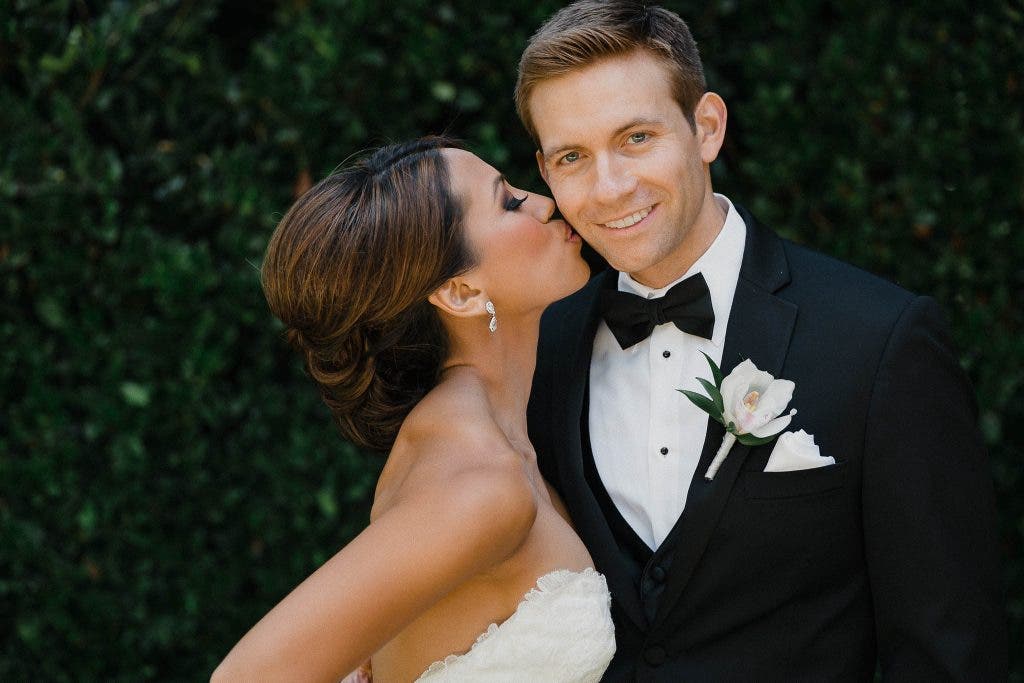
- A bride’s white dress in a dimly lit church, especially with a spotlight shining on her
- Stage performers, like musicians or theater actors, who are illuminated by a spotlight in a dark theater or concert venue
- A portrait of a subject with darker skin, photographed against sky or snow
- A light-colored bird or other wildlife set against any dark nature backdrop
- The moon in a night sky at most focal lengths

How to Use Spot Metering
Here’s the simple version of how to use spot metering on most digital cameras. Simply look for that center dot in your viewfinder and point it right at your subject. In manual exposure, dial your camera settings until that center dot registers as “0” or neutral. Then, re-compose your shot if you don’t want your subject to be smack-dab in the middle of your frame.
That’s it! Your subject, because you metered it directly, will always be correctly exposed. What if your subject is very light or very dark in tone, and neutral is not actually the best exposure? Simply spot-meter it at +1 or -1, and see how that looks. This is a common technique when photographing various portrait subjects with different skin tones, and it’s really easy to learn. You’ll be surprised how quickly your brain learns how to expose all your favorite subjects.
Using Spot Metering in Harsh Light

You might be asking, “what about my dark/bright background? Is there any hope of saving it?” The answer is, yes! In fact, the solution is just as easy as spot metering your subject. Simply point your camera’s spot meter at those highlights/shadows, and see what they are.
Since your spot meter will only meter those subjects, you’ll see your light meter jump to, say, +2 or -2. Again, when you’re in manual exposure mode, so your exposure isn’t changing — just the meter reading.
As a general rule with all modern digital cameras and RAW image capture, as long as your meter doesn’t go completely off the scale when spot metering a highlight or shadow, you’ll be okay.
There are a few more details about exactly how spot metering works on different cameras, but we’ll cover that later.
How to Get the Perfect Exposure with Spot Metering
Getting perfect exposures every time with spot metering will require some practice, of course, but it’s possible.
Start by simply getting in the habit of always spot metering off your subject, and dialing the exposure to be “0” or neutral. Of course, expose lighter subjects a bit brighter than zero, and darker toned subjects a bit under the “0.”
Pro Tip: If you’re using a wide-angle lens and your subject is small enough that your spot meter can’t accurately measure it without the background affecting the reading, try zooming in when you meter if you have a constant-aperture zoom lens. Alternatively, you’ll have to learn to compensate for lighter or darker backgrounds manually.
What Type of Photography is Good for Spot Metering?
As I mentioned earlier, whether you do portrait photography, wedding/event photography, or wildlife or even landscape photography, you’ll quickly find yourself memorizing all of your common subjects, and whether they should spot meter at “0”, or +1, -1, etc. You will also learn how big the spot itself is, so that you can correctly meter both large and small subjects, near and far…
When you combine this with a camera that has an electronic viewfinder (EVF) that provides visual confirmation of your exposure, you’ll find that your images look perfect in-camera!
Also, remember that quickly pointing your spot meter at the highlights and shadows in your scene can give you some peace of mind, or warn you about potentially challenging light.
Landscape Photography

This technique often becomes effortless and second nature to landscape photographers. Point your camera at your subject, and dial in your exposure. Then, point your spot meter at the brightest highlight and darkest shadow in your scene to see where they fall relative to that neutral point. Say, for example, your highlights register as +3 EV and your shadows register as -2 EV. That is a total of 5 EVs of dynamic range, and most cameras today can handle that with ease. You’re done!
However, what if your brightest highlight registers totally off the scale? Let’s say that by dialing your exposure down, you calculate the highlight to be at +8 EV. If that’s a blown-out background in a portrait, it may be just fine being white. If you’re a landscape photographer shooting a sunset, though, you have a problem!
As long as your shadows aren’t too dark, all you have to do is under-expose your main subject by, say, 3-4 EVs, and then use raw processing in post-production to recover that shadowy subject.

Of course, if you know that your camera does not have enough shadow recovery to “dig” 3+ stops into your shadows, this means you will need to bracket and create an HDR landscape.
Speaking of landscape photography, would you like to get even more advanced? Here is the classic technique that goes back to the days of film and Ansel Adams’ “Zone System.” Start by metering the brightest highlight in your scene first, and dial it to +2 or +3 EV. (Based on your personal testing of what your camera can handle before that highlight clips to white.) Next, meter the darkest part of your scene. As long as it is within, say, -3 EV, you know that a single raw exposure will capture detail in both your highlights and shadows. You have just used your spot meter to perfectly optimize your histogram.
Understanding Spot Metering with Your Camera
Unfortunately, all camera manufacturers, and even different models of the same make, have different spot metering options. I can’t even say, “oh, all Sony cameras work this way, and all Nikons work that way” …because you will have different options depending on whether you buy an entry-level camera or a flagship model.
So, here’s what you need to know: Some cameras only let you spot meter off the dead-center of your image frame, while other cameras let you link spot metering to your selected autofocus point. How convenient!
Also, some cameras allow you to vary the exact size of your metering spot. They may call it small, medium, and large, or they may actually tell you that you’re choosing from a 1%, 5%, or 10% in your viewfinder. Either way, this feature is usually reserved for the topmost flagship cameras such as the Sony A1, but we’re starting to see it in more affordable models now too.
Since every camera make and model can be different, just familiarize yourself with your own camera’s menu; look for a tab or page dedicated to metering or exposure.
The Best Exposure Mode

Until now, I have been describing how to use spot metering as part of a manual exposure technique. In other words, you’re still totally in charge of your exposure, and you glance at your exposure meter for input when you need to change your shutter speed or aperture, etc.
So, what if you switch your camera to aperture oriority, though? What if you want to use Auto ISO? Be careful! In these modes, your camera is now constantly changing your exposure based on that precise spot meter reading. If you’re not actively metering your subject perfectly at the moment you click your shutter, you’ll likely ruin your exposure.
Spot Metering Using Your Focus Point and AE-L (Exposure Lock)
You can work around this challenge using two methods. First, as I mentioned earlier, many cameras now allow you to connect your spot meter to your focus point. If you do this, then as long as your focus point is perfectly over your subject, you’ll always expose them correctly. Alternately, you can use a dedicated button on your camera to perform AE-L, or Auto Exposure Lock. This allows you to temporarily lock in your exposure while you compose your image framing.
Why would you want to use spot metering in aperture priority mode, though? This advanced technique can be useful when you are working in extremely dynamic lighting, where the light on your subject can vary by more than 2-3 stops in a matter of seconds. In other words, you probably can’t even manually turn your camera dials fast enough to correctly expose your subject.
This is a very rare situation, of course, and you may never use it. It’s still exciting to try, though, if only just for practice.
Conclusion
Using spot metering may not be something you ever thought of, because at a glance it may seem intimidating. However, it really is a simple process. With this basic understanding of how spot metering works, you’ll be able to manually adjust your exposures with precision. You won’t ever have to just hope that everything turns out okay whether your subject is light or dark-toned, and/or your background is significantly different. You’ll always know exactly what your subjects’ tones are going to look like.