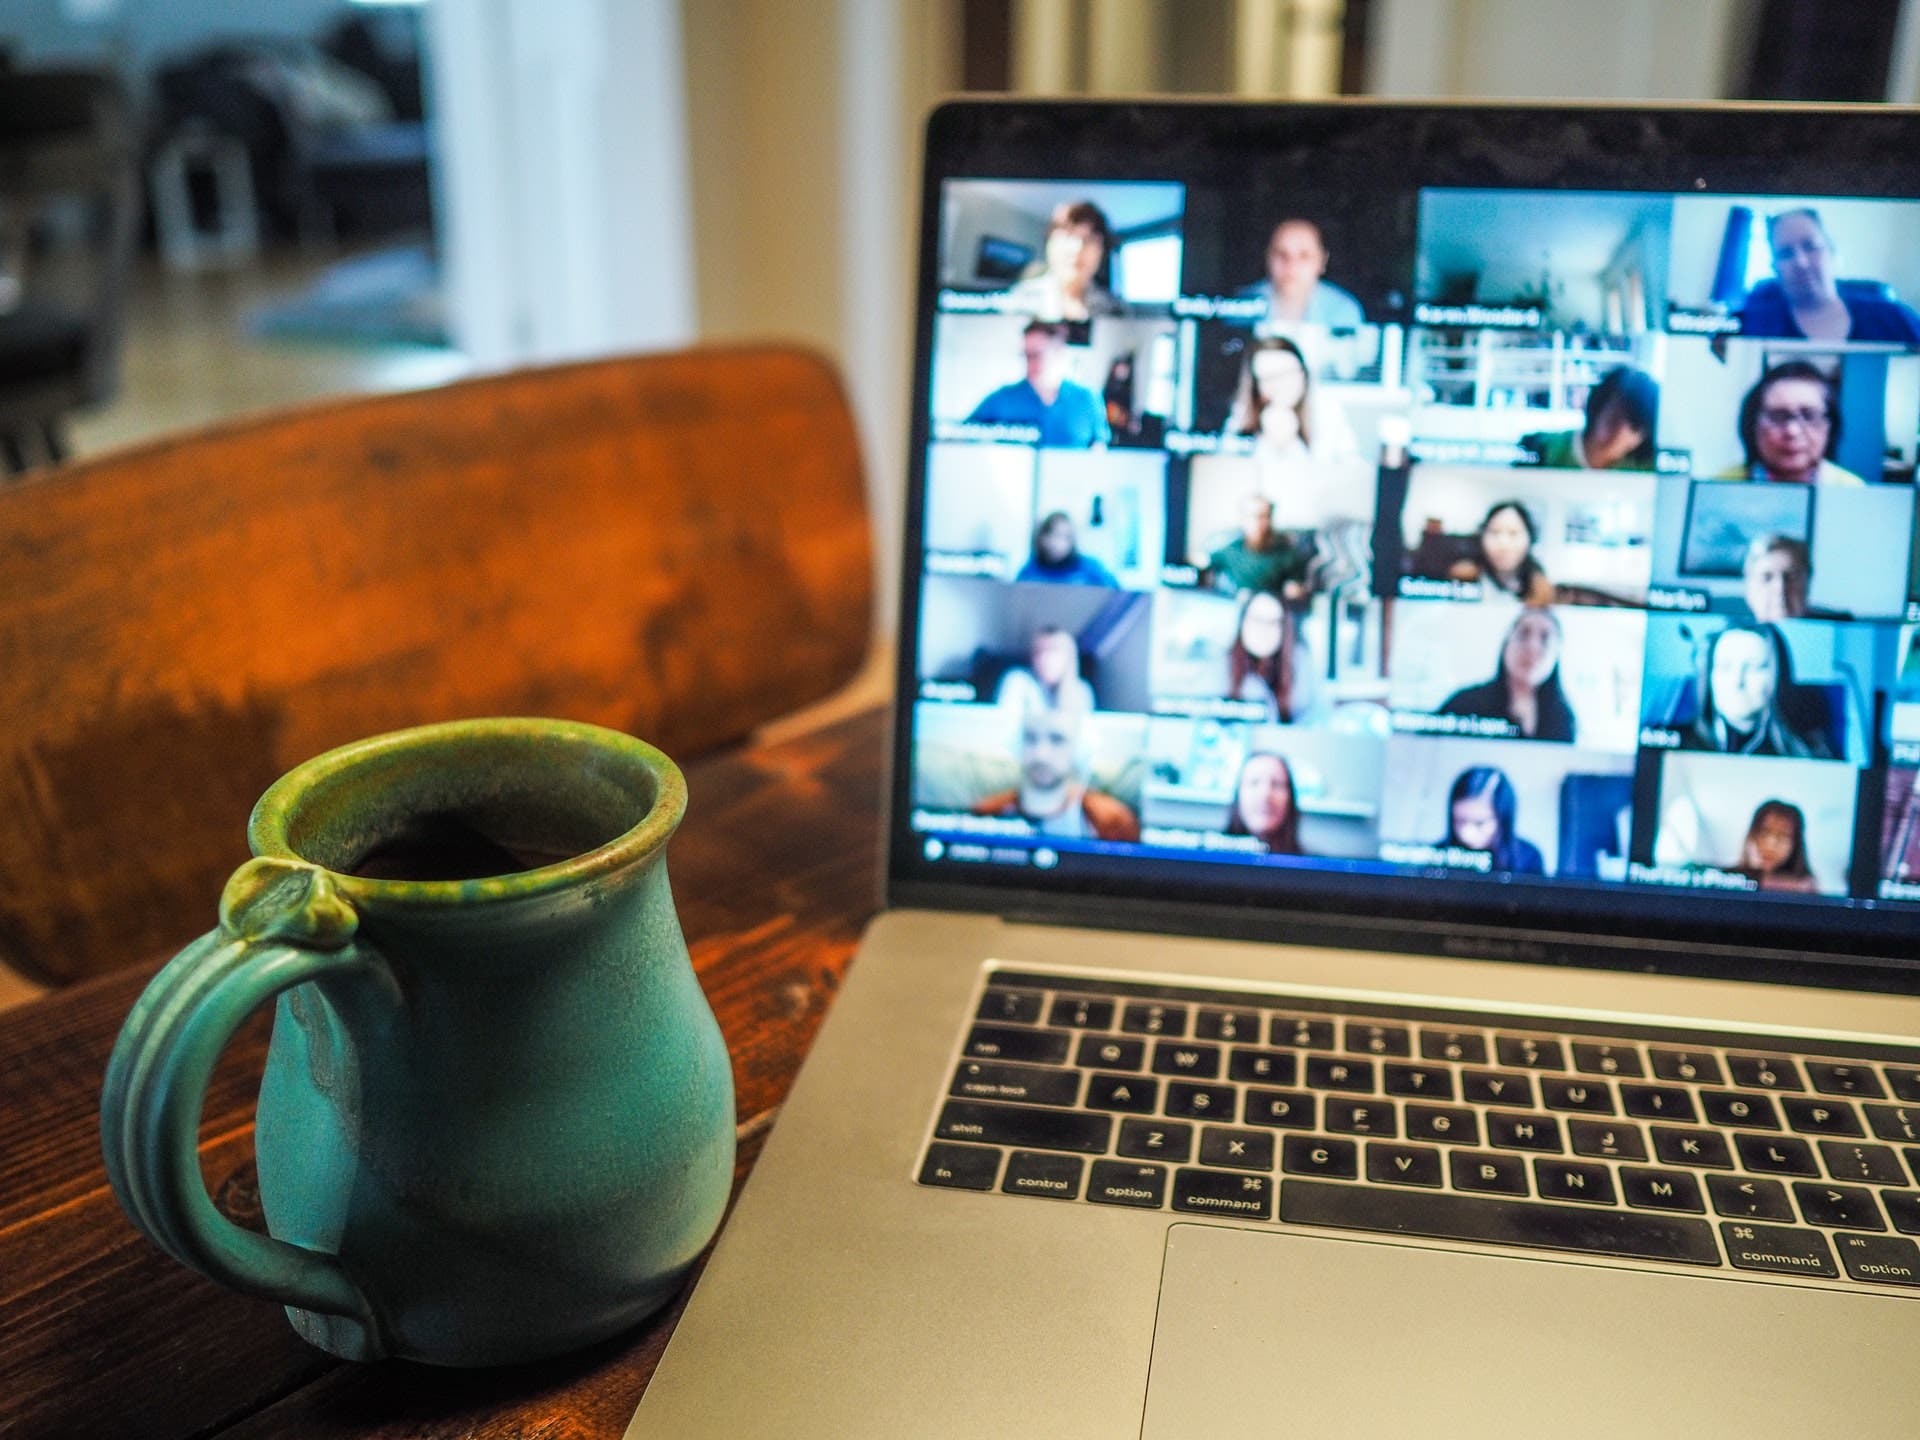
When it comes to work and play, online interactions are more important now than ever. Thanks to video conferencing improvements, many workplaces are offering remote work opportunities for their employees. Social interactions are shifting to an online format as well.
It doesn’t matter if you’re heading online for live streaming, video conferencing on Zoom, or just keeping in touch with friends and family over Skype. You need a quality webcam. Rather than investing in a brand-new unit, many consumers are choosing to employ the DSLR, mirrorless, and point-and-shoot cameras they already own.
If you’re wondering how to use a Sony camera as a webcam, here are a few easy tips. to enhance your video conferencing and live streaming in no time.
Which Sony cameras will work as a webcam?

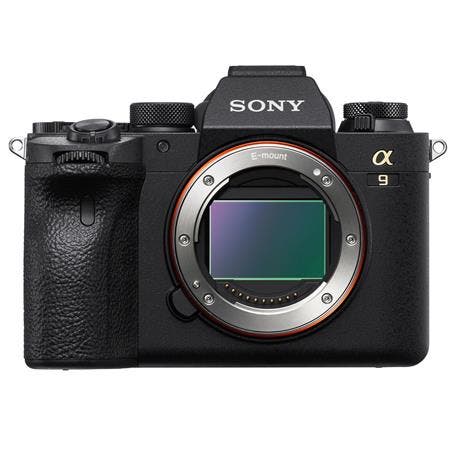
In 2020, Sony released Imaging Edge webcam software to create webcam functionality for a variety of their cameras. Many of the most popular digital camera models from the Sony Alpha E-mount collection will work well as webcams. A couple of the Sony Alpha A-mount cameras and a few of the Sony point-and-shoot digital cameras are also compatible with the Imaging Edge Webcam software.
If you already own a Sony camera (or compatible camera) and you want to check if it will work with the Imaging Edge Webcam software, you can refer to the full list of supported cameras on Sony’s website.
Connecting your Sony camera to your computer

Good news for Windows and Apple users alike: Sony offers their Imaging Edge webcam software for both operating systems. So, whether you’re running Windows 8, Windows 10, macOS 10.14-10.15, or macOS 11, you’re good to go.
To hook your Sony camera up to your computer, you’ll need to connect the two devices via USB cable for a basic compressed transmission. For most casual video conferencing or social video chats, the USB connection will provide a reasonable-quality image feed. For live streaming, recorded interviews, or video applications that require better resolution, HDMI output is your best bet.
If you do decide to use an HDMI port to connect your Sony camera and computer, you’ll need an additional accessory to make the setup fully functional. HDMI capture devices come in the form of a USB dongle, a card, or a switcher, and help the camera and computer communicate correctly.
Once you have an HDMI capture device, you can plug your camera in via an HDMI or micro HDMI cable, and connect the capture device to your computer. Once your camera is connected, you’re on your way to creating high-quality webcam footage.
One other important note: Imaging Edge webcam doesn’t support audio, so you’ll need to use an external microphone or the microphone built into your computer.
Setting up the camera and software
Once you find the perfect angle for your camera, keep it locked in place with a tripod, or by placing it on a secure, flat surface. Make sure you have a fully-charged battery, or plug the camera into a power supply to avoid power loss during your live stream.
You’ll also need to download the current version of the Imaging Edge webcam software to your computer. You’ll need to specify which camera model you own, so make sure you have that information handy.
In your Sony camera, turn on the PC remote option to allow your computer to take control of the camera. Generally this setting is found under Menu > Network, but you can refer to your instruction manual if you can’t find it.
Make sure the camera is connected to the computer via USB or HDMI output. Set the camera to Auto mode.
Open your video chat or livestream software (ex. Zoom, YouTube live, Microsoft Teams, etc). Now set your camera to Movie mode and select Continuous AF with Face/Eye Detection turned on. If your live stream or video conferencing software asks what camera to use, select your Sony camera from the menu.
Take a look at the preview and make sure you like the camera placement and settings. Now is the time to make any adjustments.
That’s it! Now you can go live and hang out with your friends or coworkers with the confidence that your video feed will look its best.


