Getting the right lighting is essential for both outdoor and indoor photography. How well you control the light dictates the quality of your photos. You have to be able to adjust the intensity, direction, and color of the light to put the amount of light you need in the right place — whether you use natural light, an artificial light source, or a combination of the two. Two simple options for modifying the light in photography are reflectors and diffusers.
What is a Reflector?
A reflector is an object with a highly reflective surface. As a result, when the light hits the reflector, it bounces back at an equal angle. This allows you to change the direction of the light onto your subject.
For example, if the light source is on the subject’s left side, you can place a reflector on its right side and achieve illumination from both sides. By adjusting the reflector’s position, you change the reflection angle and control the lighting effect.
Reflectors are a great way to use a single light source in multiple ways. They often take the place of a secondary light source. They work equally well with flash and continuous light sources, sunlight, and artificial light sources.
How to Choose a Reflector
Reflectors are characterized by reflectivity and color. A reflector with a shiny surface produces bright reflections, while one with a matte surface reflects less light and produces a soft and even light. The color of the reflector also influences the quality of the light. They usually are white, silver, or gold. White and silver reflectors don’t alter the color of the light, while gold ones make the light look slightly warmer (e.g., sunset light). Of all colors, silver has the highest reflectivity.
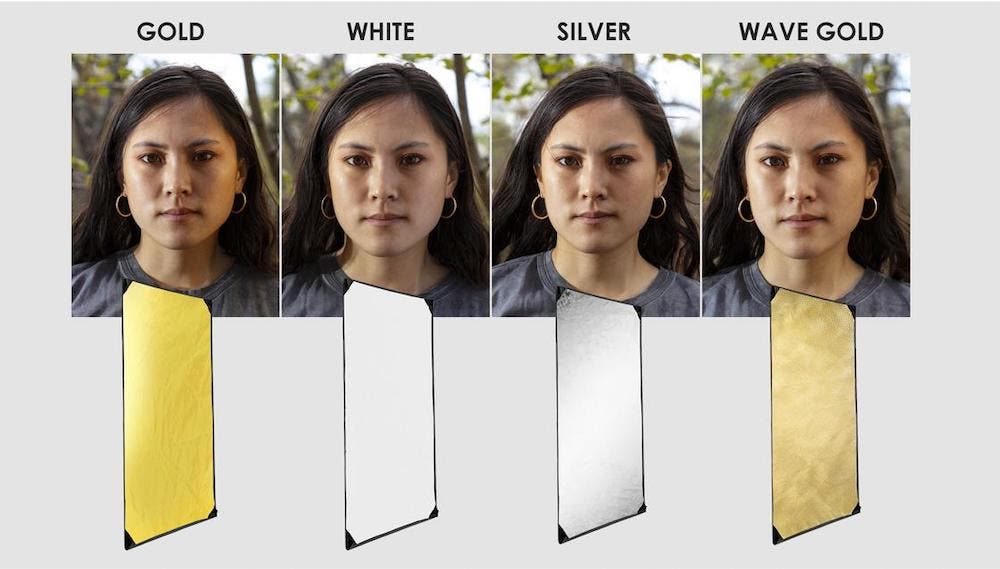
You can find reflectors in many shapes (e.g., circular, umbrella, panel, beauty dish), sizes, and kits that include all color options. Often they are collapsible so that you can carry them around. Consider your usual photo setup and workflow to choose the best one for you.
If you work in a studio, know exactly what lighting design you need and consider the same subject matter when choosing a reflector. For example:
- A beauty dish is best for fashion and beauty editorials.
- An umbrella is best for for studio portraiture.
- Multiple panels may be best for food photography.
If you work with unpredictable sources of light or subject matters (e.g., outdoor photographs), choose the most versatile and adaptable option (e.g., a 5-in-1 kit). You can even use DIY reflectors made from aluminum foil, white cardboard, silk, or anything you have at hand.
When to Use a Reflector
Reflectors are helpful anytime you have a single, directional light source but need more than that. For example, when sunlight produces harsh light and shadows, you may want to use a reflector to balance the illumination onto your subject and reduce shadows. For example, imagine a person sitting near a window and bright sunlight coming through the window. If you take a photo like that, the person will be half in light and half in shadow. A reflector reduces the differences between the two halves and creates a more balanced exposure.
You may also want to use a reflector when the light comes from behind the subject, and you need it to come from the front too. Some photographers use a reflector to reflect the light coming from a flash to make it less harsh and obvious.
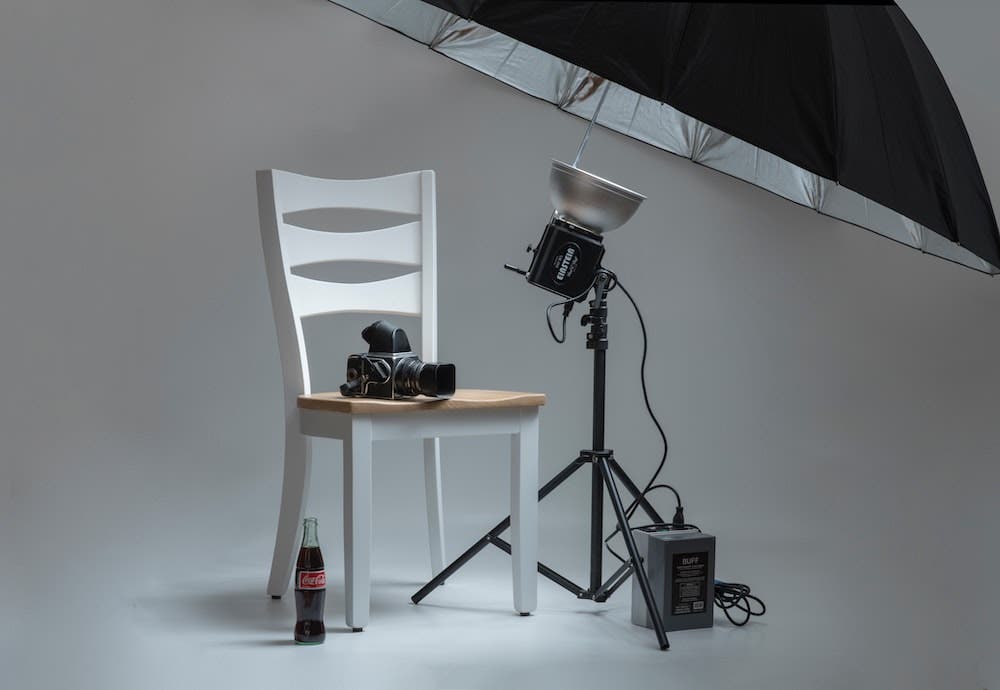
You should consider a reflector whenever you need to spread the light or change its direction. Most studio photographers use at least one regardless of whether their subject matter is people, still life, food, or products. It is beneficial in any type of photography where the light coming from the reflector reaches the subject, from macro photography to wedding portraits, fashion and beauty editorials, and commercials.
How to Use a Reflector
The most common scenario of using a reflector is to place it on the opposite side of the subject, relative to the light source. For example, if the light comes from the left, the reflector should be on the right. If the light comes from in front of the subject, the reflector should be behind it. Of course, the reflector produces the strongest reflection when it faces the source of light. But you can experiment with different angles until you find the best one for your composition.
By illuminating the part of the subject where the light doesn’t normally reach, you brighten the shadows and reduce the contrast between highlights and shadows. Used this way, the reflector replaces a secondary source of light, such as a backlight, lateral light, or hair light, and adds a sense of depth and separation between subject and background.
Learn more at Key Lights, Fill Lights, Hair Lights and More: Types of Photography Lighting Strobes.
You can also utilize a reflector to increase the surface of the light source. For example, a flash produces a powerful and narrow beam of light. If you bounce it onto a reflector and then send it to the subject, the large surface of the reflector will become the light source. The subject will benefit from a less disturbing and more even illumination. For example, you can place a reflector in front of a person and put the flash near the ground, facing the reflector.
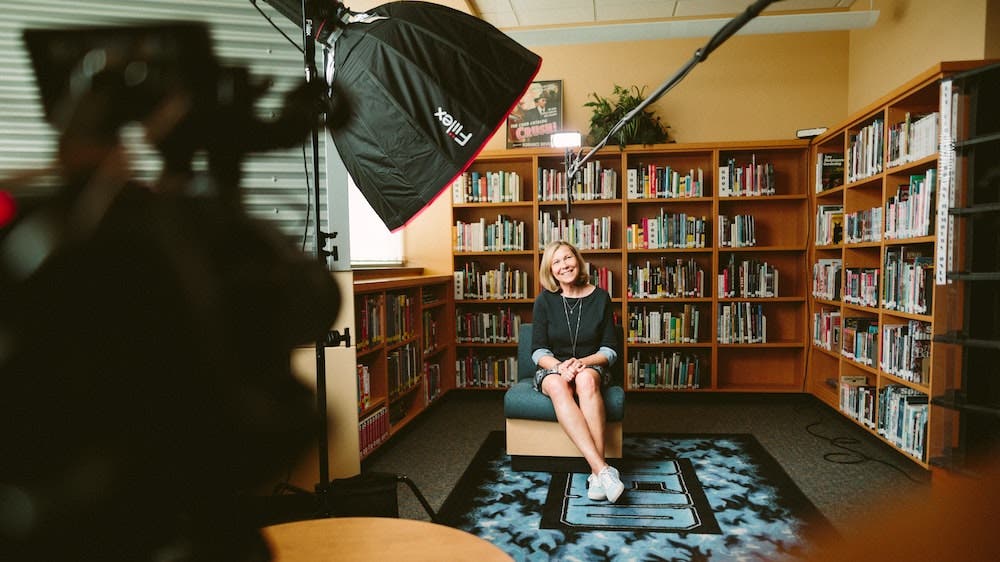
Reflector Examples
Glow 5-in-1 Collapsible Circular Reflector with Handles (32″)
A large but portable reflector kit can save you from many situations. Glow 5-in-1 provides one 32″-diameter circular frame and multiple reflective screens (translucent, black-white, and silver-gold). You can use them to produce soft reflections, weak or strong ones, golden warmth, or reduce the amount of light. The frame has two handles for easy handling or mounting on tripods.
Glow ArcLight II Curved Reflector Kit
Perfect for studio portraits and fashion editorials, the Arclight is a curved reflecting panel that captures the light and produces an unbroken band. The effect flatters the skin, reduces wrinkles, and the skin and eyes to radiate. The kit includes three fabric surfaces (silver, white, and gold) to match all skin tones and briefs.
Glow Reflector Panel and Sun Scrim Kit 39″ x 62″ with Handle and Carry Bag
The Glow Sun Scrim includes an aluminum frame and interchangeable screens, from light modifiers to light absorbing to opaque screens. It is easy to install and provides a soft, diffused light perfect for any type of photography. It works equally well with bright sunlight and artificial light sources, which makes it fit for outdoor photo sessions.
What is a Diffuser?
A diffuser is an object made of thin white fabric, plastic, or paper that diffuses light without blocking it. The diffuser’s surface is dense enough to change the properties of the light while still letting it pass. As a result, it stays between the light source and subject and creates a soft and evenly spread illumination. It is usually used with bright, powerful light sources, such as midday sunlight and flash.
Unlike a reflector, a diffuser doesn’t change the direction of the light — just its intensity and spread. Although a reflector may soften the light a little bit, a diffuser is much more powerful and creates a more natural-looking and complimentary light.
How to Choose a Diffuser
Choose a diffuser fit for the light source you use. For example, flash diffusers go on top of the camera-mounted flash bulb and look like a white box. DIY fans can make one out of white cardboard, paper, or plastic.
Read more about this at The Ultimate Guide to Off-Camera Flash.
For other sources of light, sunlight, or when you don’t want the diffuser so close to the flash, there are window diffusers (has the effect of light passing through a window), softbox diffusers, umbrella diffusers, and panels. Similar to reflectors, they may have different sizes, levels of diffusion, and colors and may come in sets to satisfy several preferences in one go.
Before purchasing a diffuser, list the features you need, such as the level of diffusion, size, and portability. If you photograph big subjects, the diffused light should cover the entire subject and its background. Thus, you need a large diffuser. If you photograph tiny subjects (like macro photography), you will probably use a flash mounted on the camera and thus need a box diffuser.
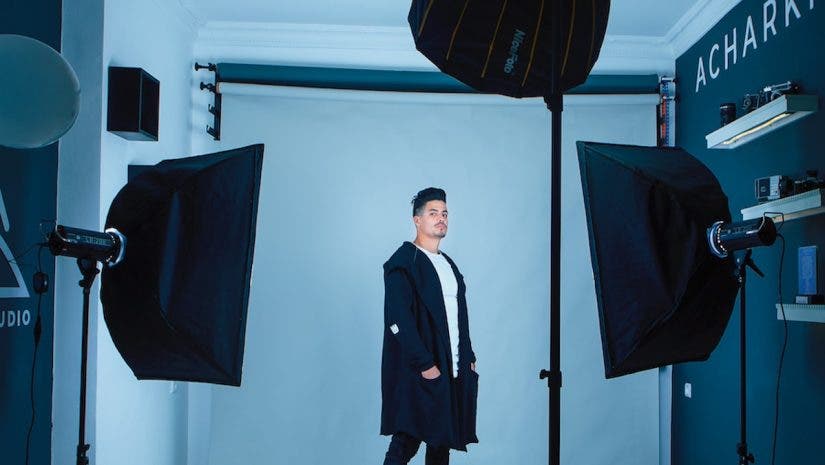
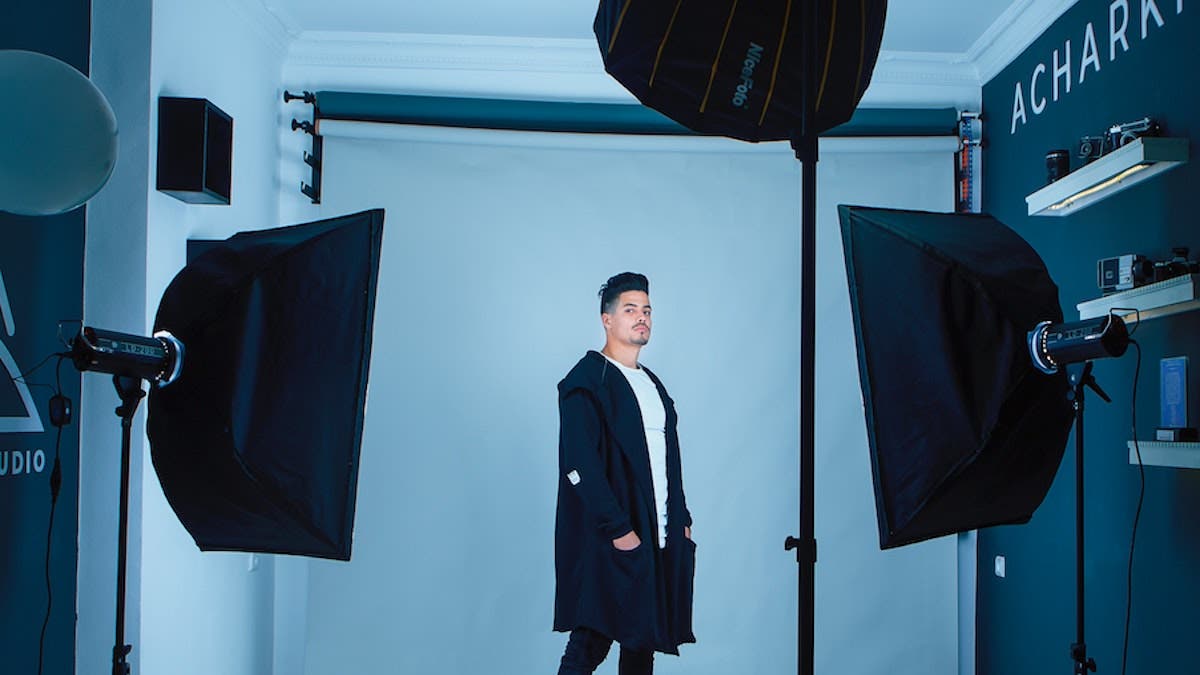
Studio photographers may want large softboxes or umbrellas to fit their studio lights. Because they don’t often change the lighting design, they don’t care about weight and portability. But they are demanding when it comes to light quality.
When to Use a Diffuser
Similar to reflectors, diffusers can be used in any photo setup in which the light coming from the diffuser reaches the subject; thus, for any photo setup with a short or medium camera-to-subject distance. However, most diffusers are designed to pair with an artificial light source. If you want to diffuse sunlight, you may need to use a curtain, white sheet, or translucent reflector.
A diffuser is helpful and often used for portraiture. It creates an even illumination and a soft, natural-looking light that flatters and smoothes the skin, hides imperfections, and avoids red eyes. Used with continuous lights, diffusers create a more comfortable experience for the model.
Learn more about this technique by reading How to Take Outdoor Portraits with Just One Light.
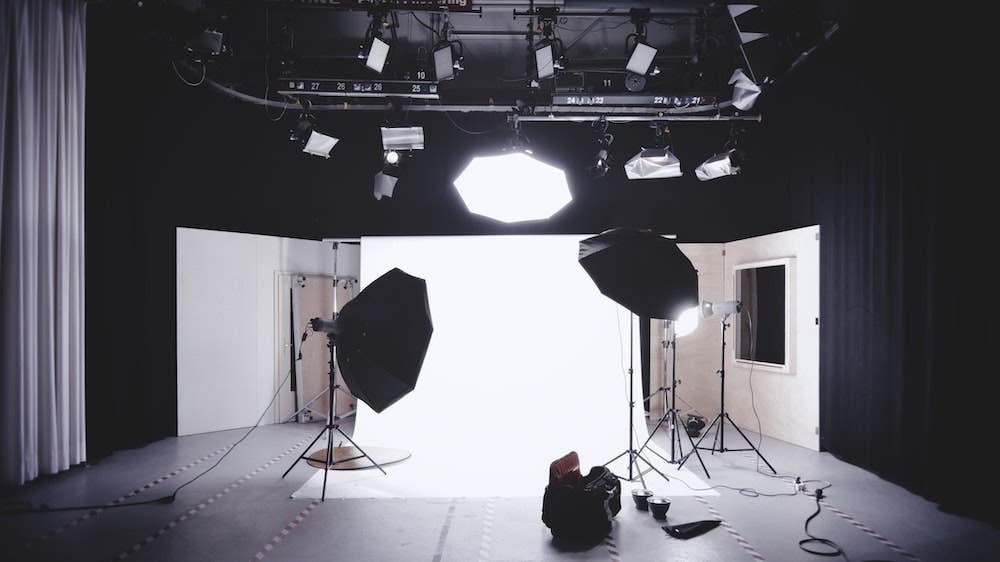
Because diffusers reduce strong shadows and surround the subject with light, they are used frequently in commercial photography. However, using a diffuser is also a matter of taste. If you want vibrant colors, soft edges, and a calm vibe, try a diffuser. If you want harsh contrast, dramatic edges, and impressive shadows, use the light as it is.
How to Use a Diffuser
Place the diffuser around the light source (or on top of the flash) and use the light as you would normally do. For diffusing sunlight when shooting indoors, cover the window with a white curtain. When shooting outdoors, you can place the diffuser above the subject.
If you use panels, place them on the same side of the subject as the light, between the light source and subject. Experiment with diffusers of different colors (e.g., white, silver, gold, etc.) to create a particular mood or feeling.
You can use a diffuser with all or only one of the lights in your setup. For example, the primary light works best with an umbrella or softbox because they scatter the light around the subject. For a secondary lateral light or hair light, you may want to use a stripbox. It is a long thin rectangular diffuser that reduces shadows and highlights edges.
Remember that a diffuser reduces the intensity of the light and adjusts camera settings accordingly. Also, if the light source is far away from the subject, adding a diffuser with increase the fall off of the light. Diffusers work well when the subject is close to the light source (e.g., close-up and macro photos, portraits, product photographs) or when the source of light is extremely powerful (e.g., midday sunlight).
Diffuser Examples
Westcott Light Control System
The new Westcott Light Control System is a versatile pack of tools that’s easy to take anywhere. With it, creatives like you can combine large reflectors, diffusers, and backdrops into one compact system. Within the lighting control system is a foldable aluminum frame, three panels with each one having a different surface, as well as a dual speed light clamp.
V-FLAT WORLD Light Cone Diffuser Kit
The cone shape of these diffusers allow the correct optical density for perfect surface gradations. This would best be used in product/catalog photography when you’d like to avoid having any shadows. Also, this kit comes with three sizes so you will be prepared no matter the situation.
Glow Universal Bounce Diffuser
The Glow Universal Bounce Diffuser fits most shoe-mounted flash thanks to an elastic band quick attachment system. It’s affordable, easy to use, lightweight, and compact. The diffuser produces a soft and diffused light and softens the shadows. Made of fabric, it can be folded down tightly and fit in a pocket.
Glow Easy Lock 41″ Translucent Umbrella Diffuser
If you have a 41½ diameter deep umbrella, you can transform it into a softbox by adding a diffuser. The diffuser will spread the light in all directions and uniformly illuminate the scene with a soft, natural-looking light. The intensity and smoothness of the light are influenced by the depth and interior color of the umbrella. It’s perfect for portraiture and product photography.
Glow 16″ Diffuser Sock
Affordable, reliable, and versatile, the Glow Diffuser Sock fits perfectly any Glow reflector or beauty dish. It creates a soft and even light without reducing much of the light intensity. The result is a beautifully lit scene with smooth edges and delicate contrast. In addition, the diffuser can cover large subjects such as a group of people.
Conclusion
Light modifiers help you improve the light setup without much effort or a large budget. Essentially, you make the most of existing light sources, enhance the subject’s features, and improve the artistry of your composition.
By controlling the light’s direction, intensity, and color, you create a unique atmosphere that adds to your visual story. For example, a harsh bluish light may convey coldness, sadness, or eccentricity. On the contrary, a warm, soft light may convey romanticism, nostalgia, or remembrance. You may aim for a natural look or an abstract one. The bottom line is light modifiers give you options and help you take the next step toward professional photographs.
