A green screen can quickly elevate your content creation and filmmaking capabilities in just a few steps, without a big expense. When you use green screen, you can transport your video to any location, seamlessly integrate multiple disparate elements as background footage, and solve logistical problems with ease.
If you’ve never used a green screen or the corresponding visual effects technology before, it may all seem confusing at first. However, by following the tutorial below, you’ll soon enjoy all the benefits of green screen use.
What is a green screen?
Simply put, a green screen is a green background that can easily be replaced with other visual effects (green screen effects) during video post-production. You may also see green screen being referred to as “Chroma Key”. Historically, the color green was the least popular for clothing in the film industry so was chosen as it could easily be removed in post-production. You can think of the green screen as a background layer and the people or objects in front as the foreground layer. In video editing software, it’s a trivial matter of just selecting the background, removing it, and replacing it with something else.
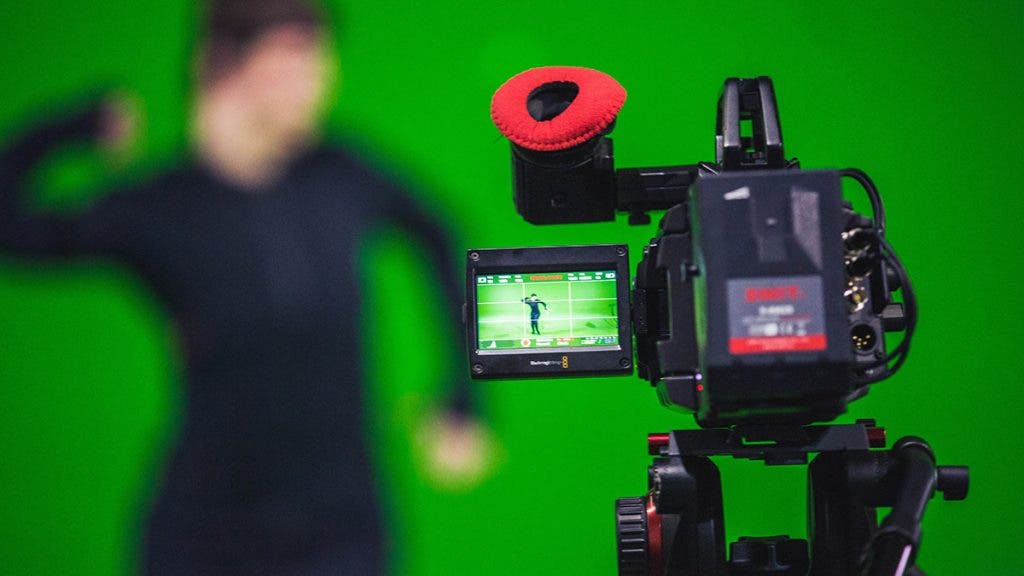
How to Use a Green Screen
1. Understand how green screen technology works
It helps to know how green screens work before you try to use them. The more you understand the benefits and limitations, the easier it’ll be to set up your shoots and get the best footage for your production.
Shooting with a green screen starts with setting up a fabric background or by painting a wall a particular shade of green. In your video editor software in the post-production process, you can digitally remove that color, or key it out, to create a transparent background layer in your content. Then you can drop in any background layer you’d like with the right green screen software.
The color green is commonly used by filmmakers because it contrasts distinctly with most human skin tones, so you don’t run the risk of accidentally removing a performer or a portion of their body. When the wardrobe or actual subject placed in front of a green screen is also green, you can use a blue screen to achieve the intended effect instead.
2. Find the right green screen for your shoot
Fabric screens deliver a great mix of portability and price. Seamless, wrinkle-free fabric is ideal, because wrinkles and seams can introduce shadows that interfere with the uniformity of color.
Large fabric screens are useful in shoots of all sizes, but you will need to stretch them over a frame or steam them to remove their wrinkles. Make sure you have adequate storage to avoid crumpling your green screen between shoots.

Seamless paper backgrounds are a great choice for green screen floor drops that create immersive environments. Seamless paper isn’t very expensive, and as long as you take good care of it and keep it clean, you can avoid having to replace it as your background image for every shoot.
If you use a dedicated studio, chroma key green screen paint is a great option. Paint can be easier to light, and you can do touch-ups as needed without replacing the entire screen.
3. Dial in your lighting
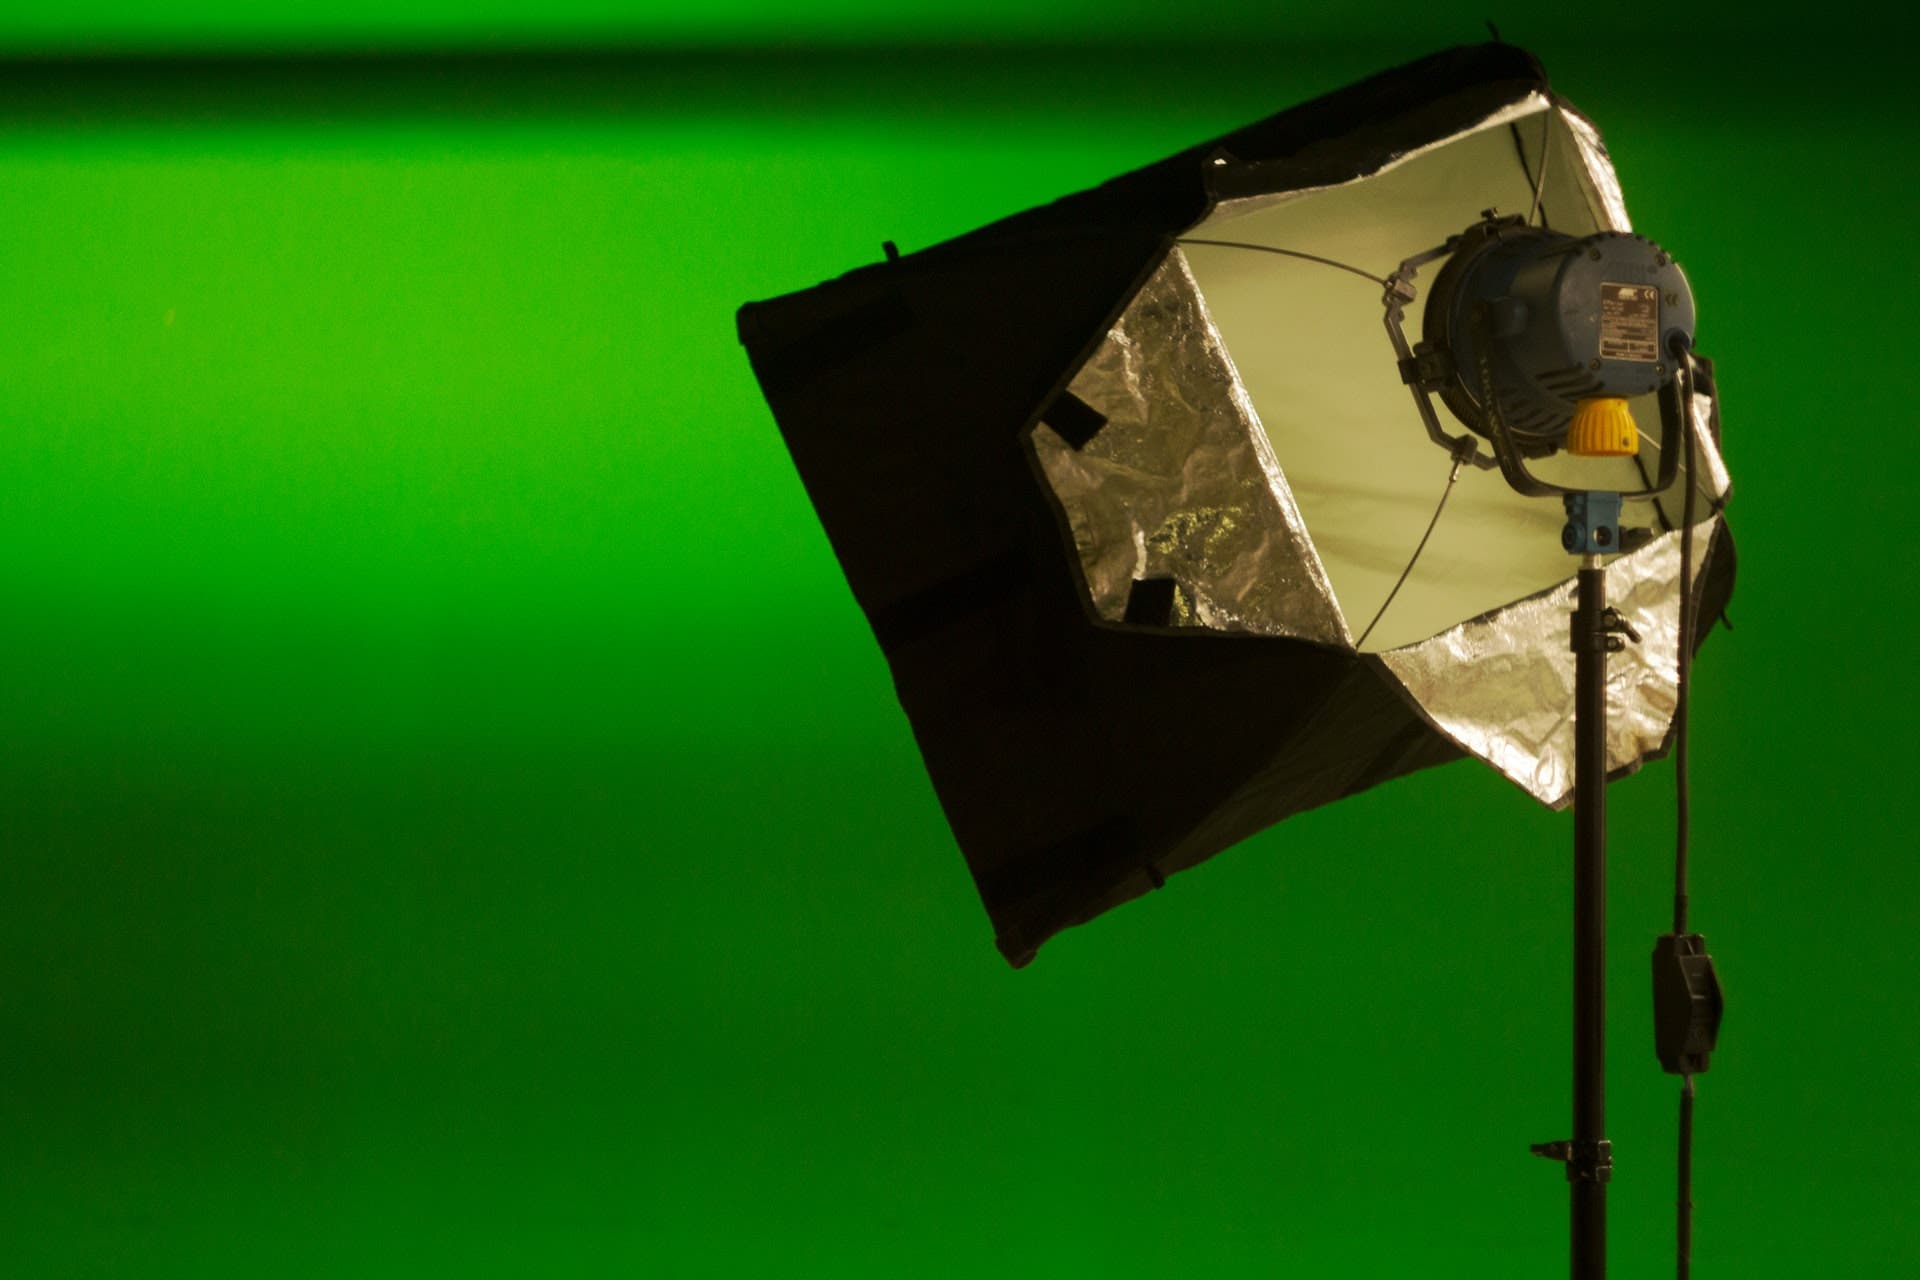
Lighting is the most important factor when using a green screen. If you don’t light your screen evenly or sufficiently, you’ll have less predictable results and potentially complicate your post-processing.
Always light the screen itself first to create even, consistent light across the full dimensions of the green screen’s surface. By lighting the screen effectively, you’ll create ample separation between the performers and the actual green screen background. You’ll also avoid making shadows of your performers appear on the screen.
Ideally, the green screen should be between 40% and 50% luminance. If you want to be certain that you’ve lit your screen correctly, you can use a waveform monitor. Curvature in the waveform will show you that your lighting isn’t even.
When lighting your subjects, it helps to look at the background scene you intend to import. By matching the direction, color, and variety of lighting with the background, your subjects will blend in more realistically when standing in front.
Best lights for green screen footage
They exact type of light is not as important as matching the light to background that will replace the green screen. You’ll want to match as closely as possible the direction of light, the white balance, and the intensity so the background replacement will appear as natural and seamless as possible.
4. Choose the right camera settings
Traditionally, an aperture of f/5.6 to f/8 offers the ideal depth of field for seamless use. At that range, the background is blurred enough to smooth out any potential texture conflicts with your footage. To ensure enough separation for these apertures, make sure the subjects are at least 6 to 10 feet away from the screen itself.
5. Prepare your subject or model
When using a green screen (and any effects), avoid using the color green during wardrobes and prop selection. Also steer clear of any other colors with even a slight greenish tint, too. Also, be careful with green reflections on props and other elements; we recommend using using surfaces with matte textures. This idea even applies to your performers’ skin. If they have any shininess on their noses or foreheads, they may pick up a green cast.
By paying attention to each of these key suggestions, you’ll be well on your way to working Hollywood-movie magic with your next green screen video production.
Green Screen Frequently Asked Questions
Certain environments and situations are more suited for a blue screen vs a green screen. For example, a blue screen tends to have less color fringing around the subject when the background is removed, mainly because the color green has more luminosity and reflects more of the light onto the subject matter.
You may be wondering about how to use a green screen. For the most part, using a green screen is very easy. There are a few principles you need to keep in mind. For example, you want to make sure that wrinkles from the green fabric have been removed. You’ll also want to make sure the green screen is lit properly and there is enough separation between your subject and the background.
Technically you can use any solid color as a “green screen”. However, certain software will only recognize a certain green shade within a narrow range of tolerance. A lot depends on the software you use to remove the background and your experience. If you’re a beginner, you should stick with a matte finish fabric that isn’t very reflective.
