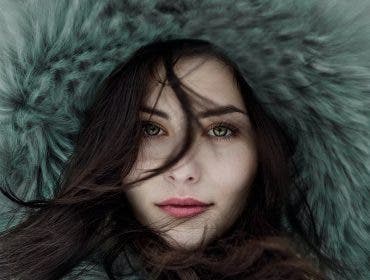
Portrait photographers rely on the selective use of black-and-white images to create impact and mood, highlight form, and showcase a timeless quality of photography. Don’t start with your existing images that don’t work in color and try to save them by turning them into black-and-white images. Instead, try shooting with the specific intention of creating black-and-white portraits. Here’s how to do exactly that in our helpful tutorial.
Pay attention to the lighting
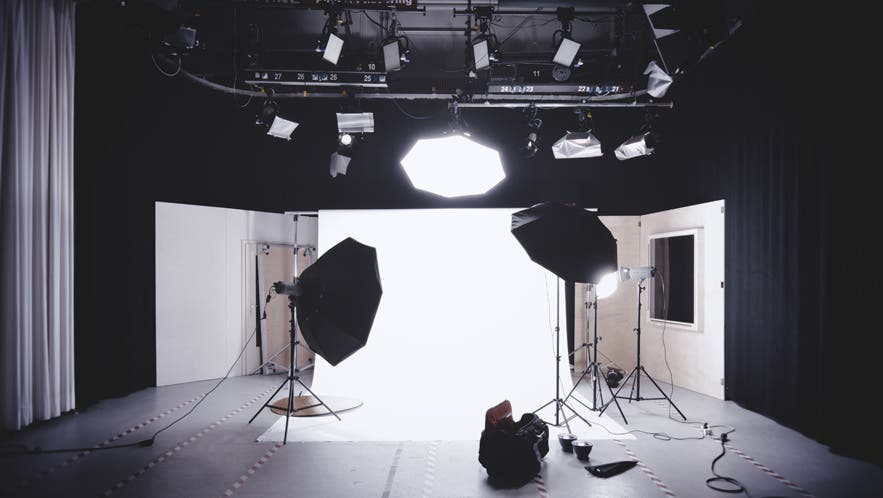
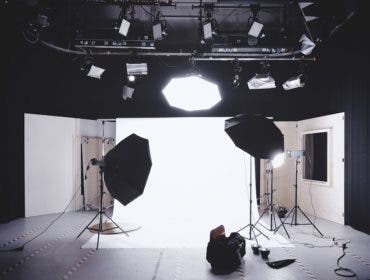
Photo by Alexander Dummer on Unsplash
Light and shadow are very important in good black-and-white portrait photography. With b&w portraits, you can focus your viewer’s attention with selective use of shadow. High-contrast lighting also adds to the mood and impact.
Your photographs can swing closer to fine art photography, depending on how creative and artsy you get with your lighting and posing. Regardless of the lighting setup you use, try playing with lots of light for high-key portraits, or lots of shadow for low-key portraits.
Here are some great lighting scenarios to try when photographing.
1. Natural light black-and-white portraits
Natural light can be very flattering and attractive in black-and-white portraits. Consider shooting during times of day with hard light for high contrast light, and deep, powerful black areas in your portraits. Dappled light and window light are great options for artistic black-and-white portrait photography, so don’t be afraid to play with nuanced lighting looks.
2. Single light setup
A single light source, like a strobe or constant light, can make it easy to create contrast and shape the light.
Place the light fixture high up and to the side of your subject for dynamic Rembrandt style lighting. Or, put it above and in front of the subject for the classic butterfly lighting look. Split the difference and place the light at a 45-degree angle from your subject for the classic loop lighting look.
All three styles create compelling shadows while maintaining a nice catch-light in the subject’s eyes to bring life to the photo. Remember, the fewer lights you use, the more contrast and shadow you’ll bring to your final image.
3. Two light setup
With two lights, one light serves as your main lighting source and the other fills in shadows for a more evenly-lit subject. Play with positioning and power settings on your lights to increase and decrease the shadows. Placing each light at a 45-degree angle from the subject is a good place to start.
4. V-flats and other accessories to try
One of the most important lighting considerations for black-and-white portraits is avoiding light spill and stray light. Black painted v-flats, reflectors with a black cover, or even a piece of cardboard can help block light as needed. Avoid light-spill for dramatic low-key lighting with deep, stunning black tones.
Things to keep in mind when shooting for monochrome
For crafting a beautiful black-and-white portraiture, consider using your camera settings to preview how the shot will look as a monochrome image. Sometimes it can be hard to imagine the scene in front of you in black and white, so take advantage of your DSLR or mirrorless cameras’ monochrome presets for a preview.
If you’re shooting in RAW, it’s a good idea to take most of your shots in color so you can have the flexibility of conversion during post processing. However, it still doesn’t hurt to check your progress in monochrome.
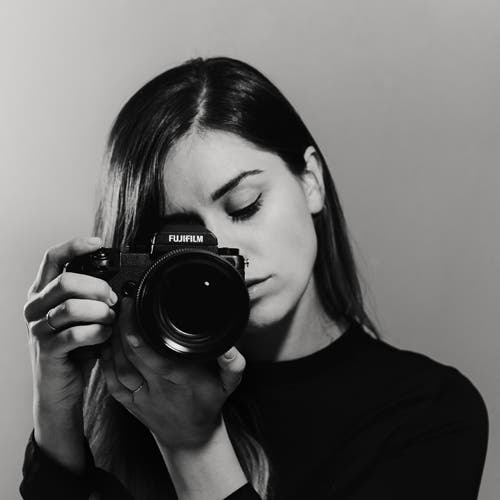
Post-production tips for your black-and-white images
Adobe Lightroom and Photoshop make it easy to get beautiful black-and-white tones from your shots with only a few adjustments. Rather than converting your color photos by reducing image saturation, use the black-and-white panel in Lightroom or a black-and-white adjustment layer in Photoshop for the most flexibility.
Consider increasing your image’s contrast to amplify your lighting effects. The texture and clarity sliders also help make your digital images feel more reminiscent of the kinds of shots you may develop in a darkroom.
Summary
Remember, creating a gorgeous black-and-white photograph isn’t just about removing the color. It’s about finding nuance in absolute black, absolute white, and all the shades of gray in between. Until you can comfortably predict how your lighting will affect your resulting images, it’s a good idea to overshoot and experiment with different settings, shutter speeds, and apertures.
