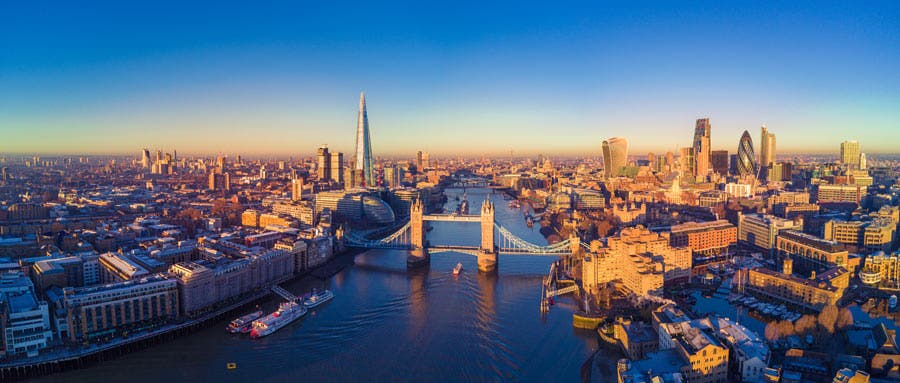
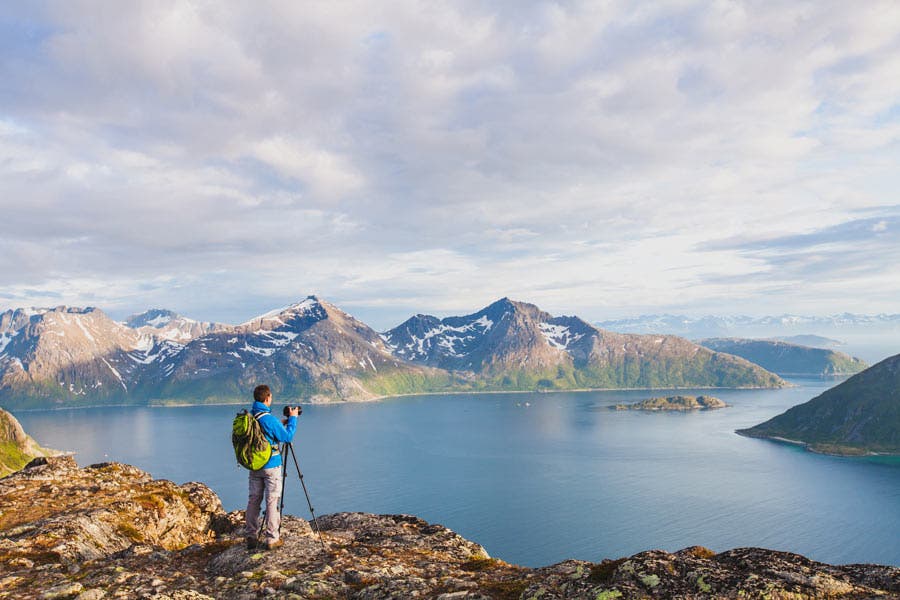
Panoramas are some of the most engrossing images in the world of photography. They are known for capturing more of a particular scene by merging multiple shots—taken by panning the camera horizontally or vertically—in a single image. As a result, a larger scale of a space is captured, allowing viewers get a wide-angled field of view and a more realistic perspective of a place.
Common panoramic scenes include views of the shore, indoor and outdoor architecture, cityscapes and skylines, mountaintops, and even human subjects at social gatherings. With a panorama feature available even in many smartphone cameras, anybody can take a panorama with virtually any camera, giving everybody a chance to capture stunning panoramic images that audiences can observe, wonder, and immerse themselves in, from beginning to end.
How to Shoot a Panoramic Photo

In theory, capturing panoramas is fairly easy. You probably already have the perfect place and view in mind, and the only thing left to do is to actually take an awesome panoramic photo of it. But before you aim your camera, make sure you take the following steps:
- Compose Your Image
- Use a “Normal” Lens
- Level the Tripod
- Determine Your Exposure
- Make Necessary Image Edits
- Stitch Your Photos into a Panorama
1. Compose Your Image
The first step to take is to decide what you want your panoramic image to look like. This includes choosing which point of view you’d like to shoot the photo from. Don’t just capture a random view—consider which areas you want to feature from edge to edge. Also, choose a spot where you can have an unobstructed view of your desired areas.
Most of the usual composition tips and tricks still apply, so don’t be afraid to experiment with creative techniques such as composition stacking or sub-framing.
2. Use a “Normal” Lens
“Normal” lenses offer a view of what the eye sees while minimizing distortions around the edges of images that make up your panoramic image. Shooting a panoramic photo is best accomplished with a normal lens, which means choosing a lens of any focal length between a wide-angle and telephoto—which should ideally be anything from a 35mm to a 50mm.
Remember, it’s the multiple images that will be captured and stitched together that should be providing you with your desired wide angle field of view, and not the lens itself.
3. Level the Tripod
When using a tripod to take panoramic photos, make sure it is leveled properly so the axis of rotation is completely horizontal and parallel to the ground. This helps you get the most realistic view and angle of a scene with minimal distortions (which can present difficulties during the stitching process) as you pan with your tripod.
If your tripod or tripod head comes with an integrated bubble level, you can use that to aid you in making sure that your camera is completely level. If that is not the case, you may opt to just purchase a separate bubble level that can be mounted onto your tripod or camera.

4. Determine Your Exposure
Most modern point-and-shoot cameras will automatically set the right image exposure settings from the first shot and maintain it as you take subsequent shots to preserve as much detail as possible and give you an evenly exposed panoramic image.
When using professional cameras with manual settings, however, you’ll need to use the Manual metering mode. But before that, you’ll need to determine the average exposure setting for your scene with the help of your camera’s light meter. Here’s how:
- Choose the best metering method for your scene (Matrix, Center-weighted, or Spot) within your camera menu while on Auto or Green/Program mode. It’s advisable to use the Matrix/Evaluative Metering method as it analyzes multiple segments of your screen, as opposed to a smaller area, to determine the overall lighting level.
- Do multiple half presses while aiming your camera at different areas of your scene and allow your metering mode to provide you with suggested apertures and shutter speeds for every scene.
- Choose and keep a mental note of a pair of settings in the middle (or slightly darker) to avoid blowing out or overexposing the brighter areas of your scene, like sky details.
- Finally, rotate your camera’s dial to use the Manual metering mode and lock your chosen aperture and shutter speed settings in so you can start shooting.
While you’re at it, don’t forget to choose your desired white balance setting before shooting your panorama.
5. Make Necessary Image Edits
If you’re capturing your panoramas using a smartphone camera app, you likely won’t have the liberty to make edits on the images as it automatically stitches them together right after you take the shots. But if you plan on saving the stitching for later using a photo editing program, you can make necessary exposure edits and correct any distortions in order to have a much easier time during the stitching process.
You may have to repeat this step in case the final stitched panorama presents any uneven parts.
6. Stitch Your Photos
Finally, go ahead and stitch your images with a good editing software. Camera Raw and Lightroom are great options as they are capable of merging multiple raw images into a single panoramic or HDR image, stored as a DNG file with high-quality detail.
Check the details of the final image and see if there are any inconsistencies that you may have missed so you can go back a step and improve the overall result. Lastly, set the resolution and optimize the image for its intended use.
Things to Remember When Shooting a Panoramic Photo

1. Take Advantage of the Panorama Mode
If you happen to own a camera with a panorama mode, use it. This feature assists you in capturing multiple images that make up a panorama by giving you a view of the last photo taken so you can carefully align it with a live view of the scene that you wish to capture. This feature will also help maintain the exposure so it doesn’t change in between shots, making it easier for the camera or editing program to stitch and create a final panoramic image with an even exposure.
2. Overlapping is Good
When taking multiple photos for a panorama, it’s always wise to overlap them up to a certain degree. This means capturing the edge of the previous photo so you don’t miss any detail and will have a guide for easier image stitching later on.
Some people stitch their photos with at least 15% overlap as it also allows you to prevent any visible lens flaring and distortion on the edges of your image frames from showing up in your final panoramic image. There is no right and wrong amount of overlap, you just have to figure out what works best for your camera.
3. Keep Your Camera Level
Unless you’re experimenting, always keep your camera level in order to take all parts of your panoramic image at more or less the same vantage point. This keeps naturally curved lenses from aggravating distortions, which is usually caused by tilting the camera upwards or downwards. By keeping distortions at a bare minimum, you prevent issues of not having enough overlap material to work with and ending up with a choppy panoramic image.

4. Mind Your Exposure Settings
Nobody wants to see patchy panoramas with uneven exposures. When using more professional cameras that don’t have panorama mode, remember to set your camera to manual so the camera won’t automatically adjust your settings to get “correct” but different exposures in every image.
5. Watch Out for Moving Elements in the Scene
An ideal panorama would be where the entire scene and its elements remain stationary as you pan your camera across. However, this can be difficult to achieve when shooting in areas where there are moving subjects, such as people, cars, and fast-moving clouds.
If you want everything sharp and don’t want to capture blurry elements—or, sometimes, the same subject in different parts of your panorama—it’s advisable to wait for the perfect timing and strategically capture each image as soon as distracting elements are out of the frame. Then again, such movements can be good if you want to show activity in a busy marketplace or a stormy skyline, among others.
6. Don’t Rely on Ultra Wide Angle Lenses
Shooters who don’t fully understand how lenses and panoramic shooting works might be tempted to use a very wide lens that distorts the image to enhance the perspective and capture more of the scene in every shot. This technique sometimes results in a fairly good panorama, depending on the scene and the stitching program. However, as previously explained by the benefits of leveling your camera before shooting, keeping distortions at a minimum ensures a more seamless panorama after the stitching process.
7. Capture the Scene with Several Passes
Don’t limit yourself to just one pass across the whole scene. With modern and advanced stitching softwares, you can now move your camera everywhere, even from top to bottom, to cover extra features that would usually be missed from a single horizontal pass. Doing so would allow you to create more overlaps for added quality in the top and bottom parts of your frames, where your skyline and foreground elements would be.
8. Go Vertical
Don’t just stick to horizontal panoramas. Take vertical panoramas, too! There are several subjects and scenes that can be featured in vertical panoramas, like waterfalls and tall buildings. Just position the camera horizontally while mounted on a tripod and apply the same techniques mentioned in this guide.
Here’s a helpful video from David Bergman packed with tips on how you can capture stunning panoramic photos:


