The podcast industry has not slowed down since it became massively popular several years ago. Unlike radio, this online form of audio broadcasting allows listeners from all around the world to tune in to or download thousands of podcasts with just their computer, mobile application, or portable media player. At the same time, it gives thousands of podcasters the opportunity to speak their mind about anything under the sun, gain a sizeable audience, and possibly earn a couple of bucks on the side. If you’ve been wondering how to start your own podcast, our guide will help you launch, record, and distribute your own show.
What is a podcast?
First, before we get into starting a podcast, let’s define what a podcast really is. A podcast is a style of pre-recorded talk radio, spoken word, or otherwise audio-only production available on-demand for listeners. The word itself is a combination of the words “iPod” and “broadcast,” initially coined by a BBC journalist in 2004. The term stuck despite the iPod’s eventual phasing out, and today a podcast can be a recorded video in addition to an audio stream, with no official affiliation to Apple or its products. Likely everyone curious about understanding how to start their own podcast has heard them before and has favorites; let those serve as the optimal guide.
Why you should start a podcast
The primary reason people take on new creative endeavors and art forms is because they enjoy the process of making it. It can be an amazing creative outlet, and if others enjoy it as well, that’s a bonus. Of course that isn’t the only reason to start a podcast, and if you’re wondering how to start your own podcast, there may be a variety of reasons you’ve already uncovered yourself.
For established creators, a podcast provides an alternative to the main form of content they create. It can serve to increase their discoverability and appeal to a wider audience, who may in turn consume the creator’s other content. At the end of the day, it’s a way to diversify revenue streams, which is a requirement for most content creators in this day and age.
It might strictly be a hobby for others interested in learning how to start a podcast. Consumers and fans of the medium are often inspired to try their hand at creating a show themselves. Of course, the point of picking up a new hobby is to have fun, which brings us back to the number one reason someone should start a podcast: because it’s an enjoyable creative outlet!
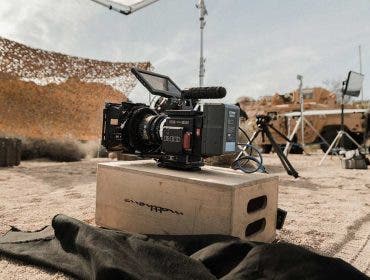
If you’re looking to get in the game, you’ll need to equip yourself with a couple of things before you can start recording a podcast. Read on for a comprehensive list of recording equipment and a step-by-step guide to creating a podcast (but keep in mind that this article is for beginners who are looking to do pre-recorded podcasts, so if you’re interested in live podcasting, stay tuned for our next article).
Essential Equipment for Starting a Podcast
Obviously, you’re going to need some equipment in order to start a podcast. Some of these can be pretty expensive, but remember that decent audio equipment will go a long way. When you buy cheap equipment, you’re likely to replace them sooner, which can be more costly in the long run. We suggest going for reliable and cost-effective items so you’ll be set after the initial purchase.
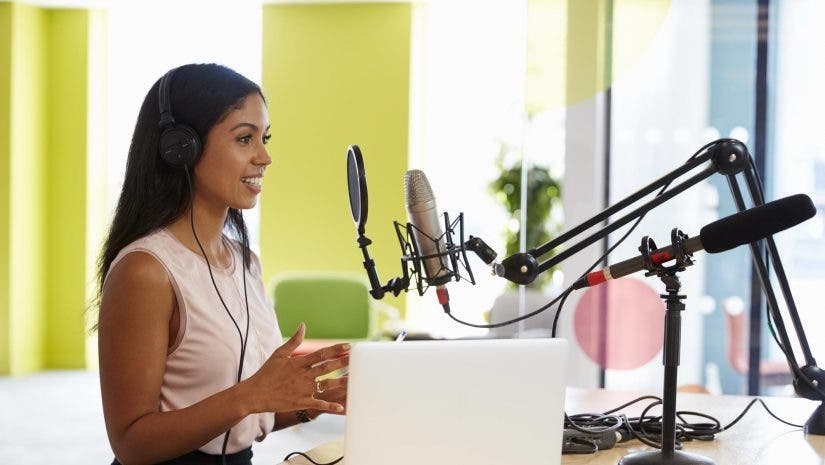
Microphone
Most microphones will do for recording podcasts—anything except the built-in mic in your phone or laptop, that is. You can use your basic mic or gaming headset mic, but listeners may be able to tell that you’re using a low quality microphone.
For more professional audio output, you can get standalone microphones. One type you may want to consider is a USB microphone, which can be plugged right into your computer without the need for additional tools or devices. Or, you can go for an analog microphone. It uses XLR audio connectors, which means you’ll need another device for it to be connected to your computer, but you also get higher quality audio compared to USB microphones.
Windscreen/Pop Filter
If you want to improve your audio quality further, you’ll need a microphone windscreen or pop filter. Windscreens are commonly used to add a foamy padding around the mic itself while the pop filter helps reduce or eliminate plosives or popping—t, k, p, d, g, and b—sounds from ruining your recording.
But of course, you can create a DIY filters (you’ll find plenty of tutorials online) if you don’t want the added purchase.
Computer
Any Mac or Windows computer or laptop will work just fine to help you record, edit, and upload your finished podcast as these don’t require a lot of processing power. You just have to consider its compatibility with your recording gear. Make sure your computer supports your equipment before buying either.
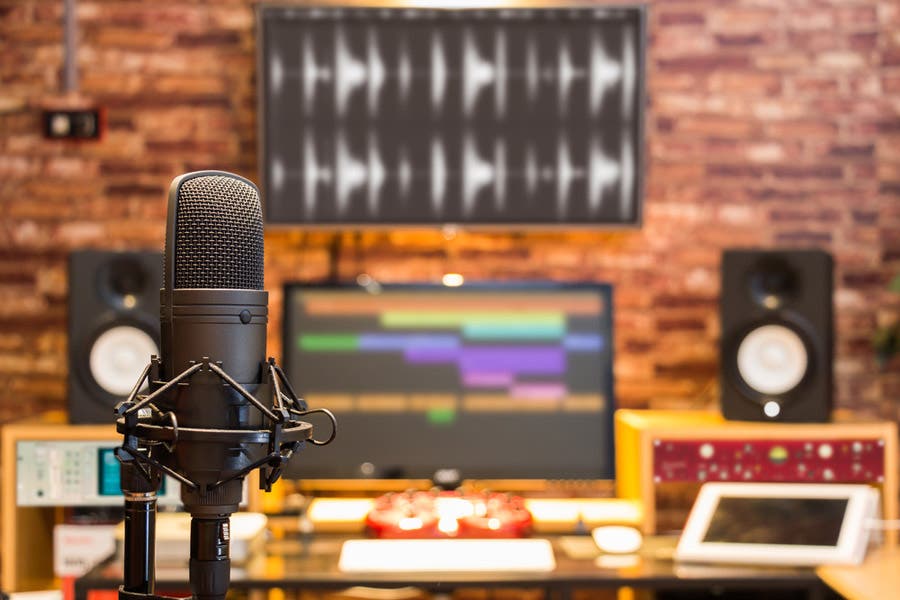
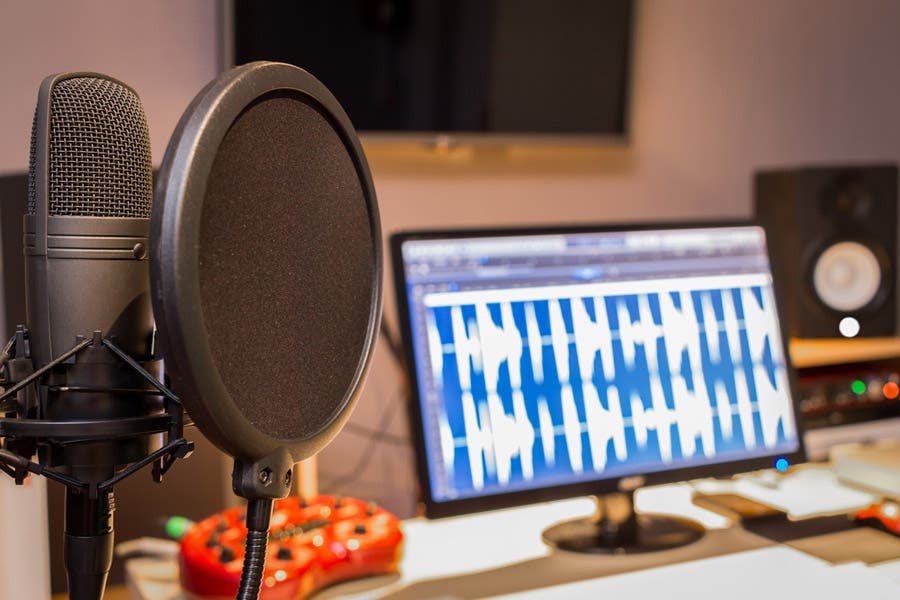
Audio Editing Software
If you’re just starting out, you can use free programs like Audacity to record and edit your podcasts. In fact, that’s what we’ll be using as an example for our step-by-step guide. However, once you become a pretty regular podcaster and are serious about investing for highly professional results, you’ll need a full-production and sound recording Digital Audio Workstation (DAW) like the Avid Pro Tools. There are other DAW software at $100 and below, usually available through monthly subscriptions, but do your research and check which best fits your needs and budget.
Portable XLR Recorder
In case you’re planning on using an analog microphone, you’ll need a portable XLR recorder to capture and convert your analog audio to digital. With a portable XLR recorder, you can also adjust and mute sound levels with just a few clicks of a button or turns of a dial. It exports sound files onto a memory card for easy and convenient file transfer.
Audio Interface
If you’re using an analog microphone and wish to record directly to your computer (instead of to an XLR recorder), you’ll need an audio interface that can be connected via USB or Firewire. There are certainly a lot to choose from, with prices ranging from as little as $300 to over $300, depending on what you need it for. The Behringer UCA202 is very affordable for its size, portability, multiple audio ports, and low-latency recording. However, you’ll need a bigger, more professional level audio interface if you also plan to build a home recording studio.
7 Steps to Starting a Podcast
1. Be Ready to Commit
Before you start the fun and exciting journey of podcasting, it’s important to know that it takes a lot of effort to keep it going. The success of your podcast relies heavily on consistency and continuity, and experienced podcasters would tell every beginner not to assume that it’s easy to work with audio. Make sure you commit to the project before you start recording.
You also shouldn’t expect to earn a lot from podcasting, unless you’ve earned yourself an audience that’s big enough to attract advertisements and sponsorships. If you’re going to start podcasting, do it for fun and to get your thoughts and opinions out there.
2. Conceptualize Your Topic
Even more important than sound quality is the message or story of your podcast. You probably already have a general theme or topic that you want to tackle, but starting a podcast without conceptualizing specific points that you can talk about can sometimes make it hard for amateur hosts to keep the flow going.
Once you find a topic, figure out whether or not there’s an audience for it, narrow down your idea, and specify your coverage. For example, if your broad topic is about music, you can talk about the country genre and its culture, with an established veteran artist as a reference point. For even better results, add a spin to it or think of a different angle that will make your podcast stand out and remain interesting for your listeners.
3. Create a Cover Image for Your Podcast
A cover image is one of the most important requirements if you want your podcast in major directories like iTunes. It can be anything—like a photo, custom artwork, or even a logo—as long as it relates to your topic. Also make sure the title of your show is on the cover image.
Podcast images must be at least 1400 x 1400 in .jpg or .png format, and should be readable even when resized down to 150 x 150 pixels. You can design it yourself on Photoshop, GIMP, or Pixelmator, or seek the help of a good (but hopefully affordable) graphic artist. If you’re looking to use something with graphics or illustrations, make sure to use the largest version of photo artworks and design colored illustrations in a vector editor like Adobe Illustrator so you have enough pixels and quality to work with.
You can create this before or after recording, as long as you have it done before exporting your podcast from your audio software.
4. Set Up Your Recording Equipment
Set up your computer, recording devices, and microphone in a quiet room with the least amount of echo, if possible. Next, you’ll need your audio editor or DAW, like Audacity. Download it for free from AudacityTeam.org onto your computer, install and open the software, and see if it recognizes your microphone (check the drop-down menu next to the small microphone icon and select your mic).
Next, familiarize yourself with the command buttons in the top-left corner, namely Pause, Play, Stop, Skip Back, Skip Forward, and Record. You’ll want to test out your mic by doing a 5-10 second recording and playing it back to make sure everything sounds good. If you feel that you’ll absolutely have to export some of your audio as MP3, you’ll need to download and install the Lame MP3 encoder for your computer as Audacity doesn’t automatically come with MP3 support due to licensing issues.
If your audio files sound good to you, you can start recording your podcast.
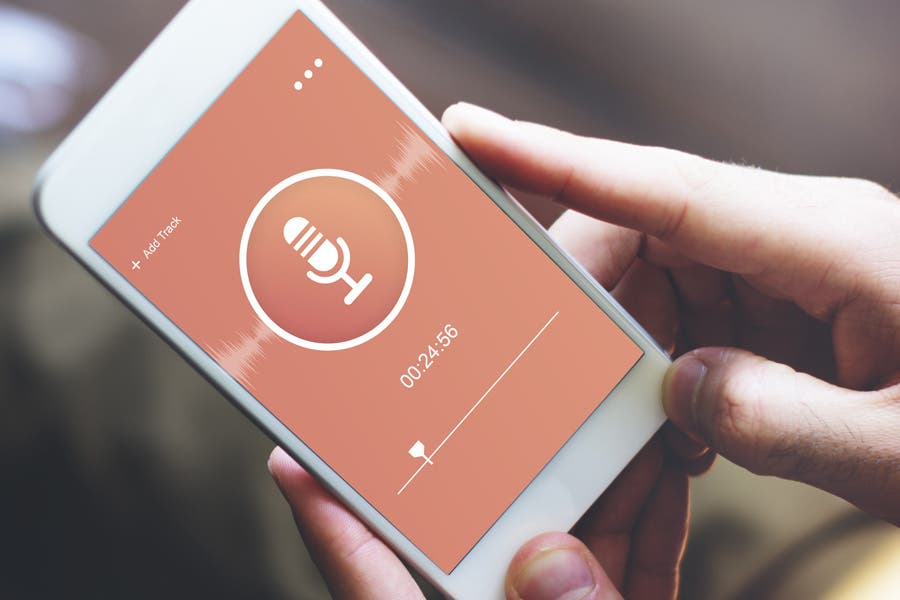
5. Start Recording Your Podcast
Before each recording, you’ll want to test and adjust your recording volume. You can do this by making a quick recording and moving the volume slider above the same drop-down menu next to the small microphone icon. Once you’ve found a comfortable volume level, delete the recording test by clicking the small X at the top of the audio track.
Next, record your room tone by allowing your device to record at least 5 seconds of silence. You can use this later on to cover background noise or unwanted dialogues during editing. Mute the track for now by clicking the Mute toggle button on the left side of the audio track and maybe minimize it by clicking the arrow at the bottom-left. With every major move, save your progress by clicking Save Project As under File on the menu.
Now it’s time to record your podcast. Simply hit the Record button and click Stop once you’re done recording. Don’t be afraid of having some dead air, as you can cut those out later. As soon as you finish, be sure to save your work.
6. Post-Process Your Audio
Once the recording is out of the way, you can now add your music and make any necessary edits to your audio file.
Add Your Music
You can find free music online. Just go to a website that offers free music (like Vimeo’s Music Store or FreeMusicArchive.org) under Attribution International License or Attribution-NonCommercial International License, and download your desired music.
Just don’t forget to credit the creator of the music in your podcast description!
To import it to Audacity, go to File, select Import, and then Audio. Find and open your music file to import it to Audacity as a separate track. Now click the Selection Tool, which looks like a typing cursor, in the menu toolbar. Once selected, click and drag your mouse over the section of the music that you’d like to use as your podcast’s intro and outro music, then click the Trim Audio button on the menu toolbar. This should leave you with only the selected section of music.
Now, it’s time to create a copy of the track. Select the trimmed music track, then click the Copy button on the menu toolbar (or use CTRL+C or Command+C). Click anywhere on the right of the music section and click Paste on the menu toolbar (or use CTRL+V or Command+V). This should duplicate the same trimmed music track, so you have your intro and outro copies.
One last thing you need to do before you proceed to editing your podcast audio is to add effects to your music. Simply select one of the music tracks using the Selection Tool, go to Effect on the menu toolbar, and click Fade Out. Do the same to the other music track but select the Fade In effect for it.
Edit Your Podcast
To edit a podcast, you’ll have to listen to the entire recording and look for areas that you may need to cut out. These usually include swear words, prolonged silence, or private information.
Once you find a section of audio that you wish to cut out, you can use the Selection Tool to select it and click the Cut button on the menu toolbar to remove it—or you can just use the Silence button. This is also where that room tone can come in handy. Simply copy a section of your pre-recorded room tone and overlap it with the area that was cut out so the silence sounds more natural.
You can also shorten prolonged silences by selecting Truncate Silence from the Effect drop-down menu in the toolbar.
Fine Tuning
With your music and audio track ready to go, you’ll need to line everything up using the Time Shift Tool (two arrows connected by a line) in the menu toolbar. With the Time Shift Tool selected, you can then slide each track from left to right until you’re happy with their alignment. You’ll probably have to do several playbacks to make sure that the transitions between separate tracks sound natural, particularly with the placement of the intro and outro music tracks. Finally, save your progress.
7. Name Your Podcast
Before you go and export your file, think of a good name for your podcast. It’s important to think of a fitting name that tells your audience exactly what the podcast is about and what they can expect to hear. Make sure you include your main keywords, like “Sub-Framing” and “Photography,” as well as a few extra words that will set your name apart from the rest so listeners who are particularly interested in your topic can easily search for your podcast. For example: “Compositional Rules: Sub-Framing in Photography.”
8. Export Your Podcast
Once your tracks are all ready to go, you can now export your podcast as an MP3 file. While this compresses your file and lowers the quality compared to other file formats like WAV, FLAC, or AIFF, the smaller MP3 files are best for streaming and downloading.
As you export your audio, you’ll need to enter a few important details, such as your file’s name and metadata. Also called “tagging,” this step is crucial for adding audio information like the track number, title, album, and the name of the author or artist.
You’ll see the metadata window after saving your file. Here are some suggestions for each field:
- Track: Your episode number. This helps you sort your episodes chronologically, in case a player doesn’t read the date of publication.
- Title: Your episode number and title. For example, “VAFD 01 – Compositional Rules: Sub-Framing in Photography (2018).”
- Artist: The name(s) of the episode host(s) or name of your network.
- Album: The title of your podcast, which is the name of your whole show. For example, “Visual Art for Dweebs.”
- Year: The year of release.
- Genre: Could be just “Podcast.”
- Comment: Include a short summary of your episode. Could be a short excerpt or your show notes, and website address.
- Copyright: Include copyright information. For example, “© 2018 Adorama”
- URL: Your show notes web address.
- Picture/Cover/Album Art: Your podcast cover art.
9. Add Podcast Chapters
Adding chapters will help your listeners, especially when you cover a wide variety of topics in your podcast. Like book chapters, it allows them to “skip” to the more interesting parts and gives them access to particular segments when they wish to backtrack. It’s not a must, but you may want to do this if you want your work to be more polished.
To do this, you’ll need a chapter adding software. For Windows, you can try the freeware app Chapter and Verse, and Podreel, which has a trial version that allows you to add up to 5 chapter markers and a promotional message at the end. For OS X, Chapters on the Mac makes it super easy by allowing you to add images, work on multiple podcasts, and adjust the playback speed so you can place your segment markers easily.

10. Get Your Podcast Hosted
Once you’ve finished exporting and tagging your podcast, it’s time to get it out there. Fortunately, there are a lot of places where you can get your podcast hosted without having to pay a penny.
There’s SoundCloud, Podbean, Podomatic, Libsyn, Amazon S3, Fireside, Sitcher, Blubrry, Miro, and of course, iTunes. Many podcasters swear by the latter for its popularity and the fact that it has the widest reach among the rest. Learn how you can get listed in the iTunes podcast directory by following our guide to getting your podcast on iTunes.
Once you’ve figured out iTunes, you can do pretty much the same thing in other podcast directories. It can also take anywhere from 24 hours to two weeks to get your podcast up, so refrain from submitting duplicates and wait for your podcast to be reviewed by their teams. It should be up in no time.
11. Record More Episodes
Instead of waiting for your podcast to turn up before coming up with follow up episodes, it’s best to create three or four before submitting your first podcast. This helps you grow your audience and keep them hooked—and you can assure that they will if your content is good. At the same time, it increases your chances of getting featured or promoted as an up-and-coming and noteworthy podcaster.
12. Distribute & Promote Your Podcast
One of the best tips for starting a podcast is to invest in a dedicated podcast distribution service from the beginning. Sites and hosts like RSS.com, Buzzsprout, Podbean, and others are distributors. They work very similarly to music distribution services such as Distrokid, in that you upload your content and let them do the rest. For a fee, these distributors see that your podcast gets listed to all of the major podcast streaming directories, including Apple, Spotify, Stitcher, iHeartRadio, Google Podcasts, and more. They help with monetization, analytics, and hosting, so you can focus on the creative part of podcasting. It ultimately streamlines how to start your own podcast.
With step #1 out of the way, you can start a grassroots promotional campaign in the way many independent creators do. This includes posting notices and links to your podcast on all social media profiles, starting a website and collecting email addresses for marketing, and even joining other podcasts as a guest to plug your own show.
There’s no right or wrong way to promote your podcast, especially with all of the tools at our disposal these days. The best tip for starting a podcast and promoting it is to jumpstart the distribution by going through a professional, trusted service.
How to Start Your Own Podcast: Frequently Asked Questions
The hardest part of starting a podcast is just that — getting started! It doesn’t have to be difficult, but should instead be a gratifying creative pursuit. The best news of all is that there is plenty of affordable equipment out there, in addition to numerous resources for distributing and promoting new shows.
Another frequently asked question for those wondering how to start a their own podcast involves length. The average podcast tends to run anywhere from 45 minutes to an hour. However, it’s not uncommon for certain episodes to run much longer. That said, in order to keep listeners engaged throughout, it’s a good call to keep the length a bit shorter rather than longer.
Cost is always a factor when prepping for how to start your own podcast. Assuming you already have a computer, then basic equipment like a microphone, mic cable, audio interface, and recording software can actually be very affordable while retaining quality. The average solo podcaster can expect to invest a few hundred dollars to get started, with the cost increasing for bigger productions that have more co-hosts or guests.