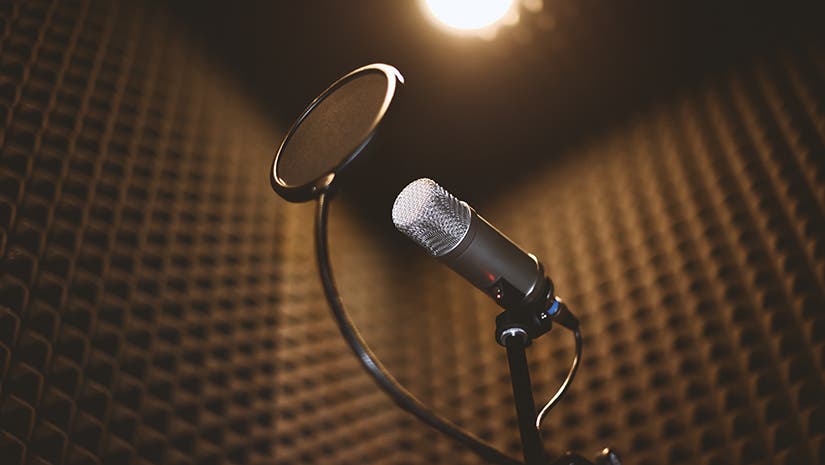
When setting up a home recording studio for music production, podcasting, or other kinds of audio work, there’s one important thing that you’ll need to prioritize: soundproofing. You can get the most expensive recording gear in the market and your audience would still be able to tell if you recorded in an environment that’s not conducive for working with sound. That’s why you’ll need to prioritize learning how to soundproof a room for the best quality audio recording.
To get the most out of your equipment and produce only professional-quality audio, you’ll need to keep outside sounds from being heard and recorded. Fortunately, good sound blocking also means you can keep your noise in and avoid disturbing your neighbors.
So how do you soundproof a room or recording studio? Read below to know about the four methods of soundproofing and for some practical advice on how to apply them.
How to Soundproof a Room: 4 Popular Methods
Adding mass
The most basic method to soundproof a room is to increase the amount of material within the boundaries of the room. What this does is it makes your walls thicker and more dense. It means the room can’t easily be vibrated by sound wave energy. When sound hits a dense barrier, it will either be reflected, be absorbed into the mass, or both. This effectively keeps noise from getting in and out of the room.
Here are a couple of ways that you can add mass to your room surfaces:
1. Build a thicker wall
If you’re building a wall from scratch, choose a thicker drywall (around 1.6cm) that can absorb more sound. You can also add a sound isolation barrier or “sheetblock” on the inside of the drywall to add an extra layer. However, if you’re simply improving on an existing wall, you can try either of these techniques:
- Use the sheetblock on the outside of the wall. Cover it with another (thinner) layer of drywall to camouflage it.
- Build a simple wall frame, attach it to the wall surface, anchor it to existing studs, cover it with another layer of drywall, and repaint it.
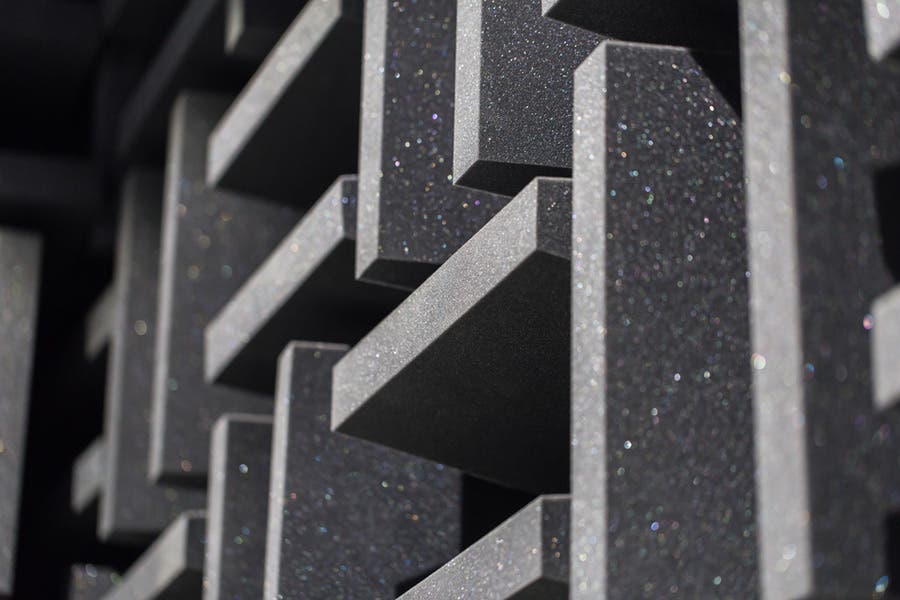
2. Apply wall padding
Even after creating a denser wall, you can improve the soundproofing by installing absorbent panels or foam mats that soften noise within the room while also absorbing noise from the outside.
Popular options include Ultimate Acoustics UA-WPBV-24 Wall Panel Professional Acoustic Foam that absorb both high and low frequencies pretty well. These foam panels are designed to provide a controlled response to sound. This ensures that you don’t end up with an acoustically deadened environment. They also normally come with adhesive squares for easy and convenient application on walls and ceilings.
However, for best results, invest in panels that have a fiberglass core. These have high sound absorption ratings, are highly durable, and normally very easy to clean.
Damping noise and vibrations
Even with denser surfaces, you may not be able to completely dissipate vibrations, especially in the bass region. These vibrations often travel along the wooden frame around the room, along the drywalls, and up your mic stands. This can result in disturbances in your recordings even with the best microphones in use.
Damping helps dissipate and slow down these vibrations, in the same way that touching or applying light pressure to a vibrating object will lessen the vibration or stop it altogether. What you need to do is add some material that can absorb the vibrations inside the room and convert the kinetic energy into heat.
Use Acoustical Glue
Also known as acoustical caulk glue, this specially designed elastic sealant can be applied when building your wall frames and installing drywalls. It is the most effective tool for damping noise in a room. As long as you use enough of it, it will hold materials together while absorbing bass vibrations.
You can also use normal caulk to fill those small cracks, gaps, and seams in and around the walls and windows to maximize your soundproofing. You can paint over some caulks because they’re water-based, so they’re easier to clean and cover up in case they don’t match the color of your walls.
Decoupling structures and equipment
Decoupling is simply the isolation of your wall surfaces and equipment from the outer boundaries of your room, from where vibrations will normally transmit. By keeping them away, you eliminate shaking that causes unnecessary noise and buzzing sounds.
When you don’t have the option of tearing down your walls or building a new one to add insulation and soundproofing materials, this is definitely a favorable option. It’s also good for getting clearer instrumental sounds for separate microphones in isolated booths. Here’s how you can start decoupling structures:
Create air gaps
When your inner wall elements don’t touch and therefore can’t utilize an acoustic sealant to hold your walls and ceilings together, you can use Whisper Clips and channels. The benefit of using these is that it isolates your structural layers, thus creating air gaps that keep outside bass vibrations from traveling directly from the frame to the drywall and into your room, and vice versa.
Even if you have already filled your wall with rigid fiberglass and used an acoustical sealant to stick a drywall onto, you can use the Whisper Clips and channels to create a secondary wall to achieve the same isolating or “floating” effect. This technique doubles the absorption of sounds and vibrations, making it the ideal soundproofing method for professional recording studios.
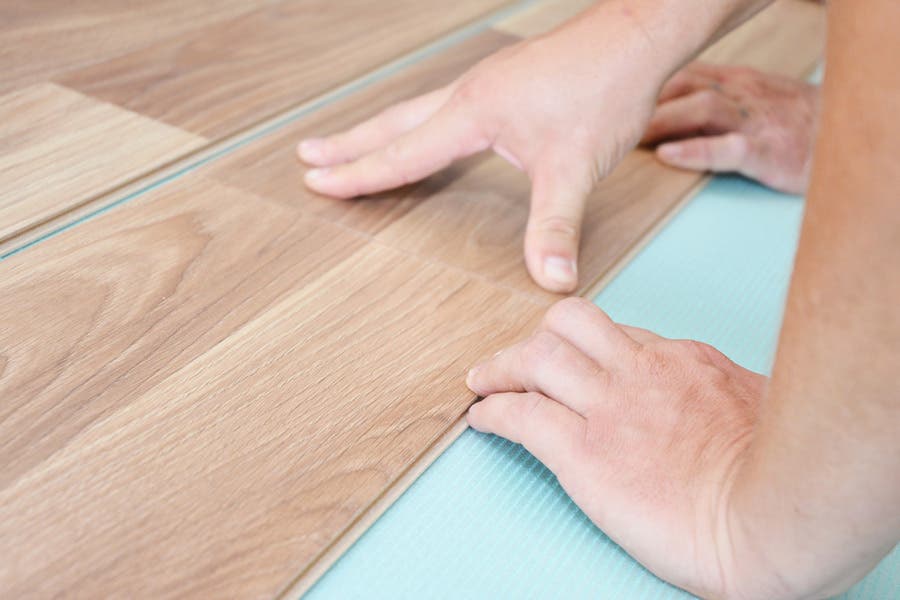
Float the floor
If there’s a room below you, you may need to do apply the same doubling concept for your floors. But instead of adding a drywall and damping glue, add a drywall layer to create an air gap in between layers. Many also choose to install thick soundproofing mats on the entire floor area to “float” it.
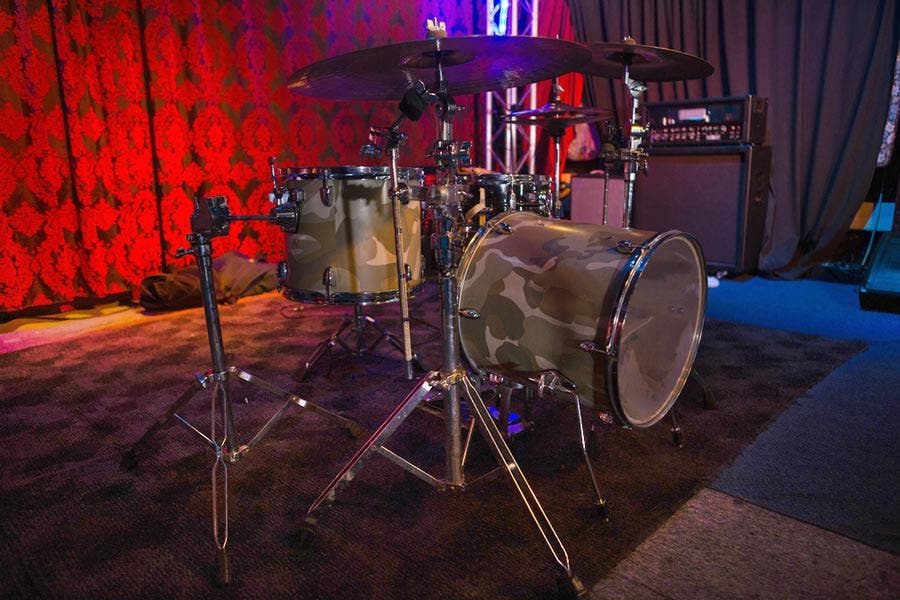
Use isolation pads
Remember those awesome studio monitors that you got for your recording space? They can easily produce vibrations that you don’t want transmitted across surfaces. Consider getting isolation foam pads or a thick rug that you can place under each of your speakers. You can also get isolation for your drum set and other sound equipment that normally produce vibrations.
Filling air gaps
After creating a “room within a room” that drastically reduces and blocks out external noise, you’ll need to go back and check for air gaps that may undermine your soundproofing. You may have missed a couple of areas, like wooden windows, pipes, air-conditioning vents, and door frames, through which significant amounts of noise can seep in and out. All you have to do is close them up to keep studio noise in and outside noise out.
Seal gaps with foam gaskets
Once you’ve spotted those gaps, fill them with appropriately-sized foam gaskets. There are many affordable foam fillers that do the job well, but you can choose to stuff it with additional insulation before closing them up with the foam for extra vibration absorbency.
Install a door sweep
Finally, close the gap between the floor and your door. You can use a long, horizontal pillow that can easily be slid right underneath your door or install a more professional-looking door sweep that automatically fills the gap with rubber. Whatever kind of thick door insert can work, but you’ll definitely want one that’s dense enough to really block out noise.
What is the best material to soundproof a music room?
Whether building a top-tier recording studio or small, personal rehearsal space, knowing how to soundproof a room for music is an essential skill for all musicians. Sound transmission is either airborne (meaning there is a path for air to get from one space to the next) or structure-borne (the room materials are vibrating and passing into other spaces).
For airborne transmission, acoustic caulk and Rockwool are the best materials to stop the air spill or absorb the sound, respectively. When the sound transmission is structure-borne, the optimal materials are those that isolate the source. For such scenarios, Whisper Clips, channels, and isolation pads are how to soundproof your room.
How can I soundproof a room without damaging walls?
Since many musicians practice or record at home, learning how to soundproof a room for music without marring the space is vital. Ultimately, the best way to soundproof a room is to add mass to the walls, floor, and ceilings. Simply adding another layer of drywall and paint can keep the pristine look.
If drywalling the space isn’t an option, and you decide to affix panels to the walls, avoid glue at all costs! You can hang many panels just like pictures with minimally invasive hardware. Freestanding panels with legs have the added bonus of being movable to fit your needs at a moment’s notice. Understanding how to soundproof your room without damaging the walls is a valuable skill no matter where you practice!