Most landscape and nature photographers know that sunset and sunrise are two of the best times to capture amazing light in their photography. However, very few photographers stick around for blue hour, which happens to be an excellent time to capture images as the sky begins to get dark.
What is Blue Hour?
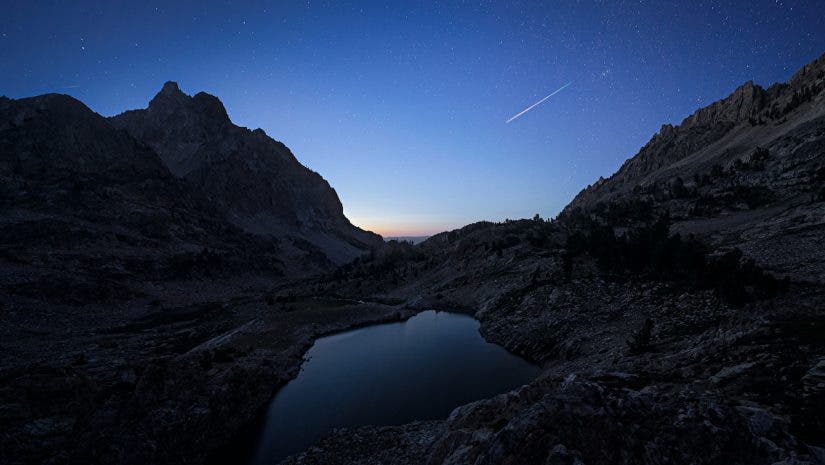
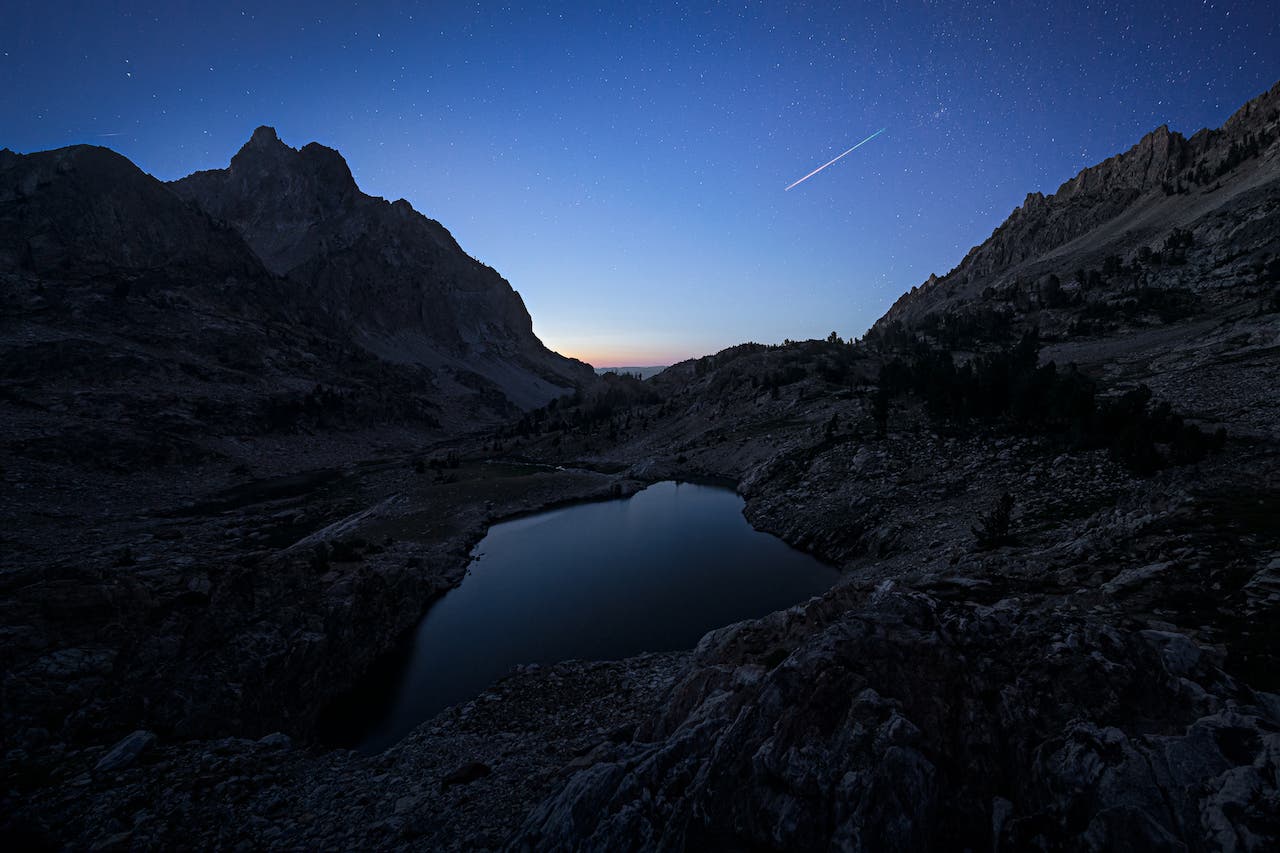
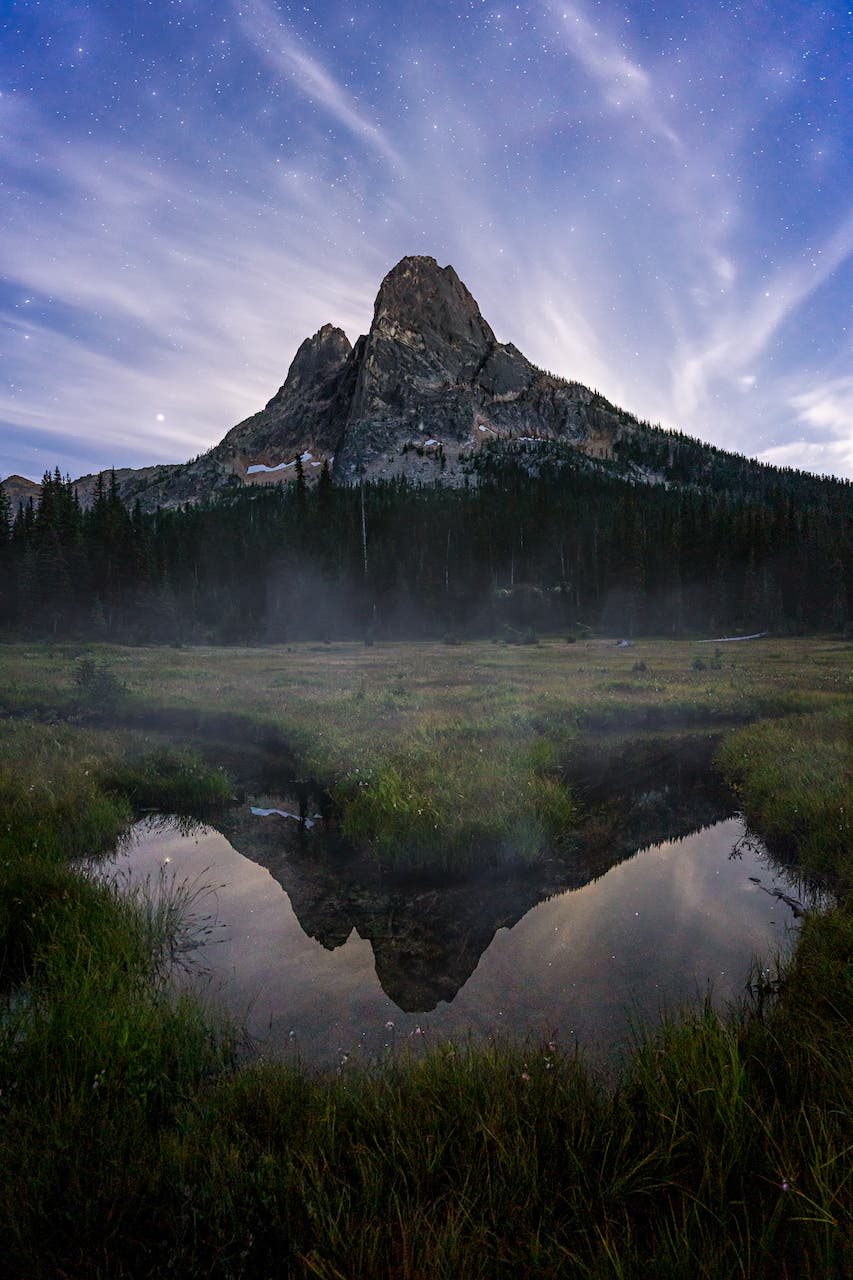
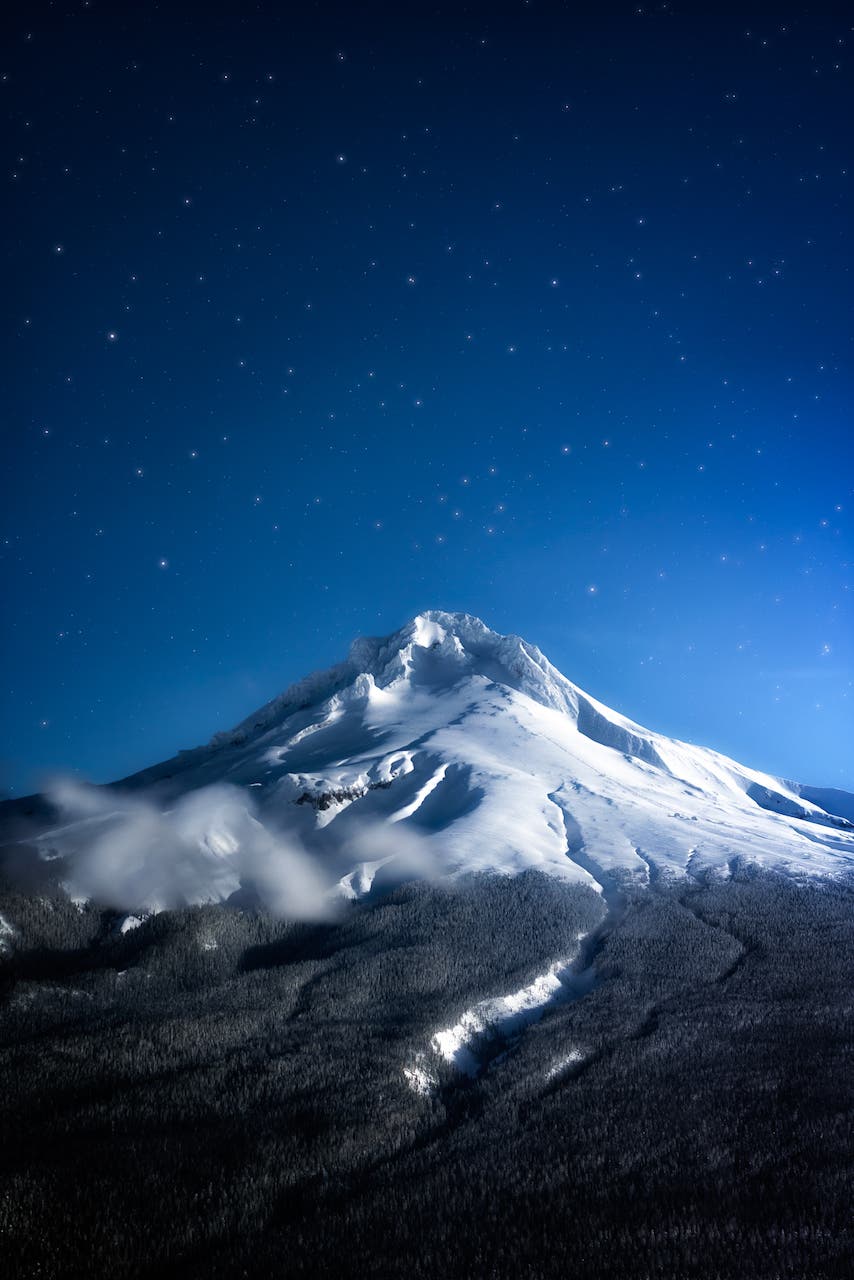
Blue hour occurs just after sunset and just before sunrise when the sun is below the horizon. There is barely enough light to see your surroundings. This is when there are just a few bright stars in the sky, right before the full darkness of the night sets in or before the sun begins to come up.
This time of night (or morning) is one of the best times for night sky photography because the light is even across the landscape and you don’t have to worry about the harsh light of the sun. In contrast, you are able to get enough light to use a long exposure to make out the details of your foreground without experiencing too much grain that is generally present when shooting at a completely dark night sky.
Blue Hour Photography In the Field
So, how do we capture amazing images during blue hour? First off, you need to be out at the right time. I find that about 45 minutes after sunset is the best time. Of course, you can get out and shoot with similar results 45 minutes before sunrise. Although, I find this much more challenging because then you must find your composition in the dark. Usually, I show up right around sunset and find my composition, then wait for the sun to go down.
For this technique, you will need a tripod since we’ll be using very long exposures to help us expose some of the darker spots. Any camera and lens will do as long as you can adjust your shutter speed for up to 30 seconds. I highly recommend using a camera with full manual mode. This is because you will want to adjust the ISO, aperture, and shutter speed individually. Cameras with automatic modes oftentimes will struggle to adjust after dark.
Once the time comes, you’ll want to dial in your ISO, aperture, and shutter speed. Each scene requires slightly different settings, but I usually start with these settings:
- ISO 1600
- f/4
- 25 second shutter speed
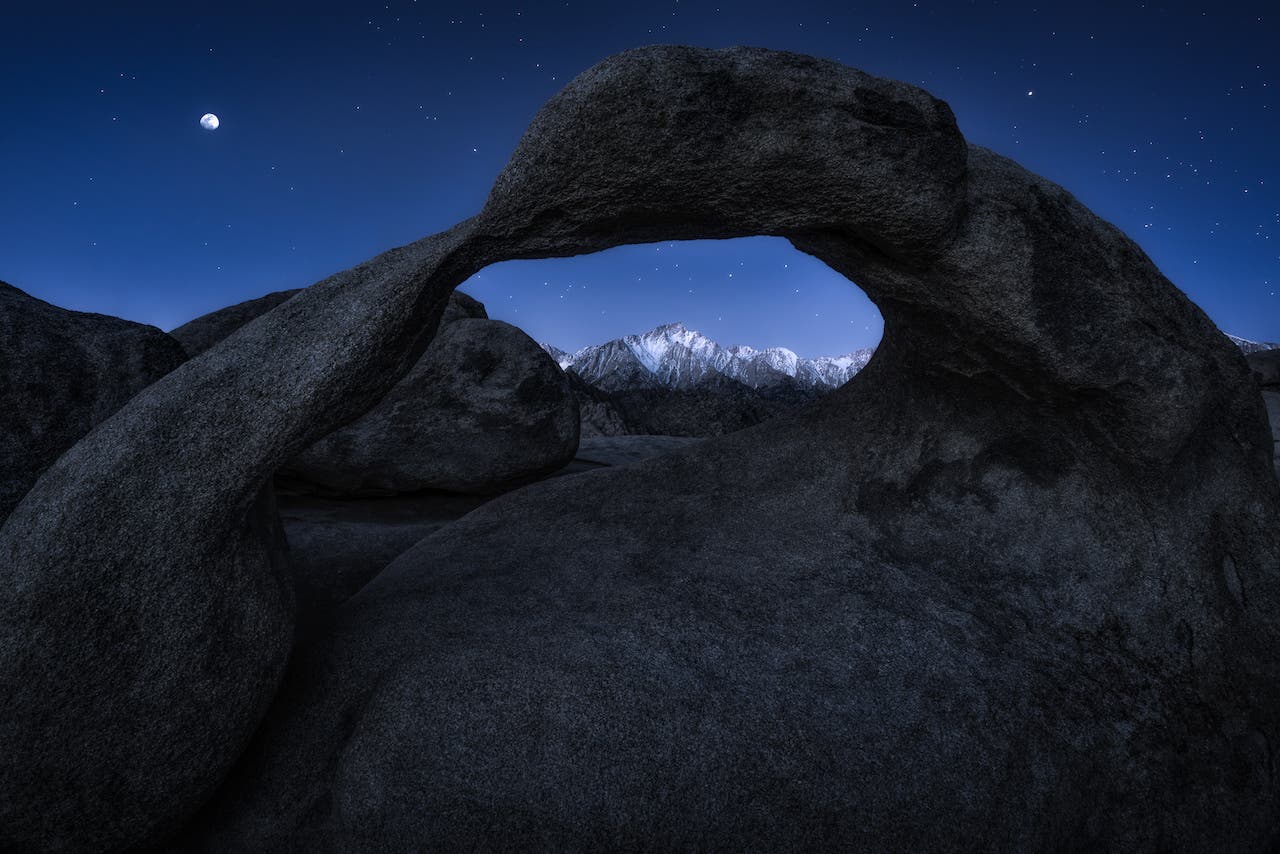
After you dial these in, take a few photos and see how they look. Make sure your camera is in focus.
Usually, you’ll need to use manual focus as the camera’s auto focus may underperform in the dark. It’s also important that you do not blow out the highlights. Avoid having any part of the RAW image be totally white. You want the sky to be bright, but not completely white. The foreground is going to look dark but be sure to shoot RAW images so that you are able to adjust this in post-processing.
If you find that your image is not properly exposed (too bright or too dark), try increasing or decreasing the ISO accordingly until you’ve found the perfect exposure.
On the Computer
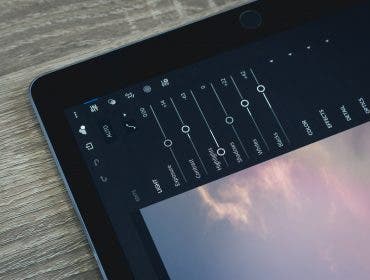
Once you get home to edit your images, load your images into whatever post processing software you like. You’ll want to go in and:
- Reduce the highlights.
- Increase the shadows (to add more dynamic range to your image).
- Adjust the white balance.
Your camera may struggle to properly balance the temperature of the image after dark. I personally find the white balance to look right when the sky is blue, but the objects in my foreground are more neutral gray.
Blue Hour Photography Frequently Asked Questions
Blue hour is important because it’s when the sky turns a beautiful deep blue color. It creates a soft light that’s great for photography. Photographers make the most out of blue hour by capturing stunning landscapes, cityscapes, and portraits.
Golden hour happens just after sunrise or before sunset when the sun is low in the sky, casting a golden light across the horizon. Meanwhile, blue hour occurs just before sunrise or after sunset when the sky turns a deep blue color, creating a cool light.
This time of the day is called “blue hour” because during this time, the sky takes on a deep blue color. It occurs before sunrise or after sunset when the sun is below the horizon, and the sunlight scatters in the Earth’s atmosphere, causing a blue color.
Blue hour is unique because it offers diffused light and a deep blue sky for a background. It’s ideal for capturing atmospheric images focused on the moon, stars, cityscapes, or landscapes.
The best camera settings for blue hour are ISO 1600, f/4 aperture, and a 25-second shutter speed. These settings help capture the soft, dim light and deep blue sky of blue hour effectively.
Final Thoughts
Blue hour is an amazing time to photograph because it’s so easy to do! If you’re already out shooting sunset, it’s worth your time to spend an extra hour outside to capture some amazing images before total darkness. You can do it with nearly any DSLR or mirrorless camera.
Clear nights work best but if you get interesting clouds, try your hand at blue hour photography as well. And of course, don’t forget your headlamp.
