Next-gen gaming consoles like the PlayStation 5 and Xbox Series X can deliver incredibly immersive graphics and gameplay. They are packing a massive amount of horsepower under the hood. They can deliver stunning 4K UHD images that are more life-like than ever before.
Equipped with HDMI 2.1, the PlayStation 5 and Xbox Series X render graphics in HDR. They deliver details in the highlights and shadows, a wide color gamut, and frame rates up to 120 fps.
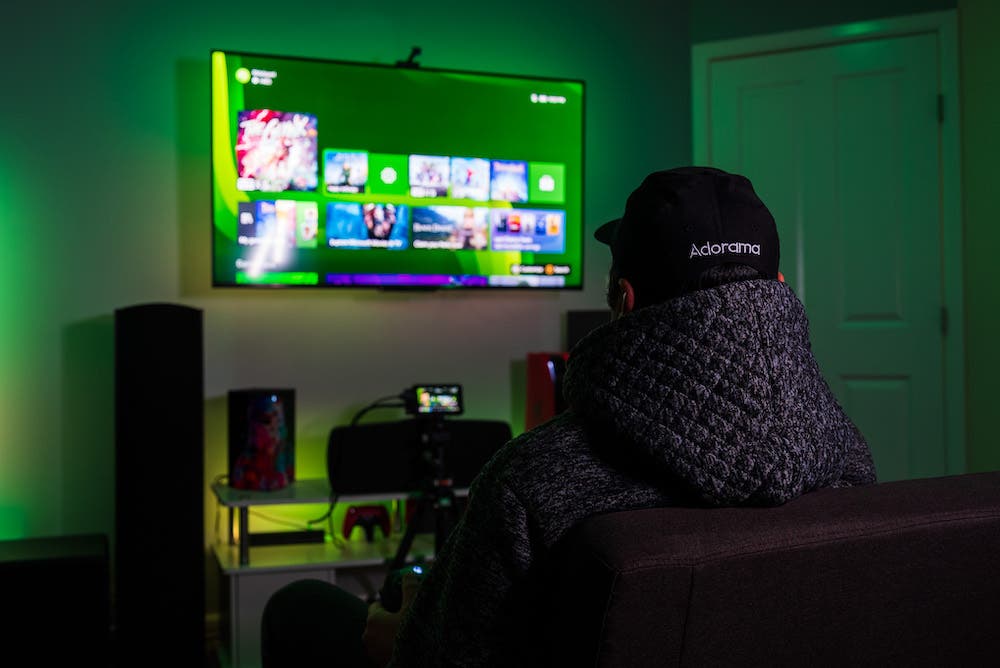
Video-game streaming websites like Twitch have become popular platforms for showing off the amazing capabilities of consoles the PlayStation 5 and Xbox series X. Gamers are using video capture-cards to record gameplay, broadcast sessions live, and share gaming videos.
What is a Video Capture-Card?
A video capture-card is a device that can be installed in a PC internally, or attach to it externally via USB. Some capture-cards are standalone devices, which means that they don’t require a computer to record video. A few popular examples of video capture-cards include, the Elgato Cam Link 4K Game Capture Device, the Elgato Game Capture 4K60 Pro MK.2 Device, and the one that we’ll be discussing in our guide. This is the all-in-one 4K HDR recorder with built-in display, known as the Atomos Ninja V.
Why Choose the Atomos Ninja V?
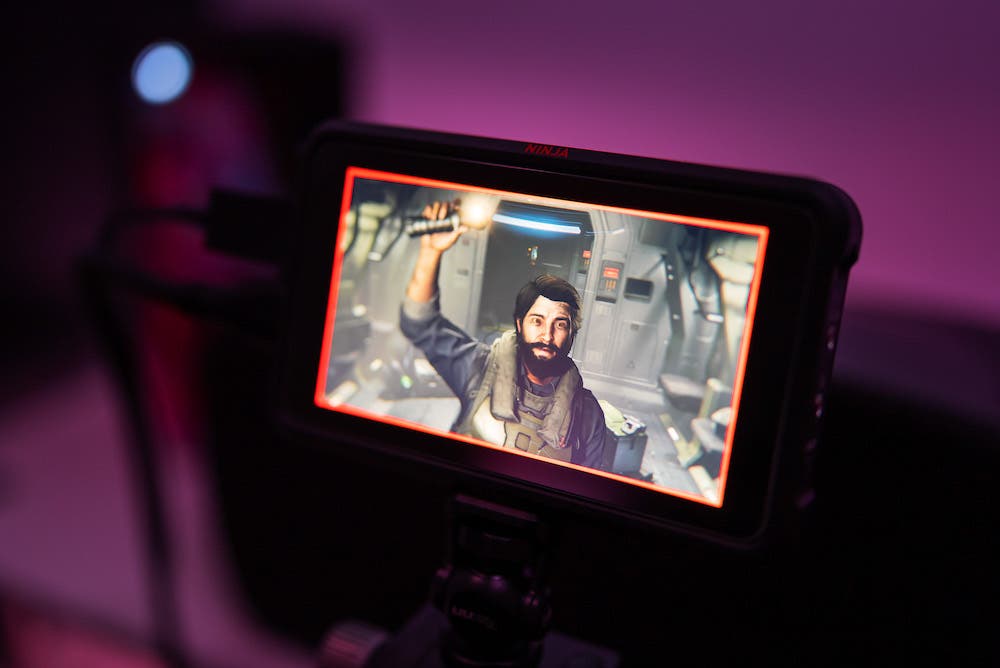
The Atomos Ninja V is a unique device amongst the current lineup of 4K HDR 60P video capture-cards. It’s the only one which doesn’t require a PC to capture gameplay. The Ninja V has an integrated 5”, 1980x1080p resolution touchscreen monitor with a 4K HDMI Input. This can record internal 10-bit HDR video in Apple ProRes, ProRes RAW, Avid DNx, and H.265 (HEVC) codecs, at up to 60fps.
The Ninja V captures its internal recordings using a slot on its backside. You can attach any SSD using an HDMI 2.0 input port that supports 4K HDR at up to 60fps. It also features an HDMI loop-out port, allowing you to passthrough your video signal to an external display.
The built-in display of the Ninja V features 1000 nits of peak brightness. It is also capable of displaying PQ/HLG HDR formats natively. All of these powerful features make the Atomos Ninja V the most technically advanced gaming capture-card on the market. All other capture-cards that can record 4K 60P HDR gameplay require a powerful computer.
How to Record Gaming with the Atomos Ninja V from the PlayStation 5
Let’s take a look at the settings you’ll need to change on the PlayStation 5 and the Ninja V in order to start recording and sharing some amazing 4K HDR gameplay footage.
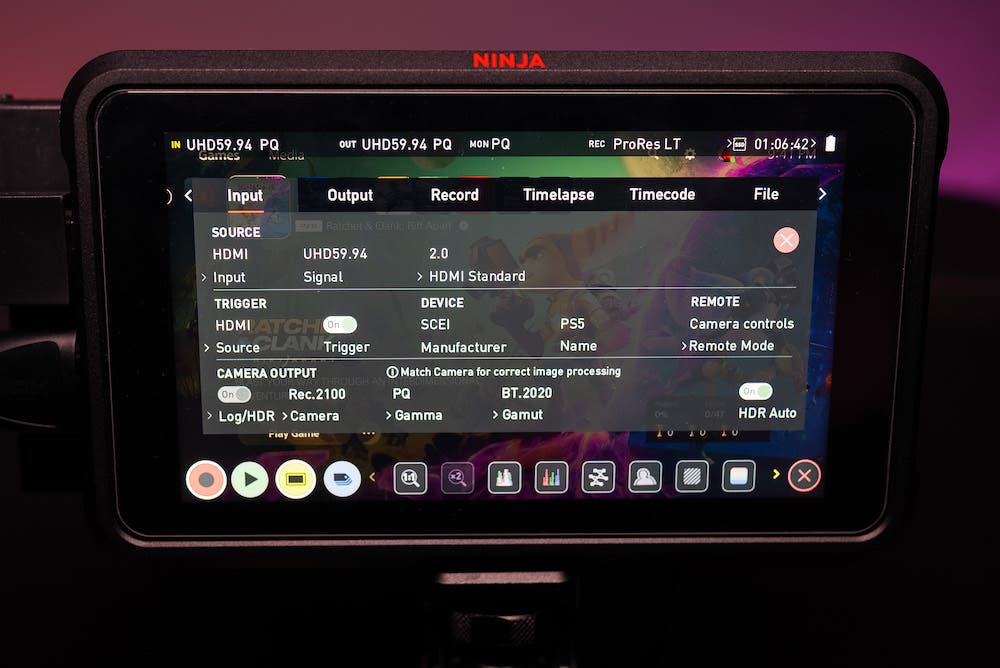
Settings to change for the video input on the Ninja V – for PlayStation 5:
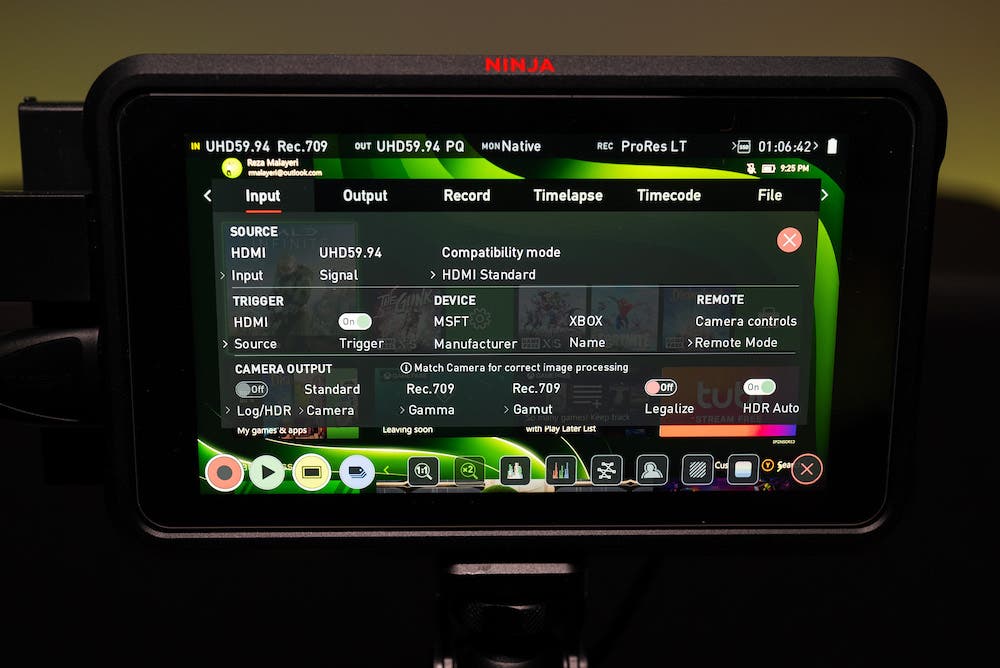
- Navigate to the Ninja V’s Input Menu, change the HDMI Standard setting to 0.
- While in the Input Menu, ensure that Log/HDR is disabled, and HDR Auto is enabled.
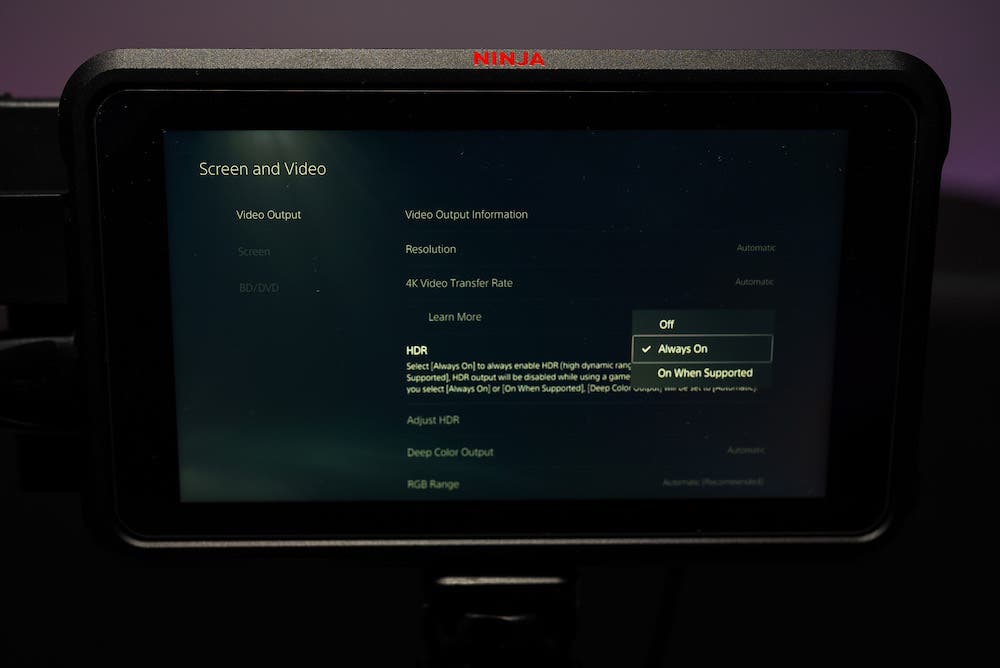
Settings to change for the PlayStation 5’s Video Settings:
- In the Screen and Video options of the PS5, navigate to Video Output, and set HDR to Always On. Leave all other settings in Video Output to Automatic.
- In the System menu of the PS5, navigate to the HDMI sub-menu. Ensure that the Enable HDCP option is disabled.
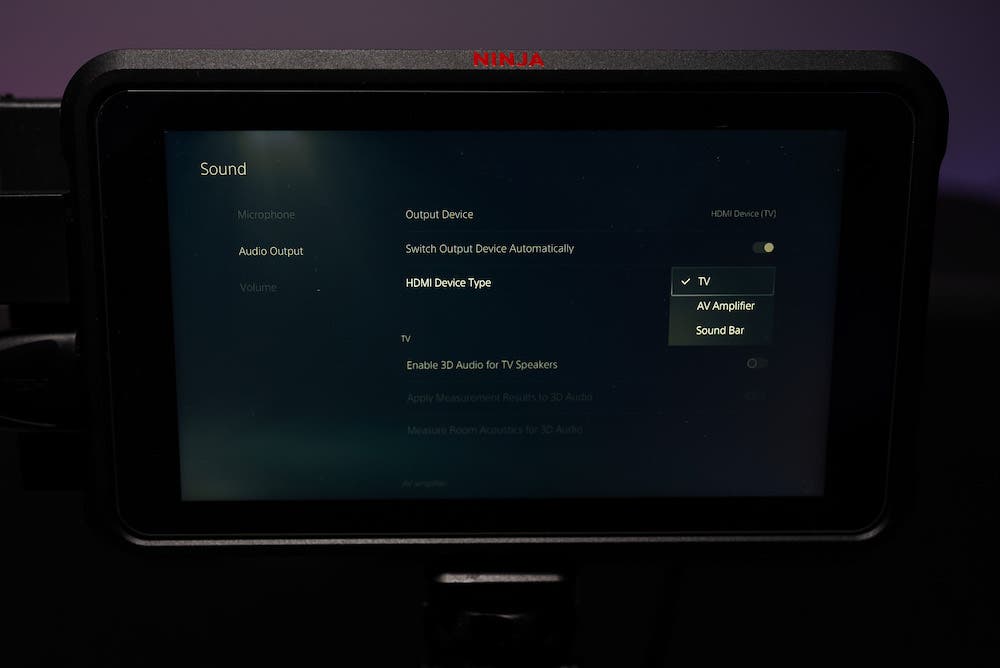
Settings to change for the PlayStation 5’s Audio Settings (Stereo/5.1):
- To output stereo audio from the PS5, navigate to the Sound menu, go to the Audio Output sub-menu, and set the HDMI Device Type to TV.
- To output multi-channel 5.1 surround audio from the PS5, navigate to the Sound menu, go to the Audio Output sub-menu, and set the HDMI Device Type to AV Amplifier.
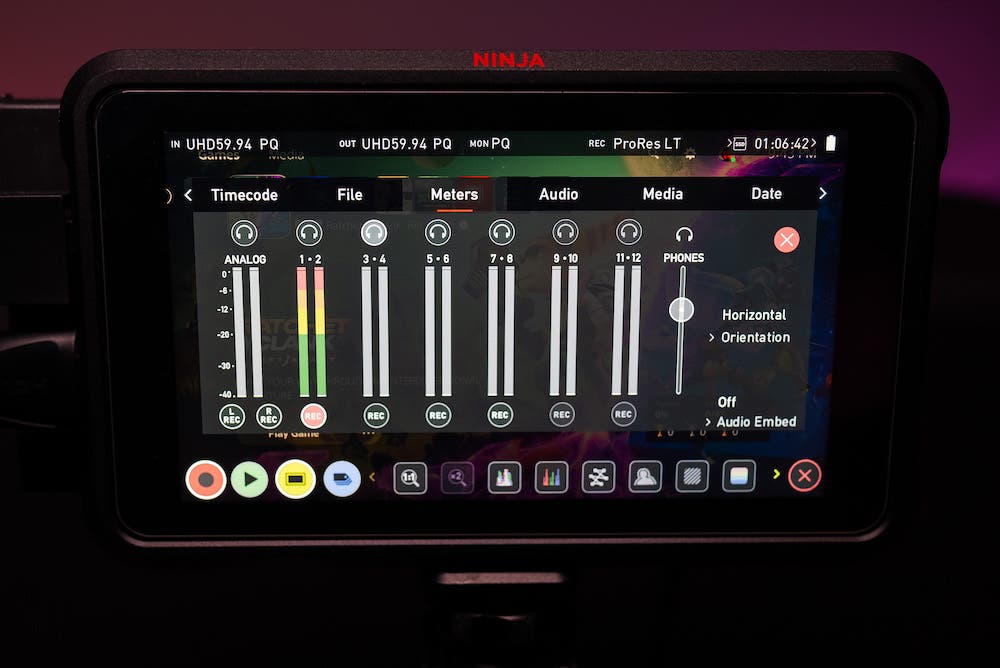
Settings to change for the Ninja V’s Audio Settings – PS5 (Stereo/5.1):
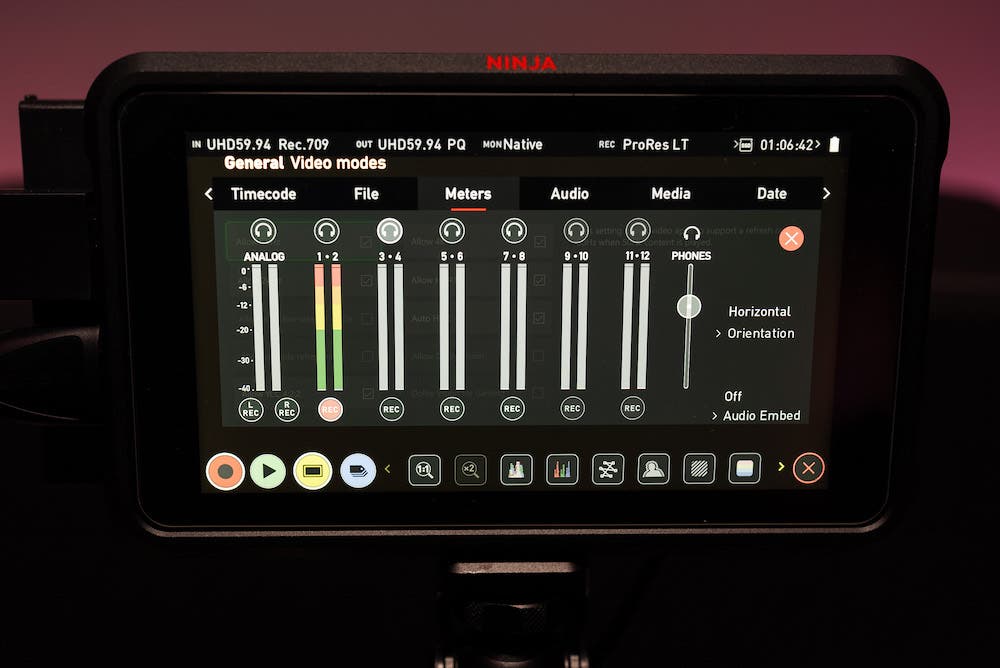
- To record stereo audio from the PS5, navigate to the Meters section of the Ninja V, and ensure that Analog audio recording is disabled, while the record indicator under Channel 1 & 2 is enabled.
- To record 1 multi-channel audio from the PS5, navigate to the Meters section of the Ninja V, and ensure that Analog audio recording is disabled, while the record indicators under Channels 1 & 2, 3 & 4, and 5 & 6 are enabled.
How to Record Gaming with the Atomos Ninja V from the Xbox Series X
The process to configure the Xbox Series X is similar to the procedure for the PS5. There are just a few changes that account for how the Xbox engages its HDR output. Unlike the PS5, the Xbox will only output an HDR signal after an HDR game has been launched. For that reason, unless you begin your recording after a game has been launched, the Ninja V will record an SDR signal. This is the native output of the Xbox Series X GUI as of this writing.
Let’s take a look at the settings to change on the Ninja V and Xbox Series X to record your gameplay.
Settings to change for the video input on the Ninja V – for Xbox Series X:
- Navigate to the Ninja V’s Input Menu, change the HDMI Standard setting to either 0, or Compatibility mode.
- While in the Input Menu, ensure that Log/HDR is disabled, and HDR Auto is enabled.
Settings to change for the Xbox Series X Video Settings:
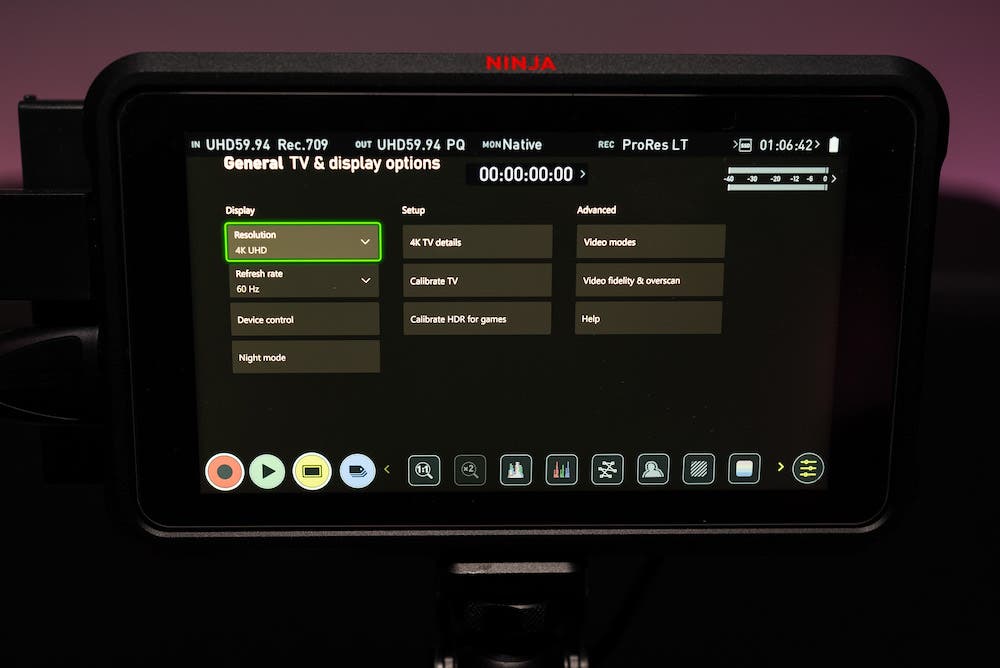
- In the TV & Display options menu of the Xbox, navigate to Resolution, and set it to 4K UHD, and ensure that the Refresh rate is set to 60 Hz.
- Navigate to the Advanced column of the TV & Display options menu, select Video modes, and ensure that the following options are enabled:
- 50Hz
- 24Hz
- YCC 4:2:2
- 4K
- HDR10
- HDR
Settings to change for the Xbox Series X Audio Settings (Stereo):
- To output stereo audio from the Xbox, navigate to the Volume & audio output menu, go to the HDMI audiosub-menu, and set the Speaker audio to Stereo uncompressed.
Settings to change for the Ninja V’s Audio Settings – Xbox (Stereo):
- To record stereo audio from the Xbox, navigate to the Meters section of the Ninja V, and ensure that Analog audio recording is disabled, while the record indicator under Channel 1 & 2 is enabled.
Final Steps
You’ve now configured the Atomos Ninja V and your PlayStation 5 or Xbox Series X. There’s just some touches needed before you begin recording some next-gen console gaming.
To connect your console to the Ninja V, ensure that you’re using a HDMI 2.1 cable capable of 4K HDR. Connect the video output of your console to the HDMI input of the Ninja V.
After making the initial HDMI connection to the Ninja, you can play and record directly to the Ninja V while using its HDR display. To take things up another notch, connect a 2nd HDMI 2.1 cable from the HDMI output port of the Ninja V, to the HDM 2.1 input port of your favorite display. You can have the Ninja V ready to record from your favorite console, while enjoying the view on your TV.
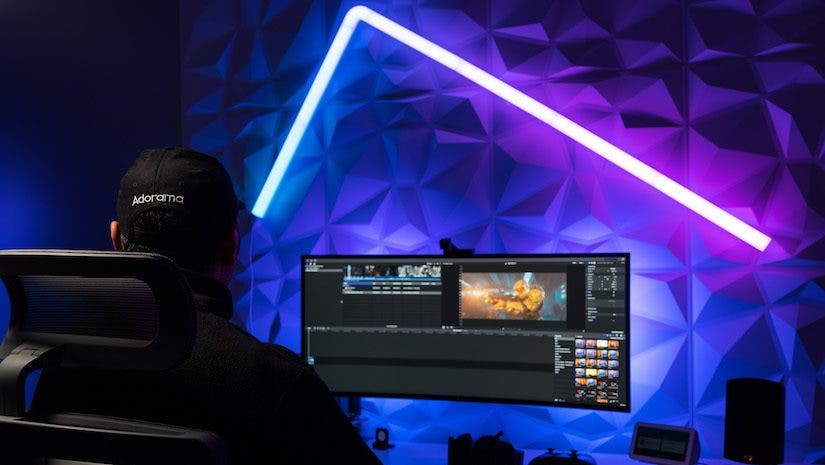
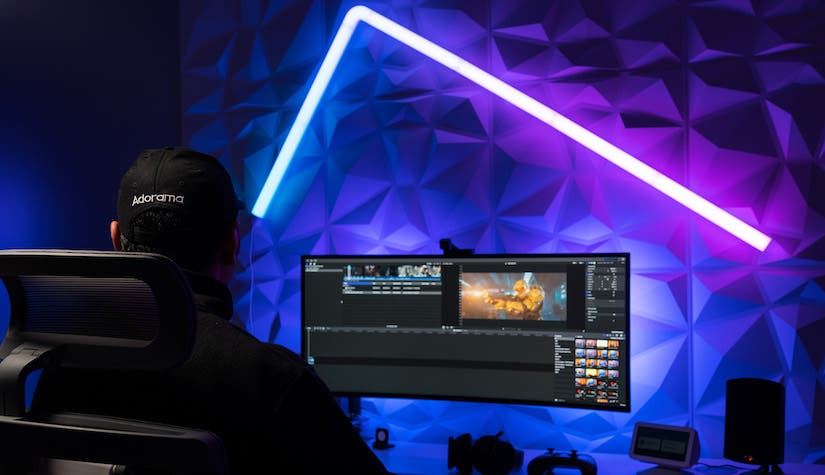
Don’t forget to import some of the epic videos from your Ninja V into your PC. You can create some amazing gameplay reels and share them on your favorite streaming platform or social media.
Here’s an example of my recorded gameplay:

We’re looking forward to seeing all of the fun games and videos you’ll create with this versatile and powerful setup.
To learn more about how you can take your gaming setup to the next level, take a look at some of our other 42West educational posts here.