It’s common for today’s aspiring music producers, singers, and musicians to kickstart and later add leverage to their careers by creating music that will showcase their respective skills and talents. All they need to do is set up their own home recording studio, which has become very doable with all the available information that we have at our fingertips. Once you know how to record a song at home, you’ll be recording music in no time.
While the song recording process does sound complicated because of the involved technical and creative aspects, it’s quite easy once you get to know the basic steps by heart. Let’s get to them below.
How to Record Songs
1. Create a home recording setup
Setting up your own home recording studio is super easy. Contrary to popular belief, you don’t always need the loudest speakers, the most expensive microphone, or even the biggest mixer with millions of sliders and knobs—although you do need to worry about soundproofing your room.
You’ll only need a few basic things for your studio and, with a lot of patience and research, you will be able to find the right pieces of equipment to suit your needs and preferences. Here’s the list of sound recording equipment:
- Desktop Computer or Laptop
- Headphones
- Microphones
- Pop Filters
- Musical Instruments
- Amplifiers
- Control Surface
- Studio Monitors
- Digital Audio Workstation (DAW)
- Virtual Instruments
- Recording Mixer
- Audio Interface
- Studio Rack Mount
- Power Conditioner
- Uninterruptible Power Supply
- External Hard Drives
Let’s go into more detail about each….
Desktop Computer or Laptop
A quality, fast computer is the centerpiece of any modern studio. The decision for Mac or PC is entirely up to you as most software programs run on both. However, some are platform-specific, such as Logic which only runs on Apple computers. Computers have a finite shelf-life, so while a used model may save you money in the short run, you’ll have to replace it sooner. Faster processing power will allow you to do more, and it’s better to have spare power than to be stuck without it. Producers who use a lot of virtual instruments will want to make sure to get as much RAM as possible. Some computers allow you to upgrade later, but some do not.
Headphones
A staple in every studio, headphones help record and mix. Look for durable, closed-back headphones to minimize bleed into the microphone for recording. Mixing and mastering engineers will want a pair of open-back headphones for a flatter, more natural frequency response. Look for models that completely cover your ears and are comfortable for long stretches.
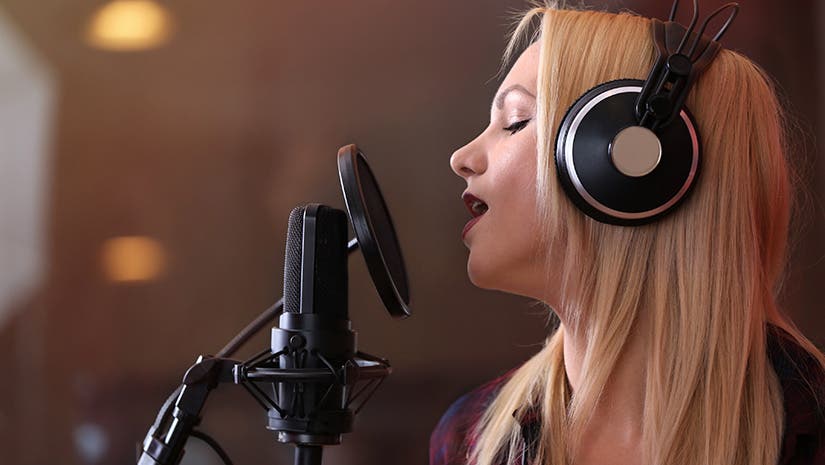
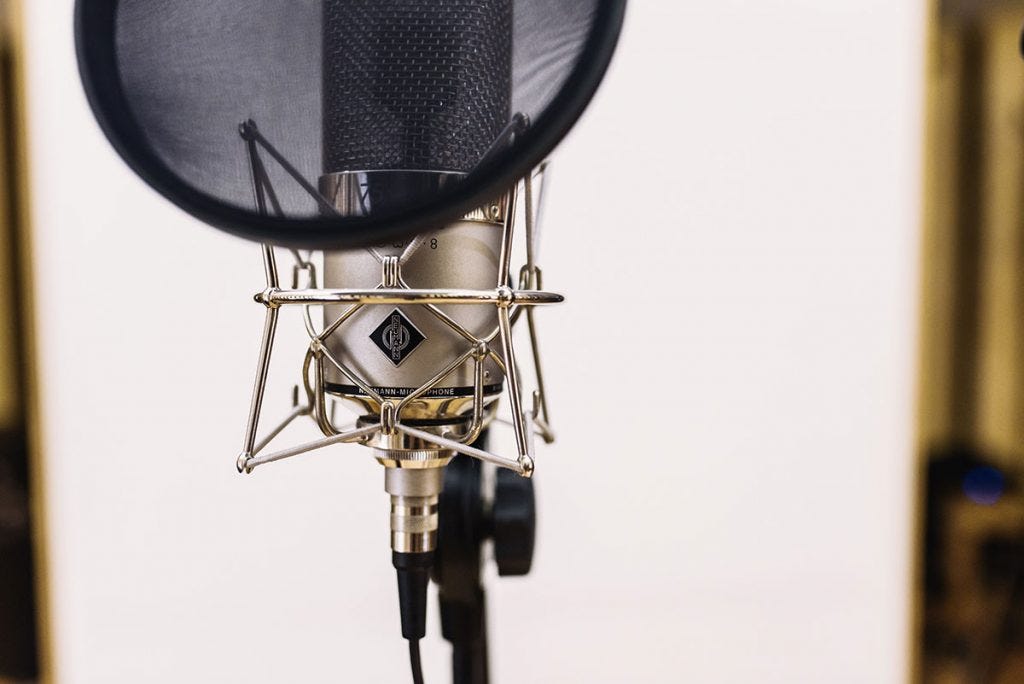
Microphones
You don’t necessarily need to spend much money to get great quality. Microphones break down into three basic categories: condensers, ribbons, and moving-coil (more commonly known as dynamic). Condenser microphones are often bright and sensitive, and require a power source. Ribbon and dynamic mics generally do not need power. Ribbon microphones are smooth but darker, so they work well on bright sources that need taming, like trumpets, tambourines, or guitars. Dynamic microphones are durable, punchy-sounding, and less sensitive, so they are great for drums and noisier environments. Note that any of the above types can be used on most instruments or voices.
Pop Filters
Pop filters save your recordings by helping to eliminate plosives. These artifacts are the strong, popping sounds made by singers using hard consonants such as “P”, “K”, “T”, etc. The pop filter allows the sound to pass but stops the wind blast from getting through to the microphone. Pop filters are crucial for professional vocals.
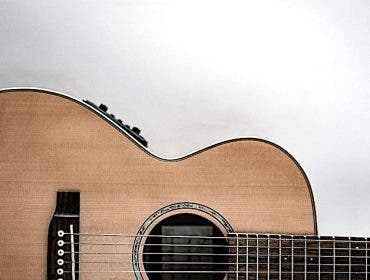
Musical Instruments
Drums, guitars, bass, amps, piano, horns…the list goes on! Some instruments are electronic. With these, you can record the signal directly into your interface or connect to an amplifier. For amplifiers and acoustic instruments, microphones can be used to direct the signal straight into your interface and DAW.
Amplifiers
Amplifiers, or amps for short, are paired with electronic instruments such as guitars, basses, keyboards, and more. These make otherwise quiet instruments loud enough to compete with high-SPL (sound pressure level, a measurement similar to volume) sounds such as drums. This significant boost in level allows musicians to play to a larger audience. Musicians also can shape sounds in creative ways with their amps.
Control Surface
Control surfaces empower users to move past the mouse and utilize tactile feel and touch. Think of them as a custom-built mouse. You may already be familiar with them, as a MIDI keyboard is a type of control surface. Some feature keys like a piano, pads that trigger sounds like drums, or even faders and knobs to control specific parameters. Control surfaces are unnecessary for making music, but they can make it more fun!
Studio Monitors
Studio monitors are the same thing as speakers. A good pair of studio monitors are mandatory for most studios, and come in a tremendous variety of sizes and levels of quality. A high-quality pair of monitors accurately reflect what your music will sound like outside your studio.
Digital Audio Workstation (DAW)
DAWs are the software programs that record, process, effect, and playback your sounds. A DAW is an entire virtual studio in a box. Almost anything you can imagine with sound and music can be done in these. There is no “best” DAW, but some are geared towards writing and arranging, recording and mixing, or working with film. However, producers can make music with any of them.
Virtual Instruments
Virtual instruments are computer programs that emulate (or create entirely new) musical instruments. From a basic handclap to an entire world-class symphony orchestra, virtual instruments grant the power to create any sound you desire.
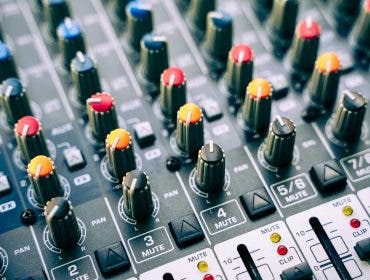
Recording Mixer
A recording mixer is a central hub that permits you to amplify, combine, process, and route analog/digital audio signals to other devices. These are optional if you are working with a computer and interface, although excellent for any engineer in live situations. Stage musicians can control the signal flow of multiple electronic instruments without relying on the computer or mouse, which can be difficult during performance.
Audio Interface
An audio interface acts as a “bridge” between your microphone/instrument and computer while recording. They also serve as the bridge between your computer and speakers during playback. An audio interface converts an analog signal into a digital one and vice versa. Available in various channel counts, sound qualities, and processing power, interfaces are necessary for any studio environment.
Studio Rack Mount
Many pieces of studio gear can stack into a larger housing known as a rack. Effects processors, amplifiers, interfaces, and even computers can be mounted in these for display or transport. A rack is not necessary at first, but as your studio grows, your rack can help keep things organized.
Power Conditioner
Audio devices work best when given a precise and consistent quality of electricity. Power conditioners clean up and shape the power for optimum performance. They can also help eliminate buzz and hum from your audio. Power conditioners are not necessary but are a surprisingly inexpensive way to improve your studio.
Uninterruptible Power Supply
UPS systems work as a backup battery for your AC electricity. If the power goes out, your system will continue to run thanks to an uninterruptible power supply. Mandatory for larger studios and a lifesaver for anyone who does live streaming/podcasting.
External Hard Drives
For best performance, your computer should only be running your DAW and its operating system. All external files, such as recorded audio or samplesxshould be stored on a separate hard drive. This practice will massively improve your computer’s speed and power. If your music matters, an additional backup drive is a smart move.
The list might look like a handful, but you’ll realize that these can usually be set up in just one corner of the room. You can read our article about building your own home recording studio for more details, product recommendations, and specific instructions on how you can create your main workstation for song recording.
2. Run a digital audio workstation
After gathering your equipment, including a fast computer with enough RAM memory, run your chosen DAW. If you’re using a Mac, it should already have the preinstalled GarageBand. Alternatively, you can use the easily downloadable Audacity or the more professional ProTools.
The key is to find the ideal software that you can get used to, as opposed to getting a complicated one that you won’t be able to make the best use of. You can check out our list of the best recording software to learn more about the most popular DAWs that podcasters and music producers use in their home and commercial studios.
3. Organize what to record
Once your hardware and software (and song!) are all ready, the next step involves planning exactly what you need to record from start to finish. Note that song recording typically takes longer than a day as it includes recording multiple tracks before merging them into a single audio file that has your music, effects, and vocals.
Many artists and music producers record their songs with individual elements ordered as such:
- Base Track
- Rhythm
- Harmony
- Melody/Vocals
- Background Vocals/Fills
The first few elements serve as a guide for the next ones, which is why the vocals get recorded last. Of course, the list varies depending on your song and how you want it to turn out. Some songs consist of just one instrument (like a guitar) and vocals while others feature everything from a full set of drums to a second voice. The goal is to break them up during recording so you end up with clear audio elements that keep pace with each other and are in tune.
4. Set Up Your Equipment
Come song recording day, ensure that you have all the instruments you need, as well as the necessary cables and supporting equipment (like amps) that you need to connect them to your recorder. For higher quality audio, you’ll want to connect them to a professional audio interface and mixer instead of to your computer directly.
Test them out, modulate the volumes coming from each audio channel, and create a brief recording to make sure that your sound sources sound just the way you want them to. This way, you lessen the editing work that you need to do during post-production.
5. Create Your Base Track or Guide
Now that you’re ready to record, the first goal is to set the foundation of your song: your beat. But for your beat or rhythmic instruments to be very precise, you’ll need to follow a base track, which will serve as the guide that your drums and other instruments will follow along with.
You can record (or even download) a simple metronome yourself or use a pre-recorded drum loop for your base track—as long as it follows your desired tempo.
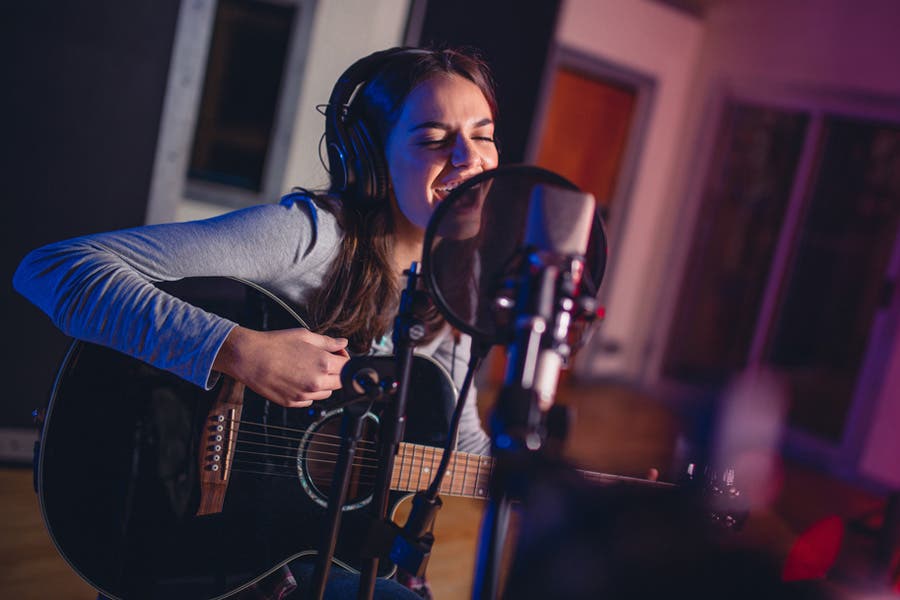
6. Record the Rhythm Section
Finally, the real recording can begin! With your choice of rhythmic instrument (drums, bass, or even just an acoustic guitar), hit record and start playing while listening to the base track using headphones. In this case, you’ll want to use a pair of headphones that don’t block out noise completely so you can still hear yourself playing.
Record as many separate rhythm tracks as you need and remember not to record over anything. Should there be any errors, you can cut them out and replace them with subsequent recordings later on during post-production. Then again, it’s always better to have a clean song recording, so always do your best!
7. Record the Harmonies
Again, depending on your song, your harmony can consist of one or many instruments. They’re typically recorded separately—using different types of microphones and as individual tracks— but, together, they should form your background music.
You should have already determined the instruments as well as the chord progression for each so you can save on recording time and costs (in case you’re just renting out the recording studio), but you can always make minor alterations during recording depending on your or your composer’s artistic judgment.
8. Record the Melodies
Once your harmony or background music is recorded, you can move on to recording your melody. The melody serves as the principal or dominant part of harmonized music, so this part of the song recording will consist mainly of lead guitars and lead vocals.
Once the leads are done, you can choose to fill the gaps with supporting melodies. But of course, what you add should still depend on your vision for the song. The beauty of recording separate tracks for each rhythm, harmony, and melody is that you can simply exclude them in the final mix if they don’t work.
9. Add Color and Effects
Your song should already sound pretty good at this point but you may still want to add a few finishing touches, such as background vocals, piano and percussion fills, or even sound effects. Take the time to record whatever you think your song still needs right before you move on to the next exciting step: mixing.
10. Clean Your Tracks
The great thing about recording a song, compared to live performances, is that you can take your time in choosing the best tracks that you want to use and later adjust their volumes so not one track will end up overpowering the other.
But before you start loading your tracks for mixing, it would be very helpful to organize and finalize them beforehand. Create folders that will keep your rhythm, harmony, melody, and effects tracks separate. You can even name each track with numbers and automatically delete tracks that don’t work or add value to your song. In the case of duplicates, you can compare each track and keep the best one.
Also, take the time to remove any unnecessary noises and sounds like amp hisses, breaths, or even dead air. The goal is to minimize confusion and difficulty when it’s time for mixing.
11. Mixing
Mixing is the process of combining individual sounds to a 2-channel audio file that is played back on an audio system. Your computer runs software that allows you to process, control, and combine your individual instrument or vocal tracks. You’ll also need an interface and something to play back audio, such as studio monitors or headphones (ideally both!)
Your goal is two-fold: make choices that support the “feel” of the song, and create a mix that will sound great on any listening system — from cars, to earbuds, to home hi-fi speakers.
Your DAW comes with software and everything you need to start mixing. You can also upgrade some of your plug-ins, or add external processors known as “outboard gear” for a greater variety of sounds in your mix.
The essential tools for mixing are:
- Faders control the output level of any individual signal or group of signals.
- A pan pot (short for panoramic potentiometer) controls the left-to-right balance of your sounds.
- Frequency-based processors, such as equalizers or filters alter the low, mid, and high frequencies.
- Dynamics processors, such as compressors, limiters, and gates alter the amplitude (another word for volume or level) of different parts of the signal.
- Time-based effects involve playing back copies of your signal after an amount of time. Typical examples are delays, reverbs, chorus, flanger, and phaser.
- Distortion, also known as saturation, is an effect used heavily for intense sound design, or lightly to thicken and add body to sounds.
Mixing, especially one’s music, can be a complicated and frustrating undertaking. We understand that and hopefully this guide helps. Pay special attention to your choice of sounds when recording. It is always easier to get the sounds right in the first place, rather than to spend time fixing sounds later on. Mixing is a practice just like playing an instrument.
12. Export Your Song
When your tracks finally sound great together, it’s time to export your song. But if you’re going to be exporting them to a CD, there’s a step called mastering.
Mastering, in itself, is difficult without the help of a mastering engineer so unless you have gained enough knowledge on how to execute mastering techniques like maximizing loudness, balancing frequencies, and stereo widening using software tools like Izotope Ozone and IK Multimedia T-Racks, it may be best to outsource the work.
How to Record a Song: Frequently Asked Questions
Can I record music for free?
Absolutely! If you want to record music, you can easily download freeware and apps available for any computer, phone, or tablet. It’s possible your computer already came with a DAW. Many premium DAWs and VSTs offer a “lite” version available for free. It’s a great way to test out various software, practice songwriting, and learn how to record a song at home before committing to the upper-tier version.
What is the best app to record music?
Some apps are very intuitive and make it easy to learn how to record music. If you are a creator on-the-go, apps like Garageband are available for your phone or tablet. DAWs like Ableton Live and FL Studio are excellent for electronic music creation and include many features that make it easy to turn an idea into a completed song. Most large professional facilities use Pro Tools for the enhanced routing and mixing capabilities. The best app for you is simply the one that inspires you to create.
How do you record at home with studio quality?
There’s good news for those who want to know how to record a song! It’s the ear, not the gear, that makes for studio-quality recordings. The goal is to know how to record a song at home and reach a level close to your favorite professional mixes! However, professional-quality gear can make the process easier and is always more reliable, keeping the creative juices flowing. Be sure to focus on recording fundamentals and experiment with new techniques! “Referencing” (quickly switching back and forth between your track and professional recordings to compare) is essential. Lastly, learn from every source you can find, and be sure to play your music for other people.
Check out the Adorama Learning Center for more information about high-quality sound recording and tips on music production.