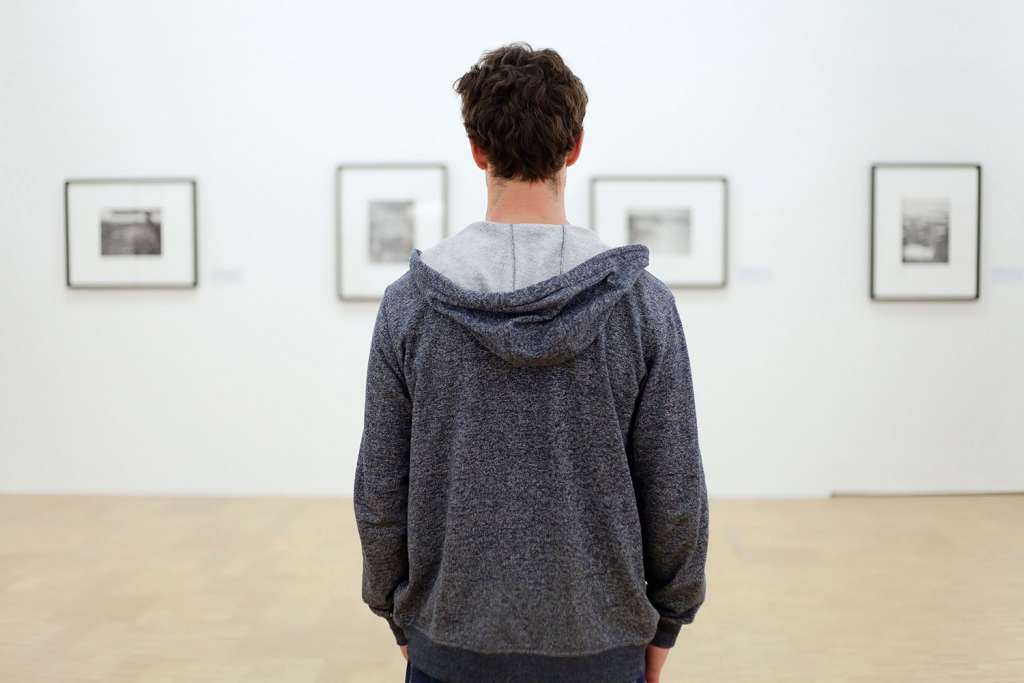
Photography is a form of visual art, and art cannot be said to have fulfilled its purpose unless it engages with its target audience. As a photographer, you’ve spent time learning the craft and refining the way you see the world through your lens. You’ve now reached a point where you feel that you’re ready to share your work with the world. In short, you’re ready to stage your first photography exhibit.
Exhibiting your photography to the public offers numerous benefits. Aside from helping you find an audience that appreciates your creative vision, a photo exhibit also gives you an outlet to sell your work and develop a client base. It’s a career milestone for any serious photographer, and a successful exhibit can open numerous doors in the worlds of art and commercial photography.
While staging your first photography exhibit will pose numerous challenges, you can avoid many headaches and unpleasant surprises by following the actionable tips listed below:
Why You Should Do a Photography Exhibit
Photography exhibits are the best way to show your work, find new clients, and receive valuable feedback. It’s your way of telling the world you are an established professional photographer. However, this is only the commercial side of a photo exhibit, and you shouldn’t neglect the personal side.
Printing your photographs has a cathartic effect. When you touch the print, you get to see your work in a better light and understand your artistic journey. There is also the narrative effect. An exhibition is a story. You don’t exhibit all your photographs but choose those that match a concept, theme, or period of your life. It helps you gain structure and materialize your ideas.
Preparing for Your First Photography Exhibit

1. Create a viable budget
Yes, you’re a creative visionary who’s driven by the call of the Muses. Nevertheless, as mundane as it may sound, staging a successful photography exhibit requires careful planning and a viable budget.
To prevent expenses from escalating, the budget for your photography show should cover the following costs:
- Venue rental
- Printing, mounting, and framing your photographs
- Production of marketing materials (business cards, posters, flyers, brochures, etc.)
- Food and drinks
- Transporting the artwork and miscellaneous pieces such as display mounts
2. Decide whether to exhibit solo or as part of a group
Whether exhibiting solo or exhibiting as part of a group, both will have their pros and cons. If you fly solo, then the show will focus solely on your work. However, one major drawback to exhibiting solo is that all expenses, risks, and miscellaneous headaches will be shouldered by you.
Some photographers feel more comfortable exhibiting their work for the first time with other photographers. As group exhibitions are a pooled investment, you’ll be able to divide expenses, risks, and miscellaneous headaches with the other exhibitors. Moreover, different members of the group can focus on their area of expertise—whether it’s looking for a suitable venue, booking the catering service, or sending invites to guests.
The other exhibitors don’t even have to be photographers, and you can exhibit with artists working in other mediums such as film, painting, installation, and performance art.
One major drawback to exhibiting with a group is that your audience’s attention will be divided between your work and everyone else’s. Also, you’ll have less space in the venue to showcase your photographs.

3. Choose a theme
Exhibiting a random collection of photographs won’t have the same coherence and impact as a carefully curated body of work unified by a theme. Consider your theme carefully and select the photographs you’ll be exhibiting based on your theme. You can choose photos from your existing portfolio, snap an entirely new collection of photos, or mix your older work with newer work.
Not sure what theme to go with? As they say in art school, you have the creative freedom to choose a theme that best suits your ideas, passions, and intentions. Some photographers choose an autobiographical theme, while others prefer to go with themes that tackle social issues they want to bring awareness to. If you need some inspiration, go online and check out other photography exhibits.
4. Rent the space
While you can book a traditional gallery or art space for your exhibition, you can also book non-traditional spaces in gentrified parts of your city, such as hip bars, restaurants, coffee shops, tea rooms, barber shops, and boutiques. Other possible venues include community centers, public libraries, and schools. All you really need are a few bare walls and enough space to squeeze in an eclectic crowd.
If you hold your photography exhibition in a restaurant, bar, or coffee shop, the establishment can also serve the refreshments. That will be a win-win situation for all parties involved. You’ll have your exhibition, and the establishment can sell their food and drinks.
However, if you’re very particular about venues and want to stage your exhibition in a traditional art space, then by all means, contact the galleries in your area. Visit different galleries, mentally picture your work displayed on the walls, and book the gallery that meets your requirements.
Get a floor plan from the gallery and use that to plan the layout of your work.
Also, don’t forget to review the contract. Assess the terms and conditions stated in the contract so that you’ll know what the gallery permits and doesn’t permit in its premises.
5. Curate your images
Before choosing the images to display in an exhibit, you have to decide on the message you want to convey. Photography exhibits require a strong narrative line. Therefore, you must develop a cohesive message that includes location, time, plot, and characters. Then, choose the images that support your idea.
The images you exhibit should be flawless from a technical point of view. They should also include enough diversity to keep the viewer interested and enough common points to build a consistent story. Choose images with the same aesthetic, such as monochrome or color images, a single aspect ratio, and the same set of post-processing effects.
Fewer images are often better than many images for an exhibition. So don’t plaster the walls with every good image you have. Instead, have one or two images per wall surface at your disposal for an art exhibition where you are the solo exhibitioner. If you are exhibiting together with hundreds of other photographers, you may not be able to use the exclusivity card. In that case, show a few more images with maybe four images per wall. But have a main piece that stands out, is bigger, and has more space around it. Think of this when curating your images.
6. Print and frame your photographs
While it’s important to display exhibition-quality prints, choosing an expensive printing service can seriously drain your wallet. To save as much money as you can, choose a reputable printing service that upholds quality but does not charge an arm and a leg for high-quality prints. Alternatively, if you have an inkjet or wide-format printer, you can print the photos yourself.
Considering mediums? Aside from photographic paper, other viable mediums include metal and acrylic prints. Printing your photographs on metal will result in brighter colors, more vibrant detail, and a deeper luster than the original image. Metal prints also last longer than regular photo prints, as they’re water and scratch-resistant.
Acrylic prints produce vibrant colors, enhanced depth, and crisp details. The finished prints can be mounted in a frameless style or with brushed metal standoffs, depending on your aesthetics and your desired impact on the viewer.
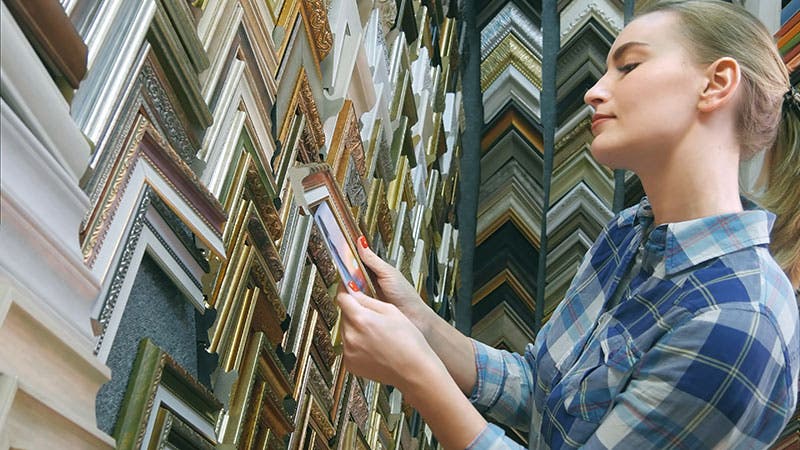
Framing your work is just as important as choosing a printing medium. If you’re on a budget, you can get decent but affordably priced frames from furniture and hardware stores. If you’re willing to invest more, you can contact a professional framer to frame your work.
7. Price your work
Because photography exhibits mean meeting potential clients and selling photographs, you must price your work before the exhibition.
First, you have to decide how many copies of each photograph you want to sell. Limited editions have higher prices than commercial prints. Then, look at your peers and see how much they charge for their work. It is a good starting point if you’ve never sold your photographs. However, don’t sell your work too cheap. People viewing your work at an exhibition will see your work as art and not just a photo.
You should also consider the production costs. For example, if you print your photographs on expensive handmade paper, make sure the price of the print covers the costs and your profit.
8. Get the word out.
If you want people to attend your photography exhibit (including potential patrons, members of the media, and the art-loving public), you’ll have to spread the word. Social media and electronic communications are a great place to start. Send messages to your family and friends, post announcements on your social media pages and related groups, and email your contact list.
Get in touch with your local newspaper, niche magazines, as well as influential bloggers who might be interested in covering your event.
Also, have marketing materials—such as posters, flyers, and brochures—designed and printed for your exhibition. Let the public know by hanging posters in camera shops, creative spaces, community centers, and colleges, just to name a few. If you’ve booked a gallery, they may also have a marketing list you can tap into.
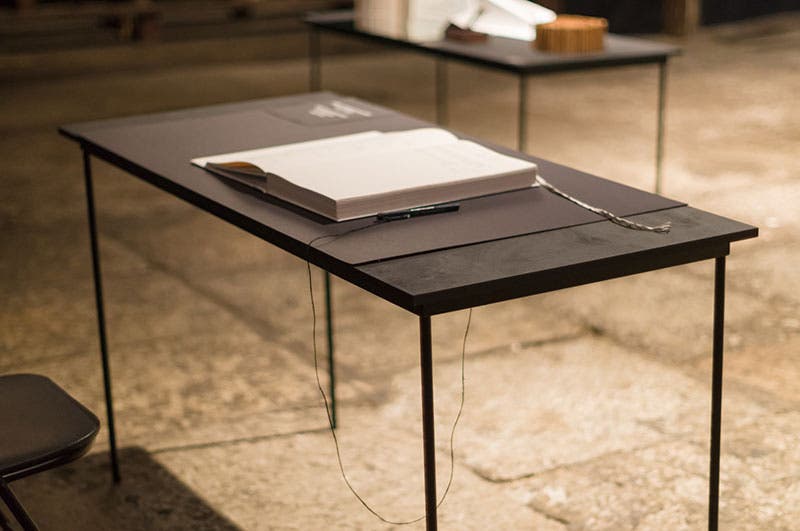
9. Keep a guestbook.
So you’ve survived the logistics hurdle, and your dream of staging your first photography exhibit is about to be realized. On opening night, remember to stay off the booze, talk to as many guests as possible, and always have an articulate response prepared for anyone who asks a question about your work.
Network like a boss, and accommodate guests who show interest in buying your work. Don’t forget to keep a guestbook in the exhibition space so that attendees can leave their contact details and comments about your work.
Stay in touch with your contacts, send them an email now and then, and inform them about upcoming shows.
Just as importantly, don’t forget to enjoy yourself. You’ve officially presented your creative work to the world, and that’s no small achievement.
