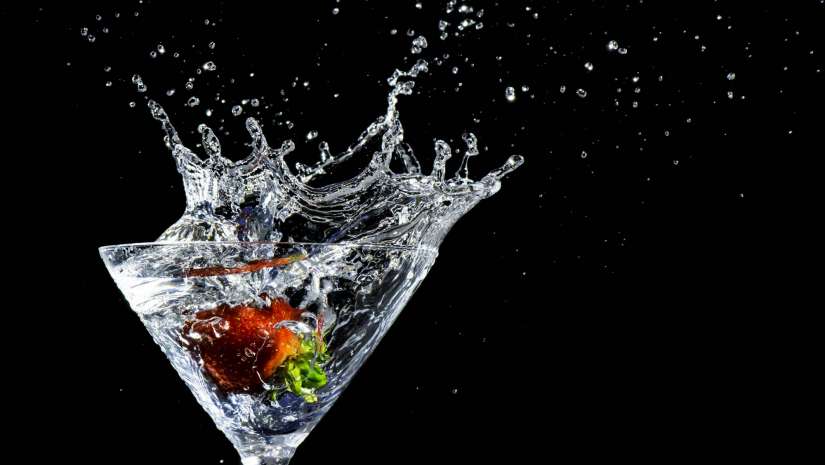
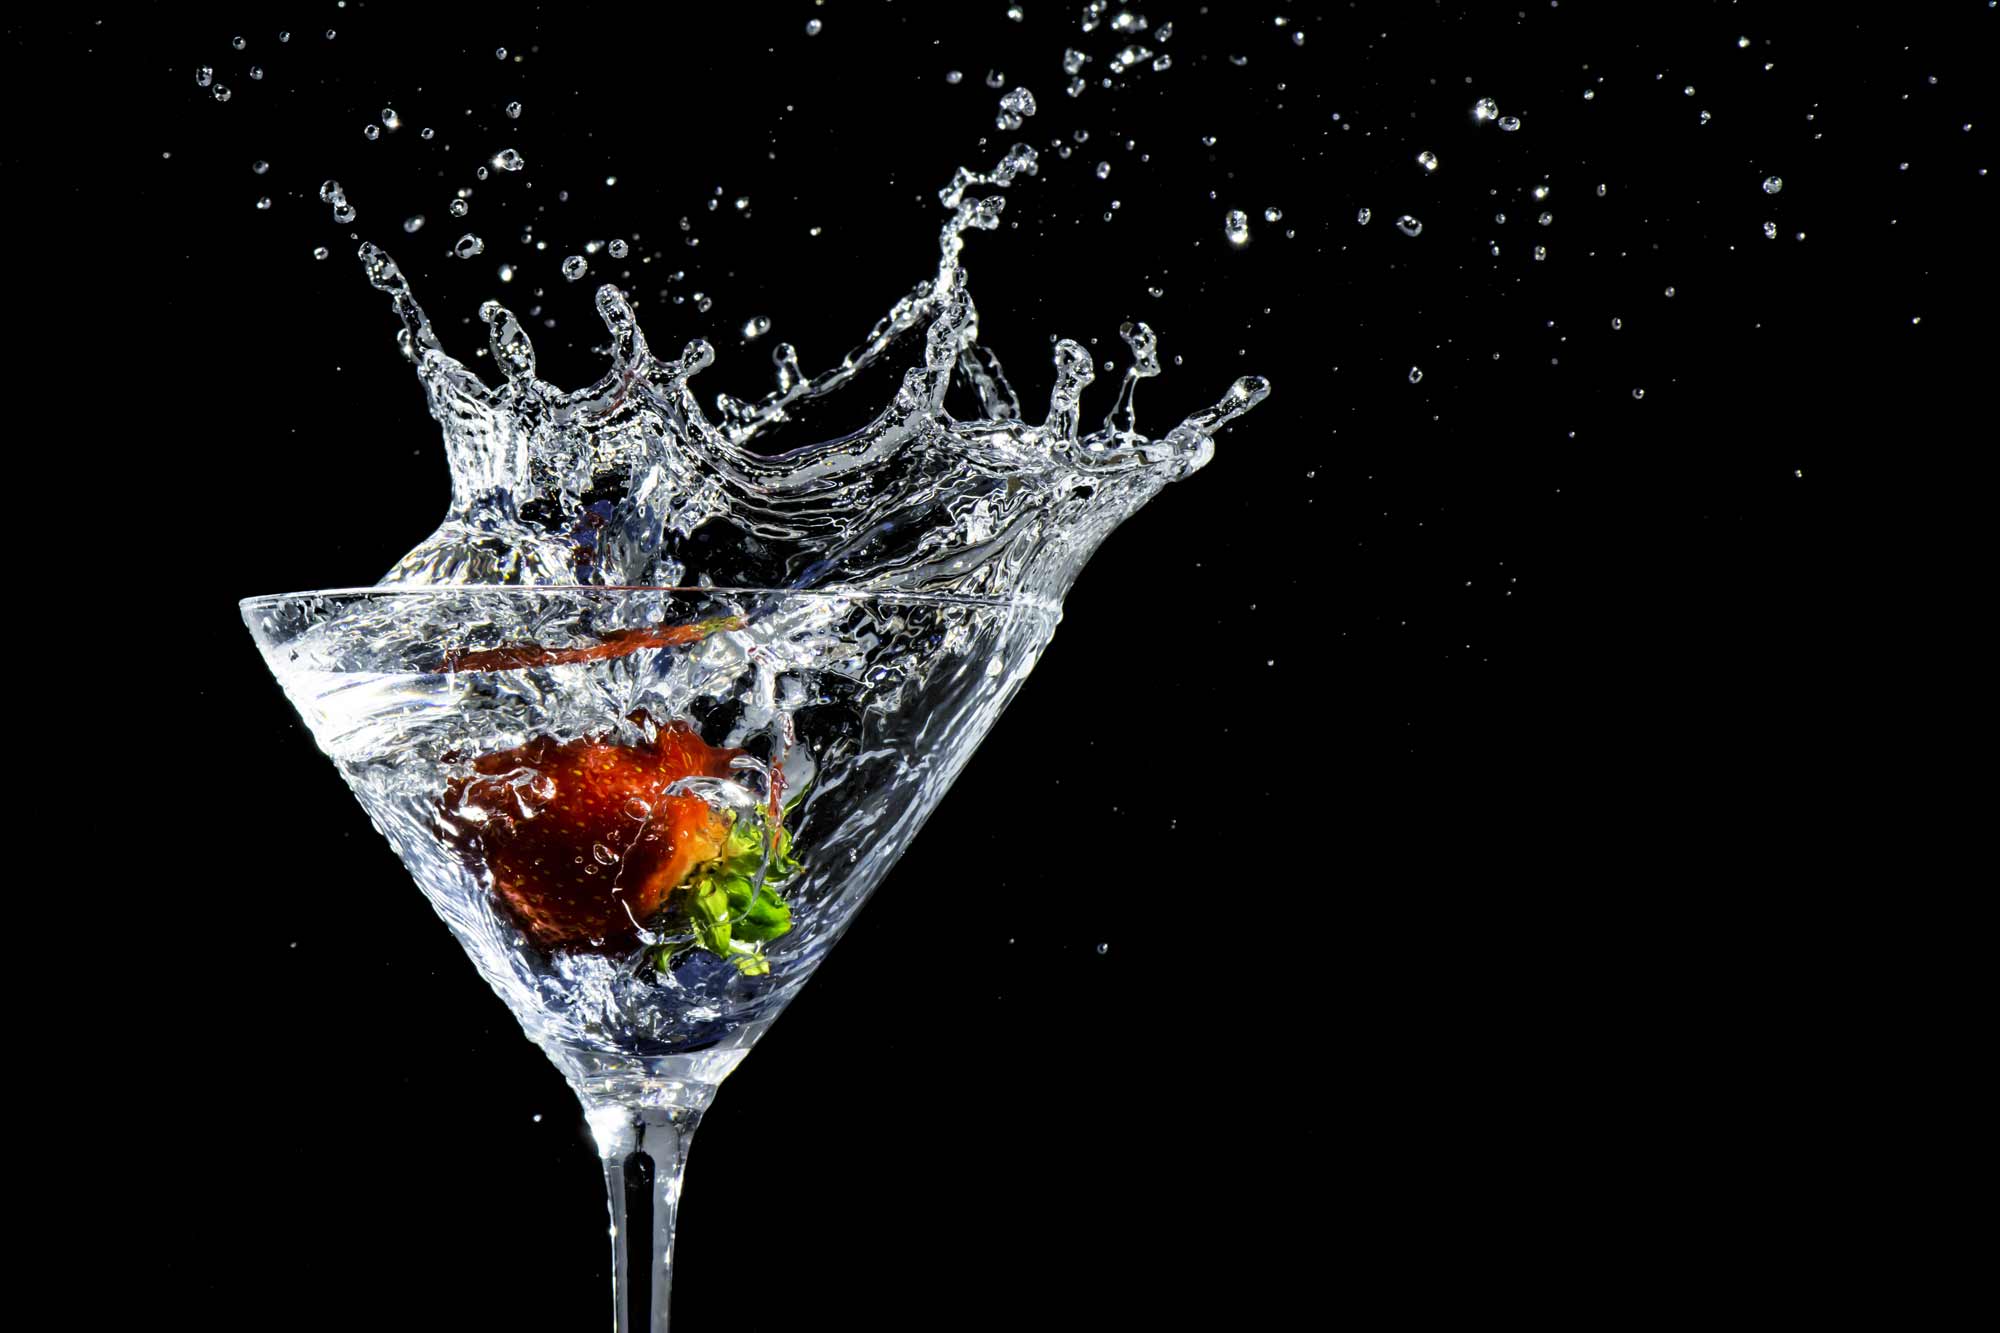
Splash photography can yield some of the most stunning stop-motion water splash photos. This photography technique involves great timing—and sometimes a bit of luck—to achieve, but it is well worth the effort as it helps you practice and improve your photography skills while allowing you to have a lot of fun in the process.
Capturing water splash photos is actually not as difficult as many would think. With the right equipment and some practice, you can easily take perfect water splash photos that you can be very proud of.
Essential Gear for Taking Water Splash Photos:
- High-Quality Camera
- Macro Lens
- Camera Timer or Remote Shutter
- Light Source
- Plain Backdrop or Surface
- Camera Tripod
- Liquid, Container, and Any Object
- Paper Towels
Photographing water in movement requires a significant amount of patience and a few important things. You might even find these items in your very own home. All will help you nail that perfectly-timed, split-second shot.
High-Quality Camera
Water splash photography obviously needs a camera that can be configured to shoot in milliseconds. Lower quality cameras like smartphones and most compact digital cameras will, at best, will give you shots of water in movement but the overall image would usually be blurry. What you’ll need is a high-quality camera, like DSLRs and mirrorless cameras. These cameras at least allow you to adjust and speed up the shutter speed to freeze the moment.
Macro Lens
Any professional camera lens will do. However, if you really want to produce the best results, you should use a true macro lens. Aside from allowing you to shoot from a shorter working distance, it delivers those sharp close-up shots of water droplets that look picture-perfect or even computer-generated.
Camera Timer or Remote Shutter
In addition to using faster shutter speeds, you can achieve sharper images by delaying the shutter—automatically after a few seconds with a built-in camera timer or manually with a remote shutter—to minimize internal vibrations.
Light Source
Just like every other photography style, water splash photography requires ample lighting that will properly expose the water. More often than not, you’ll need at least one light source that you can manipulate, such as an off-camera flash, softbox, or another continuous light source. You may even want to include a reflector or a second light source, which you can strategically place on the other side of your first light source, to create a softer, more natural light that adds depth and dimension to the subject.
Plain Backdrop or Surface
You’ll also need a plain-colored backdrop or surface to ensure that your viewers will focus more on the splash or the individual droplets. A dark background is usually preferred so that the water can truly stand out, especially when shooting with additional light sources.
Camera Tripod
Aside from a shutter release, you’ll definitely need a tripod so you won’t have to hold your camera. After all, you’ll already be using both hands for the shutter and whatever it is you will be dropping into the water to create the splash.
Liquid, Container, and Any Object
Don’t forget the most important elements in your water splash photos! For controlled settings, you’ll need your preferred container (glass or bowl), choice of liquid (water and/or colored liquids), and an item that you will drop into the liquid (any object or more water) to create the drip or splash.
On the other hand, you won’t need much when shooting in a more natural setting, especially if there’s already an existing outdoor water source. You’ll just need an object that is big or small enough to create your desired splash effect when thrown into the water.
Paper Towels
This is perhaps the most overlooked (yet very important) item that you will need when doing splash photography. There will be spills, and you might even get a bit wet, so you’ll definitely need a few absorbent paper towels to clean the mess around the area, and to wipe off your glass or bowl container for much cleaner shots—visually and literally.
Tips for Capturing Creative Photos of Water Splashes and Drops:
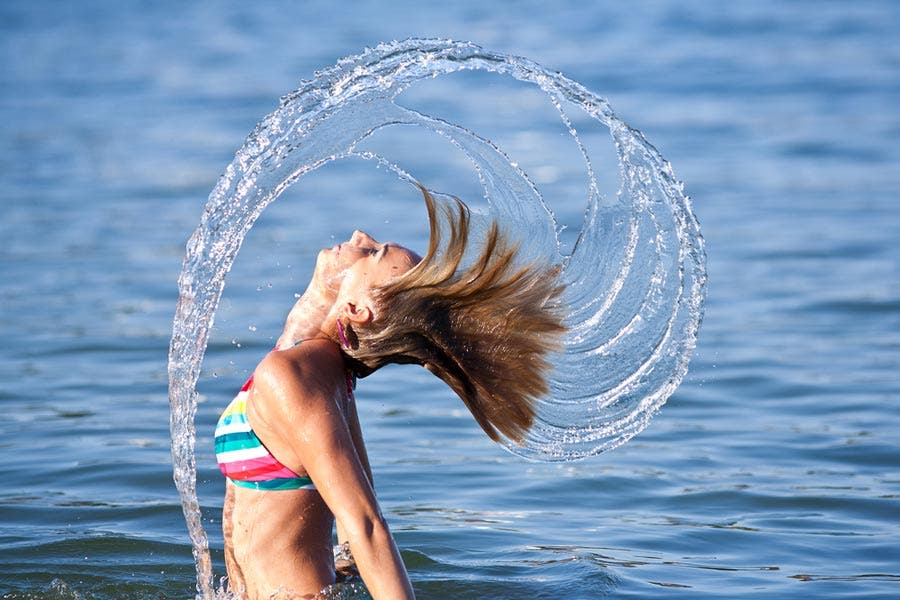
- Set up the shot
- Use appropriate gear settings
- Experiment with light
- Utilize the camera’s high speed flash sync
- Eliminate background clutter
- Consider your composition
- Use autofocus
- Keep your shots steady
- Take multiple photos with burst mode
- Touch up your images
Set up the shot
When shooting water splashes, you can either find a naturally occurring scene or you can create the scene yourself to allow for greater creative control. If you decide to create your own, make sure to have the necessary materials. You can use anything, from a simple glass or bowl that will serve as the container, and any kind of liquid that you want to take a photo of. You will also need supplementary photography equipment such as external flashes (or soft boxes) and colored gels to customize your lighting and image output.
Or, you can shoot in a more natural setting, which is a bit more challenging as you’ll need to adjust to the environment. However, it can also be more enjoyable and spontaneous compared to a controlled setting. You’ll only have to arm yourself with your gear, observe the environment and plan your desired shot, frame the subject or scene, and be ready to snap the photo at the exact, perfect moment.
Use appropriate gear settings
Fortunately, this type of photography doesn’t necessarily require photographers to use full manual camera settings. You can go on Shutter Priority Mode and select your desired shutter speed, and the camera will select the most suitable aperture for your shot. You can also adjust your ISO to indirectly influence the aperture, if needed.
A shutter speed of 1/1000 of a second or faster will effectively freeze a tiny water droplet in the air, but a slightly slower shutter speed of 1/250 usually works great for bigger water splashes.
However, you might want to try using Manual Mode, especially if you plan to use a controllable light source. In this case, you can match a fast shutter speed with an aperture between f/4 to f/8, which is just wide enough to sharpen your focus on a tiny droplet and smoothen out the surrounding rippling surface. Smaller apertures like f/14 are perfect for bigger splashes, as it will keep a larger area in sharp focus. Then, use the ISO that will support your shutter and aperture settings.
Experiment with light
Whether you’re shooting in a natural or controlled environment, it’s important to consider the lighting conditions. Natural, continuous light is enough to bring out interesting water reflections needed for capturing realistic water splash shots, such as in a swimming pool or of a garden sprinkler.
Directed light using external flashes (perhaps with color gels) is also good for creating different reactions between water and light. Aside from providing an outline for the water splashes and drops that will separate them from the background (when flash is facing the water from the side), a single light source directed at your backdrop can create a dramatic backlight for transparent liquids. These effects work best when shooting in a dark room where your flash is the only light source.
As previously mentioned, you can place a reflector or add another flash to have one more light coming from the other side of the water (facing the first flash) and achieve a more three-dimensional effect.
Utilize the camera’s high speed flash sync
Taking photos of water splashes and drops is a good opportunity to practice with an external flash. When trying to freeze a moment with a synced flash and a shutter speed faster than around 1/200 (in most cameras), you’re likely to end up with a photo that’s partly dark due to the camera’s slow native flash sync speed. What happens is that the shutter has already started to close by the time the flash fires, causing the curtain to block the sensor.
A quick and easy solution to this problem is to use your camera’s high speed flash sync (or Auto FP for Nikon). This will make the flash fire multiple, quick bursts of light, almost like a continuous light, which increases the duration of your flash and ensures that the entire frame is covered. This should allow the use of much faster shutter speeds to completely freeze the water in motion—and a matching wider aperture to produce a more dramatic droplet shot with a smaller depth of field. Just remember to position your flash closer to the subject if you want to produce stronger lighting during high speed flash sync.
Eliminate background clutter
Whatever setting you’re shooting in, it helps to have a plain and uncluttered background for your water splash photos. Keeping the background simple will keep your viewers from being distracted by background elements. Now’s the time to use those plain-colored walls, cloths, papers, or whatever else is available to keep your background as simple as possible and maintain the focus on the water.
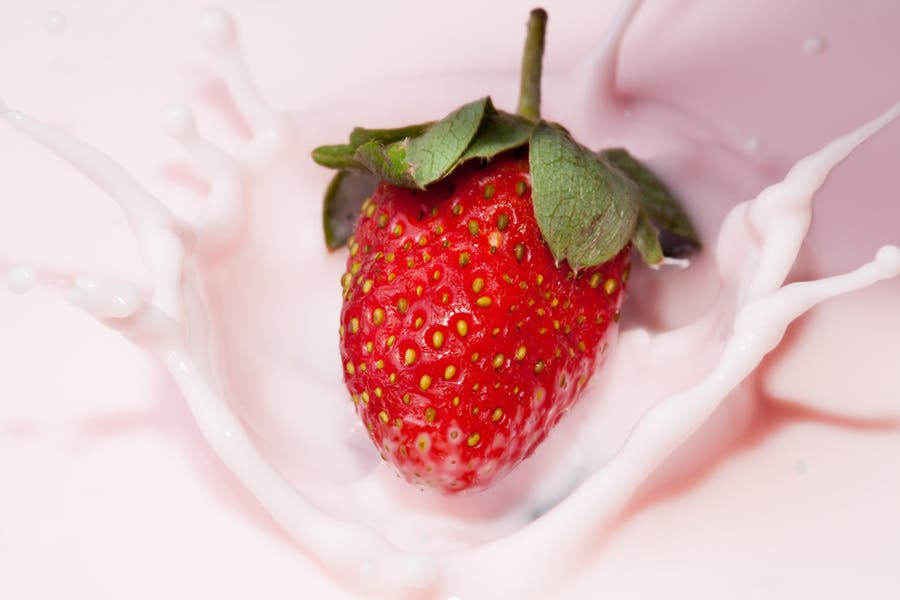
Consider your composition
Composing a shot that aims to focus on a water splash or drop shouldn’t be too difficult considering the limited number of elements or subjects involved. You’ll probably decide to place the splash point right in the middle of the frame or somewhere slightly off-center to increase the impact of your photo.
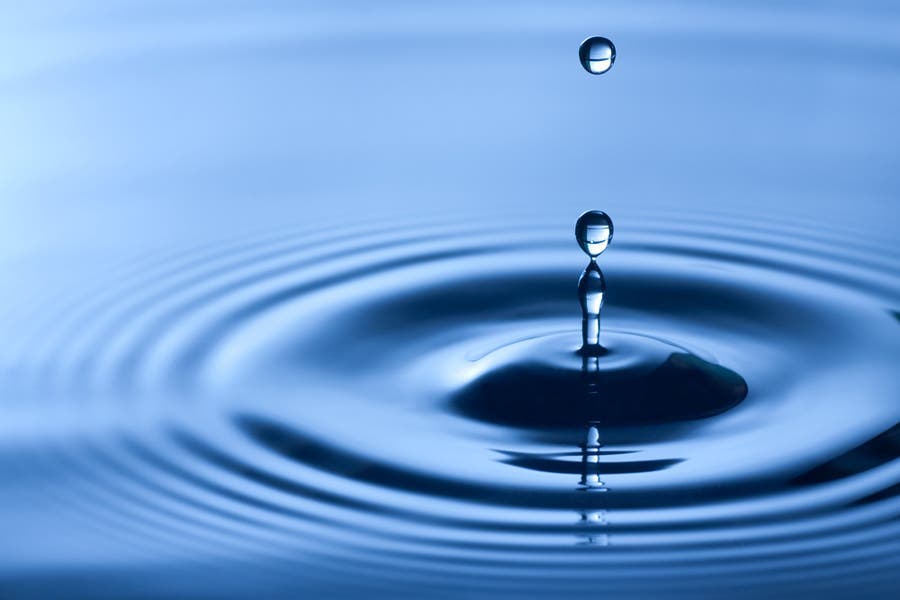
However, one thing you should consider is how much of the outward rippling or the upward splash you wish to include in the frame. It’s also best to aim the camera slightly from above when you want to capture the surface of the water, or about the same level as the glass when you want to showcase more of the splash (and keep your camera from getting wet).
Use auto-focus
Another way to “cheat” your way to achieving a perfect splash photo is to use your camera and lens’s autofocus capabilities. Lock your focus on the surface of the water or container so you can just worry about the timing of your shot. To be sure, you can zoom in and check if your focus is accurate even up close. If it isn’t, feel free to go manual and make a few quick and tiny tweaks with the focus ring to correct your focus.
Keep your shots steady
Built-in timers are commonly used to eliminate the chance of camera shake when the shutter is pressed. Anywhere between 5 to 10 seconds will give you just enough time to cause motion in the water and capture it. The only downside is that it may be hard to time it for your shot. You might find it easier to use a remote shutter release that will give you the freedom to choose the exact moment when you want to take the photo without causing any internal camera shake.
Just timing the shot, of course, is not always enough to achieve crystal clear and crisp photos. It also helps to keep your camera stable with a tripod so you don’t have to go handheld and be the cause for more camera shake.
Take multiple photos with Burst Mode
Timing is key in splash photography. It will most likely take too much trial-and-error before you capture that perfect photo. Selecting your camera’s bulb or burst photo mode can help you catch that moment as it triggers the shutter to shoot multiple frames, sometimes for as long as your finger presses the button and the memory card or battery maxes out. Depending on your camera, you can get as much as 16 frames per second or more. You’re more likely end up with a couple of winning shots without stressing out about the timing.
Touch up your images
Using an editing software like Photoshop can definitely take your splash photos to the next level. With simple exposure and contrast tweaks, you can enhance the highlights and lowlights of your water splash. You can also use the software to remove reflections or even add/remove water droplets according to your liking. If you’re quite certain that you will be post-processing your photos later on, consider shooting in digital RAW format than in compressed JPEG.
Another reason to use editing software is for you to be able to easily create amazing splash photos like Gavin Hoey’s photo in this AdoramaTV episode:
Taking Water Splash Photos: Frequently Asked Questions
How do you photograph water splash without flash?
With enough natural light, it is very possible and easy to photograph a water splash without a flash. Grab a tripod and a camera with good image stabilization. You can also use a remote shutter if you wish, just to give your camera a bit more time to stabilize.
Keeping your shutter speed above 1/640th of a second is crucial to ensure you don’t capture the movement of the water, especially if you are shooting handheld. You may have to sacrifice using a lower ISO in order to get the shot, but a little post-processing can reduce any extra noise. Consider using a slightly more narrow aperture, somewhere between F/5.6 and F/8 to ensure you get the focus you want.
How to keep your gear safe during water photography
Though most camera equipment has some level of weatherproof sealing, it is important to keep your gear as dry as possible during a shoot. Not only can it cause watermarks to show up in your photos, but it can damage your gear as well.
When doing splash photography in a controlled setting, make sure you’re keeping a safe distance from the splash zone. Do a few test drops without your camera to see where water will splash and position your camera safely out of the water’s reach. Wipe off and dry your camera or lens as soon as you’re finished with a shot.
