Cityscape photography has a high potential to become iconic pictures featured in travel guides, editorials, and interior design. Who doesn’t recognize the iconic night view of Paris dominated by the Tour Eiffel, the skyline of New York City, or Rio de Janeiro’s view with its impressive Christ the Redeemer statue?
Whether you focus on day or night cityscapes, the subject matter is mesmerizing and reveals the beauty of the manmade world. However, you need more than the right motivation to photograph the perfect cityscape. You need a particular skill set and gear to find the best vantage point and deliver high-quality images. In cityscape photography, every tiny detail matters.
What is Cityscape Photography?
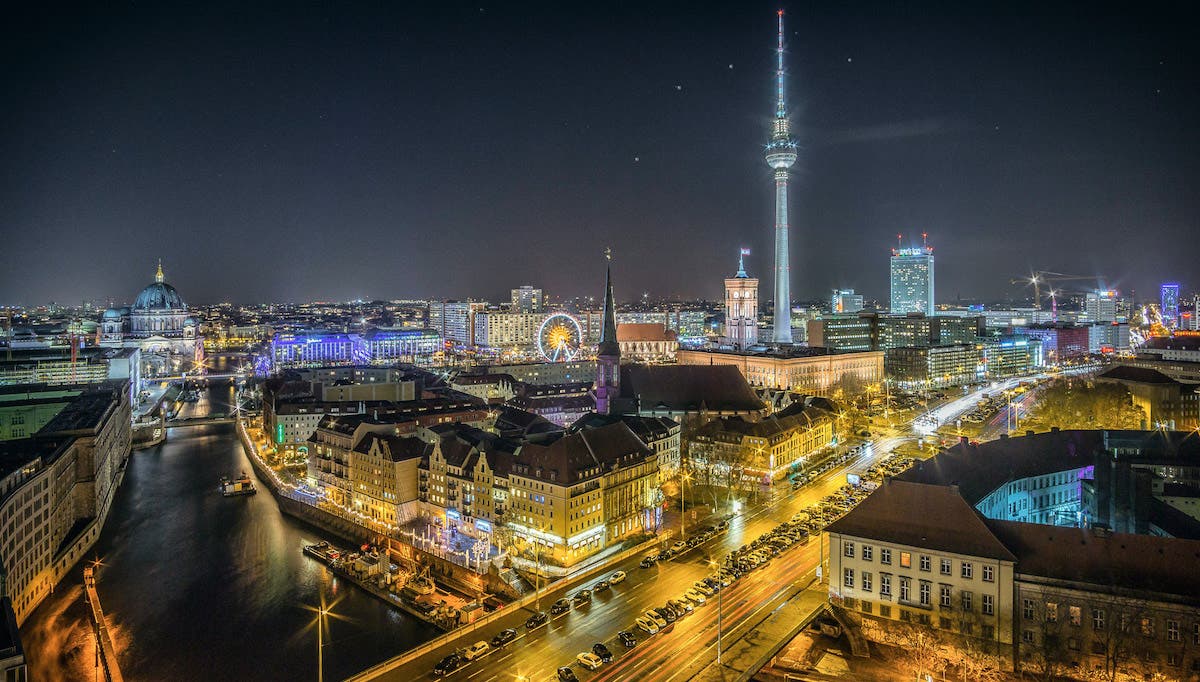
Cityscape photography focuses on urban landscapes and tries to include them in the frame as much as possible. Unlike street photography which focuses on urban life, and architectural photography which focuses on architectural details, cityscape photography focuses on skylines, wide panoramic views, and silhouettes of whole cities. You can, of course, include people and iconic landmarks, but the focus should be on the colors and shapes of the city.
So, instead of photographing a house, photograph the entire street. Instead of photographing people in a public square, photograph a panorama of the place. Instead of photographing nightlife, find a high location and photograph the night lights of the city. Cityscape photography is about capturing the soul of the city.
Tips for Shooting a Cityscape
The perfect cityscape starts with a good location. Your first goal is to wander around the city until you find a good location. Look for high places that provide a wide perspective over the city, such as bridges, rooftop bars, towers, or hills. You need open spaces that offer unobstructed views over streets, squares, or the entire city.
Next, focus on choosing the best time of day for your photo session. Shooting by day or night isn’t the only option. Follow the vibrations and energies of your location. Some places have more to say at sunrise when people start their day. Others look amazing at sunset. Some places come to life at night, and, for others, you have to capture the rush hour. Plan your cityscapes by listening to the voice of the city.
For more on choosing the best time of day, check out Sunrise vs. Sunset: When Should You Photograph?
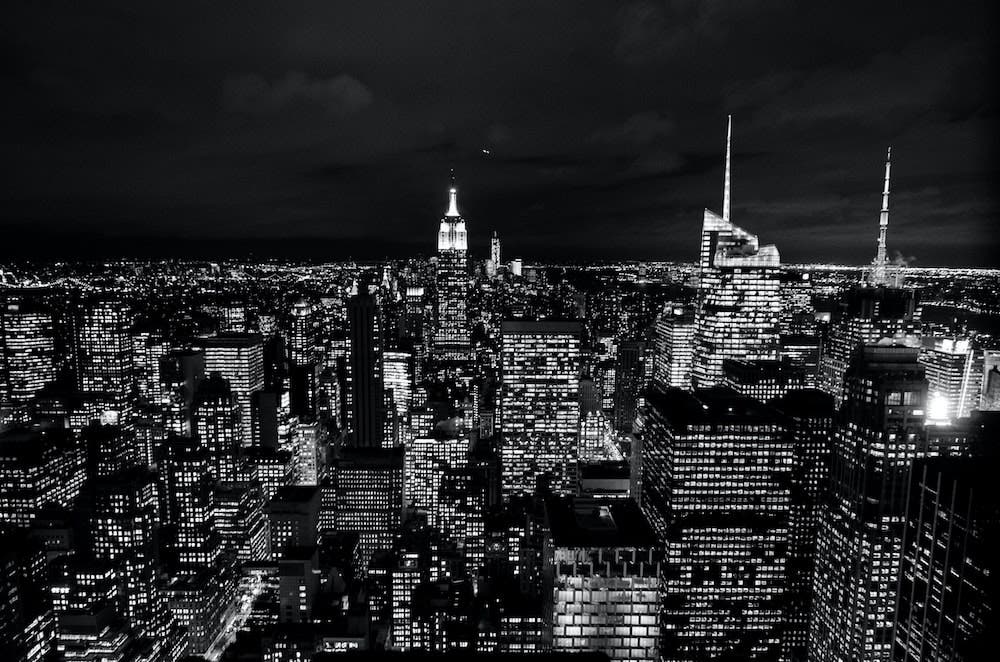
Cityscapes incorporate lots of leading lines and geometric shapes that help your composition. Make sure you consider them when framing your photographs. They will steal the viewer’s attention, whether you like it or not. So, either incorporate them in the composition or change the camera’s position to keep them out of the frame. You can use a black and white aesthetic to reduce the complexity of the composition.
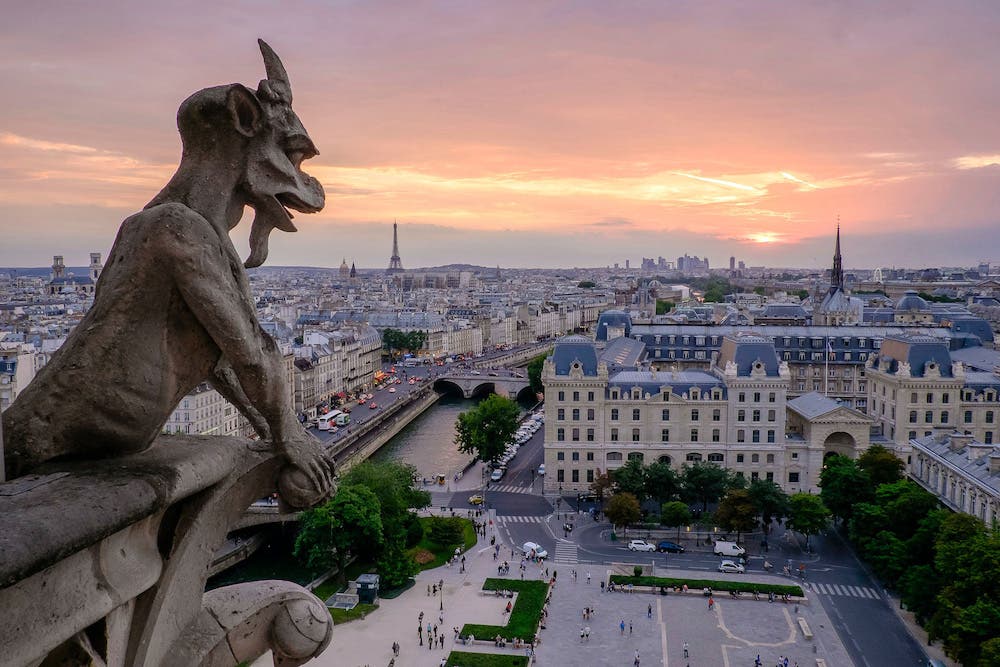
The picture-in-picture composition technique is also frequently used for cityscapes. The technique uses a foreground element as a natural frame for the background. You can use windows, bridge arches, or other structures to frame the cityscape and create a painting-like look. If you can’t find something to work as a frame, include a foreground element that’s meaningful for your composition. It will add a sense of depth and make the viewer feel part of the scenery.
If you want to document the city’s life, find a location that allows time-lapse photography, such as a hotel room, bar, or a hill where you can spend the day. Time-lapse photography means programming the camera to shoot at equal intervals for a long time (e.g., hours). It captures the dynamic of the city, how the light changes over time, and how streets get full or empty at different times of the day. Later, you can use the pictures, blend them together or convert them into a video.
Learn more about this type of photography at Tips for Time Lapse Photography, with Dan Marker Moore.
Best Gear for Cityscape Photography
Cityscapes aim to be large photographs and prints. Therefore, you need a high-resolution camera to capture accurate colors and the tiniest details. Also, because you will work exclusively with natural light, you need a camera with high performance in low-light conditions. For this reason, a full-frame camera, whether DSLR (e.g., Nikon D780) or mirrorless (e.g., Canon EOS R), could be a better choice.
In terms of lenses, you have the obvious choice of a prime wide-angle lens, the less obvious choice of a prime telephoto lens, or the versatile choice of a zoom lens. Most cityscape photographers use a wide-angle lens, such as the Canon EF-S 24mm f/2.8 STM. This is because it allows them to frame very wide or tall scenes. A 35mm or 50mm lens provides a narrower — but still wide enough — perspective. If you want an extreme effect, go for a fish-eye lens.
However, a telephoto lens helps you photograph a long-distance scene and capture details. It brings you closer to street life while maintaining the privacy of shooting from a distance. That’s why many prefer to use a zoom lens, such as the NIKKOR Z 24-200mm f/4-6.3 VR and have a broad range of focal lengths at their disposal.
Cityscapes require the use of a tripod most of the time. The reason is you need that precise alignment provided by the tripod. You want a tilted cityscape only as an artistic manifest — not as a mistake. Find a tall, sturdy, and lightweight tripod and make sure it has a pan-and-tilt head that allows you to shoot multiple photos at the same level or panoramas. The Zeiss Professional carbon fiber tripod is a good choice.
Other good-to-have accessories are graduated neutral density filters for balancing the luminosity of the sky and city, circular polarizing filters for shooting in bright day sunlight, raincoats for rainy days cityscapes, and an orange filter if you go for black and white cityscapes.
Best Camera Settings to Shoot a Cityscape
For the perfect cityscape, you want the entire frame in focus, meaning a deep depth of field. A wide-angle lens helps you in this regard, but there are a few camera settings you should consider.
The wider the focal length you use, the more open an aperture you can use (e.g. f/8) and still get everything sharp from foreground to background, using the hyperfocal distance technique. You can, of course, also keep the aperture narrow (high f-number) to maintain a deep depth of field without worrying about hyperfocal distance. However, a narrow aperture (e.g., f/16) will also create a starburst effect, meaning streetlights will have smooth sparkly edges. Sometimes you want that effect and sometimes you don’t.
Because you use a narrow to medium aperture, you need to compensate for exposure by slowing down the shutter speed or increasing the ISO. In the daytime and using a tripod, a slow shutter speed won’t be a problem. Furthermore, it will add a smoothing effect, improve the quality of the light, and create a dreamy atmosphere. When you photograph moving subjects — such as cars — the long exposure time will capture motion and add a temporal element to your visual story. This effect usually sets in at exposure times of 1 second and above. So, keep the ISO at a minimum value and prolong the exposure. Many cityscape photographers use ND filters to prolong the exposure time even further for light trails and smooth water effects.
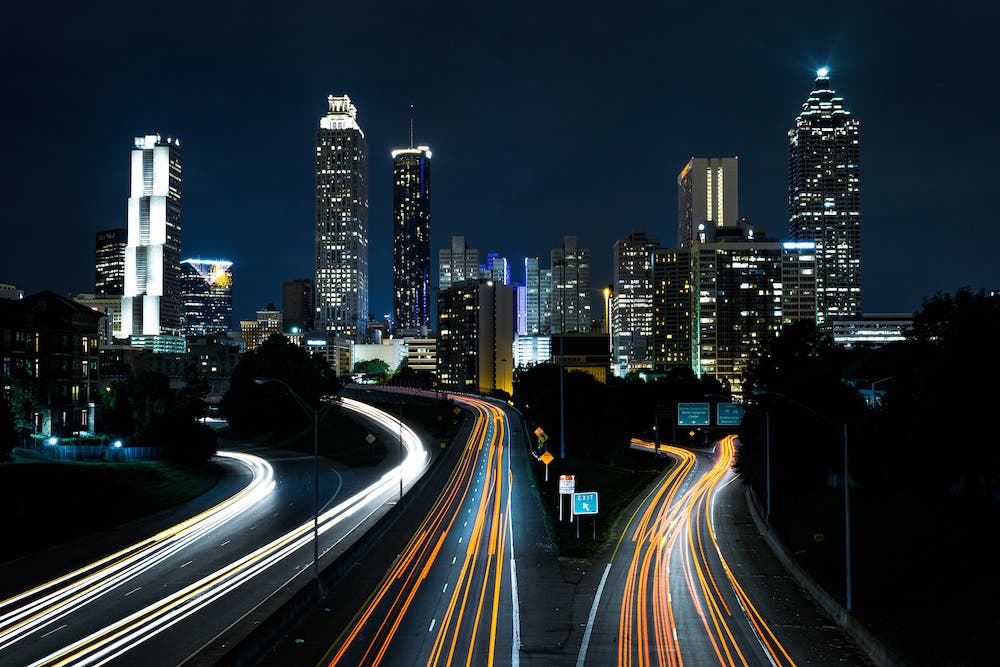
However, if you don’t use a tripod, use the reciprocal rule to determine the shutter speed. The rule states that to avoid camera shake, you should use a shutter speed equal to the reciprocal of the effective focal length of the lens or faster. For example, the slowest shutter speed you can safely use with a prime 24mm lens is 1/24sec. At the same time, you will have to increase the aperture to allow more light into the camera. Of course, vibration reduction in modern cameras and lenses allows you to use even slower shutter speeds, but you should be safe from camera shake.
Starting with the golden hours, you will need to increase ISO. At nighttime, ISO may get to 3200 or higher. But remember that you increase the risk of ISO noise too. If the scene has strong lights, such as illuminated monuments, streetlights, or night signs, you can experiment with lower ISO values. Each scene is different, and sometimes finding the best camera settings requires a try-and-error process.
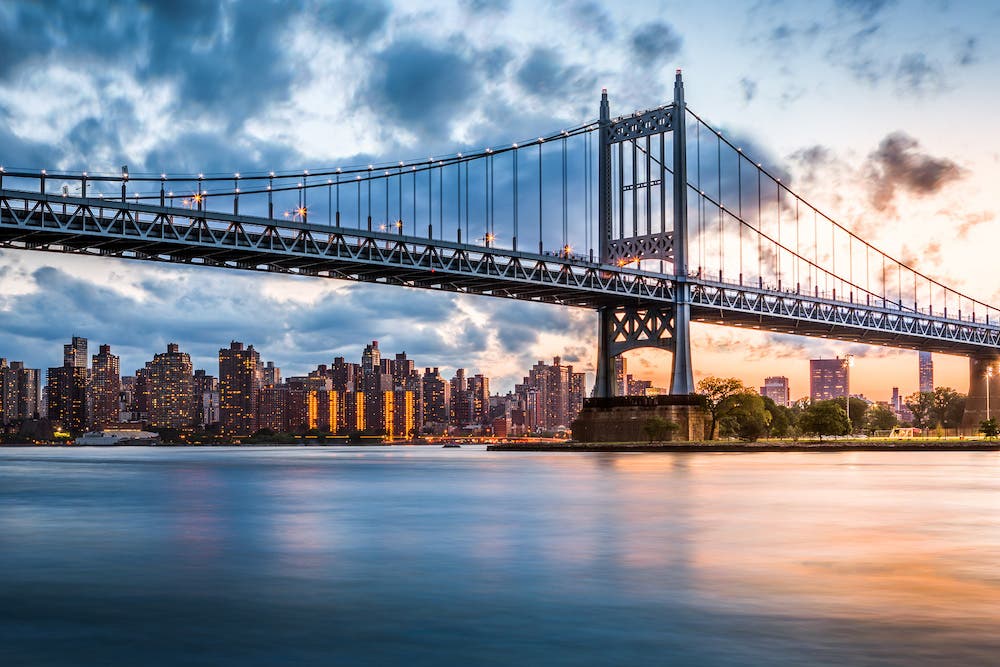
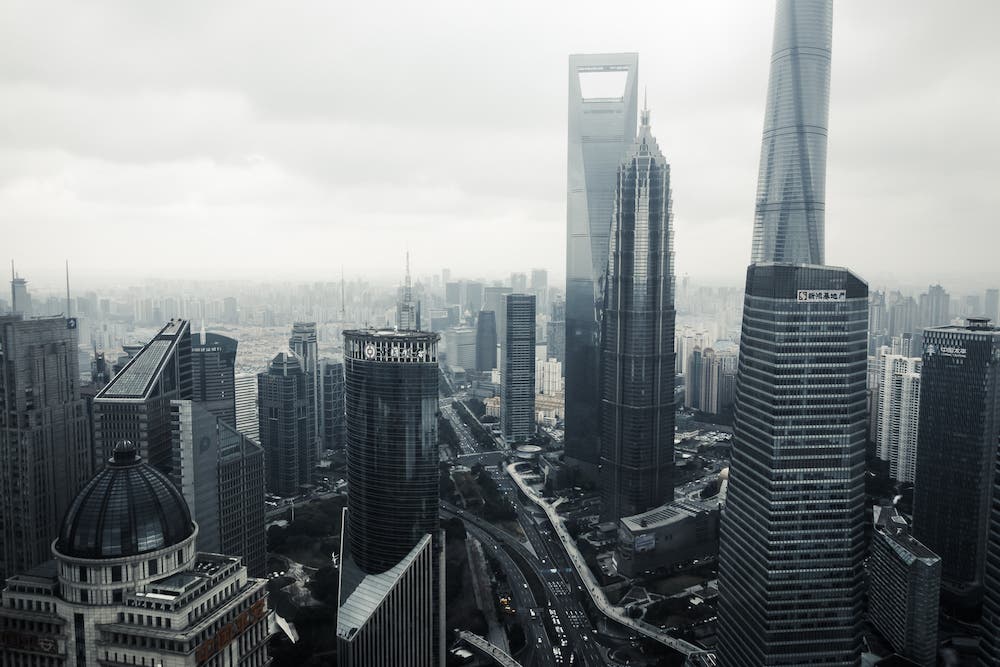
As for the overall exposure, the histogram should follow the light available in the scene. Take a look at the histogram for the above photo.

Read How to Read and Use a Histogram in Photography for more information on this topic.
If you capture nighttime cityscapes, most tones on your histogram should be mostly on the left side, representing the shadows and blacks with a few spikes on the right side representing whatever highlights are in the scene. For nighttime, blue hour, or sunset shots, you should have the exposure to the right, which is the usual advice. This advice is only valid in ordinary daylight shooting conditions.
Conclusion
Cityscapes are rewarding subject matters. They connect you to city life and allow you to see the urban landscape from a new perspective. At the same time, they are versatile subject matters that don’t require dedicated gear or high-level technical skills. You have the opportunity to experiment with different shooting angles and camera settings while benefiting from one of the most patient subjects. No wonder cityscapes are preferred by beginners. Nevertheless, try to come up with your unique perspective on the city, and don’t forget about storytelling.
