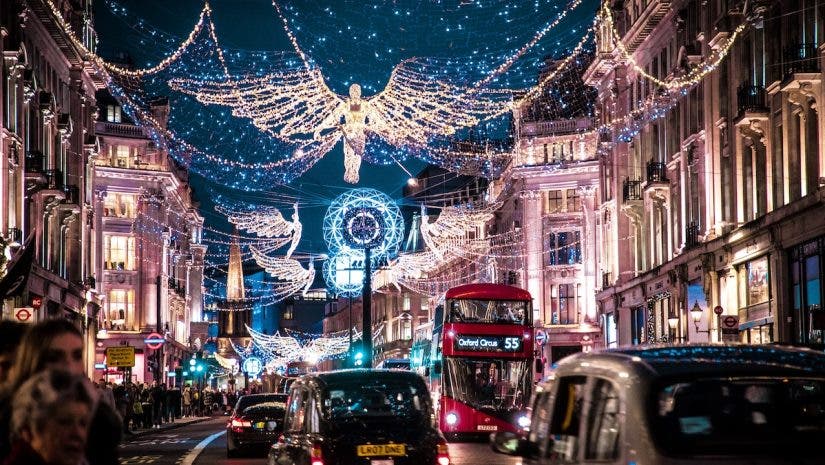
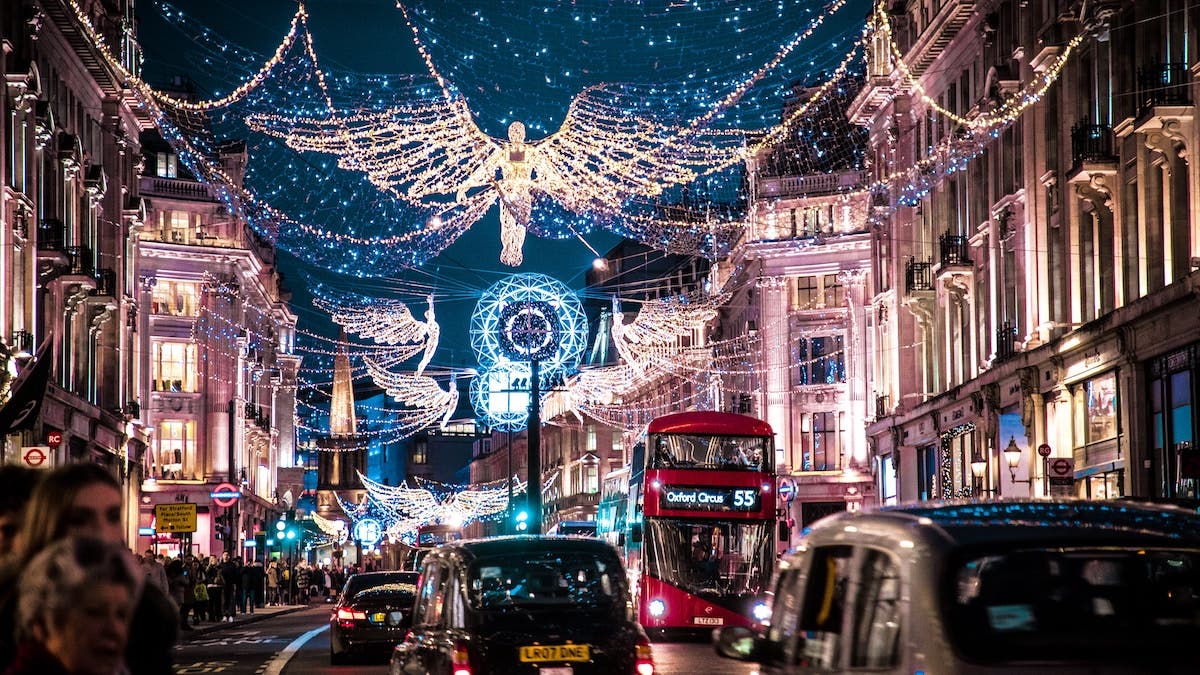
The holiday season puts us all in a brighter, more festive mood— especially thanks to the fantastic display of twinkling lights, trees, and other holiday decorations. With front yards, windows, roofs, and pretty much the entire neighborhood decked out in elaborate lights, photographers and camera enthusiasts of all skill levels are sure to want to photograph these beautiful holiday lights in all their sparkling glory.
Decorative string lights make for a good photographic subject (and background!) due to the wonderful colors, as well as the ability to create the most dramatic and playful bokeh effects. However, photographing holiday lights can be quite tricky as they often need just the right exposure to avoid washed colors. To help you get started, below is a list of essential equipment and tips on how to photograph Christmas lights.

Essential Equipment for Christmas Light Photography
First, you’ll need a couple of things that will help you capture images that really bring out the beauty of those decorative light displays. Here is a list of the photographic gear (as well as a couple of add-ons) to help you take your holiday photography to the next level:
- Manual camera
- Macro and wide-angle lenses
- Tripod
- Cross screen star lens filter
- DIY bokeh card
Manual Camera
Manual focus mode is definitely the way to go when photographing string lights. This is why you need a camera that allows you to tweak your manual settings (specifically your ISO, aperture, and shutter speed) and use interchangeable lenses that can supplement your shooting needs. A manual camera will allow you to set the perfect light sensitivity level (ISO); adequate exposure time (shutter speed) to capture the full glory and rich colors of the display; and aperture settings to achieve your desired depth of field.
Both DSLRs and mirrorless cameras are great for holiday light photography. The Canon EOS R3 Mirrorless camera, for example, offers an impressive collection of features, both manual and automatic, for photographers of all skill levels. This camera body has an expansive native ISO range of 100 to 102,400 which is perfect for photographing Christmas lights in even the dimmest nighttime environments. The autofocus system is also incredibly responsive with over 1,000 AF points, so you can easily focus on Christmas lights in any scene.

Macro and Wide-Angle Lenses
While beginners can do just fine with their camera’s default walk-around kit lens, you’ll need special lenses if you really want to capture professional-quality photos of decorative string lights. We suggest you get a macro lens if you want to take impressive close-up shots of those holiday light bulbs. A wide-angle lens will capture more of the scene or subject in your frame even while shooting at a fairly close distance. Both lenses should preferably have wide apertures for luscious background blur.
A macro lens like the Sigma 105mm Macro Lens allows you to capture a sharp, life-sized image of a subject at 1:1 magnification and at just 12.3 inches away from your lens. Its Optical Stabilizer (OS) ensures steady handheld close-up shots while its Special Low Dispersion (SLD) lens and high refractive index SLD lens correct distortions and aberrations for more accurate images.
The Sony Carl Zeiss Distagon Wide-Angle Lens has a focal length of 35mm, which is perfect for snapshots, indoor portraits, nighttime outdoor scenes, landscapes, and more. It’s also great for achieving that stunning bokeh, thanks to its f/1.4 aperture and 9-blade diaphragm. It’s definitely a good wide-angle lens option that you can use all year round for many other photography applications.

Tripod
A trusty tripod helps you achieve a successful long exposure shot of holiday lights at night. This important piece of equipment will stabilize your camera and avoid the motion blur often caused by handheld shooting, thus ensuring sharper images.
You can reduce your ISO to avoid noise and take advantage of slow shutter speeds for Christmas lights as long as you’re using a solid tripod. The BeFree Advanced Lever 4-Section Aluminum Travel Tripod by Manfrotto is the perfect choice for portable stability.
For a compact, relatively lightweight tripod, the BeFree extends to a generous and comfortable maximum height of just under five feet, so you won’t have to stoop to look through the viewfinder when photographing Christmas lights.
Cross Screen Star Filters
To manually create a starburst effect, you’ll need to stop down to a smaller aperture of at least f/18. In cases when you want to use a bigger aperture to allow for more light to enter the lens, you can still achieve that starburst effect with Cross Screen star lens filters. These special effects filters are etched with crisscross patterns that diffract light to produce star effects with different numbers of points (2 to 12), patterns, and color streaks.
Star filters make any Christmas light display look just a little more magical and the Tiffen Vector Star Special FX Star Filter is a beautiful choice. Just use a tripod for stability and basic camera settings for Christmas lights, and you can create distinct, impressive star trails and starbursts in your photos.
The Vector Star Special filter has a rotating mount, offering the freedom to adjust your filter until you’re happy with the look of your starbursts.
DIY Bokeh Card
Have you ever seen photos with those colorful, heart-shaped bokeh lights? If you’ve ever wondered how to achieve that effect, then we’ve got the answer for you. All you need is a piece of black cardboard, a hobby knife, and a pair of scissors. Once you have these tools, you will simply need to create a circular shape to serve as a lens cover, cut out your desired shape in the middle, and make sure the customized hole is placed right in the middle of the lens when you start shooting.
With your own customized bokeh card, you can create different bokeh shapes for your holiday lights! The cool thing about it is that you can instantly see the effect as you shoot—and it’s cheap, too!
Camera Settings for Photographing Christmas Lights
- Use slow shutter speeds for Christmas lights
- Tweak the ISO for brightness
- Experiment with different apertures
- Switch to Tungsten white balance
- Add sparkle to your photos
Use Slow Shutter Speeds for Christmas Lights
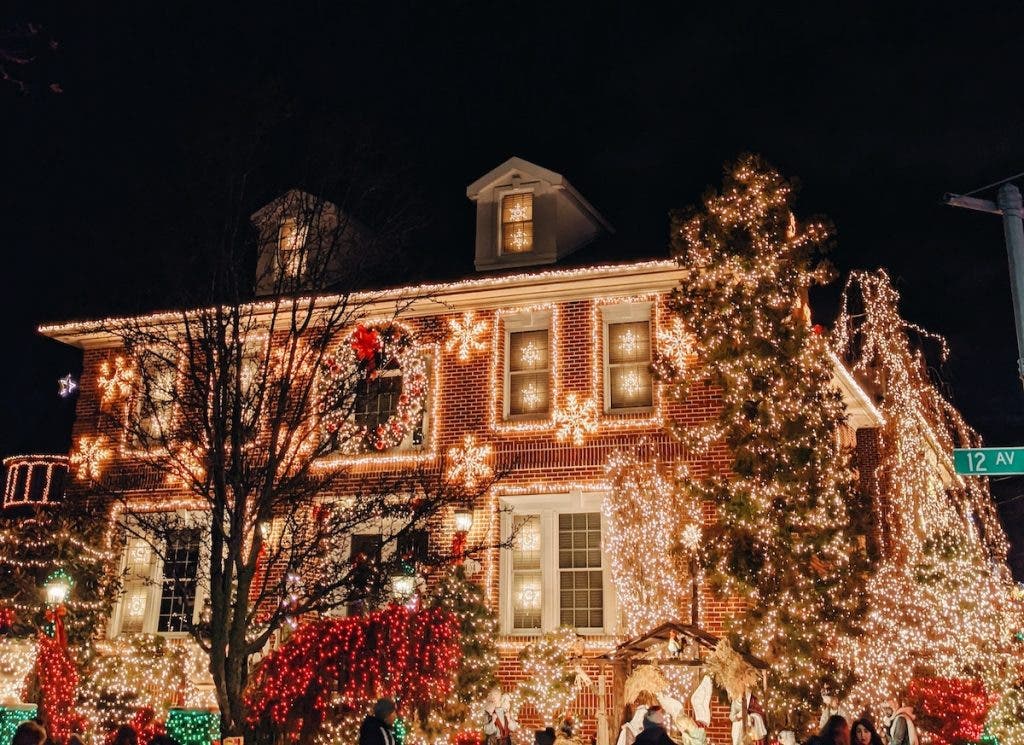
When capturing photos of LED holiday lights, you may end up with a black frame or a few missing lights. This is because they tend to flicker ever so slightly, but we don’t notice it as well as cameras do. You can avoid capturing uneven lights and take more consistent photos by using slower shutter speeds of at least 1/125th of a second.
Keep in mind that you will most likely need to shoot with a tripod to prevent motion blur.
Tweak the ISO for Brightness
Using high ISO settings when taking nighttime shots will add digital image noise, make sharp details appear fuzzy, and degrade the quality of your images. However, it’s still a useful camera setting for giving your images that boost in brightness. To be safe, start with your camera’s base ISO, which should be about 100 to 200. If it’s still too dark, keep going up a notch. But before going higher than 400, make sure that you’ve explored other options—like using the slowest possible shutter speed and the widest aperture that you can afford to use without affecting your desired output.
Experiment With Different Apertures
Your camera’s aperture setting is capable of giving you wonderful images with varying depths of field (or focus areas) and creamy background blur with holiday lights, among others. Experiment to achieve your desired results. For general string light photography, an aperture of f/8 is ideal for achieving a standard amount of sharpness, depth of field, and background blur. A lower number will give you a smaller focus area and blurred out lights (often as colored circles), while a higher number will keep more of the scene in sharp focus.
Switch to Tungsten White Balance
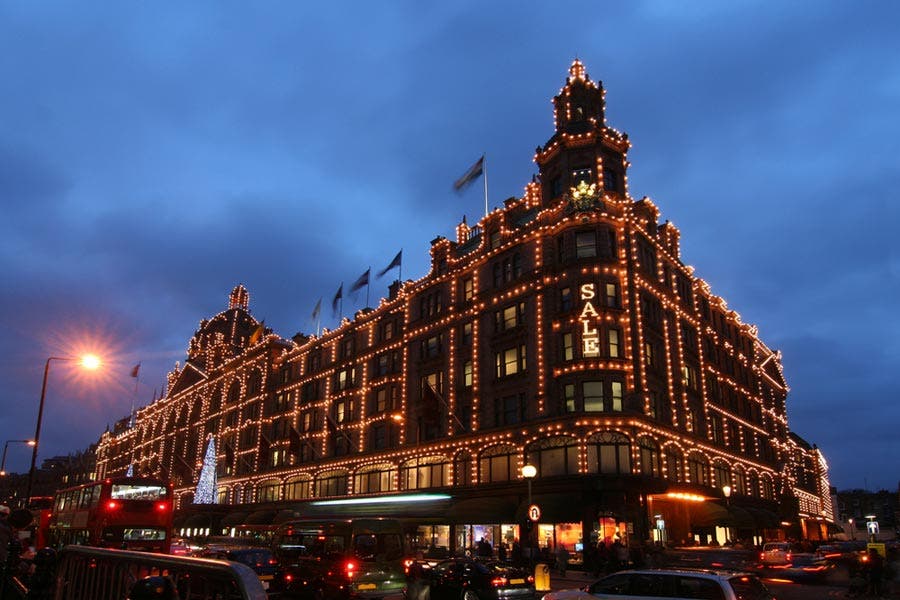
The Tungsten white balance setting, alternatively referred to as Incandescent white balance, is ideal for photographing LED holiday lights, which are often made up of incandescent bulbs. Using this specific white balance mode will allow you to color correct the lights by removing the yellowish or greenish tinge caused by the warm yellow from the usual Auto or or Daylight white balance settings. It will also give the skies a beautiful turquoise hue.
To be safe, you can use the Auto white balance and just shoot in digital RAW format, which allows you to customize your white balance (as well as other exposure settings) later on during post-processing. This way, you won’t have to worry about choosing the wrong white balance setting while shooting.
Remember though that using flash for a subject while on a specific white balance mode can give your subject a different color cast, since it’s likely that the flash and your ambient lighting won’t match in terms of color temperature. For example, when using flash while on Tungsten, your foreground subjects will have a more bluish color cast. You will need corrective warm or cool color gels—or, in this case, a CTO gel (Color Temperature Orange) with the appropriate strength to add enough warmth to your white flash—to achieve a more balanced and natural-looking image.
Use Small Apertures to Add Sparkle to Your Photos
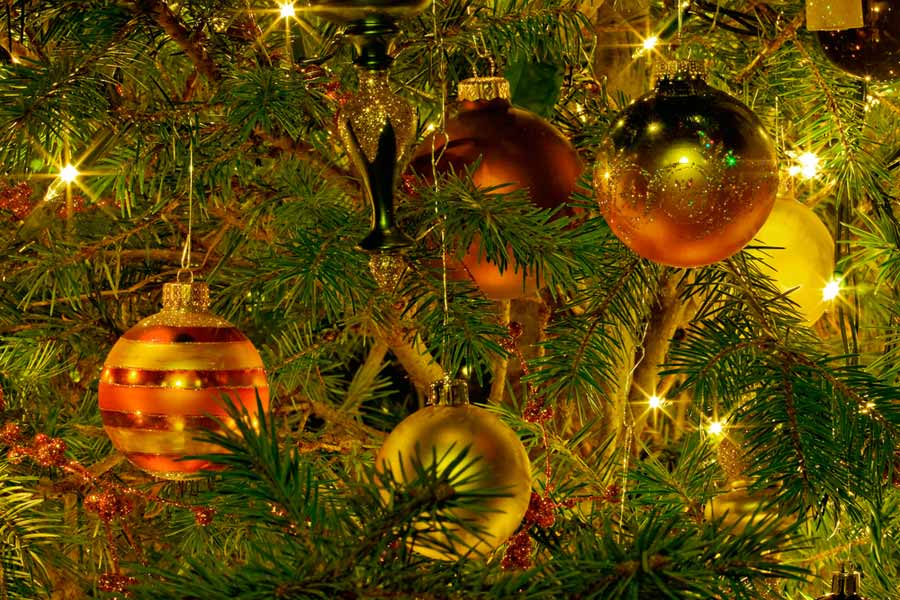
Utilizing the smallest apertures possible and letting very little light through the lens will create starburst or multi-point star effects in place of bright ambient light sources. This is due to the exaggeration of the shape of the aperture. For best results, try taking photos of a tree, street lamps, and other bright point-lights at night with an aperture of f/18 or smaller.
To achieve this star effect without being forced to stick to a small aperture, use your Cross Point star lens filter when taking photos of lights to add stunning sparkle effects to every photo.
5 Tips for Photographing Christmas Lights
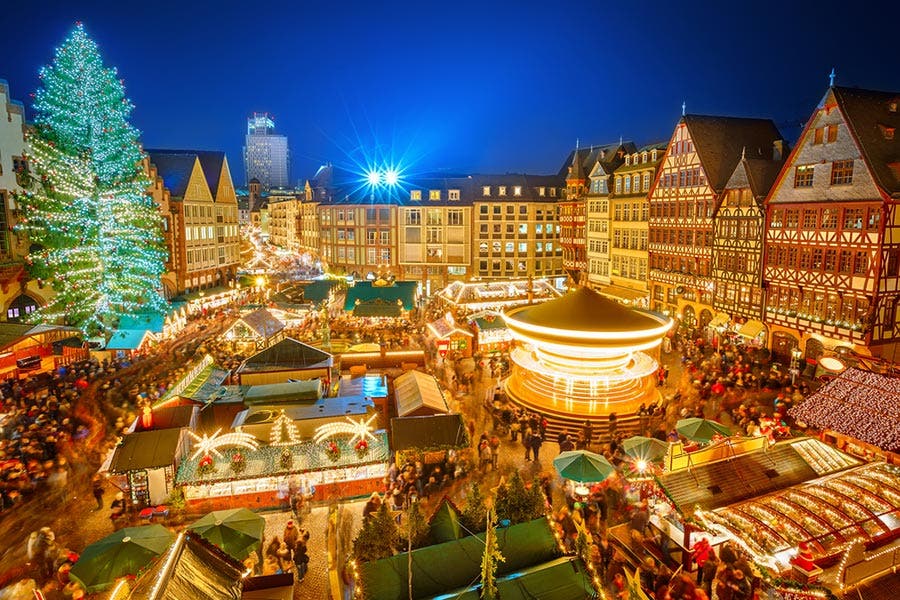
Ready to start shooting? Capture those colorful and elaborate string light displays with these helpful photography tips:
- Find a good spot
- Shoot during twilight or dusk
- Skip the flash
- Rely on metering modes
- Capture custom-shaped bokeh effects
1. Find a Good Spot
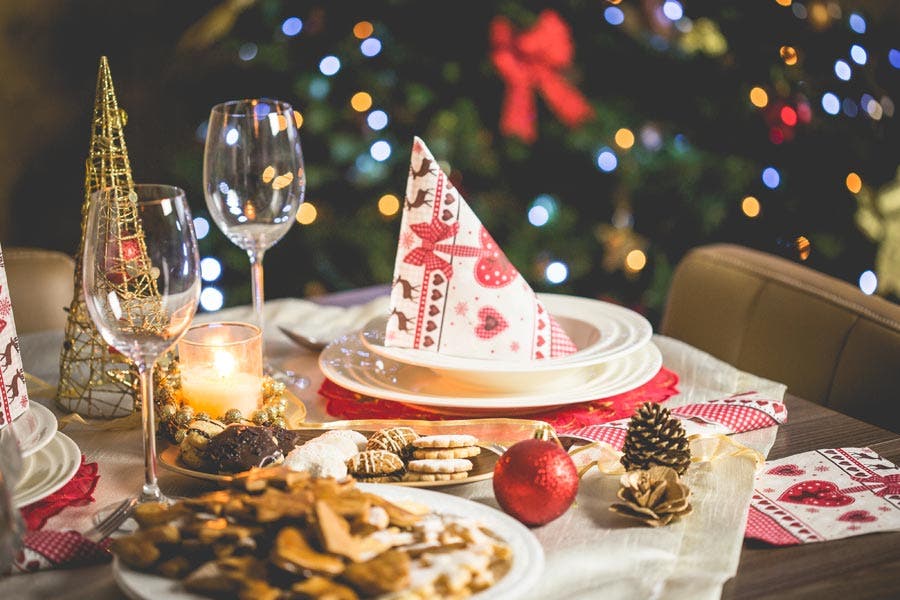
Choosing the right spot is essential to your composition. When shooting indoors, make sure to pick a spot that gives you ample ambient lighting (if needed) and allows you to incorporate other festive elements.
On the other hand, shooting big outdoor venues with extravagant holiday displays gives you plenty of options—but it can be quite overwhelming. Instead of taking pictures of everything, look for popular hot spots and unique displays that really showcase the holiday season. Carefully consider which ones are best featured as a whole set, such as a fully adorned hotel lobby, or by itself, such as the traditional Rockefeller tree in New York. You can also choose to feature the light decorations as a background for a separate main subject, such as a group of carolers or a solitary Santa Claus impersonator.
As the holiday season approaches, you’re sure to have plenty of subjects and scenes to choose from!
2. Shoot During Twilight or Dusk
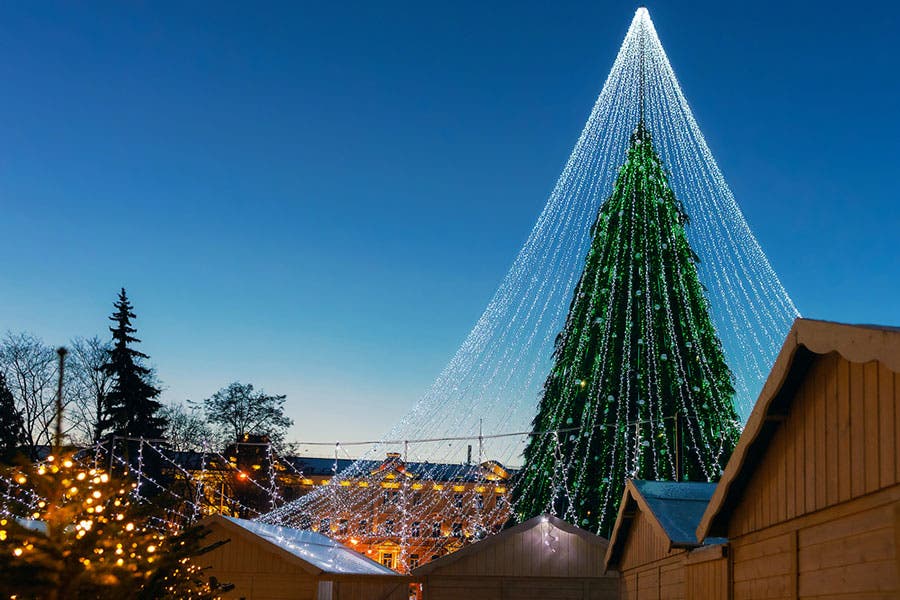
Shooting at nighttime is a good way to really bring out the beauty of holiday lights. However, instead of shooting when the sky is pitch dark, adjust the time of your shoot and take photos at twilight or dusk. At these times, the sky should have a much softer blue glow, giving your photos more photographic texture and color. You may achieve the same effect when doing nighttime long exposures as it naturally brightens the color of the sky, but you also run the risk of overexposing your lights.
3. Skip the Flash
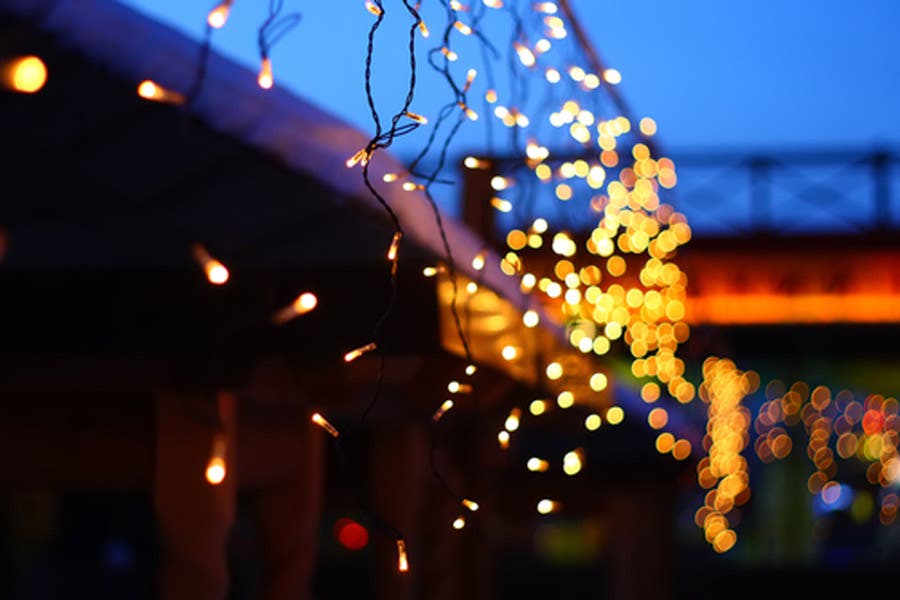
When shooting Christmas lights, it should go without saying that you definitely need to ditch the camera flash. Not only will it be useless, especially when shooting from a great distance, but it can wash out the rich color and reveal unnecessary details (like wires and cords) that can distract viewers from the beauty of the lights in the image.
The only reason for you to use flash (just the right amount, and from an external flash) is if you need to provide fill light for a different main subject, such as for portraits where the lights will serve as your background. Otherwise, keep your flash off.
4. Rely on Metering Modes
Metering is a process wherein your camera “reads” the amount of light that enters the camera to determine the appropriate shutter speed and aperture to use for the surrounding environment. It helps speed up the process of capturing a well-exposed scene, as opposed to manually guessing the correct exposure settings based on a couple of initial shots.
For holiday light photography, try using the Matrix Light Metering (Nikon) or Evaluative Metering (Canon). This metering mode reads the overall scene lighting using dozens of metering points, making it perfect for determining the optimal exposure settings for a wide range of unpredictable holiday light displays.

5. Capture Custom Shaped Bokeh Effects
The usual circle bokeh in holiday lights photography can be customized to virtually any shape you want. All you have to do is create different stencils of a heart, star, or even a tree and turn it into a DIY bokeh lens hood(scroll back up for the video tutorial).
For best results, some people suggest creating a lens hood with a much wider rectangular hole and creating separate rectangular card stencils that you can hold up in front of your lens. This also allows you to move the card while shooting to achieve your desired bokeh effect instead of keeping it stationary by taping the card to the front element of the lens.
