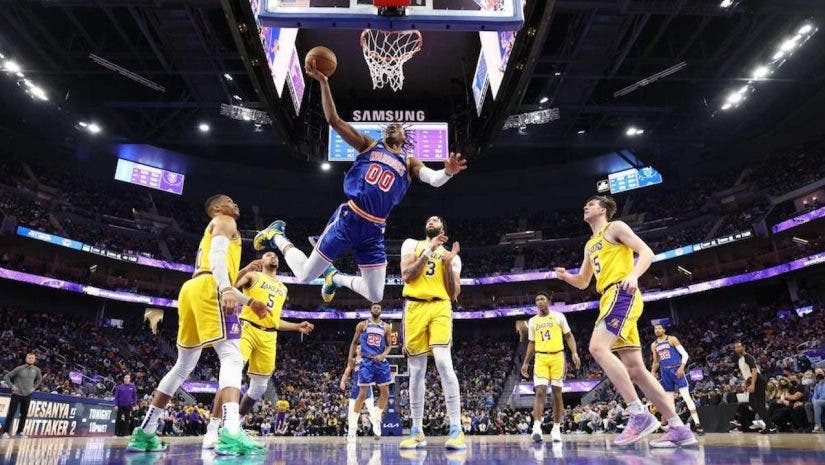
Basketball is one of my favorite sports to shoot. Raw, unfiltered action happening mere feet away in a confined, well-lit space is a sports photographer’s dream. To add to that, the athletes aren’t wearing anything to cover their faces or bodies that hide their emotions or body language. The action and emotion are all right in front of you. Basketball is such a dynamic, emotional sport that lends itself well to photography. But, if you need some help getting started, here are my top tips for basketball photography.

Position is Key
If you have a choice, try and position yourself about five feet from the center of the hoop. This angle will allow you to have a good view of the action. You’ll also have the ability to shoot both horizontally as well as vertically, depending on the needs of the client. From here, you can shoot both wide and tight. Another option is to position yourself closer to the side baseline and shoot primarily with a 70-200mm lens. This often will give you a cleaner background, depending on what that is.
Pick the Right Lens
Having the right gear is crucial for basketball photography. Oftentimes, the lighting isn’t great in arenas, so having fast glass is crucial if you’re not shooting on strobes. A 70-200mm f/2.8 lens and a 24-70mm f/2.8 lens are essential for the action near to you. When the action moves to the other side of the court, I’ll use a combination of the 70-200mm again and a 300mm f/2.8. Even with the ability of the newer cameras to shoot at high ISO, the look of shooting at f/2.8 is still important to a strong image. Also, having that depth of field will really make your images stand out.
Try Using Remotes
Most of the dynamic action is going to happen around the key of the basket. This gives you the opportunity to set up remote cameras in different parts of the arena to anticipate that action. One of the most impactful remotes you can set up is a “glass” remote. This is where a wide-angle camera and lens (I use a 14mm) are attached behind the backboard and pre-focused for where you hope most of the action will be.

Another angle that is nice to do is directly overhead with a 200 or 300mm lens pointed directly over the basket. Depending on the color of the court, you often get a nice contrast of the court to the action. This angle is a good opportunity to provide a different look from what is taken on the court.
A third angle I like is directly under the basketball stanchion with a wide angle looking back up at the basket from underneath. For this, I’ll usually use a 24mm lens. Everything is then synced transceivers — one for each camera, and one to trigger the remotes.
I often put the remotes on the opposite side of where I’m shooting from. Since the action you’re capturing when the ball isn’t on your side of the court isn’t as dynamic, it’s good to have that side of the court covered with remotes instead.
Introduce Strobes
If you find yourself in a situation where there are strobes available — or you can bring your own — you’ll need a few items to make that happen. Be prepared to run zip cord or electrical cable from wherever there are ports. I like to put the strobe receiver on the same side as my remotes. From there, the handheld cameras generally do a good job of firing.

Know When to Transmit
Sometimes, I’ll network all my cameras to ethernet cables. I either send everything shot, or select images and leave the court to quickly send images on my computer during the game. For the on-court networked games, I’ll run ethernet to each camera that will either send every image (remote cameras) or select images (hand-helds.)
For clients that require edited, captioned images, it’s important to know when to leave the court. You need to spend enough time on the court to have a good variety of images to send, but not spend too much time that you’re late for deadlines. Generally, I’ll spend about a quarter shooting the game and then try to send 4-6 images and get back onto the court about midway through the second quarter. I’ll then send more images at halftime and then stay the entire second half.

Catch the In-Between Moments
Before and after the game is a good opportunity to create feature images and behind-the-scenes photos. Depending on the arena and your press access, you can often use this time to get up close and personal with the athletes. Introductions often have dramatic lighting and are a good opportunity to create different-looking images. Teams stretching near their locker room and running out of the tunnel are often also good places to shoot.
Research Beforehand
Know who the star players are and look for any stories that may be associated with the game or relevant to the world today. Oftentimes, there are unexpected moments that happen so being prepared for that is key.
Different Angles
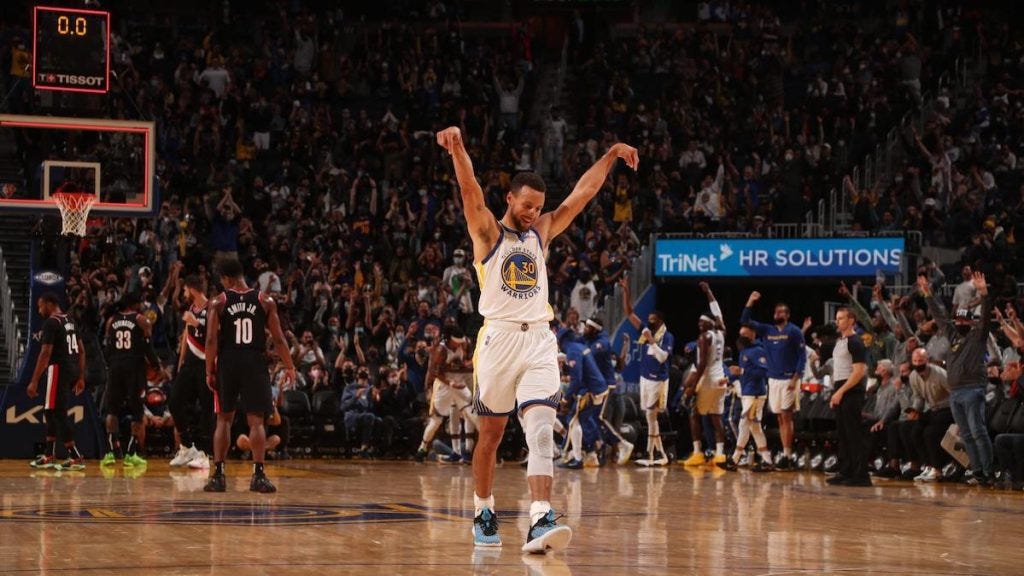
Try for different angles at the games whenever possible. Placing the camera on the floor for a low angle often produces a dramatic effect. This is also much easier to do now with the articulating screens on the mirrorless cameras. Also, try going really high in the stadium to capture logos and graphic elements juxtaposed to the action. Slow your shutter speed to 1/15 of a second and try panning with the action. The percentage of sharp images you get are low, but all you need is one good one!
Check out more of my basketball photography work in AdoramaTV’s new docuseries, THE MASTERS.
