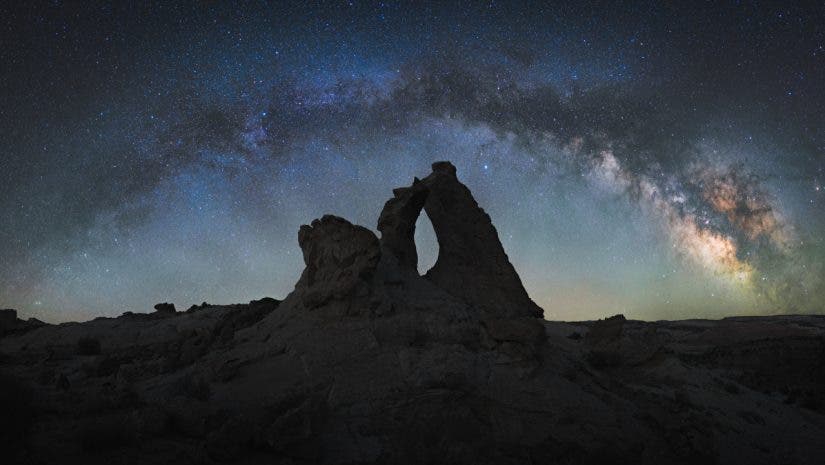
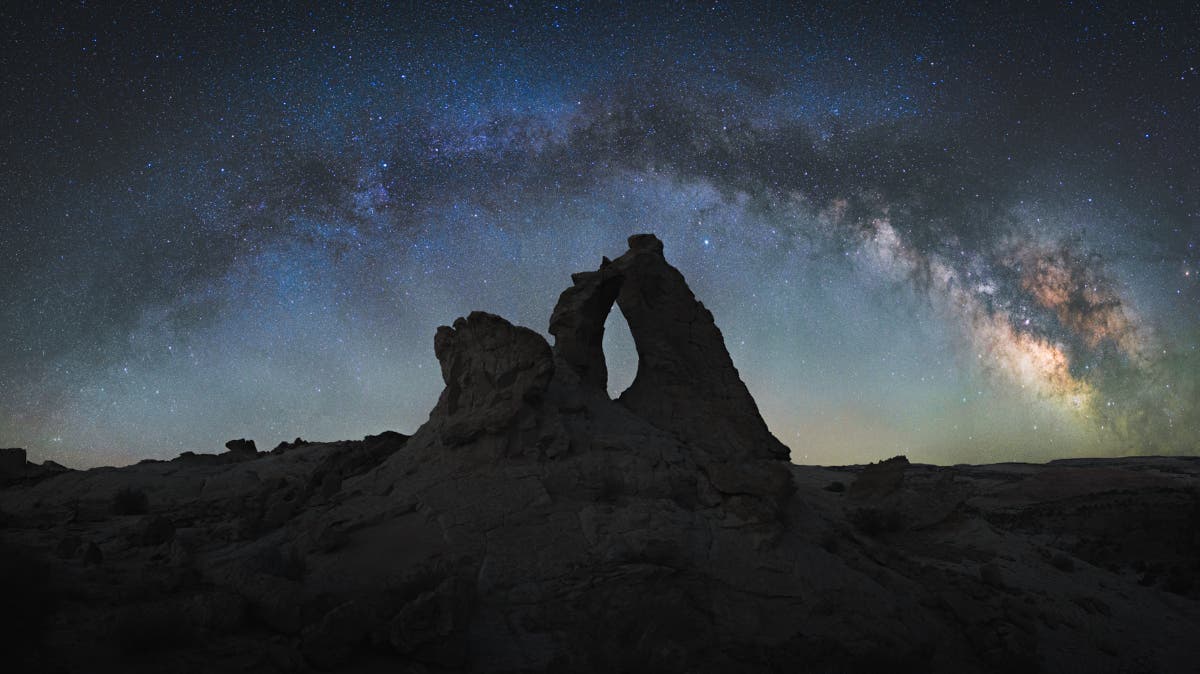
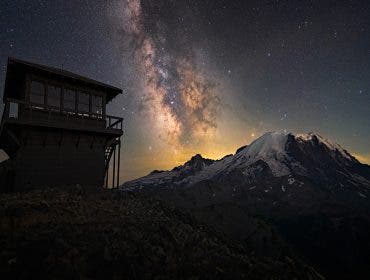
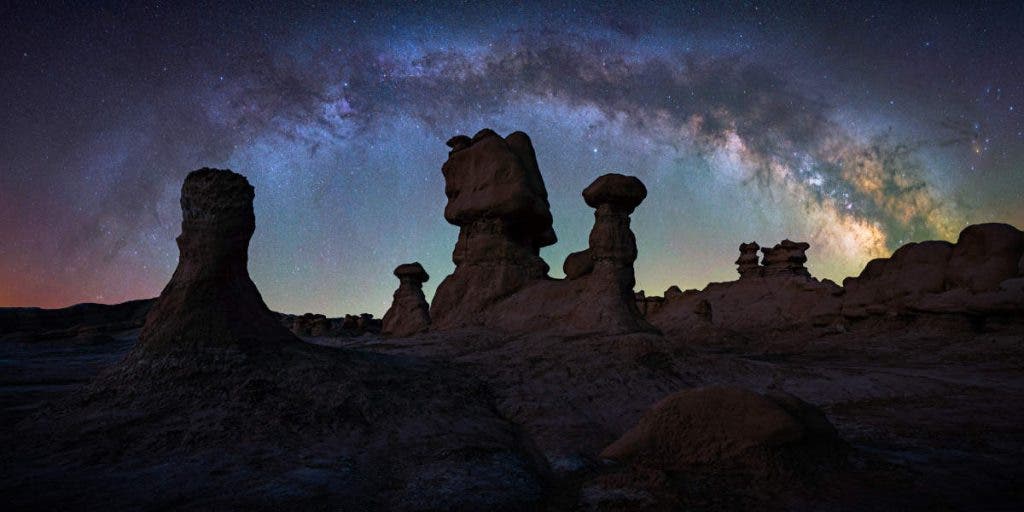
One of the most epic celestial objects you can capture is easier to photograph than you may think. A Milky Way panorama, something many consider the pinnacle of night photography, is a bucket list shot for many. And if you’ve never tried to shoot it, it’s time to give it a shot.
Since your camera can capture light over a period of time, it can create images of the night sky that reveal what we can’t quite see with the naked eye. The Milky Way may appear faintly in the sky if you stray far from the city, but your naked eye will never see what the camera can capture with the right conditions and settings. This is part of what makes the experience feel so magical, and in this post, we’re going to help you capture the entire Milky Way panorama.
Preparation
Equipment
While you can capture the Milky Way on most cameras, you will get far better results on cameras that perform well in low-light conditions. Generally speaking, full-frame cameras will produce images with more detail and less noise in night photography. Our favorites include the Sony a7RV, Nikon D850, and the Canon EOS R3.
When it comes to lens selection, you’ll want an ultrawide lens with a maximum aperture of f/4 or better. f/2.8 is ideal, and anything more than that is even better. Aim for a lens with a focal length between 14mm-20mm for the best results. The wider the lens, the fewer shots you’ll need to combine the whole panorama, making the process a little easier.
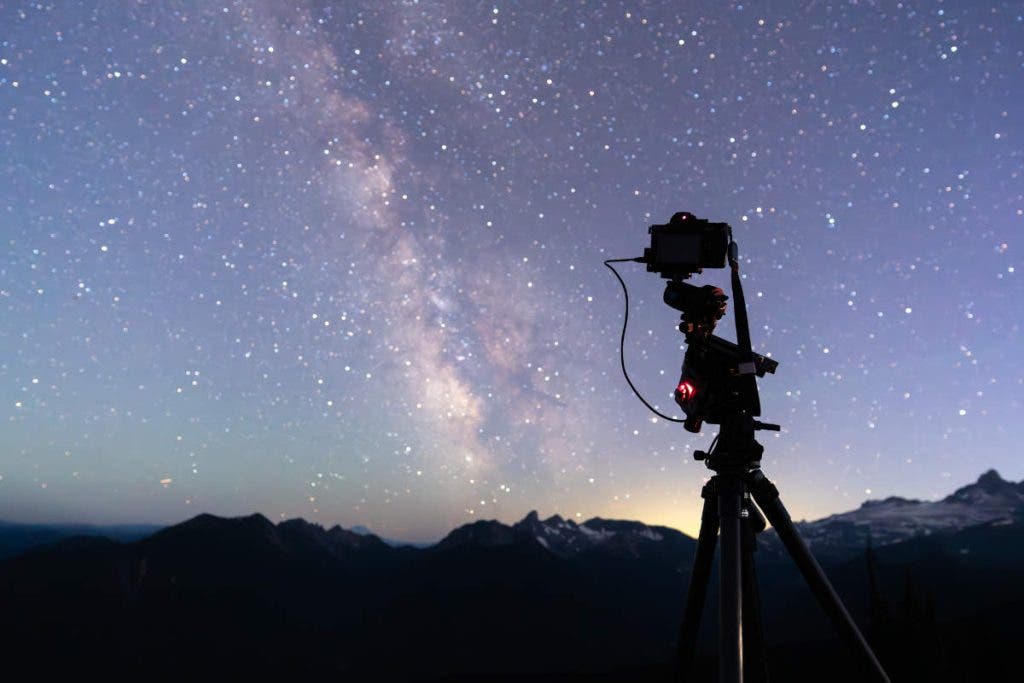
Finally, you’ll also want to get a sturdy tripod. Since your exposures will be at least 20 seconds long, you need a tripod to hold your camera steady, even in windy conditions. Check out our guide here with some of our favorite tripods.
Planning
The most important part of the whole process happens in the planning stage. Knowing where to go, what time to go, and where to look are all crucial steps when photographing a Milky Way panorama. First, it’s essential to travel somewhere with dark skies. Getting away from big cities will reduce the amount of light pollution, making the Milky Way more vibrant in the sky.
Next, ensure you’re going out at the right time of night and on the correct date. In most of the world, you can photograph the core of the Milky Way from the middle of March until the middle of October. The best time to capture the Milky Way panorama is April to July. Earlier in the spring and summer, the core of the Milky Way appears to be “lying down” on the horizon, making it easier to shoot a panorama. Later in the summer, the Milky Way rises straight up overhead, making it challenging to capture a whole panorama (though you can still capture great single images!).
Next, you’ll want to go out on a new moon or as close to the new moon as possible. Shooting under moonlight has the same effect as shooting close to a city. The light emitted from the moon drowns out the Milky Way, making it appear less vibrant.
Finally, if that wasn’t enough, remember to check the weather report and look for a clear night. As you can see, there are only about 10 nights a year with ideal conditions to capture the whole Milky Way panorama.
In the Field
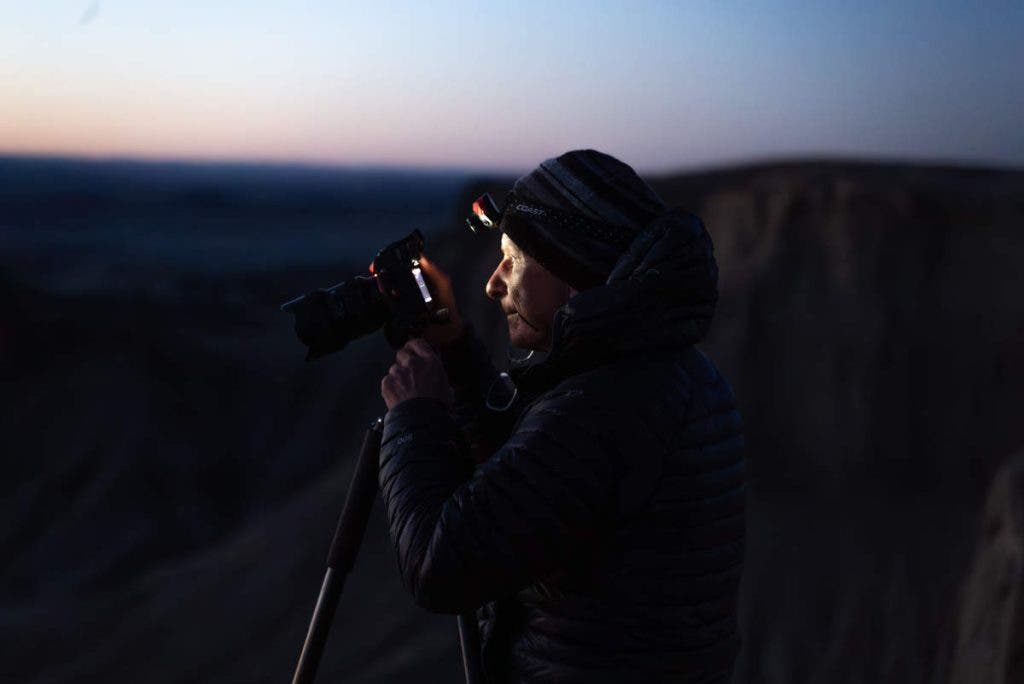
Once you’ve found yourself under dark skies at the right time of year, it’s time to make the magic happen. First, ensure you’re looking in the right direction. PhotoPills and The Photographers Ephemeris are two of the most popular apps astrophotographers use to find the direction of the Milky Way and plan their shot. If you don’t own these apps, don’t worry! Simply look towards the east/southeast sky. If the skies are dark enough and you have good eyes, you may see the Milky Way’s core faintly.
Set your camera’s shutter speed to 20 seconds, your aperture as open as it’ll go (lowest possible number), and your ISO to 6400. While settings may vary for each photographer, these settings are a great place to start. They will result in satisfactory results for most images. Set up your camera in portrait mode (vertically) and aim just to the right of the core of the Milky Way. Ensure that you leave proper space around the edges. Use your camera’s two-second timer or a shutter release to avoid moving the camera when you press the shutter.
After each photo you capture, move your camera 50% or less. If you can look through your viewfinder and find a star in the middle of your image, put this star on the edge of the following photo. This will ensure you capture enough data to merge together later in the editor of your choice. Make sure to keep capturing photos through the tail end of the Milky Way, and capture one more image to the left than you think you need to avoid cutting too closely when you merge the images together.
Post-Processing
Most of the modern photo editing software includes a way to combine multiple images into a panorama. In Lightroom Classic, select all your images in one panorama and go to photo> Photo Merge > Panorama. Then, switch between the three projection methods and pick the one that does the best job.
Once you merge your images, you can start editing your photo. There are many great ways to edit a Milky Way photo, and practicing is the best way to learn. One of the best ways to make the Milky Way pop is by using the Tone Curve adjustment and creating a slight s-curve to add contrast to the scene. Dragging the top part of the curve up will help make the Milky Way’s core stand out. Continue applying edits as you see fit, and then save the RAW files in case you ever want to return to re-edit.

Conclusion
Capturing the Milky Way panorama is an experience that all photographers should do at least once in their lifetime. Unfortunately, there are only a handful of opportunities to snag a photo each year, so do your research beforehand to maximize your chances of capturing a great image in a spectacular location.
