Have you ever looked at a portrait and felt like something was missing? It happens to portrait photographers of all backgrounds and experience levels. You create a gorgeous portrait but the eyes look too dim and maybe even a little lifeless. Fortunately, you can bring some life back to your model’s eyes and lighten and brighten eyes with a few key steps in our quick Adobe Photoshop tutorial.
1. Create a healing layer
Before you get started with brightening your model’s eyes, you may need to do a bit of retouching to remove any distracting capillaries or similar blemishes.
Select Layer > New > Layer from Background. This is your healing layer.
2. Remove any noticeable capillaries
Select the Spot Healing Brush. Make sure you have “Content Aware” selected for the brush and use it to paint out any noticeable capillaries or other distractions. At this point you should have two layers in your layers panel (the background layer and the healing layer).
3. Create a new adjustment layer
In the layers panel, click the icon that looks like a circle divided into black and white halves to create a new adjustment layer. It will prompt you to select an adjustment type. Select “Levels.”
Now, with your new Levels adjustment layer selected, click the Blend Mode drop down list. Choose “Screen” from the drop down menu. This will change the layer’s blend mode and provide a brighter look for the eyes.
At first, this adjustment will affect the whole image, but we’re about to mask in the eye area to keep the effects more localized.

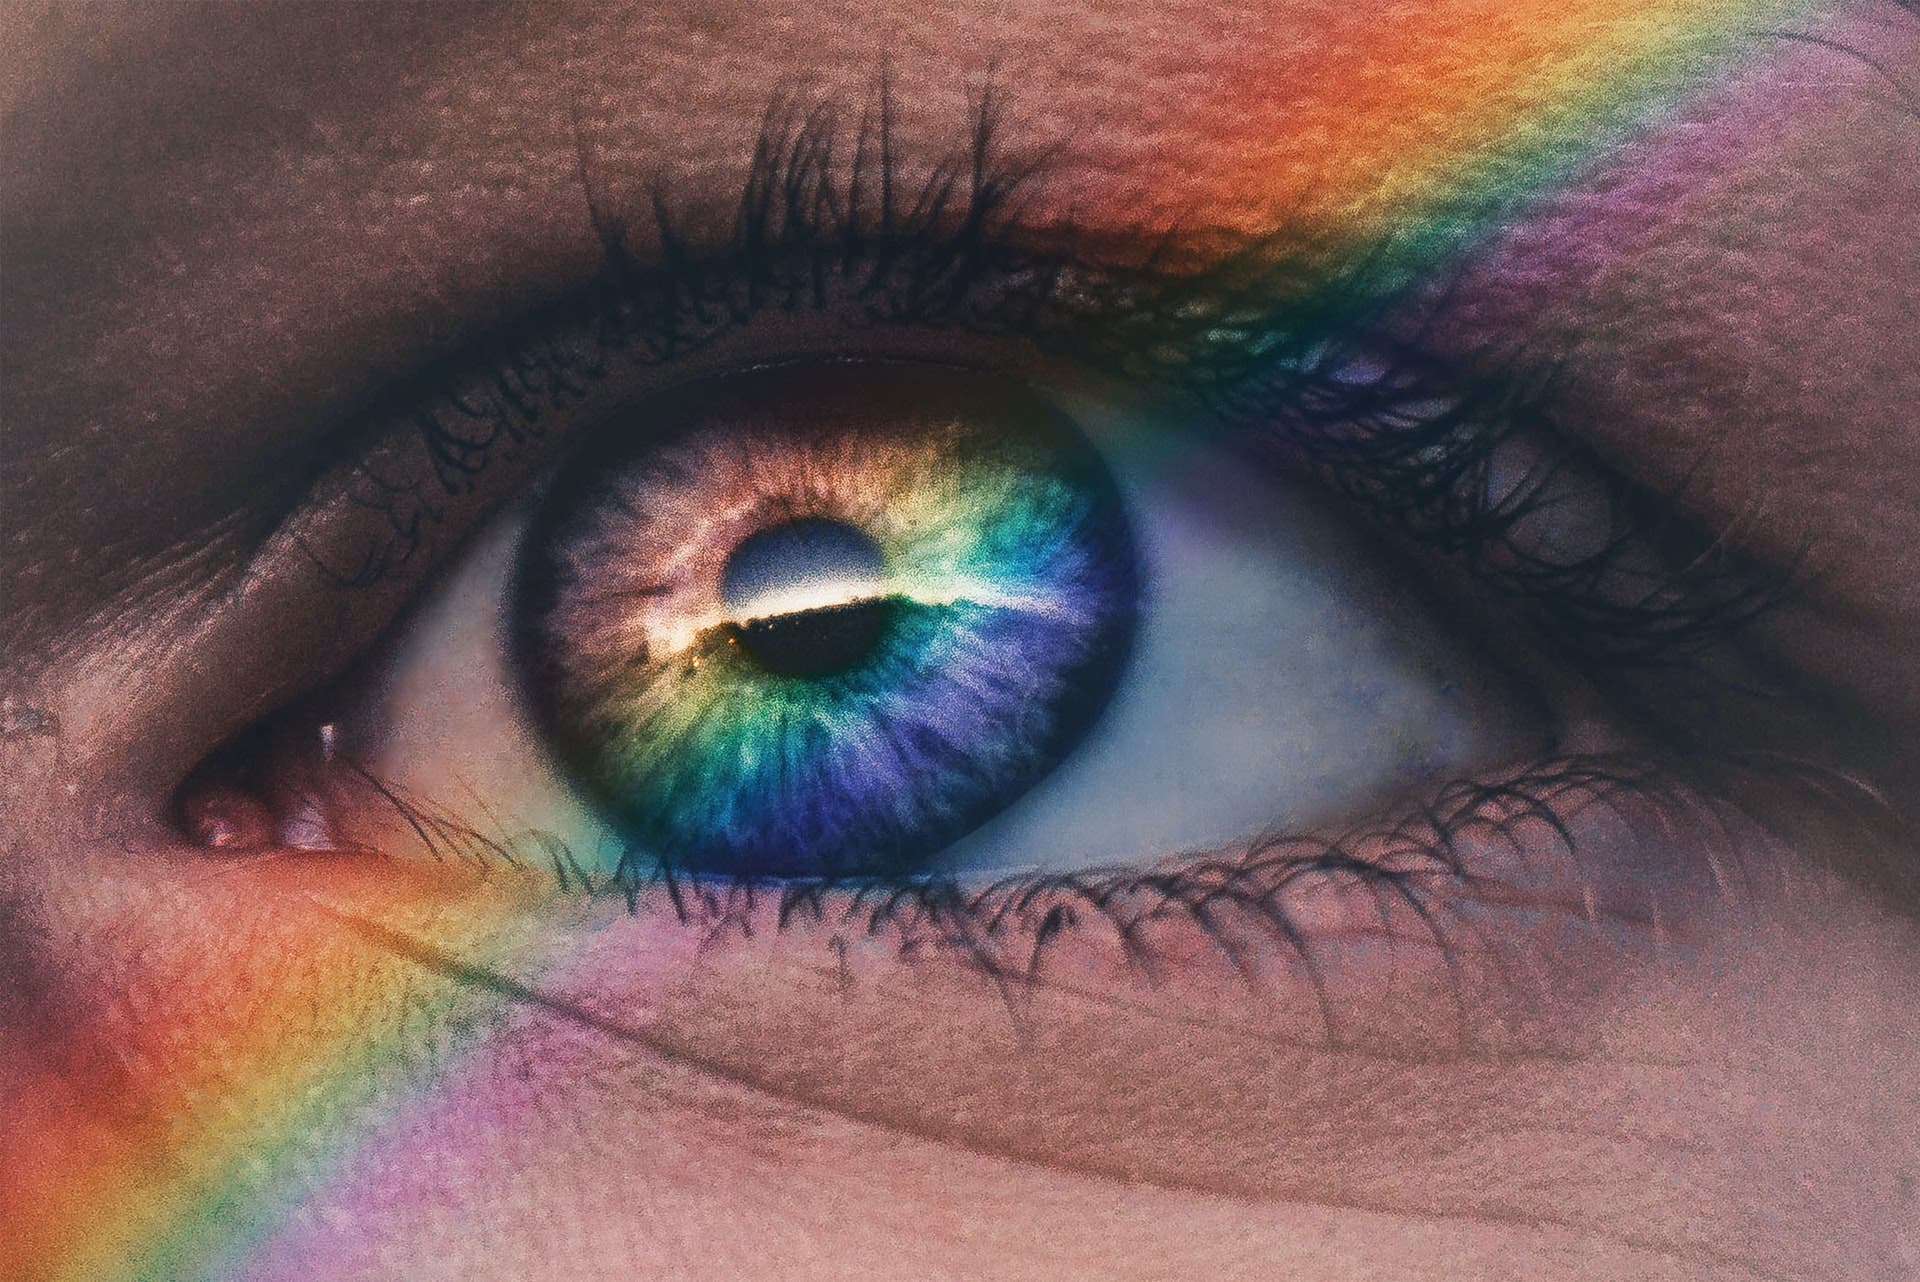
A perfect example of how to edit and brighten eyes in Photoshop. Photo by Harry Quan on Unsplash
4. Adjust the layer mask to be filled with black
When working with layer masks in Photoshop, portions of the image affected by the mask will show as white, while areas where the mask is turned off will appear black. The thumbnail of your layer mask will show up white, which tells you the whole image is affected by the mask. We want to change it to black so we can paint in the layer adjustments, affecting just the eyes.
With your Levels layer selected in the Layer panel, go to Edit > Fill. Select “Black” from the Contents drop down menu. Hit “Ok” and your Levels mask will change to all black.
5. Select the brush and start painting the irises
Choose the Brush Tool from Photoshop’s Tool Panel. Adjust your brush size to about the same size as the width of the iris in your image. Reduce the hardness a bit for a softer edge.
Select white as the foreground color. This will ensure that you apply those Level adjustments by painting them into the mask.
Zoom in on the eyes for maximum accuracy. We want to focus on painting the iris, or colorful portion, of the eye. Gradually paint in the irises, making sure that both eyes match.
You may be wondering why we don’t want to brighten the whites of the eyes. Unless you’re very experienced at retouches in Photoshop, brightening the whites can come across as fake and distracting while potentially taking away from the eye color. After all, we only want to add a pop of brightness, not create an otherworldly glow. The same applies for adding saturation to the model’s eye color.
6. Make any necessary touch-ups
If you accidentally paint in an undesired area, like the whites of the eyes, the eyelashes, or the pupils, just switch your painting color to black and paint out your mistakes. The beauty of working with layer masks is that you can make unlimited adjustments to get the exact results you want.

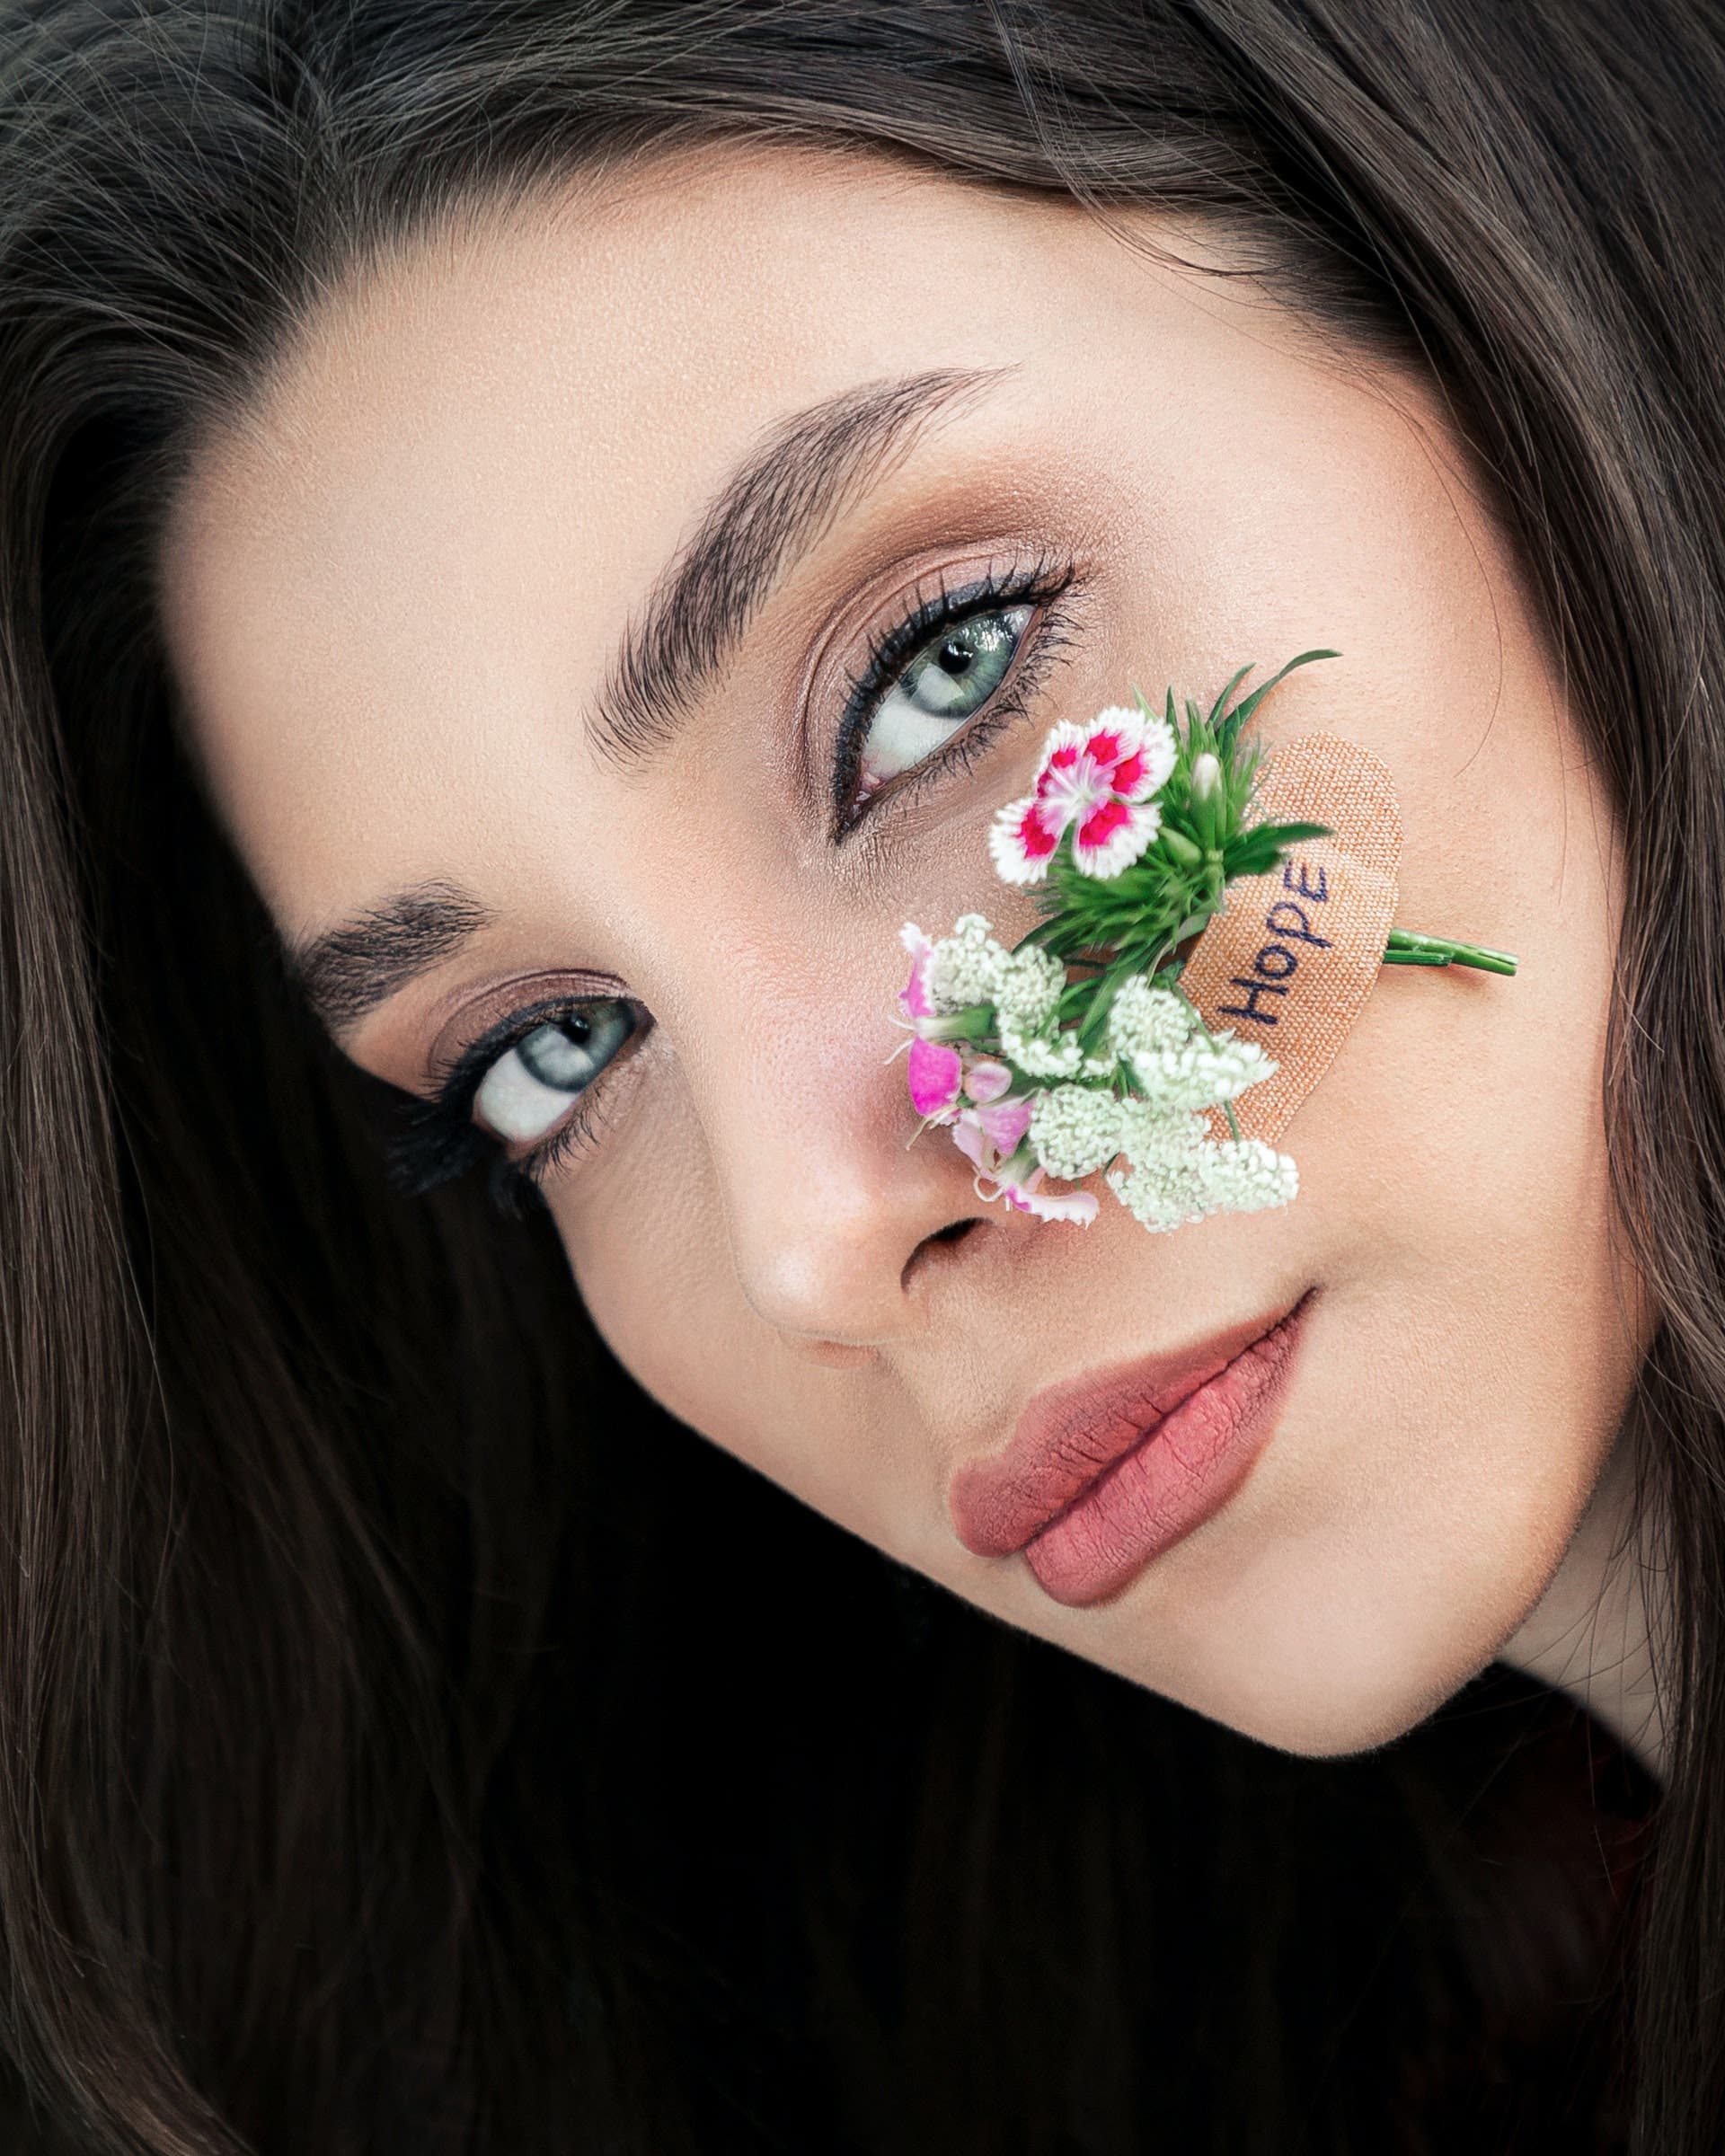
Photo by Saeed Karimi on Unsplash
7. Flag your results and finalize the edits
Take a look at your Layers Panel. The Levels adjustment layer should look all black, with a couple of white spots corresponding with the subject’s eyes. Click the visibility icon on the left hand side to turn the layer off and on. This is a great way to see if you need to make any further touch ups, or if you want to decrease the opacity of your adjustments to tone them down a bit.
If the effect is too strong, just reduce the opacity incrementally until you feel good about the results. Now you’re all set and ready to flatten and export your brightened portrait from Photoshop!
Want to learn more about how to use Photoshop? Check out our guide on 5 easy editing tips to further hone your skills.


