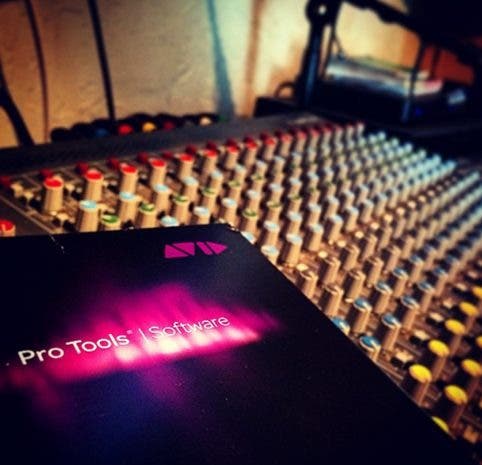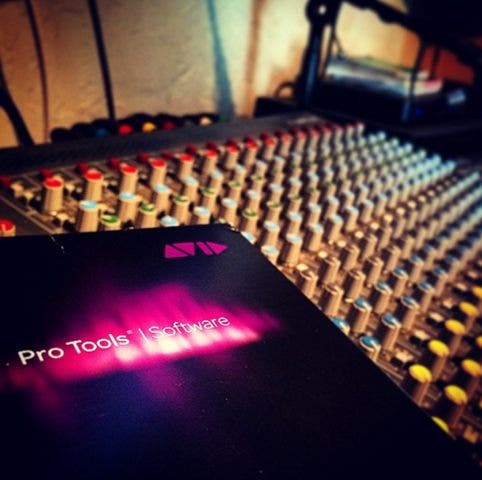
Digital audio workstations (DAW’s) forever changed the world of recorded music. Before the rise of home computers, recording studios required walls of equipment, tape recording machines, and a crew to operate the system. Computers provided the platform to consolidate this process. DAW software provided an interface for engineers to record, edit, and produce audio files within a computer. DAW’s are nothing new and for the younger generation of recording engineers, they never knew a world without them. As digital technology progressed so did the power of the DAW. Now, DAW’s, plug-ins, and virtual instruments allow musicians to produce chart-topping hits with nothing more than their laptop. While there are currently countless DAW options on the market, one name has always been at the top of the game: Pro Tools. Developed by Avid, Pro Tools provides one of the best interfaces for multi-track recording, editing, and production. Like any other professional creative software, it can be intimidating to jump in. This article will help you take that first leap into Pro Tools by discussing purchasing options, what gear you need, as well as tips and tricks.
How to Buy Pro Tools
Every year or so Pro Tools releases a new updated version. The updates have new features, faster computing, user-interface changes, and other enhancements. Don’t worry though, the large-scale functionality is the same and you can adjust quickly to the changes. It is a similar change to driving a new car for the first time. You know how to drive, but it might take some time to get used to the new stereo or how to open the trunk. Right now, at the beginning of 2016, we will be focusing on the most current version: Pro Tools 12.
The simplest way to buy Pro Tools is to purchase a Pro Tools 12 Perpetual License ($599). This purchase includes the software, activation code, as well as your iLok USB key. If you are new to the world of Pro Tools, the iLok will quickly become your best and worst friend. In order to prevent piracy, you must have your specific iLok plugged into your computer in order to run Pro Tools. If it is unplugged during use, Pro Tools will lock you out until it is plugged back in. If you travel with your iLok, I highly recommend enrolling in iLok’s zero downtime (ZDT) insurance program as well as purchasing a backup iLok USB Key ($39.20). In the event of loss, damage, or theft ZDT will allow you to immediately transfer your licenses to a backup iLok. Without ZDT insurance, you may have to wait weeks to get back into your sessions. If you use Pro Tools professionally, make sure you are covered so that you never get locked out of your work.

The Pro Tools 12 perpetual license comes with 12 months of the all access Avid annual upgrade plan. This gives you access to all new Pro Tools releases as well as a bonus collection of high-quality effects and sound-processing plug-ins. This upgrade plan can be renewed annually for $99/year and ensures you will always have the most up-to-date version of Pro Tools. If you allow your plan to expire before renewing, you can reinstate your plan at any time for $299 (first year) and $99 per year thereafter. It is in your best interest to make sure you renew your coverage to avoid the extra $200. You can run your version of Pro Tools without paying for upgrades or enrolling in the annual upgrade plan, but you may run into issues with hardware or operating systems down the road.
For those who do not want to purchase a perpetual license, Avid offers the option of purchasing a one-year subscription to Pro Tools software ($299). This purchase also comes with software, activation card, and the iLok. The annual subscription also enrolls you in the all access upgrade plan. This purchasing plan is great for project-based licenses or for those that want to always have the latest and greatest.

Avid offers some great academic discounts on Pro Tools. If you are a student, teacher, or faculty member at a qualified academic institution you can purchase Pro Tools at a substantial discount. It is best to check Avid’s page on eligibility to make sure you qualify before making any purchase. As an educator myself, I can share my experience with the process. You are not asked for any form of verification from the retailer in order to purchase Pro Tools with the academic discount. However, the software will be useless unless you can verify your credentials. In order to get your activation code you must submit your proof of eligibility to Avid. Avid may take a few days to review your case. If you are approved, you will receive your activation code and you’re good to go. You can purchase the perpetual license to Pro Tools with academic discount for $299 or you can purchase the one-year subscription with academic discount for $99.
What Gear Do You Need for Pro Tools?
- Computer
- Audio Interface
- Headphones
- Microphone
- Cables
Computer
 You will need a computer to run Pro Tools software. A laptop will work fine if you’re on the go but a desktop is ideal for stationary studios. Connecting a full size keyboard (with number pad) will allow you to move much faster with hot keys. Using a mouse or a track ball will increase your editing efficiency. Pro Tools will run on Mac or PC. For Mac, Pro Tools 12 requires at least OS X 10.8.5, core i5 processor, 4GB RAM, 15GB disk space. For PC, Pro Tools 12 requires at least Windows 7 64-bit, core i5 processor, 4GB RAM, 15 GB disk space. Please check their official system requirements page for your specific system. As a general tip, prioritize upgrading RAM on your computer for better DAW performance. Solid state hard drives certainly help. Another good tip is to save all of your sessions and samples to a fast communicating external hard drive. This allows your computer’s hard drive to focus on running the DAW software while all the audio information is coming from the external drive. Using an external like this greatly increased the speed of my home studio.
Audio Interface
An audio interface will convert the analog signals of a microphone or instrument into digital information that pro tools can understand. It will also convert the processed digital information back into an analog signal for you to listen on headphones or monitors. Which audio interface you choose depends on your budget and the goals of your studio. In addition to quality, audio interfaces are separated by the amount of ins and outs they have. If you want to record a full drum kit with eight microphones you will need an audio interface that has at least eight inputs. If you are only looking to record voice-overs with one microphone then you need at least one input. In the beginning, you will only need two outputs (left and right) for monitors or headphones. The Focusrite Scarlet studio-recording package($219.99) is a great entry-level option that includes a 2in/2out interface, a pair of headphones, a condenser microphone, and an XLR cable. Other than Pro Tools and a computer, this has everything you need to get started. If you are looking for an affordable high-quality audio interface the Apogee Duet ($595) is a top recommendation. The Duet provides two inputs and two outputs with professional quality sound. I have used the Duet as my interface on overdubs for major records. If you want more inputs, the MOTU UltraLite-mk3 ($500) provides 10in/14out of good quality conversion. The portable and rugged UltraLite is great for mid-level to high-level mobile recording setups.


Headphones
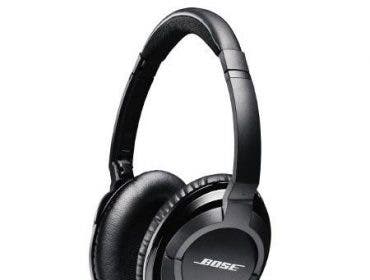
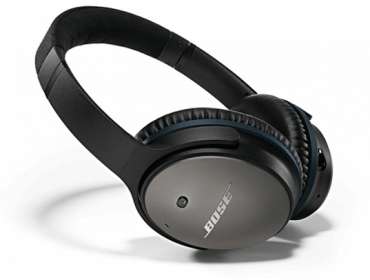
Until you are ready to invest in studio monitors, a good pair of headphones can take you a long way. Cheap headphones are like dirty windows; they obscure details and make it hard to see clearly. A good place to start is with the Sony MDR-7506 ($99.99). These Sony’s are one of the most popular studio headphones on the market. If you want to take quality up one big notch check out the Beyer DT-770 PRO ($199). These are my preferred headphones. I swear by them and I own three pairs.
If you want to learn more about headphones feel free to check out the article “Pro Headphones Buying Guide” from Adorama Learning Center.


Microphones
You will need a microphone if you plan on recording vocals, percussion, acoustic instruments, interviews, etc. The first microphone anyone should ever own is the simple dynamic Shure SM57 ($99). This little guy is incredibly versatile and can certainly record what you need as you get started. If you are looking for a condenser, the Rode NT1A ($229) is a fantastic large diaphragm mic at a very reasonable price.


Microphone choice could be its own article. Luckily, I already wrote that article a while back. For an in depth look into microphones check out the article “Most Versatile Microphones for the Recording Engineer” from Adorama Learning Center.
Cables
You will need cables to wire up your studio. Most interfaces come with the cables needed to connect to your computer but it is always worth double-checking the specs. You might need to purchase an adapter for firewire to thunderbolt or USB to firewire. By now, I have an entire drawer of these kinds of adapters. Read the product contents carefully and check your computer’s connectivity to avoid any surprises on your first studio day. You will need an XLR cable to connect your microphone to your audio interface. Remember, you always get what you pay for. With cables it is always better to spend a little more upfront and get something that will last. Cables are always moving around and the cheap ones go fast. I recommend something along the lines of the Pig Hog 25’ XLR ($34.95). Twenty-five feet is long, but it’s better to have one cable that is too long than one that is too short. If you have any instruments or keyboards to connect to your audio interface you will need a ¼” cable. I recommend Pig Hog 25’ instrument cable ($29.95) or similar quality. As your studio grows you will need more specific types of cables. Don’t be afraid, you will learn as go.


What Do I Get Next?
You need to understand that by entering the world of recording, your studio will never be complete. No matter what piece of gear you acquire, there will always be five more things you need/want. But, in terms of practicality, there a few things you will want to add soon. Plug-ins will help a lot in terms of processing and effects. Virtual instruments will allow you to digitally recreate any kind of instrument within your computer. A midi controller will allow you to perform and record virtual instruments. Studio monitors will allow you to take your headphones off and really change your mixing game.
Learn by Doing
 Pro Tools can be tough to get started with. It is hard to decide where to start. Think about your ultimate goals with Pro Tools. Make a list of tasks that have to be done in order to achieve those goals. Then begin giving yourself assignments. They don’t have to be for professional use, but rather for the sake of learning. Definitely give yourself deadlines. Learn by working on your assignments. When you hit a roadblock, search the internet for solutions. There are so many tutorial videos and forums out there. You will be sure to find your answer after some digging. This way you learn skills that are focused towards your goal. This approach can be a lot more effective than just researching blindly. Once you feel comfortable, start collaborating with others or try to attend / assist studio sessions. It is a long road, but the hardest part is getting started. Hopefully, this article has made getting started just a little bit easier.
