Drones have become a hot trend in both photography and videography. In fact, they’ve practically become standard production equipment for professional photographers and filmmakers.
Still, there are many drone users who invest in these expensive gadgets just for recreational purposes. And if you’re one of those people who are hoping to get in on this cool new hobby, or possibly turn drone flying into a lucrative career, this article is for you.
In this guide we will discuss how to fly a drone as a beginner. At the end you will have an understanding of your drone controller, a pre-flight checklist and a few techniques to practice.
How Do You Control the Drone? Understanding the Drone Controller
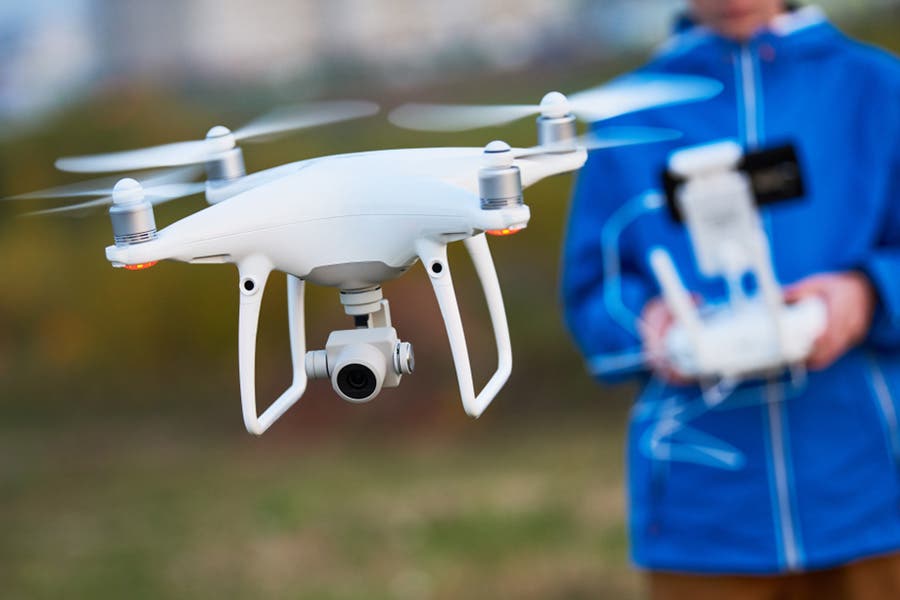
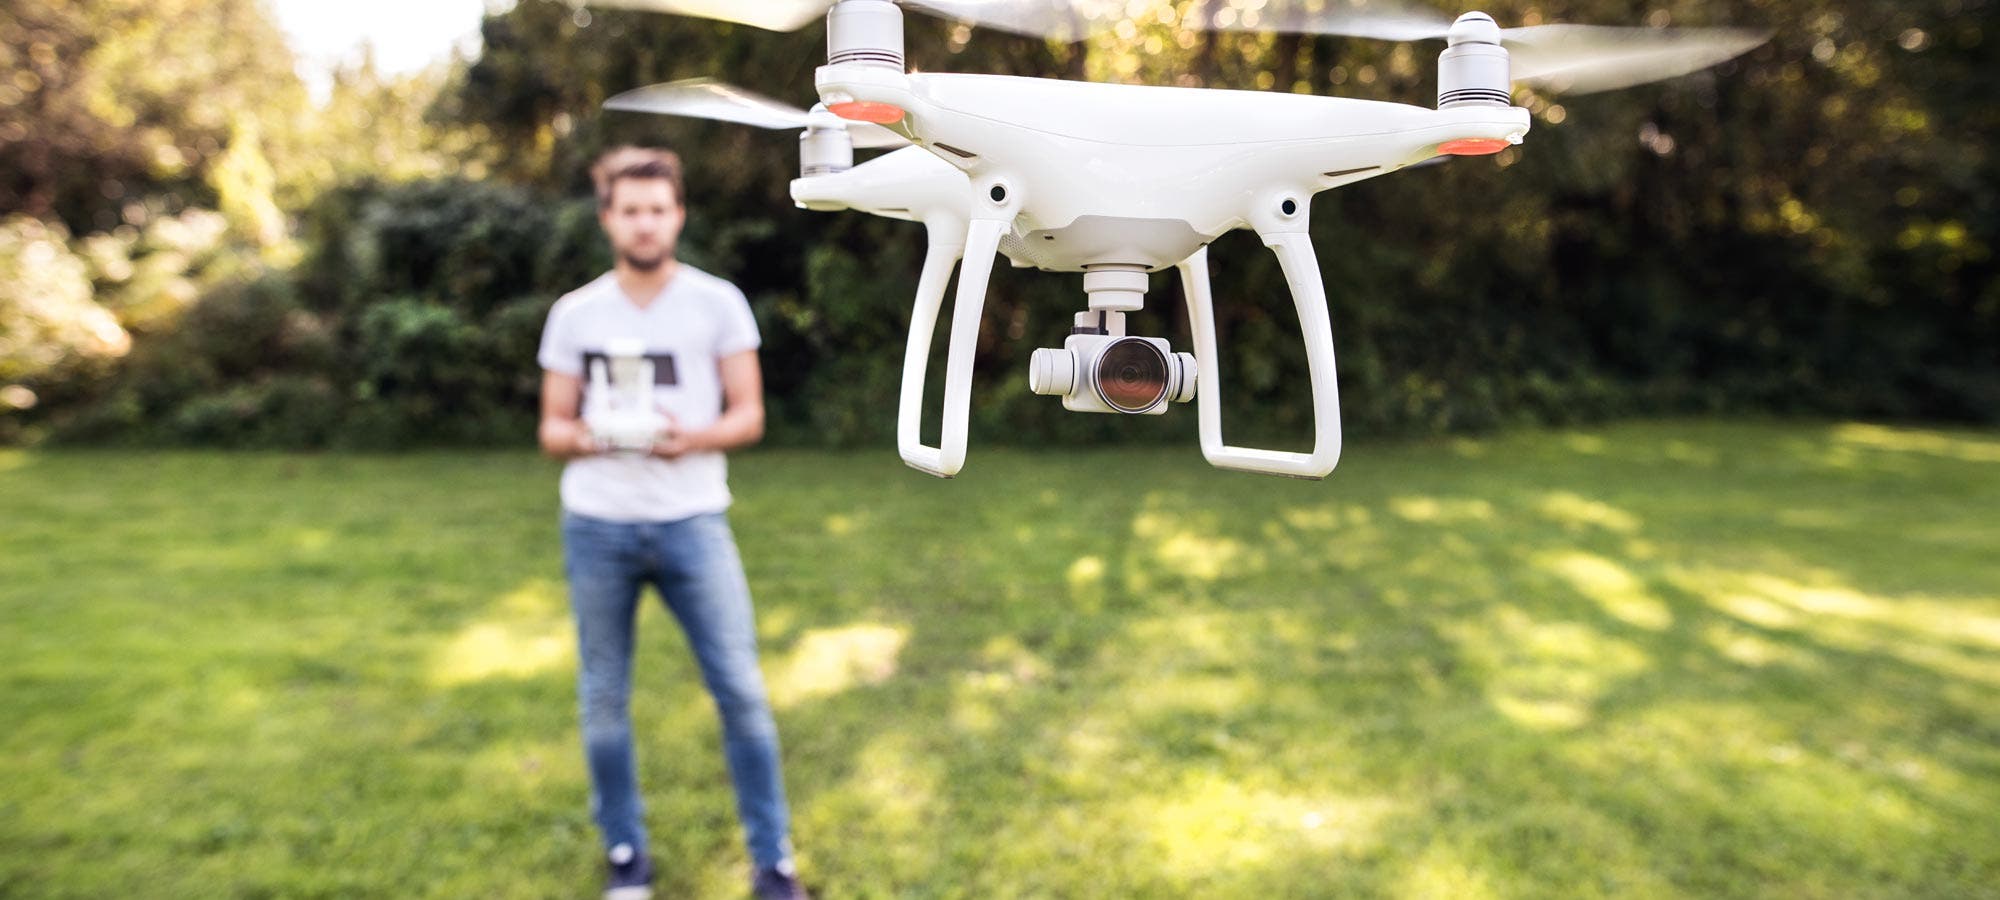
You fly a drone with with a remote controller or a transmitter. This handy device somewhat resembles gaming or toy remote controllers with buttons and joysticks that serve various functions. More professional models can be quite overwhelming and may take more time for a user to utilize its full functionality.
Regardless of how complex a drone is, the pilot works the left and right sticks with their thumbs, and most models have roughly the same selection of features and functions. The drone operator can push or pull the sticks to make the drone go up, down, left, right, and sometimes diagonally.
The four main functions and most important aspects of any drone’s controller are:
- Yaw
- Throttle
- Roll
- Pitch
The left stick controls two aspects: the yaw (rotation) and throttle (altitude).
What is Yaw?
Yaw refers to a clockwise or counterclockwise rotation of the drone. Pushing the left stick along the x-axis (left and right) triggers the drone’s rotation clockwise or counterclockwise. This helps the user position the drone to face other directions without making the drone leave its current spot.
Throttle
Throttle adjusts how much power you give the drone’s motors, resulting in faster or slower flight speeds. Pushing the left stick along the y-axis (up and down) changes the drone’s altitude accordingly. Users often control the throttle when flying, usually in conjunction with the functions of the right stick, so it’s important to get comfortable with this particular function.
Right Stick: Roll & Pitch
The right stick controls actual movements of the drone along the x-axis: the roll (side to side) and the pitch (forward and backward).
Understanding Roll
Roll refers to a left or right movement of your drone. Pushing the right stick along the x-axis (left and right) makes the quadcopter fly and “roll” along the left and right sides. This is particularly helpful for avoiding trees and other obstacles without changing the drone’s altitude or position on the y-axis.
What is Pitch?
Pitch refers to the tilt of your drone either forward or backward. Pushing the right stick along the y-axis (up and down) moves the drone forward and backward accordingly. It may seem incredibly easy, but using this with the throttle and with the drone facing you instead of the other way around makes it more challenging, so it’s necessary to spend time on practice.
Step-by-Step Instructions for Flying a Drone as a Beginner
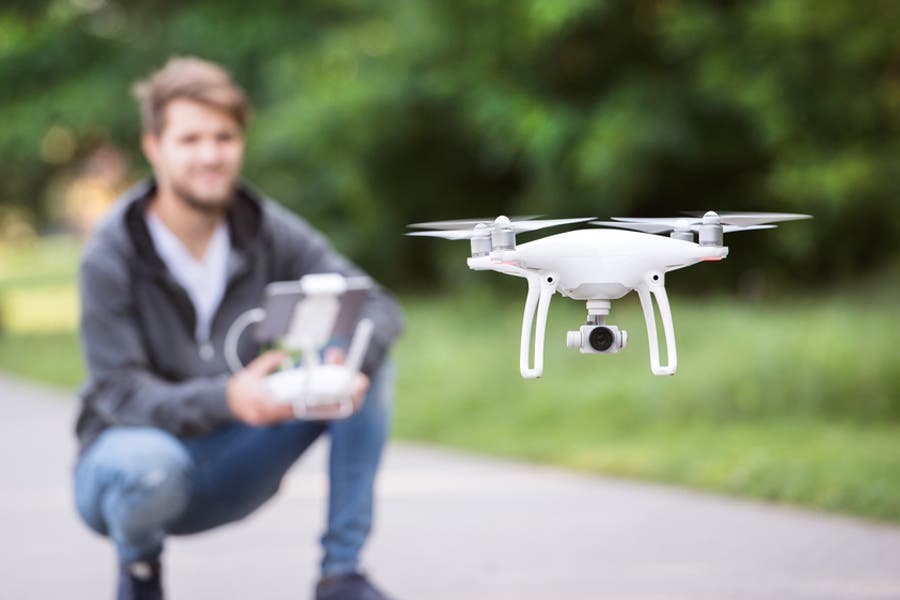
After acquainting and familiarizing yourself with your drone and its basic commands, it’s time for you to put them to good use by actually flying the drone. Here’s a step-by-step guide that you can follow for a fun—and safe—drone flying experience that will help lead you to successful drone photography.
- Find an Open Area
- Place the drone
- Connect the transmitter
- Takeoff
- Hovering
- Rotating
- Practice Techniques
1. Secure an open area for practice
If you already have a drone or are at least thinking of purchasing your own, you probably already have a place in mind for practice. It can be any open outdoor area, as long as it’s safe and free from obstructions so you don’t end up crashing the drone into a tree, wall, or possibly even other people. Also, make sure that the place permits the usage of drones so as not to break any laws.
2. Position the drone
First and foremost, find a good takeoff spot. Make sure the drone is positioned according to the instruction manual—ideally in front of you and on a flat surface, with you and the drone facing the same direction. Do this before every flight and don’t attempt to do otherwise unless you’ve gained enough confidence and experience in flying your drone.
3. Connect the transmitter to the drone
There’s one more thing that you’ll need to remember before takeoff: sequencing. Here, we start with the steps that will require practice.
Right before you switch on the transmitter, push the throttle way down. Turn the transmitter on, and then connect the drone’s battery. This is a very important sequence that you’ll have to follow both before taking off and after landing. After your flying session, follow the steps in reverse order: disconnect your drone’s battery and then turn off the transmitter.
| Before Takeoff | After Landing |
|
|
4. Practice takeoff and landing
After following the previous steps for preparation before takeoff, you may slowly push the throttle (left stick) upwards and watch the drone lift off. Keep it in place without moving forward or to the sides with the help of the roll and pitch commands (right stick).
Once you’ve successfully launched the drone a few feet above ground, try to land it as smoothly as you can. Keep it steady and slowly push the throttle (left stick) down this time until it reaches the same spot on the ground.
5. Practice hovering
The next thing you’ll be practicing is hovering. Lift off (step 5) a few feet above ground and hold the drone as steadily as you can. It will seem pretty tedious for first-timers as it requires concentration, but practicing this will help improve your flying skills (especially at the start and end of your flying sessions) and keep your drone safe.
Focus on mastering these basic maneuvers (take off, balancing, and landing) first as it will help you have an easier time executing more complicated flying techniques later on.
6. Practice rotating
Another important maneuver you’ll need to be comfortable with is the rotation of the drone using the left stick’s yaw control. Now launch the drone, hover, and then slowly push the left stick right or left until the drone rotates to face you.
Many find it difficult at first since you’ll have to pay close attention to the drone’s orientation, particularly where its front and back are, but experience definitely makes it easier.
To aid you in flying the drone no matter where it’s facing, create a mental image of you being inside the drone and flying it. This is how experienced professionals stay on course no matter how much the drone spins and turns, and helps them envision how they should fly the drone to achieve winning aerial photographs.
If you still don’t get it on your fifth try, don’t fret. Many don’t get it even on their tenth. What’s important is that you are slowly (but surely!) becoming more used to controlling how the drone behaves.
7. Practice These Beginner Drone Techniques
Now that you’ve learned all of the basic controls and maneuvers, it’s time to combine all of your acquired knowledge and experience into one session. This is also where you’ll finally get to use the right stick to actually move the quadcopter. Here are a few sample controls and movements that you can try out once the drone is in the air:
- Travel in parallel paths by moving the drone forward and backward using the pitch control (right stick) and then left and right using the roll control (right stick)
- Draw a square using the pitch and roll controls (right stick)
- Fly forwards and backwards in a parallel path with the drone facing the direction of the flight by moving the drone forward with the pitch control (right stick), stopping, rotating the drone 180 degrees until it is facing you, and moving the drone forward again until it reaches its original position
- Draw a square by moving the drone forward with the pitch control (right stick), stopping, rotating the drone 90 degrees to the left or right using the yaw control (left stick), and repeating all three steps until the drone returns to its original position
- Draw a circle using the yaw control (left stick) and pitch control (right stick)
- Draw a figure 8 using the yaw control (left stick) and pitch control (right stick)
For a demonstration of the many flight exercises you can perform to improve your drone flying skills, check out this informative video featuring Dirk Dallas on AdoramaTV:
Important Tips for Drone Piloting
While drones may seem like toys, if used improperly they can damage property and even hurt people or animals. Learning to control a drone correctly and safely when you fly is key to being a responsible pilot.
1. Get used to the controls
We’ve explained the basic controls on your transmitter, but surely this isn’t enough. Eventually, you’ll need to get used to your controller until you no longer have to look down on it every few seconds.
Similar to playing with a video game controller, you’ll need to practice until you can “forget” about your controller and focus on that mental image of you being the pilot. This way, you can execute different maneuvers as easily as you can move your limbs, and focus on achieving well-composed high-resolution aerial imagery.
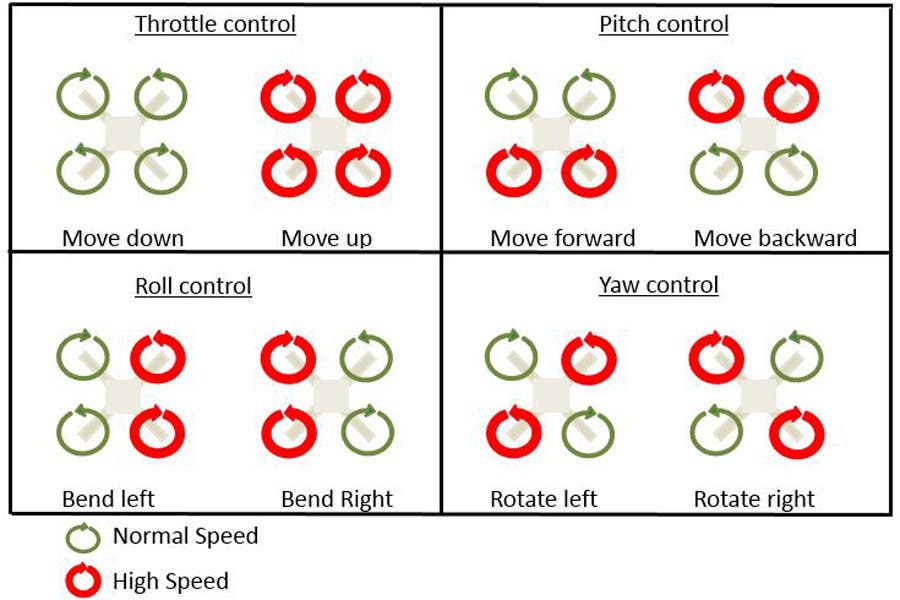
To gain a better understanding of how your quadcopter is able to move in specific directions, the graph below shows how the propellers behave during each movement.
2. Keep the drone close
At this point, it’s normal for any beginner to get excited about putting their new skills into practice. While you’re at it, just make sure to keep the drone close enough (and within sight). You also need to know your drone’s limits, particularly the end of its transmission range, as you don’t want the controller to lose communication with the aircraft.
Some advanced drones are capable of coming back and landing on its own when they get out of range, but there’s no assurance that the drone will be able to keep itself safe from obstacles during auto-landing. The safest way is to really keep it close enough for you to be able to make out the drone’s orientation in reference to your position.
Important Things to Remember Before Flying Your Drone
1. Charge the battery
It goes without saying that you’ll need a fully charged battery in order to enjoy undisturbed flights. Make sure that you use only the battery and charger that came with your drone. Should you wish to bring backup batteries, ensure their compatibility before using them with your drone.
2. Register Your Drone
The next important thing to remember is to register your remote-controlled aircraft—any sUAS (small unmanned aircraft system) weighing between 0.55 and 55 pounds—with the FAA and mark it with a registration number. These drone registration requirements help to hold owners accountable, in case they end up damaging power lines or causing any kind of accident with their aircraft.
Registering drones with the FAA is now as easy as creating an account on its website, although you can choose to register by paper as well. It will cost you a minimal fee, but registering now will cover the next three (3) years. Check out the video below for step-by-step instructions on how to register your drone with the FAA:
3. Download “No Fly” Apps
As you may already know, there are areas in every state where drones are not allowed to fly. These are called “no fly” zones, and breaking the rules could get you fined. On top of that, there’s also the weather to be worried about.
Fortunately, there are apps that you can download in order to find and watch out for these “no fly” zones. You can easily search for lists of trusted apps for the job or you can directly check out the following:
- B4UFly – FAA-developed app for indicating fly/no-fly conditions and more.
- UAV Forecast – A good alternative for the B4UFly that provides detailed information on weather conditions in specific areas from a small aerial vehicle perspective.
- Hover – Great for beginners who want simple displays of real-time weather reports and fly zones (and a fly/no-fly indicator), as well as a flight log for recorded flight data.
- Tesla Field Recorder – Handy for detecting, measuring, and recording magnetic disturbances that could potentially disturb flight operations.
Instead of asking yourself or other people if you can fly your drone in a particular area, you can find the answers right on your mobile device.
4. Read the Instruction Manual
One step you absolutely should never overlook is to read the instruction manual. From your drone’s physical parts down to its flight features, familiarize yourself with all that you need to know to minimize problems and inconveniences later on.
7 Drone Safety Rules You Need to Know
When it comes to learning how to fly a drone, there are many rules and regulations, especially if you are flying in different countries. However, the FAA released a list of drone safely rules that should be followed by any drone pilot, whether they’re flying recreationally or commercially. Unless you have written permission and/or permits to do so (except for the last rule), they go as follows:
1. Do not fly above 400 feet.
It’s very easy to do this, especially if you’re flying outside of restricted areas. Flying above 400 feet, especially on a commercial job, is just not safe. Depending on where you’re filming, this can also put aircraft or wildlife in danger. Regardless of how great the shots could look, stick below 400 feet.
2. Never allow your drone to fly outside of visual sight-lines.
This goes hand-in-hand with the first rule. Typically, if you are flying above 400 feet, you can’t spot your drone. This goes for distance as well, or any weather that limits vision.
3. Do not fly over groups of people or stadiums
A big issue with drones are how they threaten privacy. It’s important to not fly over groups of people, large crowded spaces or events. It’s also important to not fly over stadiums, which can cause security and safety concerns for spectators.
4. Never fly within five miles of an airport
This is one of the most important rules on this list. Flying drones within five miles of an airport is strictly prohibited. Even a small drone can cause major damage to an aircraft, which can put its passengers and crew at risk.
5. Never fly near emergency response sites
Flying drones near an emergency response site like an evacuation or natural disaster is another major restriction. No footage is worth getting in the way of first responders doing their job.
6. Do not fly near other aircraft
This is an obvious rule, and should always be followed. Even if you don’t see the aircraft, if you hear it, bring your drone down. It’s always better to be safe than sorry.
7. Never fly under the influence
Finally, never fly under the influence. This might seem like a no-brainer, but there are people that do disobey this rule. Regardless of how you feel, if you’ve participated in any drinking or other activities, refrain from flying your drone.
What if You are Operating a Drone for Commercial Purposes?
Every drone operator who intends to fly for commercial purposes is required to obtain a drone pilot license from the Federal Aviation Administration (FAA) Remote Pilot Certificate before attempting to fly. Interested pilots aged 16 and above will have to pass a test, which currently costs $150 for the initial exam, at any FAA-accredited Knowledge Testing Center.
After passing the test, the pilot will have to complete the FAA Airman Certificate and/or Rating Application (IACRA) for the pilot certificate. In case you fail the test, you can retake it after 2 weeks.
If you plan on strictly being a recreational drone user, you don’t necessarily need to get this license. It’s not listed as a requirement under the FAA’s Special Rule for Model Aircraft (Public Law 112-95 Section 336), which restricts you to recreational use and only obligates you to register your drone with the FAA, follow a specific set of safety guidelines, fly your drone.
How to Take Care of Your Drone
It goes without saying that you should take good care of your drone. Aside from being careful when taking off and landing, make sure you keep the drone away from dangerous obstacles and that you have enough battery before landing. Also, remember to clean it after every use. Follow all instructions from the manufacturer, especially when it comes to battery power management.
Is Flying a Drone Hard?
Flying a drone takes practice, but it doesn’t have to be difficult. Some drones are simpler to use than others, so until you’re a confident drone pilot, it’s a good idea to practice on a basic model with simple controls in a wide open environment.
Many newcomers like to practice with the help of a more established drone pilot for tips and advice while they gain experience and confidence. Start off in a place you feel comfortable, and you’ll be flying with confidence after a few sessions. Once you’re skilled at navigating a drone without errors or accidents, you can upgrade to a more complicated model, and also introduce photo-taking capabilities to your experience.
