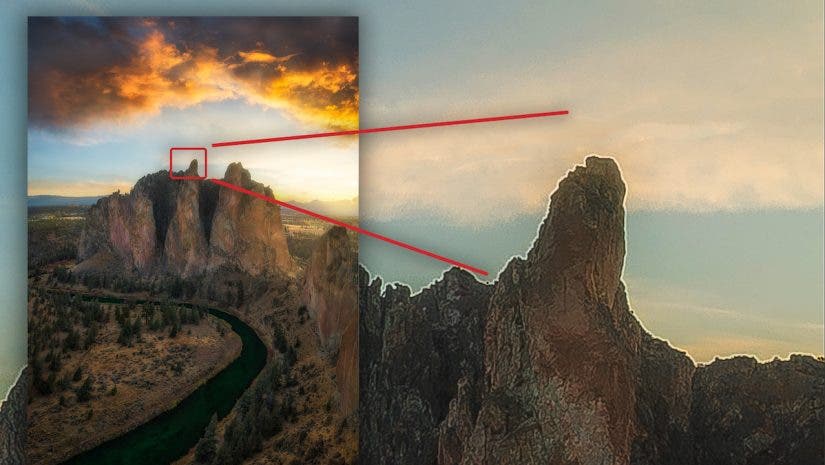
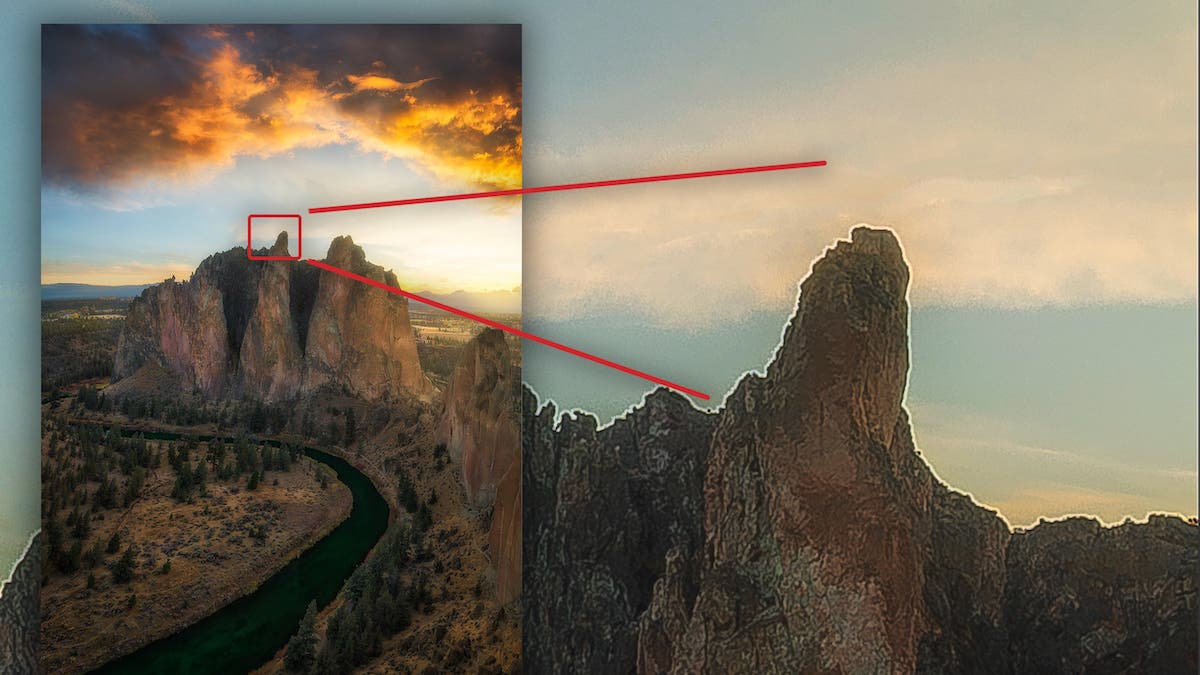
If you’ve been a photographer for long time, you’ve likely seen halos in your images at some point. With such powerful post-processing tools to improve contrast, brightness, and sharpness, it’s easy to create unwanted halos in your images. However, halos in photography aren’t the end of the world. In fact, it’s easy to fix halos in Photoshop if you know how to use the clone stamp tool. This article covers exactly how to fix halos in Photoshop for your images that already have them. You’ll also learn what causes halos to avoid them in the future.
What is a Halo in Photos?
A halo can usually be seen in high contrast areas, like where a mountain meets the sky. The higher the contrast, the better chance of a halo, especially as you push and pull sliders in post processing. While they are most commonly white or light blue, they can come in just about any color or brightness. Halos are most common in landscape photography where high contrast scenes are typically photographed. Although, this can be a problem in almost any kind of photography.
What Causes Halos?
The most common cause of halos is mistakes you may have made in post processing.
Local Editing
If you make selections in your editing, where you selectively edit only part of the photo, this can cause halos. When using selections to make local adjustments, you have to ensure that your selections are perfect. Refinement to your selection is almost always necessary.
In a landscape photo, you may have a foreground object that meets the sky, creating a very high contrast edge. When you make a selection to apply a local edit, be careful and refine the selection as much as possible to avoid halos.
Oversharpening
Local adjustments and poor selections aren’t the only way that halos can be created. Oversharpening your image can also cause quite noticeable halos. Sharpening your image just increases the edge contrast, which will cause halos to be amplified. To avoid halos from sharpening, always zoom in to the high contrast edges of your image before sharpening. Stop sharpening when you start to notice halos forming.
HDR
If you are a photographer who utilizes HDR (high dynamic range) techniques in order to capture scenes with bright highlights and dark shadows, be aware that you are more susceptible to halos. Since HDR stacking software combines multiple images together, you will often find small halos as a result of selections by the software that aren’t quite perfect. Next time you combine your HDR exposures, check if there is a box to remove halos automatically. Checking this can oftentimes remove the halos in your image. This will save you time needing to remove them manually in Photoshop.
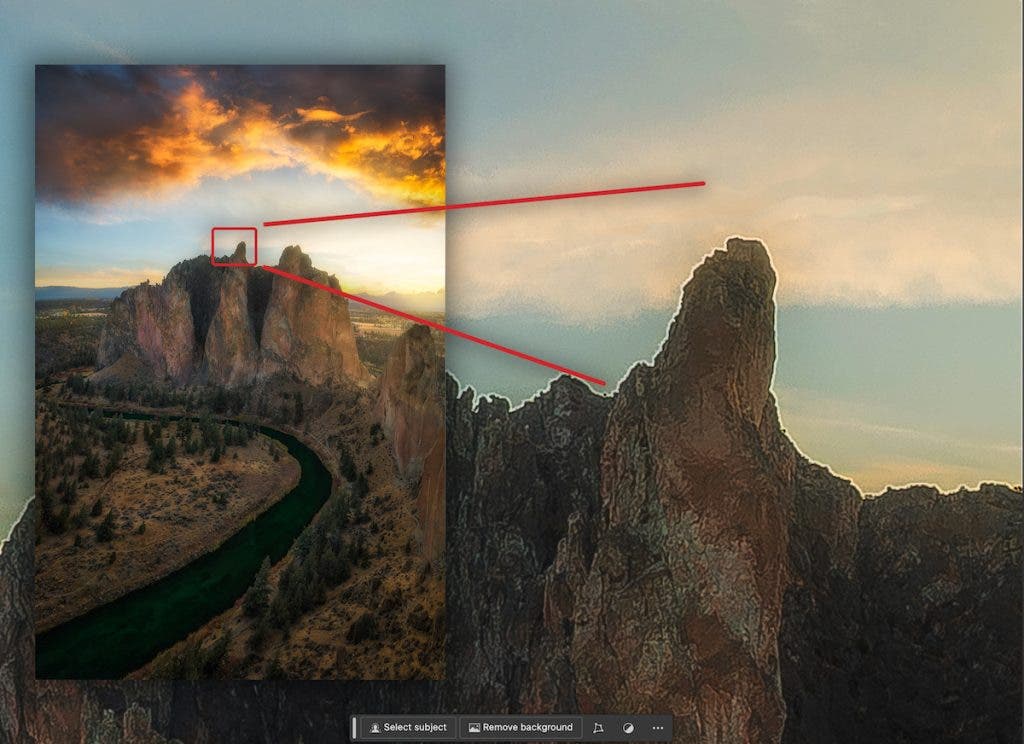
How to Remove Halos in Photoshop
Photoshop is the perfect tool that is both easy to use and effectively removes halos. To begin, open your image in Photoshop and duplicate the background layer (CMD+J on Mac, Control+J on PC). Grab the clone stamp tool (S), and then zoom in to the first area you want to work on.
Change the blend mode of the clone stamp brush to “Darken.” This step is absolutely essential. It’s very important that you do it correctly. Don’t be confused by the blend mode of the layer. You need to adjust the blend mode of the brush, which is changed on the top menu bar (see video below).
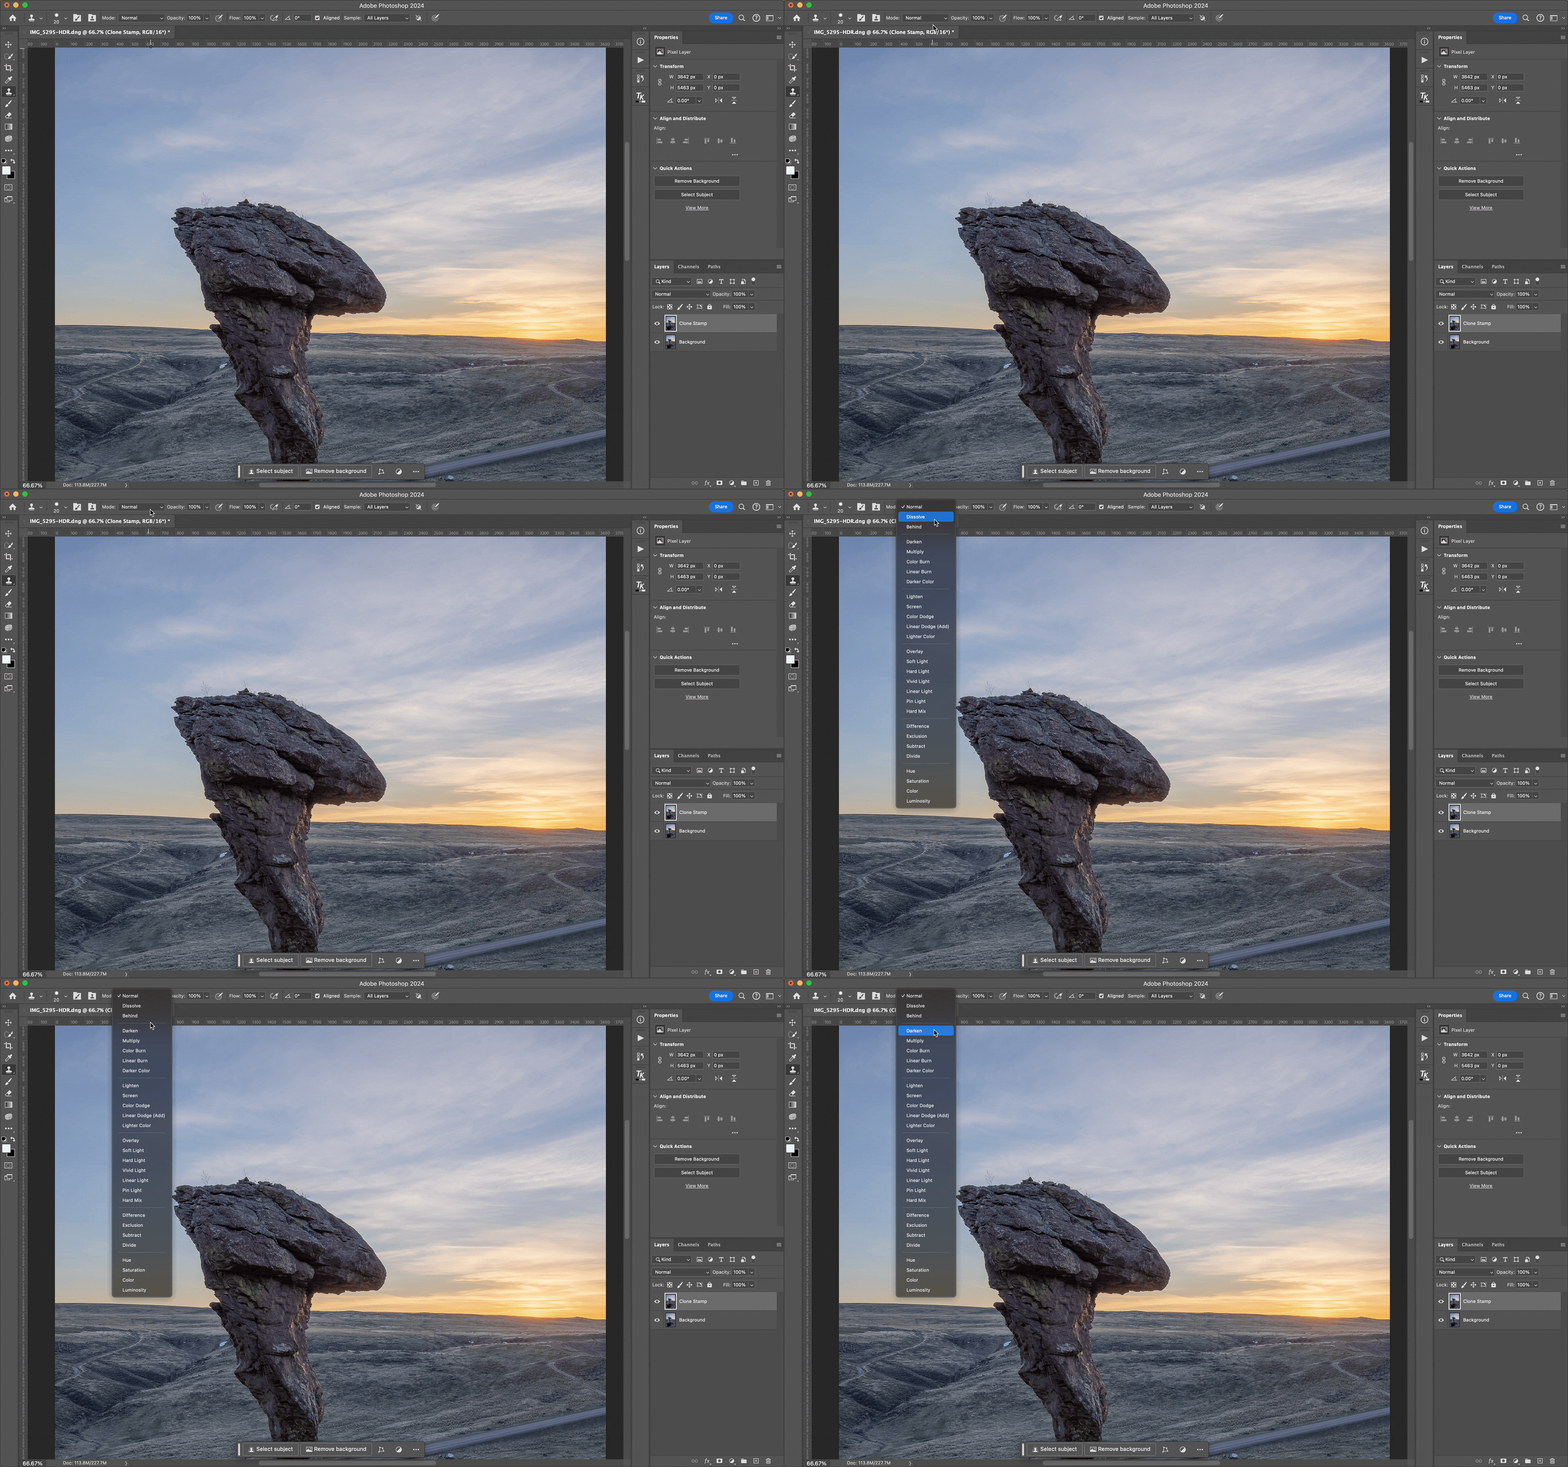
Once you have the blend mode of the clone stamp brush changed to “Darken,” you can begin removing the halos. If you haven’t used the clone stamp tool before—don’t worry. The way the clone stamp brush works is simple. Hold the ALT/OPTION button on your keyboard and select the area you’d like to sample from. The area you select will be the area that Photoshop takes pixels from to replace the halo area, so you want it to be close to the affected area.
If you want to change the size of the brush, you can do that by clicking on the drop down menu for the clone stamp tool in the top menu bar, and then change the size. You’ll get the best results by using the smallest brush possible for fixing the problematic area. Use a brush large enough to fix the area in one pass, but small enough that you aren’t changing too much of the area unaffected by halos.
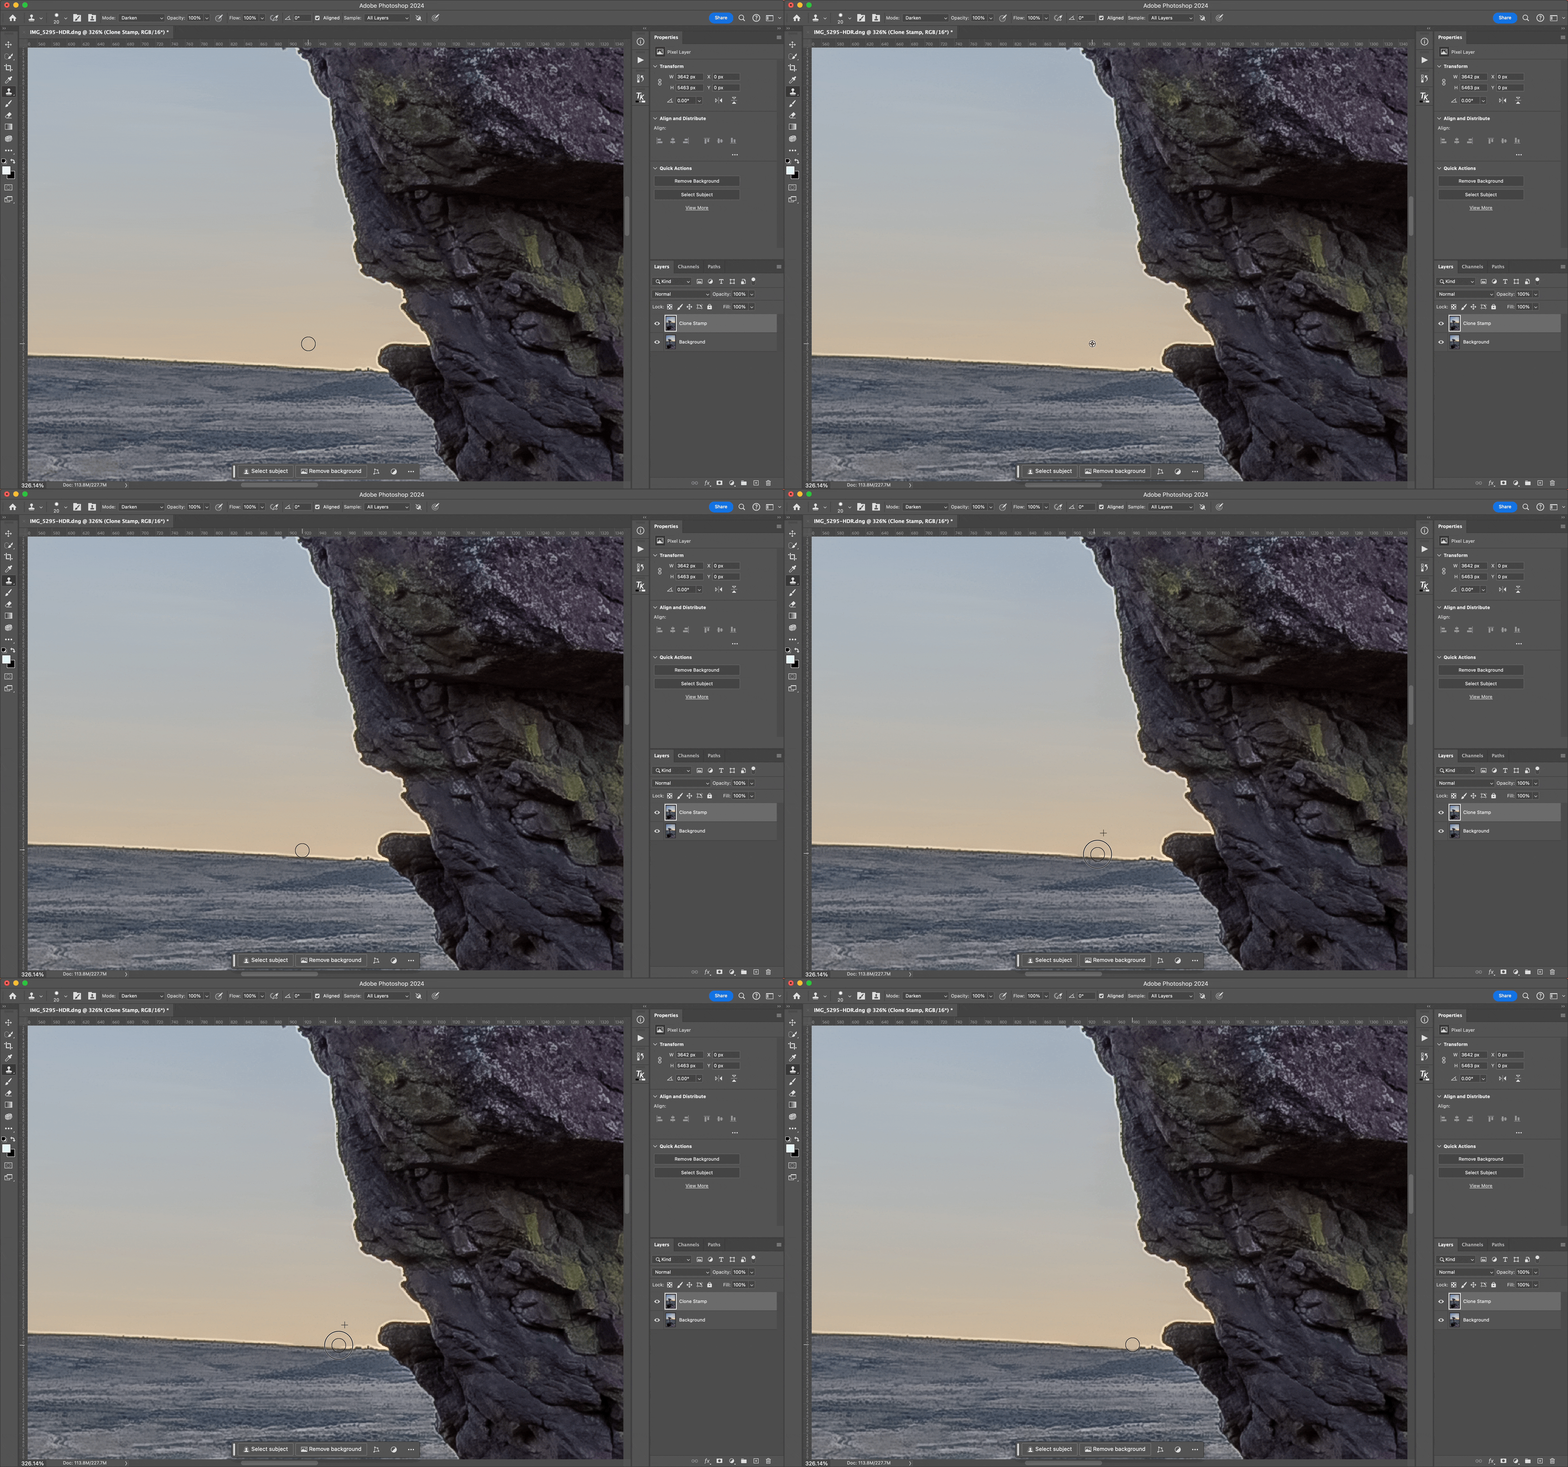
Once you’ve selected the area, you can begin painting. The cross reticle on the screen shows where the pixels are being sampled from as you continue to apply the paint. Continue to move along and paint over the halo area, being sure to keep the sampled spot close to the area you paint.
Since the sampled area moves with you, you only need to resample (hold ALT/OPTION and click on the image) if you change directions, or if the background changes significantly.
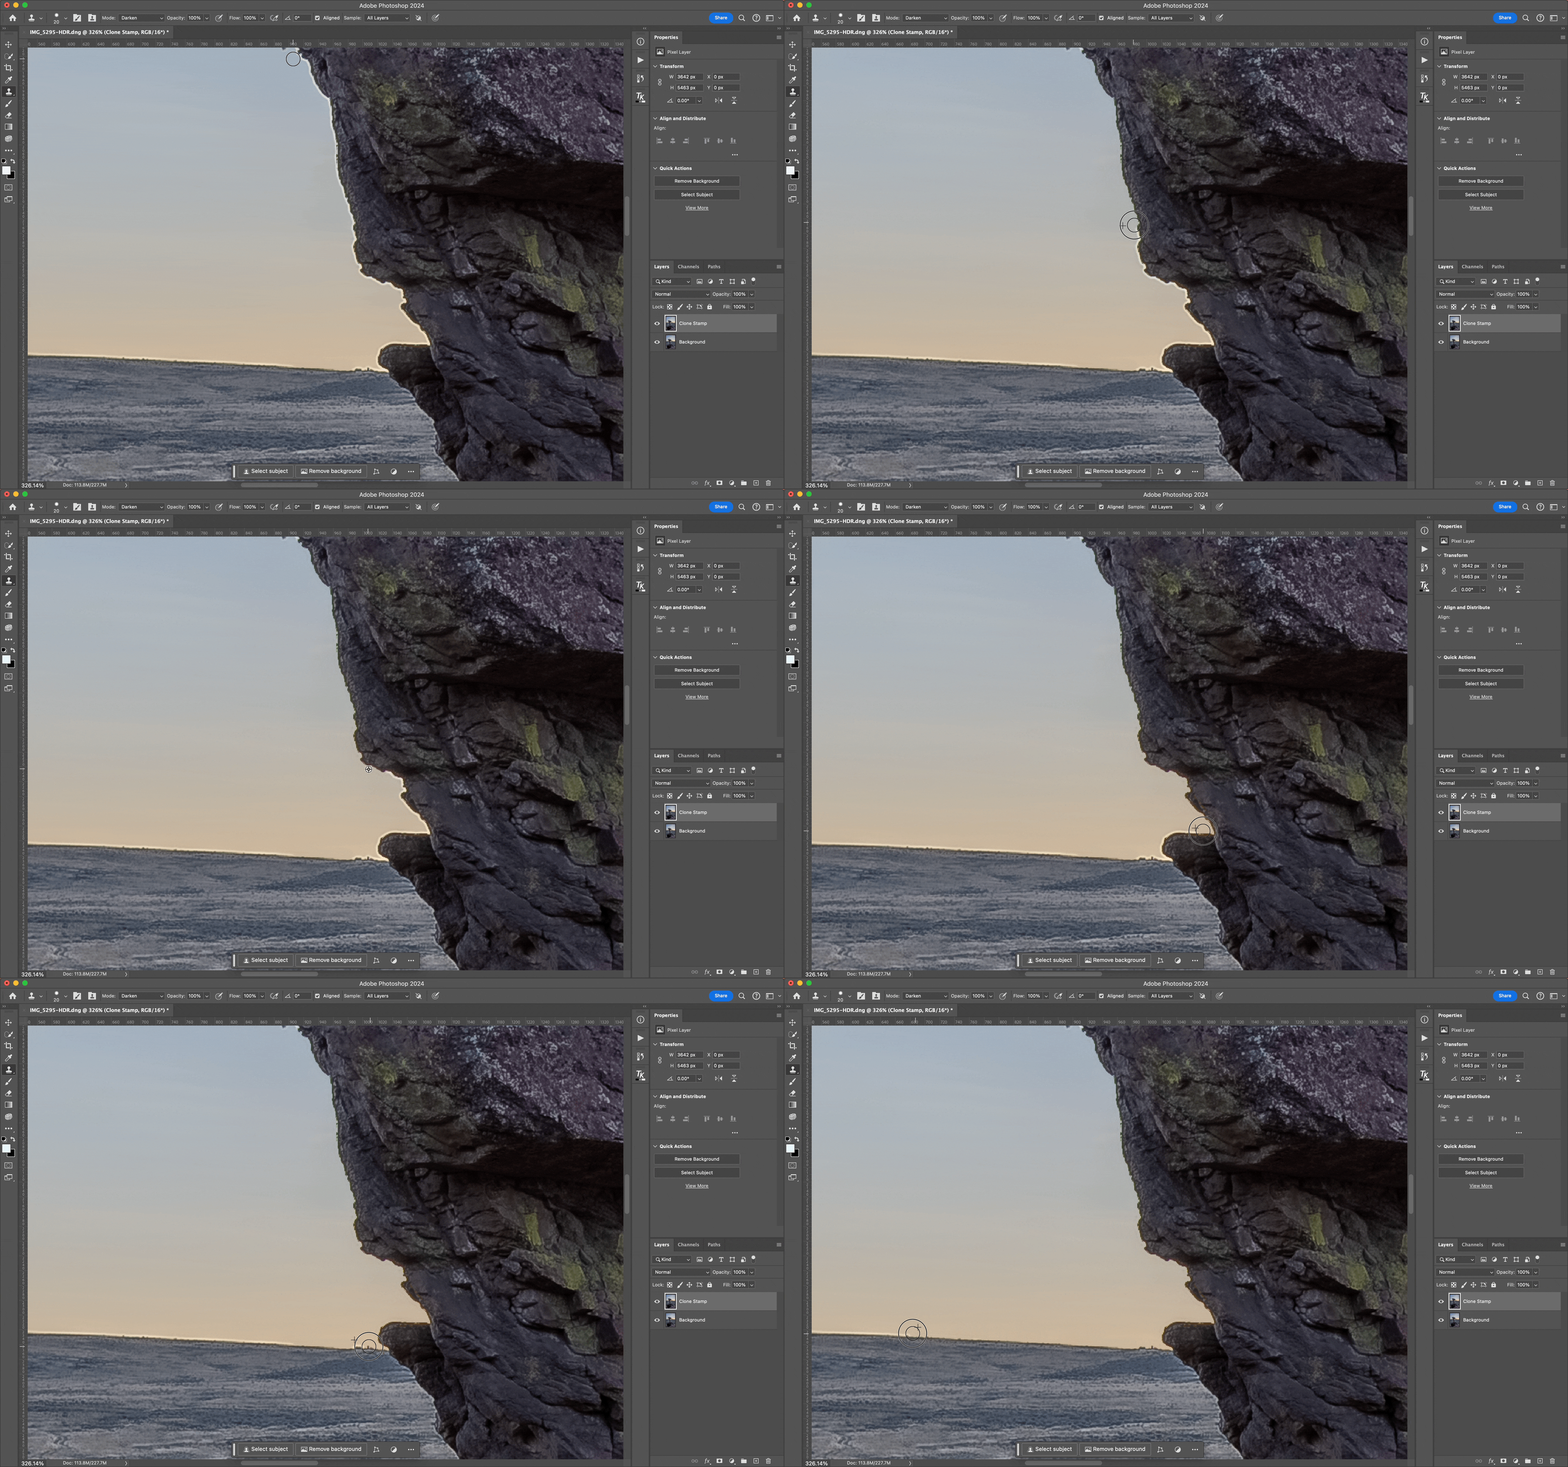
Once you’re done, toggle the new layer and make sure you’re satisfied with the results. Feel free to go back and make adjustments as you see fit. always remember to pick a new sample point when you’re using the clone stamp.
Final Thoughts
The easiest way to fix halos is, of course, by not having them to begin with. Always be sure to toggle adjustments each time you edit your image. This will help you to find the adjustments that are causing the halos to be stronger. But even when you do run into problems in your photography, knowing how to fix it in Photoshop will help you salvage an image that may otherwise be unusable.
