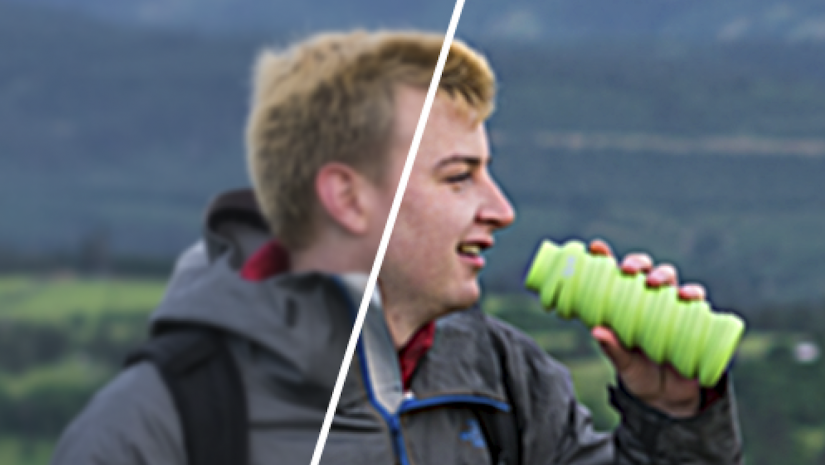
In a perfect world, every photo we take would be perfectly sharp coming right out the camera. Most photographers strive to take high-quality, in-focus images. However, even photographers make mistakes sometimes. Nothing is worse than returning home to see that your favorite photo from your recent photoshoot turned out blurry. Luckily, you can still fix blurry pictures using the latest software.
With today’s technology, a slightly blurry photo isn’t necessarily an end-all. If you’ve just slightly missed the focal point and have a photo with a small amount of blur, it may still be salvageable. In this post, you’ll learn how to fix blurry pictures using Photoshop. Let’s jump right in.
How to Fix Blurry Pictures
Step 1: Open in Photoshop
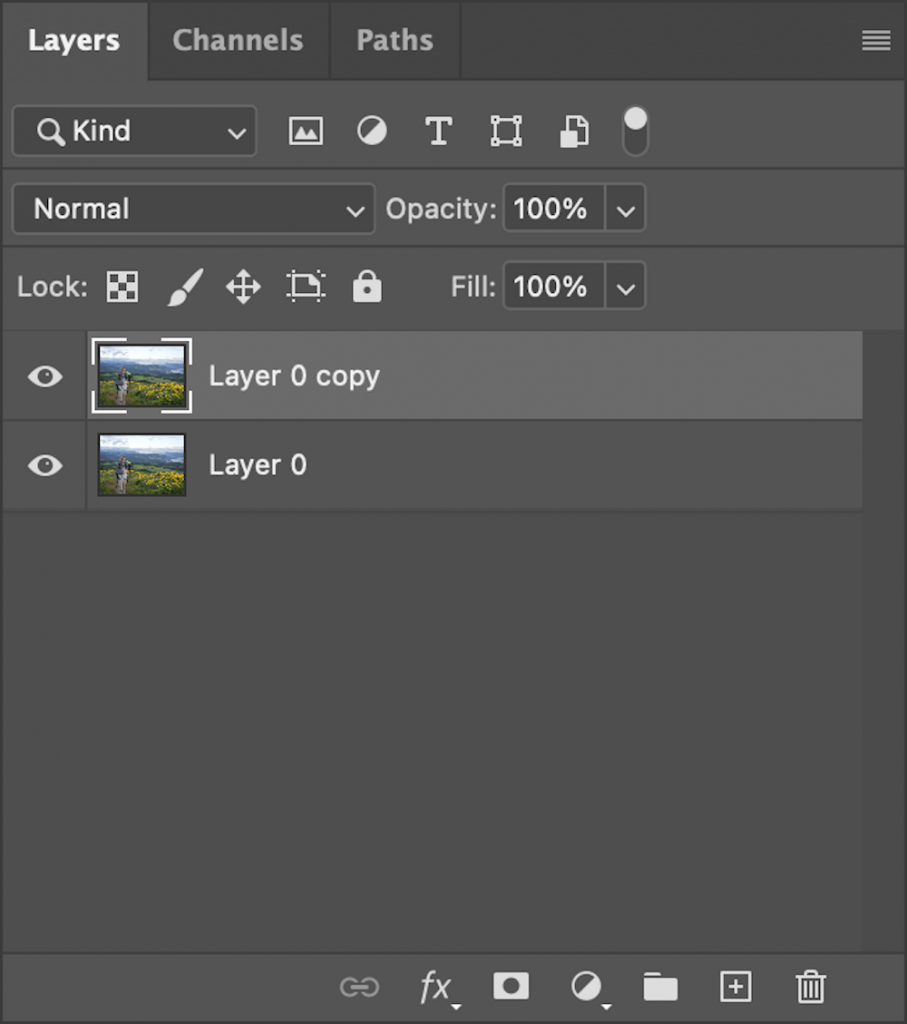
Open your blurry photo in Photoshop. Unlock the background layer by clicking on the lock button next to your photo layer in the Layers panel.

Step 2: Duplicate the Background Layer
With the photo layer selected, use Command + J (Mac) or Control + J (PC) to duplicate the layer. This will make an identical layer that we can use to apply the sharpening. This way, we can easily toggle between before and after, or adjust the opacity to perfectly blend the sharpening. After duplicating your background layer, the Layers panel should look like this:
Step 3: Use the Unsharp Mask
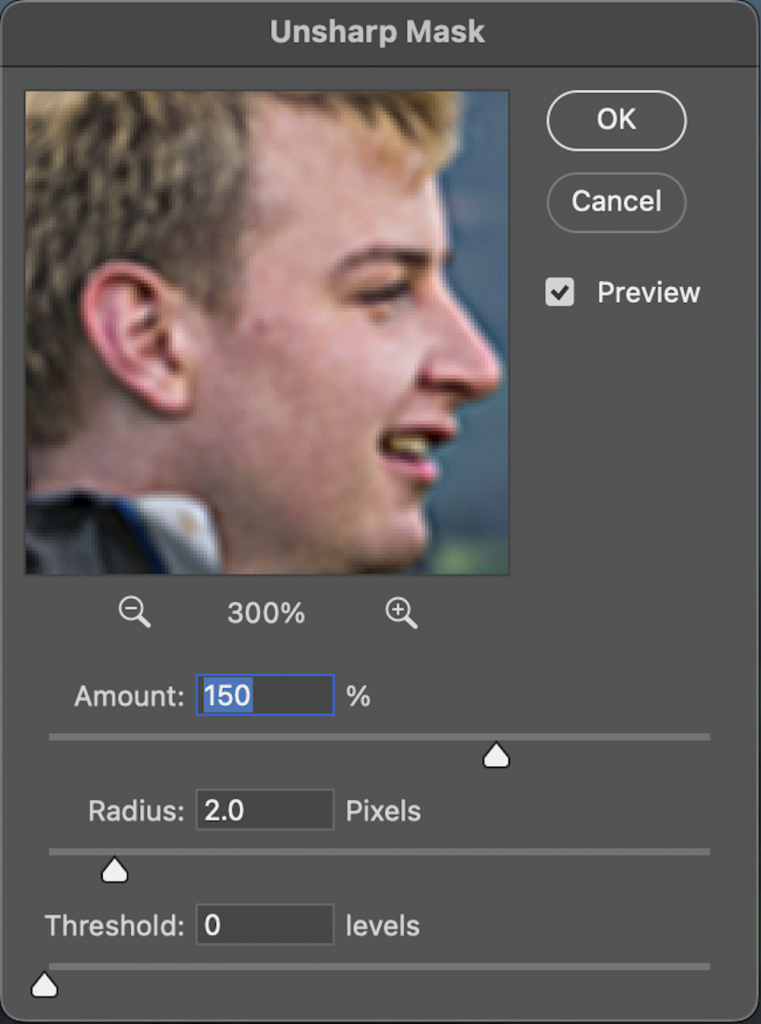
The Unsharp Mask is a way of sharpening in Photoshop that happens to work quite well for sharpening blurry pictures to help remove blur. To use the Unsharp Mask, go to Filter > Sharpen > Unsharp Mask.
Once you select Unsharp Mask, this box will appear. Change the amount to 150% and threshold to 0. Then, adjust the radius. Start at one pixel and bring the radius up. Continue to increase the radius until the amount of sharpening feels right for the image. Depending on the size of the photo and how blurry it is, the radius may need to be anywhere between one pixel and 25 pixels.


Step 4: Click OK, and Make Final Adjustments
Select OK once you’ve dialed in the settings for your Unsharp Mask, and let it load out. Once loaded, you can adjust the settings and make final adjustments on your photo. Click on the eye symbol in the Layers panel. Toggle the layer on and off to see the difference that the Unsharp Mask is making. If you wish, adjust the opacity slider within the Layers panel to reduce the effect if it appears too strong.
Note: You can’t sharpen incredibly blurry pictures. The unsharp mask takes and adds contrast to the edges of objects in your photo. If your picture is so blurry that you can’t even make out the edges, this tool won’t help you too much. The unsharp mask is perfect for shots where you’ve just slightly missed the focal point and want to return your photo to a high-enough quality to still be usable. Of course, getting a sharp image correct in the field will yield a better result, but this is an option for times where you have a blurry photo that you want to try and fix.
Additional Tips for Sharpening Blurry Pictures
Use Layer Masking to Sharpen Only Parts of the Image
If you’re familiar with layer masking, you can use masks to help restrict the unsharp mask. Using the unsharp mask on the whole image can create some unneeded sharpening on soft spots in the image, so using a layer mask can help you to restrict that sharpening. Ideally, you can just sharpen the subject while leaving the background alone.
Don’t Get Too Caught Up Zooming In
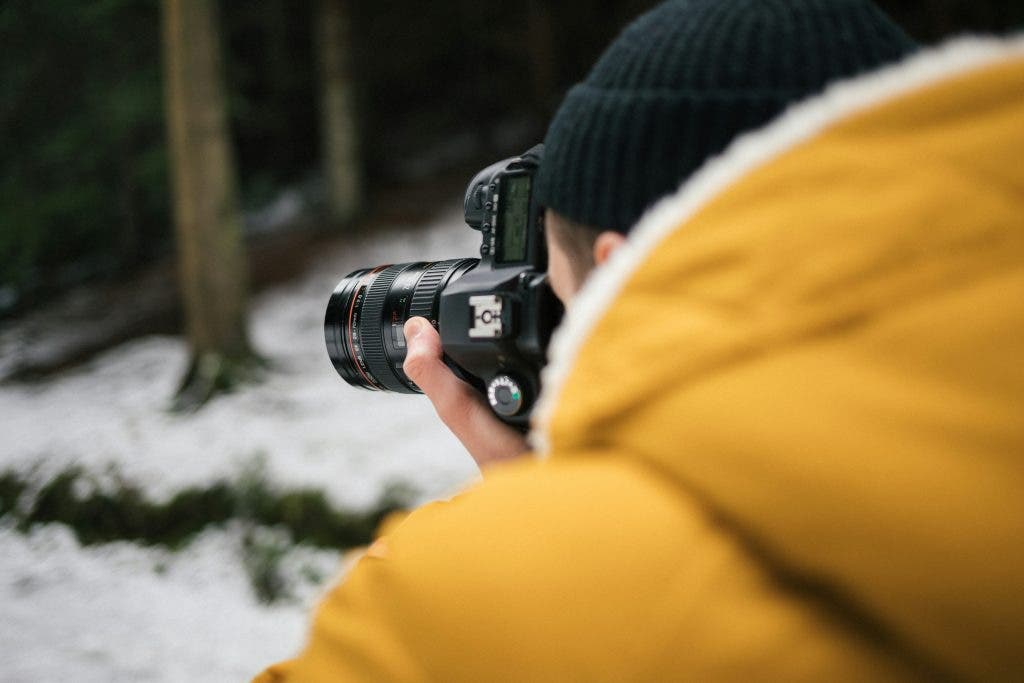
Know the intended use of your photo. If you just hope to have a photo that you can post on Instagram or Facebook, it probably isn’t as important that you get rid of so much blur. For this reason, you don’t need to zoom in, or pixel peep, to see the finest details. However, if you hope to print a photo, you may need to be more aggressive about your unsharp mask.
Adjust the Unsharp Mask Settings Carefully on Each Photo
There isn’t a one size-fits-all solution for the unsharp mask settings. Each and every photo will require different settings. Once you set the amount and threshold, adjust the radius. Once you set up the radius, feel free to go back and adjust the amount to make the sharpening perfectly fit your photo. The only way to make a blurry image even worse is by oversharpening. Remember that the unsharp mask is increasing the contrast of the edges in your photo, so you must be careful not to overdo it.
For Very Low Quality/High Blur Images, Try a Photoshop Plugin
The unsharp mask can only get you so far in the process of how to fix blurry pictures. If you are editing a seriously blurry image, you may need to use a third-party software to try and recover your image. Topaz Sharpen AI is a popular third-party software that uses the power of AI to sharpen your blurry images. Once inside, you have the option to choose how blurry your photo is and adjust a few settings. This software may be overkill for slightly blurry photos, but if you have a serious blur issue that Photoshop can’t seem to fix, the power of AI may be able to help you out.

Tips for Avoiding Blurry Images in the Field
Once you’ve done everything to sharpen your blurry pictures, think about what you can do next time to avoid blurry shots in the field. There are a few precautions you can take as a photographer to avoid blurry photos.
Pay Attention to the Shutter Speed
When shooting in low light where you will be lengthening the shutter speed to add more light, one general rule of thumb is to avoid having a slower shutter speed than your focal length. This technique is especially important when shooting handheld.
For example, if you’re shooting at 80mm, use a shutter speed of 1/80 or faster. For a focal length of 300mm, shoot at 1/300 of a second or faster. Never go below 1/30 of a second shutter speed when shooting handheld.
It’s important to have a fast shutter speed because slower shutter speeds can often create blur if you are shooting a moving subject, or if you are moving yourself. You may think you are standing still, but when shooting handheld, you are probably moving ever so slightly. These slight movements will be picked up by the camera, and amplified the lower the shutter speed you are using.
Lastly, you will need to adjust the shutter speed for moving objects. The faster the subjects in your photo are moving, the more you must speed up the shutter speed. You’ll need a much quicker shutter speed to photograph car racing or birds in flight than you would to photograph something moving much slower. The best way to determine what shutter speed you need is by trial and error. Capture multiple photos and review the images to ensure sharpness.
Shoot Using a Tripod
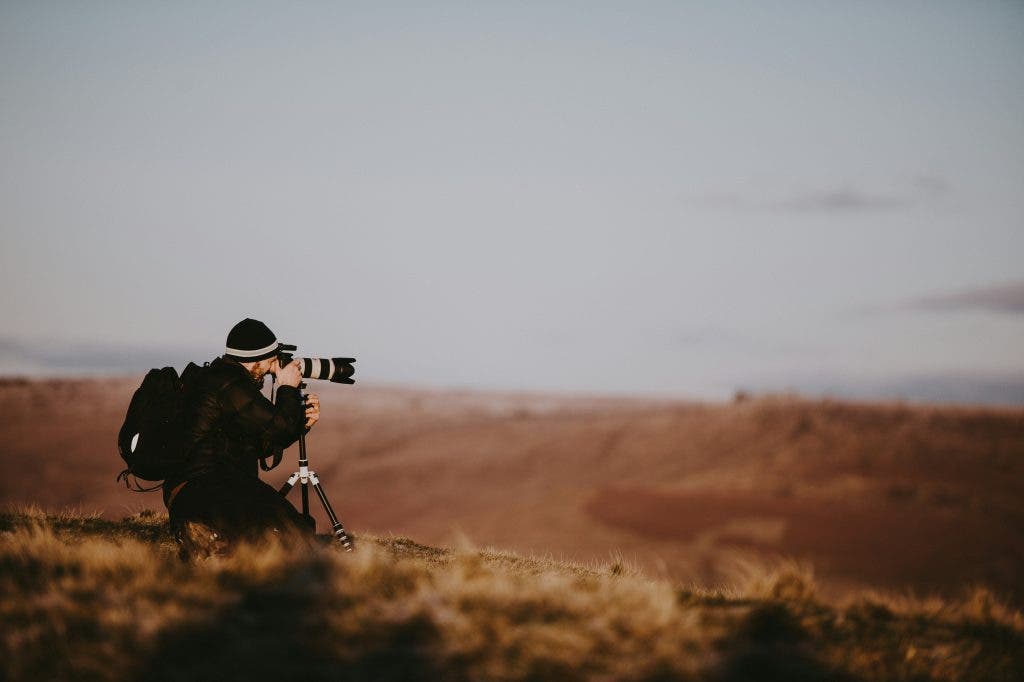
As much as you may dislike using a tripod, this is a great way to ensure a sharp photo. Using a tripod forces you to slow down and select your composition, and then focus on your scene. Once you set your focus on a tripod, you can turn autofocus off (if shooting a non-moving subject) so that the camera doesn’t hunt for focus every time you take a photo. Also, using a tripod will help to make sure that the camera stays still while shooting.
Use Image Review to Check Your Photos
Review your photos in the field using Image Review to make sure that they are sharp. I prefer to review my photos, and then zoom in. Most cameras have the ability to zoom in to the photo on the back LCD screen. By zooming in, you can easily see any problems with the focus or composition. Try to do this right after you take a photo every once in a while, so that if you need to reshoot, you can easily do so without wasting too much time.
Use Eye AF If Available
Many newer cameras have Eye Autofocus available. This is a newer technology that detects the eyes of people and animals to ensure that the eye is in perfect focus. This will help to make sure that you get the perfect focus and avoid blur in your photo. As with any other kind of autofocus technology, Eye AF isn’t perfect, so be sure to review your images to ensure sharpness after you take your photo.
Hopefully this guide will help you know how to fix blurry pictures and help you to avoid taking blurry photos in the future.
Master Photo Sharpening in Photoshop
If there was ever a club for everyone who got frustrated by a blurry photo, it would have a billion members. Club existing or not, everyone will be relieved to know that Photoshop offers a straightforward way to sharpen your images, as we’ve discussed in this article.
Remember, even though Photoshop can do a lot for photos that are slightly out of focus, it won’t perform miracles on extremely blurry images. Each photo will require different settings, so take your time to experiment and find the perfect balance. Ultimately, the best solution is to avoid blur in the first place! Use the proper techniques, such as the right shutter speed, a tripod, and image review.
FAQs
How to improve picture quality?
Improving picture quality can be approached in several ways: Start by ensuring proper lighting and stability when taking photos. After, use the highest resolution possible on your camera to capture more detail. In post, use Photoshop or Lightroom to adjust important settings. All of these can significantly enhance the overall quality of your image.
Can you upscale a blurry photo?
Yes, you can upscale a blurry photo! But it won’t necessarily become clear. Tools like Adobe Photoshop and online services such as Let’s Enhance use AI to add details when upscaling, but the results vary based on the photo quality.
How do I fix low quality photos?
To fix low-quality photos, increase the resolution in the highest setting possible, adjust brightness and contrast, and reduce noise using filters. To amp it up, adjust color and sharpness to help make the photo look clearer and more vibrant. Remember, the better the original photo, the easier it is to improve its quality.
What is the app that makes blurry photos clear?
There are two popular options right now. One is Adobe Lightroom, a software (and app!) that offers powerful tools to enhance and sharpen images. Another is Remini, a mobile app specifically designed to use AI technology to clarify and upscale blurry photos.
