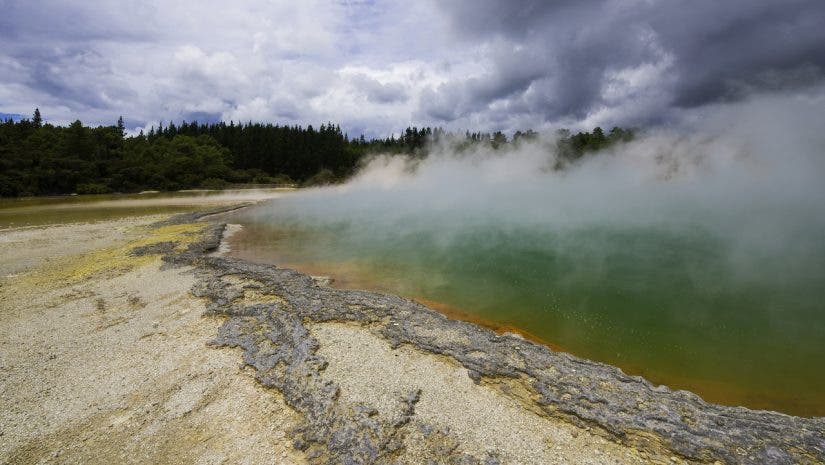
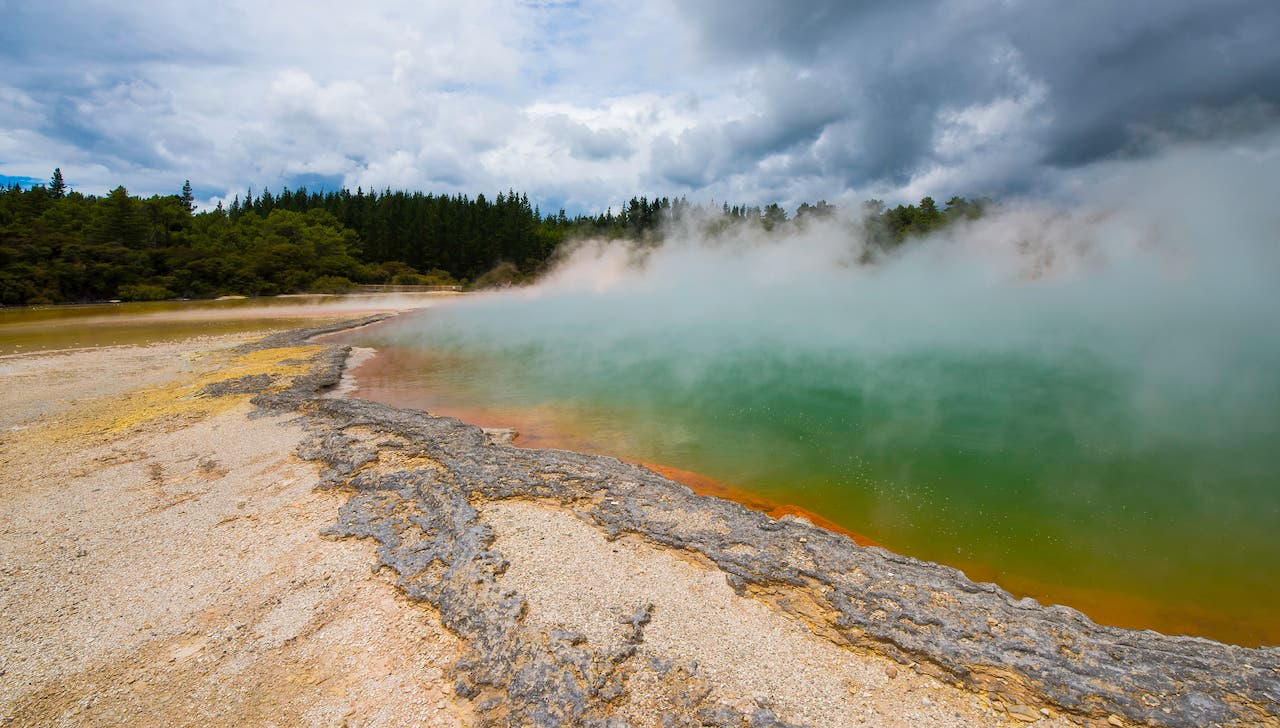
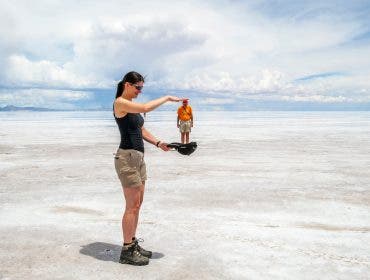
Composing landscape photos can be tricky. You have to frame vast scenery without losing the 3D perspective and the sense of depth. You also have to deal with geometric shapes and leading lines that steal attention if you are not careful enough. Furthermore, for most landscape photos, it’s hard to define a subject because the entire frame is in focus and can be “the subject.” If you struggle to create the most harmonious compositions directly in the camera, you can always crop the landscape photos as a last resort.
Cropping is reframing a photo by partially cutting away the outer edges. You choose to reduce the image to a rectangular (or differently shaped) part of it to improve composition, remove unwanted elements, or fix framing mistakes. Although cropping can save a photo, it comes with a cost: cropping reduces the pixel dimension of the image. In addition, if you take photos at low resolution and use the JPEG format, cropping can seriously affect image quality. So, use it wisely and only when it’s necessary.
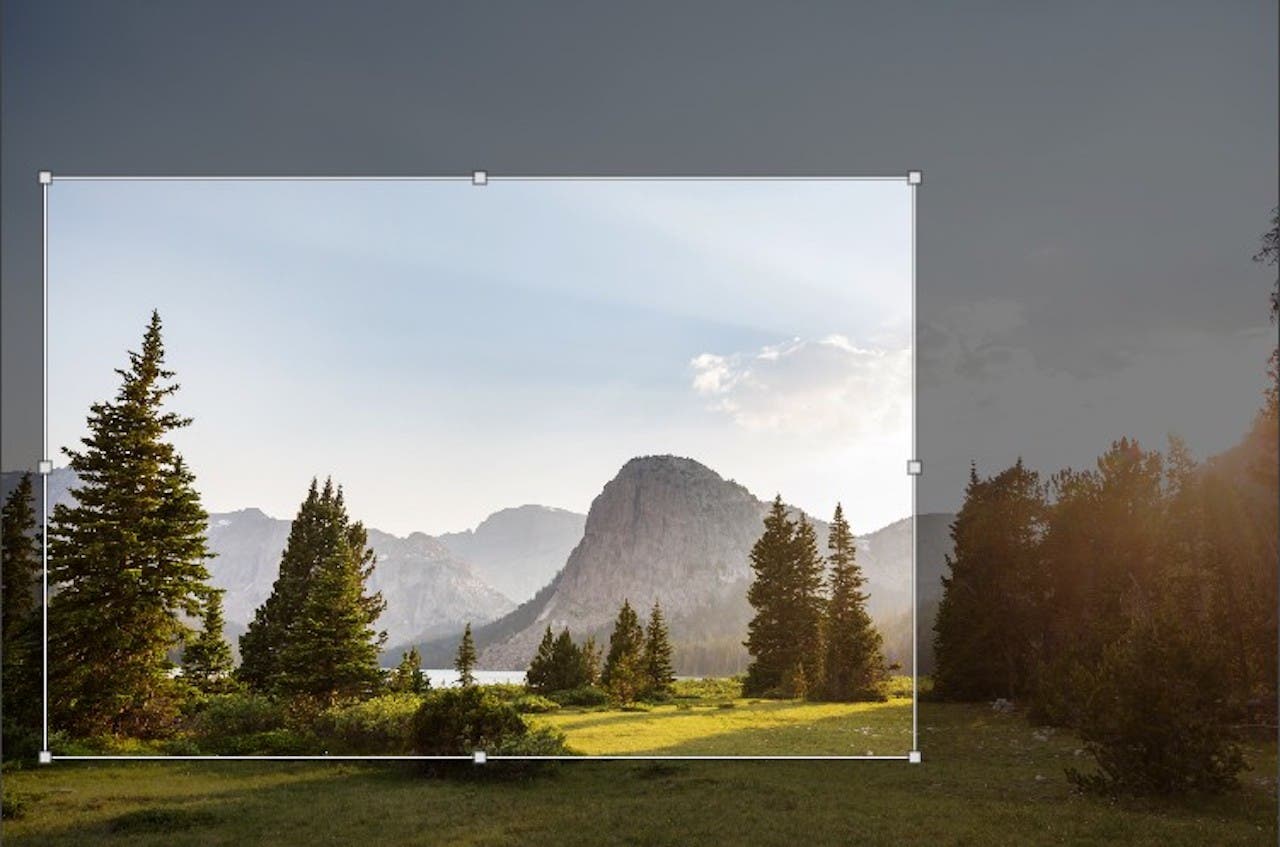
Because almost any photo editor provides a crop tool that is very easy to use, people often use it too much and not for the right reasons. Unfortunately, cropping cannot save all bad compositions and, in the wrong hands, it can ruin otherwise good photos. Check out the following tips to understand when and how to crop your landscape photos.
What to Do when Cropping Landscape Photos
Before selecting the crop tool, make sure your image needs it. If you like the photo like it is, don’t cut out a single pixel. But if you feel that the composition is unbalanced, there are elements in the frame you don’t want, or the focal point sits awkwardly in the frame, try to fix it using cropping. Most photo editors allow you to preview the result of your edits and decide what to do. As a general rule, keep the original image too. You never know when you might need it.
Crop Landscape Photos to Follow the Rules of Composition
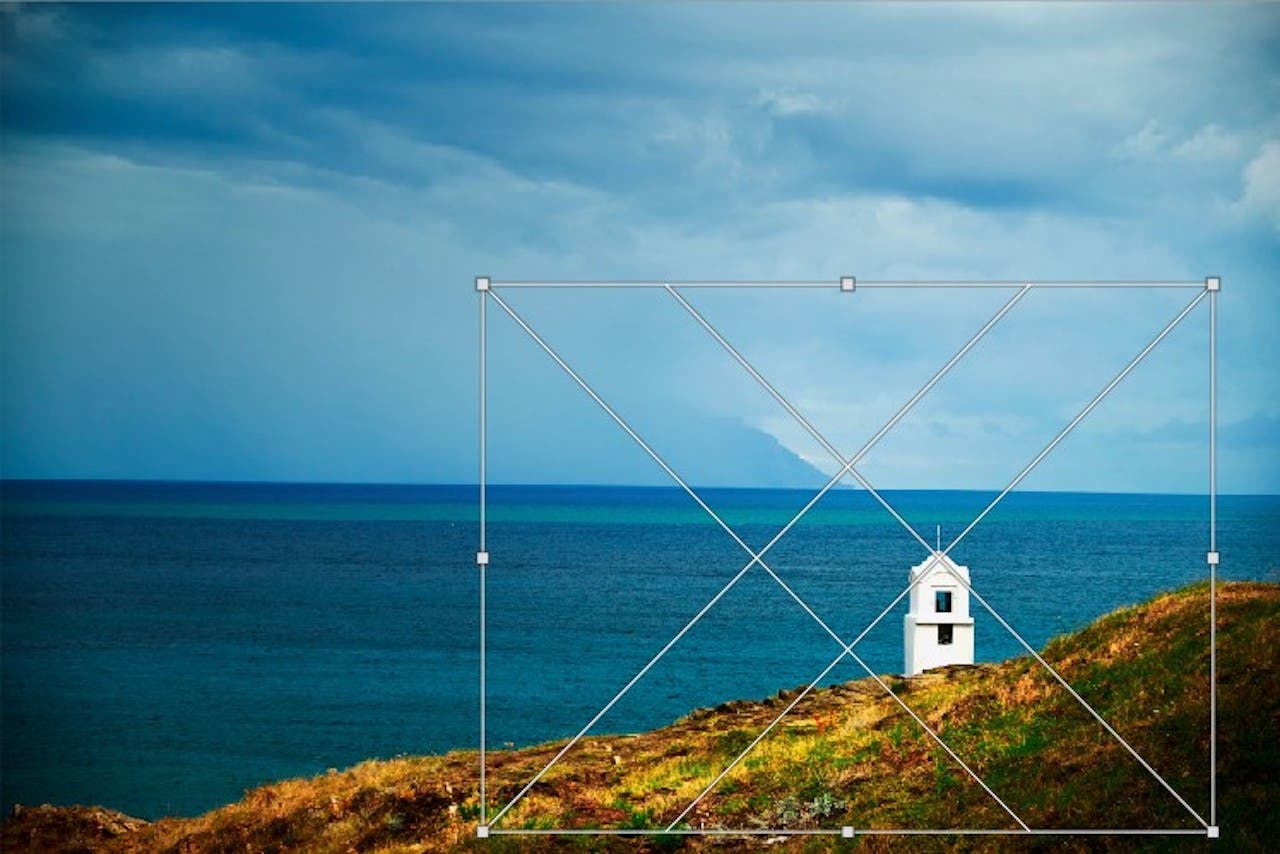
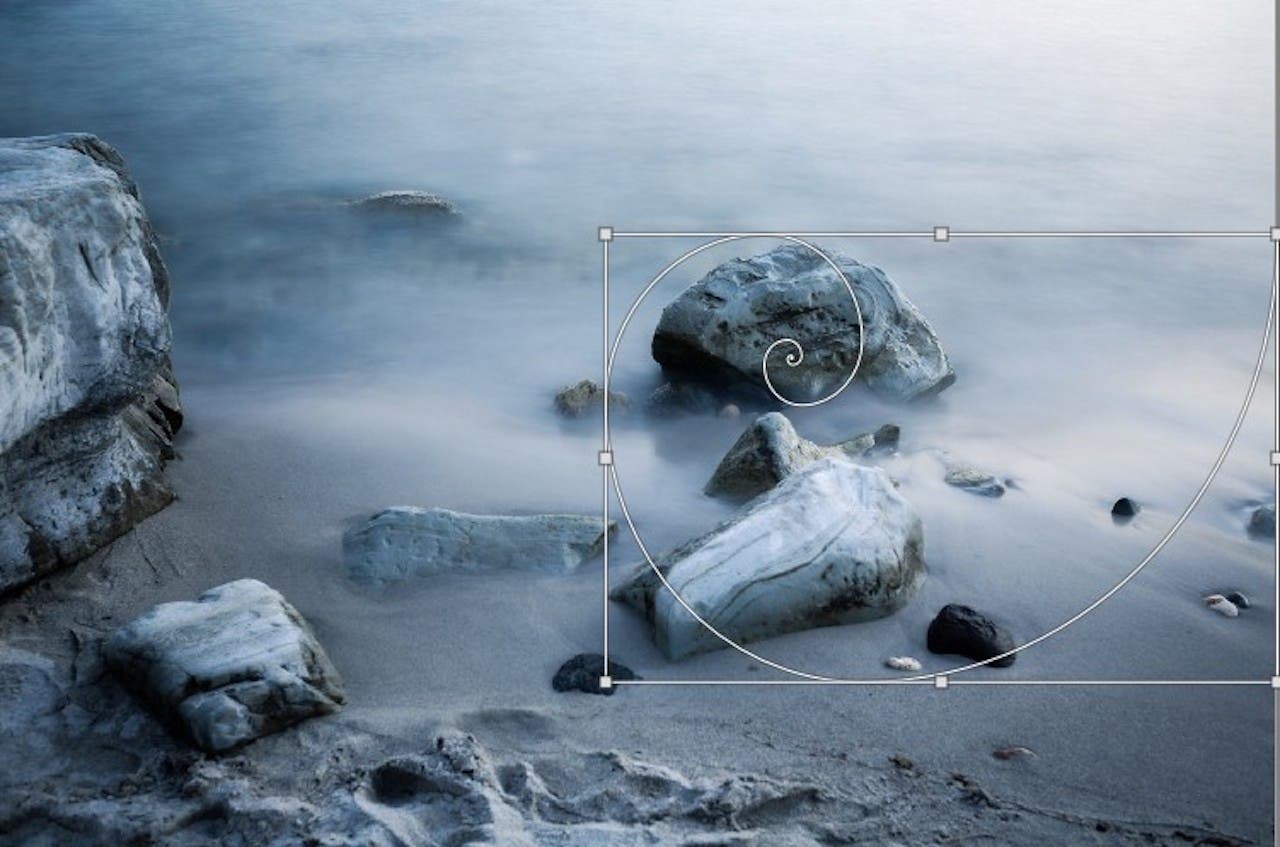
Landscape photographs look better if you follow the rules of composition. The rule of thirds, the golden rule, and the golden triangle rule help you balance the composition. They create an appealing proportion between the landscape parts (e.g., the sky, mountains, fields, etc.). You could fix it by cropping if you didn’t think about it when you pressed the shutter release.
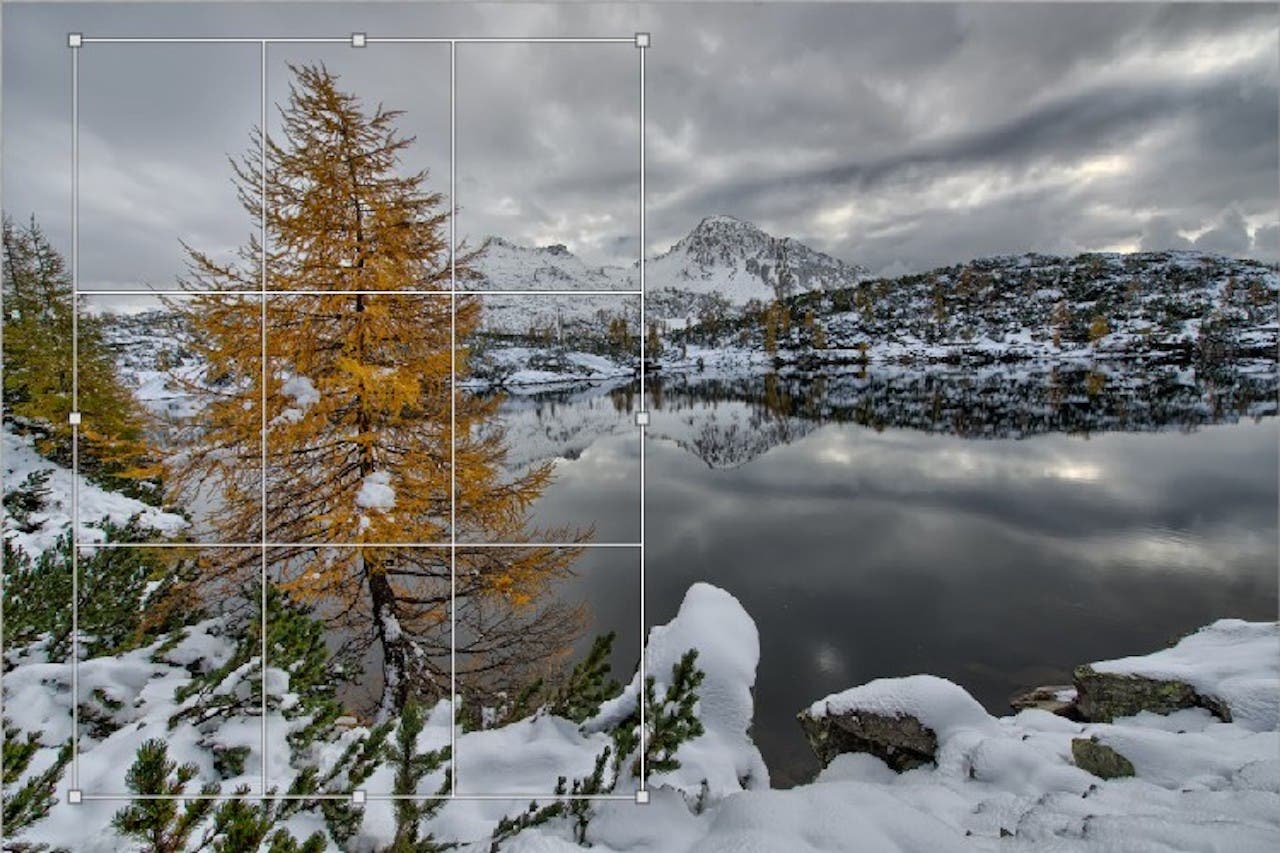
Most professional photo editors such as Photoshop, Capture One, Lightroom, and Affinity Photo provide grids that follow the rules of composition. As a result, when you crop an image, you can visualize where you need to put the focal point to be the first thing the viewer sees. Using grids when you crop landscape photos is good practice. They train your eye to notice the better proportions when you take photos. Soon enough, you won’t need the crop tool to follow the rules of composition anymore.
Get Rid of Awkwardly Cut Elements at the Edge of the Frame
Landscapes are challenging subject matters that don’t always allow you to take photos from the best position. As a result, sometimes you have unwanted elements or parts of elements at the edge of the frame (e.g., trees, electricity poles, wires, etc.). Cropping is the best way to get rid of them and create cleaner compositions.
Keep the Horizon into the Frame
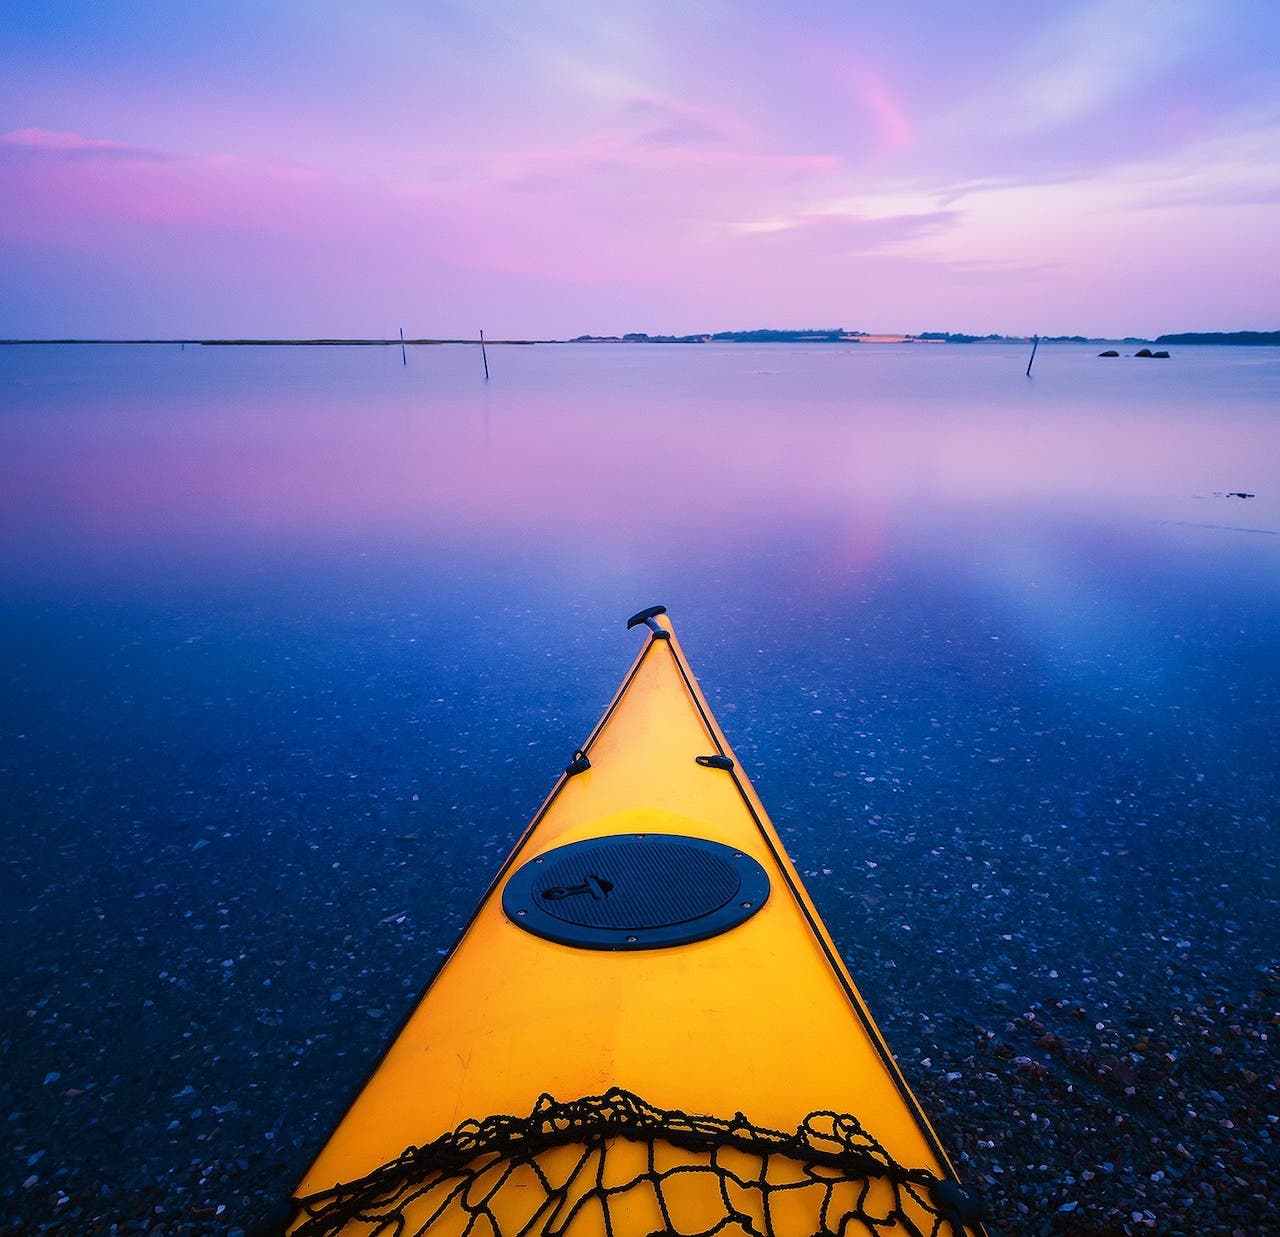
Leading lines are essential elements in landscape photography. Almost all landscape photos include the horizon, a solid horizontal line that leads the viewer’s eye through the frame. People expect to see the horizon in a landscape. Therefore, don’t remove it.
You can create landscape compositions without framing the horizon, for example, to emphasize clouds, foliage, or mountains. But make the decision when you take the photo. Removing the horizon from an image that initially included it creates an artificial and strange-looking composition.
Make the Subject Stand Out
Cropping is an easy way to make the subject stand out. You can use the rules of composition to position the subject in the frame. Or you can remove some of the empty space around it and make the subject look larger and more impressive. Cropping also allows you to declutter the frame by removing elements near the edges. It helps you individualize the subject and enhance its details.
Create a Strong Focal Point
If your landscape photos lack a focal point, you can create one by cutting out elements that distract the viewer from the essential part of the frame. For example, you can reframe a photo of mountains to include a single peak. But before editing an image, ask yourself what message you want to convey and why it matters to you. The focal point is an aesthetic element, but it’s also the carrier of the message. It dictates the atmosphere of the photo and influences the viewer’s feelings. Therefore, creating a strong focal point is more of a personal decision than an aesthetic one.
What Not to Do when Cropping Landscape Photos
Because we use cropping so often, mistakes are inevitable. When you crop your photos the wrong way, you can be sure everybody will notice. It is good practice to look at your images before and after editing them and see what went wrong. Remember that a landscape photograph should tell a story and invite the viewer to emerge into the landscape and receive your message.
Don’t Change the Orientation of the Image
Most landscape photos are taken using the landscape orientation because that is the natural way we see vast scenery. But you can always use the portrait or square format. The orientation of the frame is a compositional decision that should be made when you take the photo. Changing the orientation of the image through cropping reduces image quality and pixel dimensions quite a lot. It’s also very hard to find the right balance.
Don’t Cut Out Elements at the Edge of the Frame
Elements should be either in or out of the frame. Don’t crop your photos without looking at the entire frame and noticing what happens at the edges. A common mistake is to focus on the subject so much that you miss awkwardly cut rocks, trees, and even people.
Don’t Use More than One Aspect Ratio for a Photo Series
While a photo may look better with a different aspect ratio than the others, try to use the same ratio throughout a photo series. It will help you present a more cohesive work, convey a stronger message, and develop a more pleasant aesthetic. Moreover, no one will know that you cropped your images to achieve better compositions.
Don’t Eliminate the Foreground Elements
Foreground elements add a sense of depth to landscape photos. They help the viewer perceive distances and spend more time observing the photograph. When you crop an image, you usually want to make the subject stand out. Therefore, you cut out the space around it, including foreground elements. However, take time to observe the result and how removing foreground elements affects the 3D scene you want to recreate.
Don’t Remove all the Negative Space
Another common mistake is to remove all the space around the subject to make it stand out. Negative space has a significant role. It creates context, perspective, and atmosphere. Furthermore, it enriches the visual story and allows the subject to breathe. Sometimes it works to fill the frame with the subject; sometimes, it doesn’t. So judge each image individually and don’t treat negative space as the enemy. Landscape photos have and should have a lot of negative space (e.g., sky, fields, lakes, beaches, grass, etc.).
Concluding words
While landscape photography is challenging, don’t go for the easiest-to-use editing tool to fix your compositions. Cropping may be very helpful, but only when you use it wisely. Instead, only crop landscape photos that need cropping and make sure you produce a cohesive portfolio. Create a routine and stick to it. And remember that a low-quality image is a failure no matter how appealing and well-balanced the composition is.
