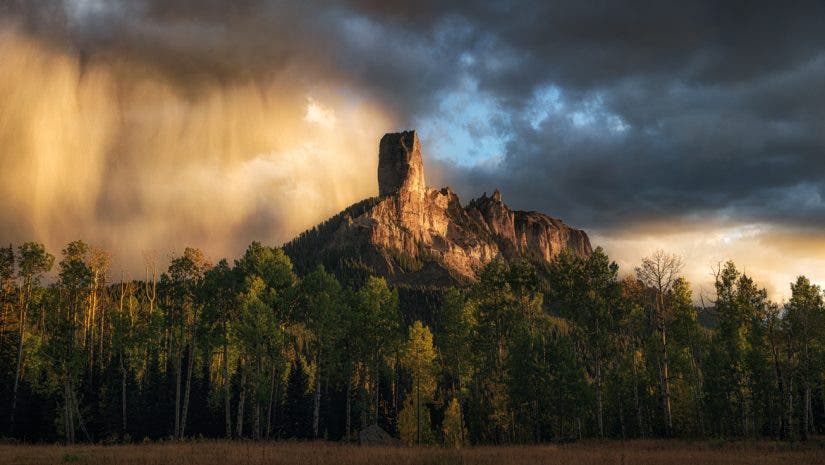
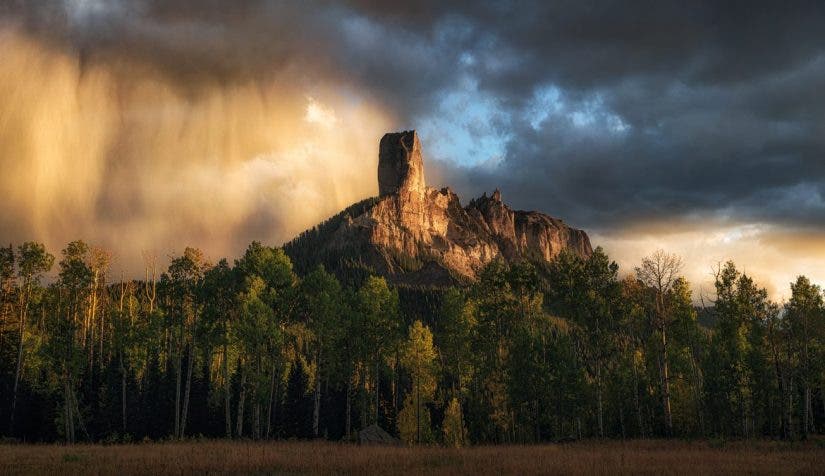
Of the hundreds of different effects you can use to enhance your photos in post processing, there is not a single effect more popular than the Orton effect. This effect helps bring your photos from boring and flat, to dreamy and dimensional. If you’ve seen other landscape photos that look “dreamy” and wondered how to make your images look like that, you’ve come to the right place!
The Orton effect is a technique that was developed by Michael Orton in the 1980s to help add glow and dimension to an image. This technique is easily done in Photoshop using a few short steps, which will be outlined below.
Step 1: Duplicate Background Layer
Command+J on a Mac, or Control+J on a PC will duplicate the background layer. This stamped copy is necessary because we’ll be blurring this layer, but we still want the original background image to show through.
Step 2: Gaussian Blur
Go to Filter > Blur > Gaussian Blur, and set the radius to the same number as the amount of megapixels of the image. If you don’t know how many megapixels your camera is, 25-50 pixels is a good choice for the radius.
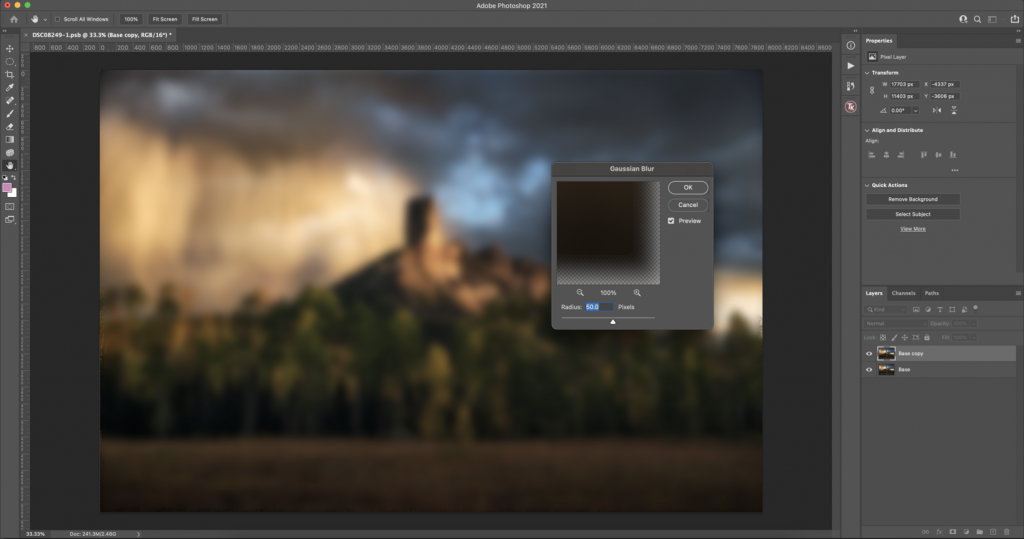
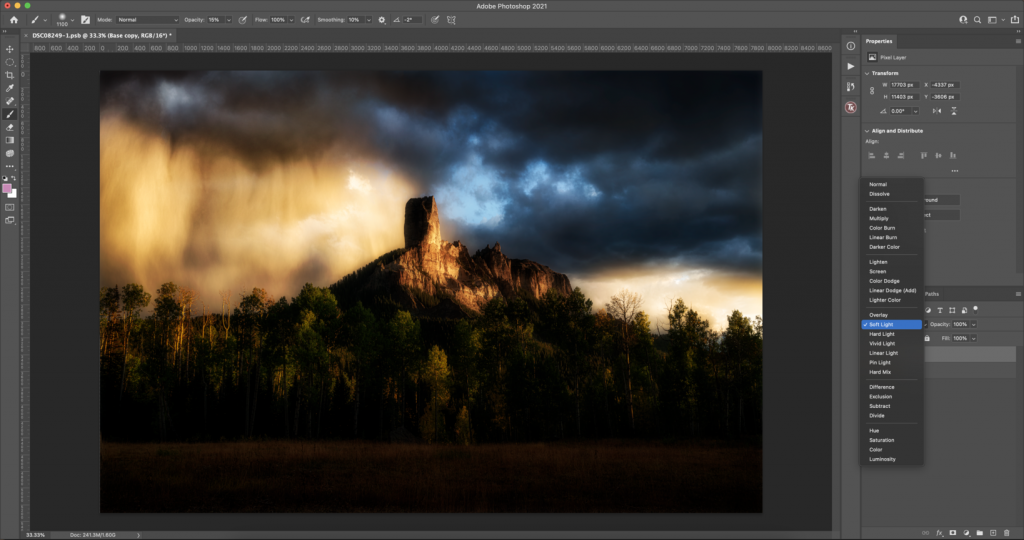
Step 3: Switch the Blend Mode to Soft Light
In the layers panel, switch the blurred layer to soft light. Your image should now look very dark and filled with contrast. However, we will be refining this with a mask to hide the high contrast areas in the shadows where we don’t want to introduce glow.
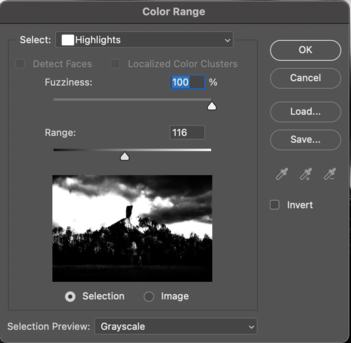
Step 4: Use Color Range to Make a Layer Mask
Go to Select > Color Range. Change the “Select” option at the top of the Color Range box to “Highlights.” You can now adjust the fuzziness and range until you’ve selected the highlights. Remember that anything white will show the Orton effect, while anything black will not show the adjustment. I prefer to leave the fuzziness at 100% and adjust the range as I see fit for each image.
Step 5: Apply the Layer Mask
Once you’re satisfied with the Color Range selection, let it load out. Then, you’ll need to hit the Layer Mask button in the Layers panel to apply this as a layer mask to the blurred layer. The Layer Mask button is the rectangle with the circle inside of it, to the right of the FX button. After you’ve applied the layer mask, you can go in with the brush tool and brush out spots where you don’t want the effect shining through. You can also lower the opacity of the layer to reduce the effect.
Things to Watch Out For
While the Orton effect makes many photos look amazing, it isn’t the right choice for every photo. If your photo doesn’t have any light striking the clouds or your subject, the Orton effect tends to make images look somewhat blurry. It is also crucial that you refine the layer mask so the effect only applies where you intend for it to be applied. If not, you run the risk of having light bleed in places where the light simply should not be!
Lastly, don’t overdo the effect. Generally, I always turn the opacity down after applying for a more realistic look. If you leave the opacity of the layer at 100%, you’ll find that it will oftentimes look fake, or too otherworldly. This gives the image an interesting look, but if you want to go for a realistic light glow, you usually will need to lower the opacity.
Using the Orton effect properly will help you add depth and dimension to your images, and create a beautiful, realistic looking glow that will be the perfect finishing touch on many sunset and sunrise images.
