Changing guitar strings is one of the more daunting tasks a new guitarist can take on, but it’s actually not as complicated as it seems. Check out our step-by-step guidelines, invest in all the right gear, and your playing will sound fresher than ever.
When should I change my guitar strings? And how often?
Your guitar’s sound gradually “dims” over time as oils from your fingers coat the strings; that’s why you should wash your hands before playing. If you play guitar on a near-daily basis, it’s good to change your strings around twice per year. Guitars that have languished in storage for years will almost always benefit from a new set of strings, too.
What kind of guitar strings should I use?
The two broad types of guitars available are nylon and steel-stringed models. It’s important to know the difference because you never want to use the wrong type of string on your specific type of guitar. Let’s explain.
Nylon strings are used for classical guitars. They’re mellow and easy on the fingers, but they can often feel “bulkier” for smaller fingers. Nylon strings are sorted based on their tension: high, medium (also called “normal”), and low. Low or medium tension strings are the best for beginners.
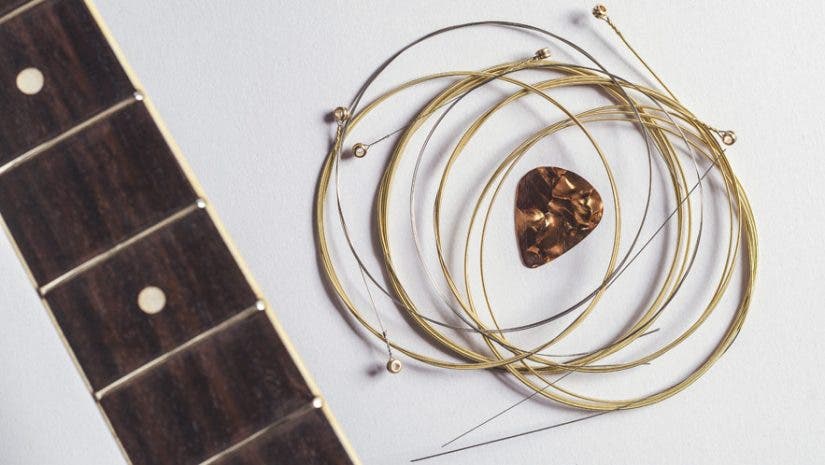
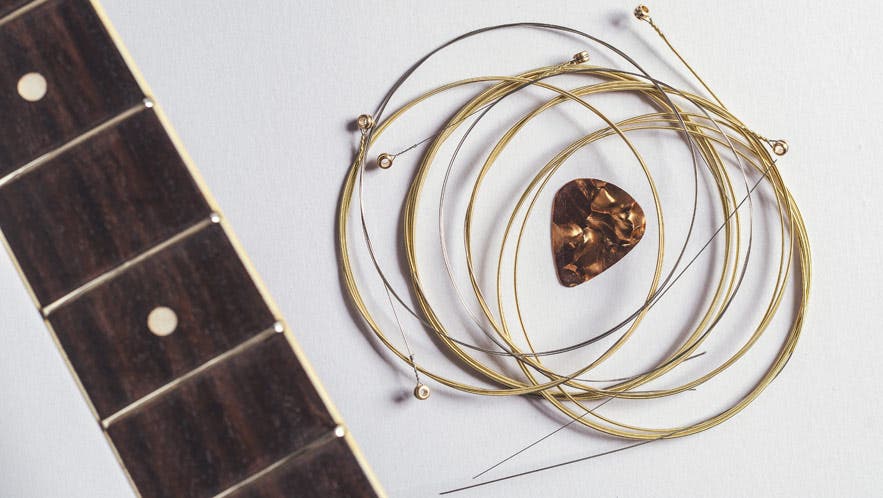
Steel string sets are classified by the gauge of their first string. Strings numbered as “9s” (.009” thick) are on the light end, while “14s” (.014”) are very heavy. Beginners should go for 10s on electric guitar like these Fender Super 250 strings, and 12s for acoustic like the Fender 60L’s.
Note: Acoustic guitar strings can also come wrapped in bronze, which does not work on electric guitars.
How to remember guitar strings order
Now that you have your pack of guitar strings, you’ll notice that there a six paper packets within it, each labeled with a number. Guitar strings order is based on the gauge or size of the string, and you’ll always find the thinnest strings are numbered “one” and the thickest strings are numbered “six.” The guitar strings order also relies on a numerical system based on the string gauge, or the thickness of a string measured in 1/1000th of an inch. For example, strings numbered “10′ ‘s” refer to 0.010 inches.
Once you know how to string a guitar, you’ll need to tune it. The guitar strings order for standard tuning begins with the thickest or lowest pitched string: “E-A-D-G- B-e.” Remember, “lowest” in guitar strings means pitch and happens to be the “highest” physically on the fretboard (closest to your head). Make up an acronym to remember the strings! Or try this one: Every Awesome Dog Gets Bones Everyday.
In what order should I restring my guitar?
The string order is one of the most critical aspects of learning how to change guitar strings. Ultimately you can remove all the guitar strings at once, but if it’s your first time, start with the E sixth string (thickest gauge). This will save you time and frustration!

What do I need besides guitar strings?
It’s always a good idea to order two identical sets of strings. If you accidentally break one while changing it, you’ll have a spare ready to go. Guitar string winders like the On-Stage GSW500 are great time-savers, but not essential. Also, guitar tuners like the On-Stage GTA6000 are the easiest way to make sure you’re hitting the correct notes, but there are numerous smartphone tuner apps as well.
Tools you need to change guitar strings
Changing guitar strings is possible without tools, but it is more difficult and takes much longer. You also run the risk of poking yourself with sharp wires. The tools you’ll need are a pair of peg winders and wire cutters.
Tuning peg winder
Once you know how to change guitar strings, you’ll find a peg winder the handiest tool to wind them up. A guitarist should not be without one! They save time and energy tightening the strings.
Wire cutters
String cutters can be separate, or pick up a winder with the cutters built in. Cutting strings should be effortless, but be careful not to scratch your guitar. Once you know the basic order of how to change guitar strings, go back and neatly trim all excess wires.
How to change the guitar strings
Now that you’re ready to restring your guitar, start by setting it down on a bench or a table, with all supplies on hand. Don’t unwrap and uncoil your new strings just yet. It’s easier to tell which is which when it’s still wrapped. Before you take your old strings off, make note of how they’re attached at the bridge (bottom) of the guitar. Some nylon strings have a ball-end, while others require you to tie a small hitch. All steel strings are ball-end.
1. Remove the old guitar strings
Loosen all the tuning knobs counterclockwise with your fingers or a winder until they’re loose enough that you can lift them off the tuning pegs. You can remove all the guitar strings at once, including any busted or broken strings, while being careful of any sharp ends. This also gives you a great opportunity to wipe down hard-to-reach places, including the entire fretboard, with some Fender Guitar Polish. But for a guitar with a floating bridge (most Gibson-style electrics), it’s best to change strings one-by-one.
2. Insert the new strings
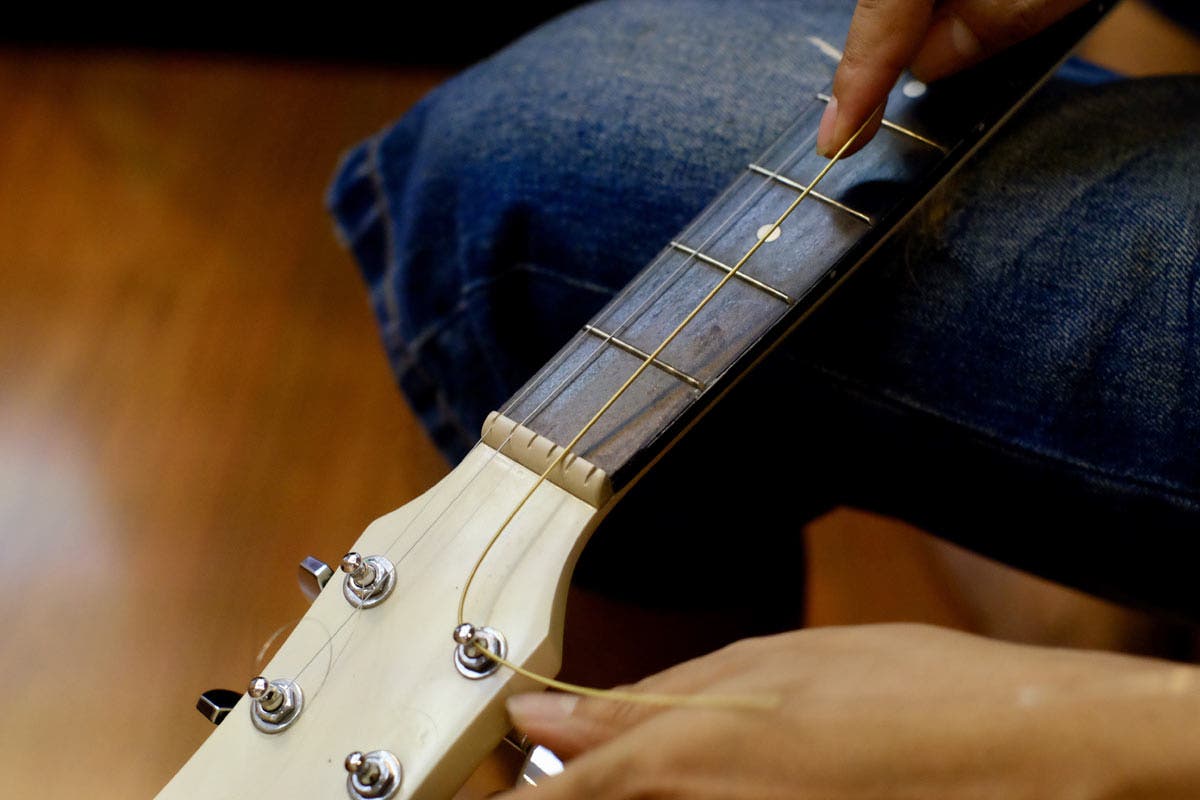
Now, insert your new strings through the bridge pins until each ball end of the string is caught. Insert the other end through the hole in the tuning peg, taking care not to puncture your fingertips. Pull the whole string through until there’s only enough string left behind the peg for 4-5 coils. For all but the lowest two strings, you should be able to coil the string ends once more and insert the end a second time in the peg hole.
3. Tighten carefully
Begin slowly tightening the tuning peg with your guitar string winder or fingers, making sure that the string on the peg is coiling neatly from the bottom up. Stop when you’ve got a moderate amount of tension in the string.
4. Trim and tune
Once you’ve done this with all your strings, clip any excess string past the knobs with wire cutters, and tune your strings to the correct pitch with your tuner. It can take a few days for brand new strings to settle into their proper pitch, so hopefully you haven’t changed them an hour before your big show.
5. Clean the guitar
Knowing how to string a guitar is the first step, but to keep it maintained, you’ll need to clean it. The best time to give your guitar a good polish is when you have all the strings off, so grab a polish cloth and have it handy when you do your string change. This also allows you to wipe down crevices and smaller places, protecting the guitar from oils and dust. Whether you’re a beginner or guitar virtuoso, learning how to change guitar strings properly and keeping the fretboard dirt-free is an essential skill.
Time to play!
With your guitar stringed up and ready to play, it’s time to do what you do best: rock out! And if you need anything else to get started with your new guitar, check out our musical instruments section to find the best gear from the names you trust.