In sports and action photography, sometimes freezing the action isn’t the best way to capture it. When we think of sports photography, the first priority seems to be: Stop the action. Fast shutter speeds are action photography settings that freeze subjects in mid-motion, but they’re not always the best way to capture the feel of the action. In fact, you may want to add motion blur to your photography to enhance the action.
Here’s how it works.
What is Motion Blur?
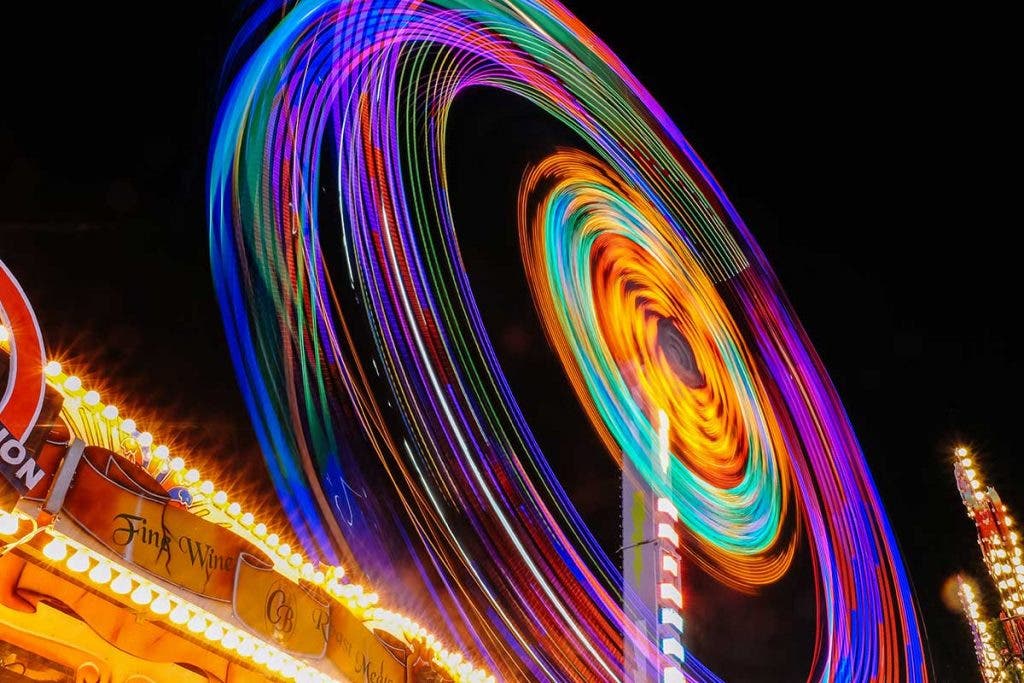
Motion blur photography involves a technique that involves using a slow shutter speed to allow moving subjects to blur through the frame. You can blur motion significantly with a faster-moving subject and a slower shutter speed. Additionally, you can do this by focusing on a small amount of movement with a slightly faster shutter speed.
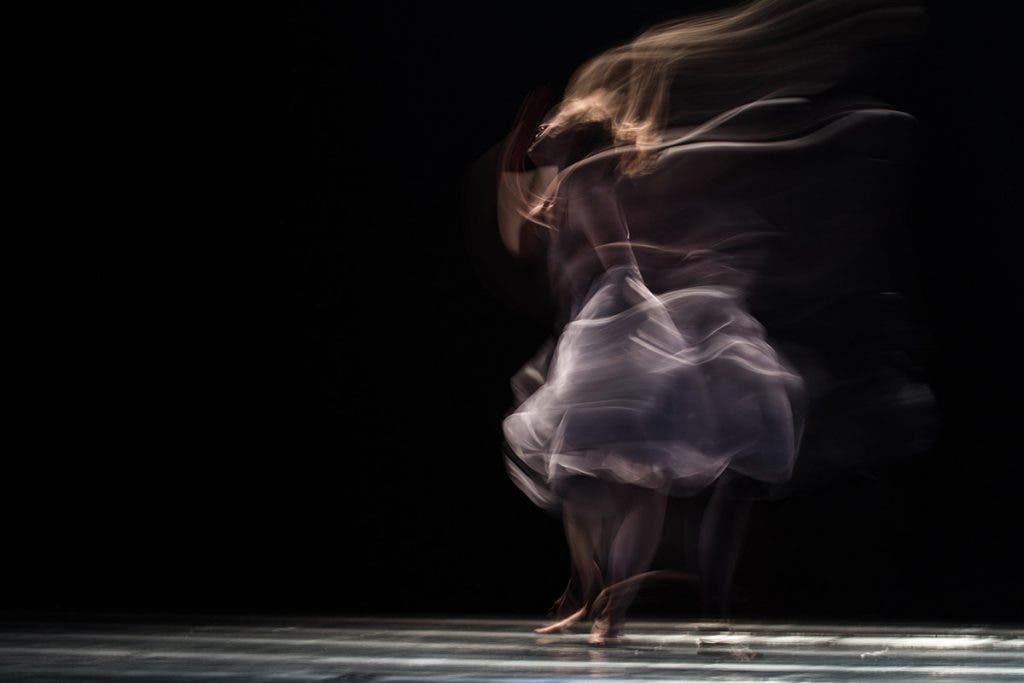
Motion blur intentionally captures blurred images to convey motion. It mimics how the human eye registers fast movement as an unfocused, quickly passing object. It is so appealing and eye-catching that it has developed into a separate photography genre (i.e., motion blur photography).
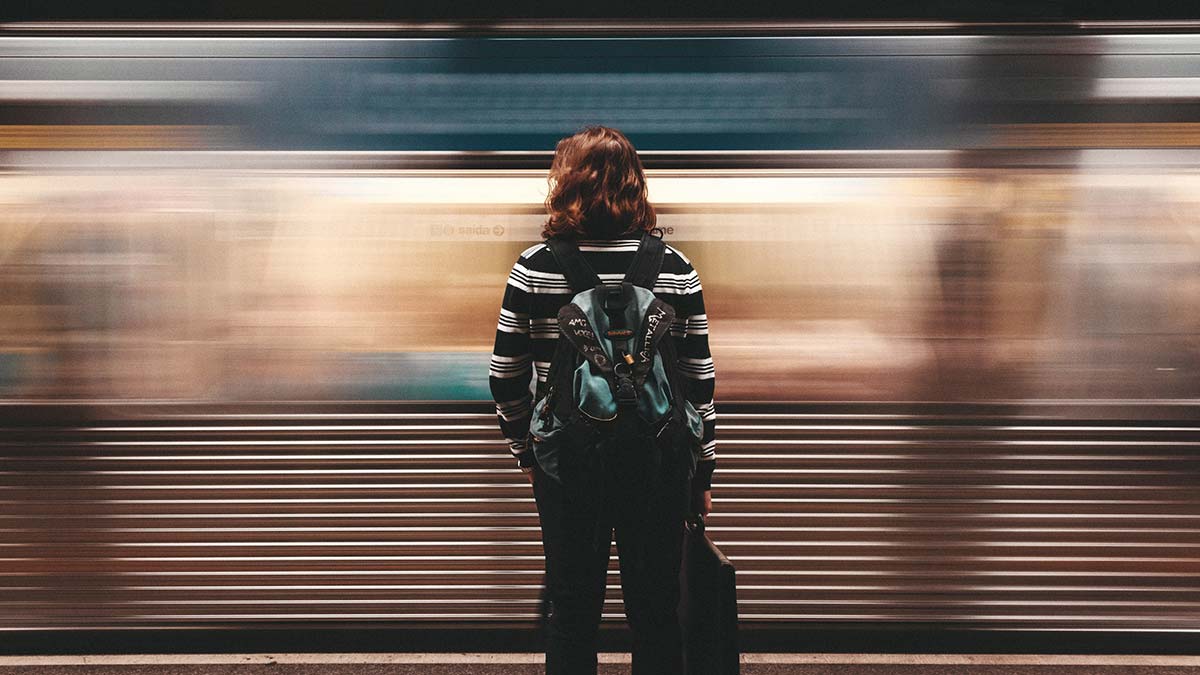
To achieve the motion blur effect, either the camera or the subject needs to be in motion while taking the picture. If the camera is stationary and the subject is moving, the motion blur effect will appear on the subject. But if the camera is panning or follows the moving subject, the motion blur effect will appear in the background.
You can also achieve this effect by taking photographs from a moving vehicle. In this case, the motion blur will be in the foreground.
Tips for Capturing Motion Blur in Photography
Photographers can capture motion blur in a variety of ways. You can create blur with the motion of the subject or with the motion of the camera. Each method creates a different look and has its own specific uses. With either technique, watch the exposure of your image and adjust ISO or aperture to avoid overexposing your image.
Adjust Shutter Speed
When creating motion blur by slowing the shutter speed, you will need to adjust the speed depending on how fast your subject is moving. Photographers may find it helps to shoot in shutter priority mode for making setting adjustments easily.
When Capturing a Fast-Moving Subject
For example, a faster moving subject, like an action or sports photography subject, will appear as a blur at a much faster shutter speed. When your subject moves quickly enough, you can get a blur at shutter speeds like 1/200, 1/125, 1/100, or 1/60.
When Capturing a Slower Subject
If your subject is moving much slower, like a person walking or a slow-moving stream, you’ll need a much slower shutter speed to capture the motion as a blur. In that case, you’ll want slow shutter speeds closer to half a second, a full second, or even longer.
Move the Camera
You can also create motion blur photography by moving the camera when the shutter is open. For example, you can add a motion blur effect by zooming in or out while the shutter is open. With this technique, the camera causes the blur rather than the subject. Make sure to use a tripod to help avoid camera shake.
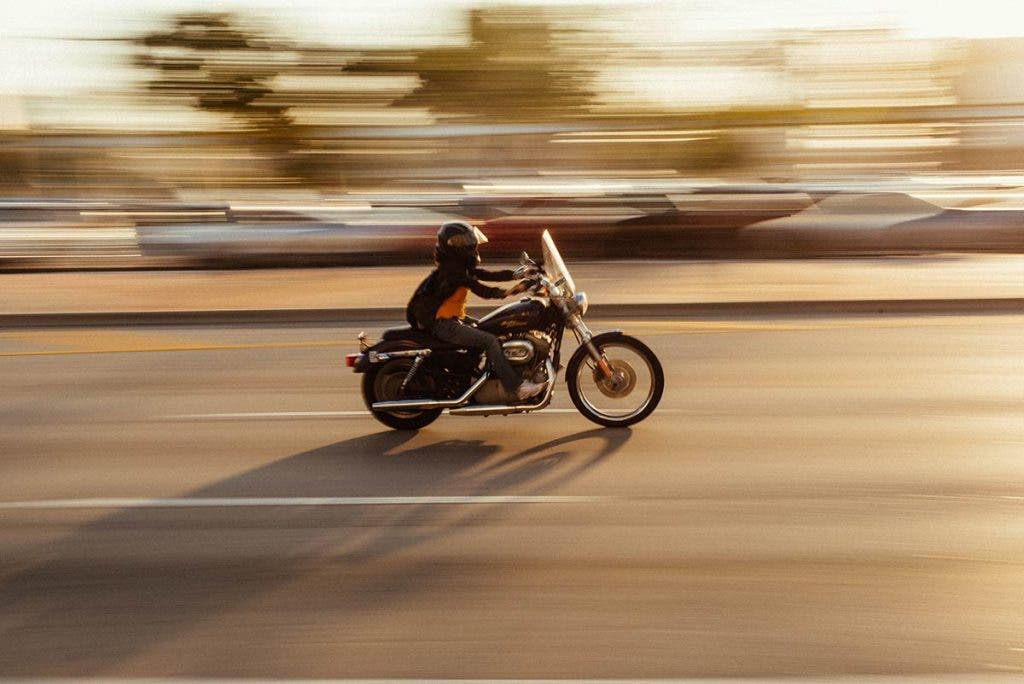
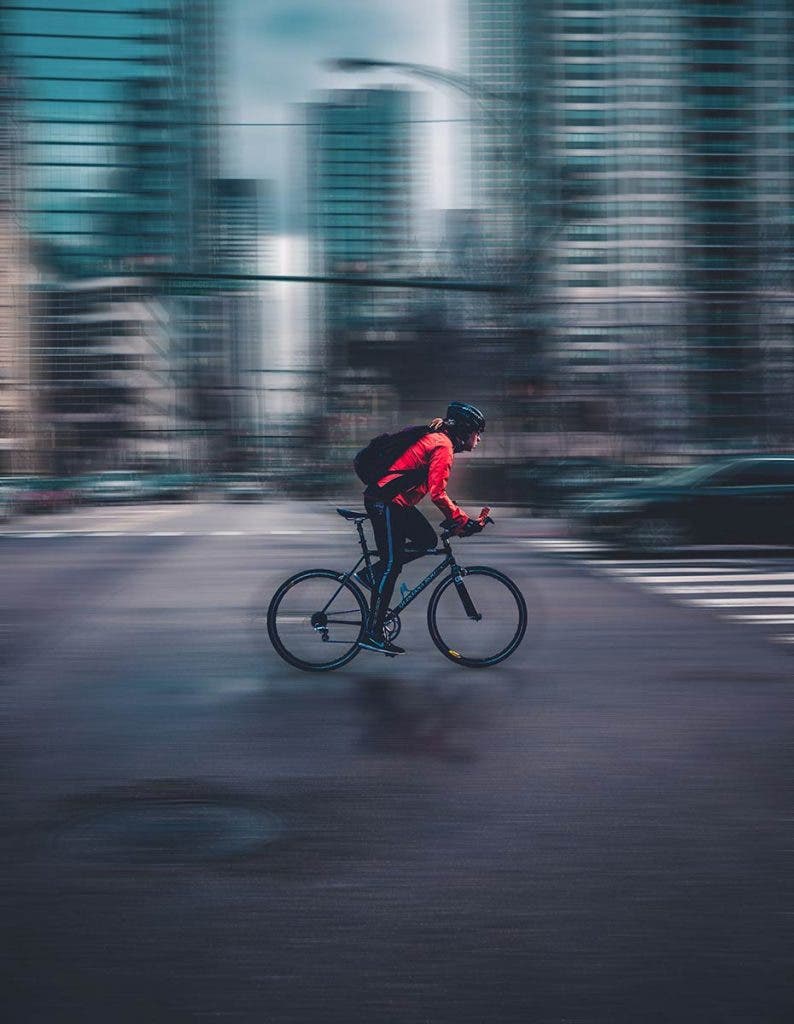
Panning
Another option to capture motion blur is a technique called panning, which works when the photographer moves the camera from one side to the other with the shutter open. Panning generally results in a still subject and a background blur.
Executing Panning in Motion Blur Photography
To execute this technique, move your camera as fluidly and steadily as possible, parallel with the movement of your subject. In layman’s terms: Follow your subject like a steady hawk.
Using a tripod with a panning head helps achieve this effect but is not entirely necessary. An example of an appropriate tripod for panning would be the Benro BV10 Video Tripod.
Camera Settings
Your camera should be set to:
- Shutter priority or manual mode
- Shutter speed between 1/15 and 1/60 sec (depending upon the speed of your subject)
You may need to shoot a few test shots to determine the appropriate shutter speed. Using a slower shutter speed will increase blur while a faster shutter speed will reduce blur. Find the shutter setting that allows your subject to appear sharp, but the background to appear blurred.
Shooting Mode
Autofocus should be set to continuous (Nikon) or Al-Servo (Canon) to maintain a proper focus of your moving target; your center autofocus point should be selected. This allows your camera to focus quickly on your moving subject.
Continuous shooting mode (or burst mode) should also be selected to ensure you have at least one shot where your subject is perpendicular to your camera—that’s usually the sweet spot for these types of images.
Lenses
Using a telephoto lens may require a faster shutter speed since camera shake is the main culprit of out-of-focus panned images.
A wide-angle lens creates less camera shake and allows longer shutter speeds but will require more movement from the photographer in order to achieve the look of a panned image.
Technique
If you are not using a tripod, you basically become the tripod. Keep your feet firmly planted on the ground, being sure to only twist your torso in the same direction as the moment, while following your subject in the viewfinder. Hold down the shutter release button to fire a rapid succession of shots. Follow through after you have completed shooting to ensure smooth lines of action.
Don’t be discouraged if you must shoot 10 or more shots before one decent image arises. Once you become comfortable panning under natural light conditions, you can add fill flash to create different effects.
Flash is also necessary for action shots taken in low-light conditions or at night.
Panning does not work if your subject is moving toward or away from you. Your subject must move across your field of view.
Frequently Asked Questions
When it comes to motion blur photography in post-production, you can start by using photo editors. Most photo editors provide tools for adding different types of blur, including motion blur.
Here are three free apps that have filters to help you on your post-production motion blur photography and videography:
CapCut (Free) – Available for both iPhones and Android phones. Offers motion blur effect for both photos and videos.
Snapseed (Free) – Available for both iPhones and Android phones. Motion blur for photos only.
Picsart Photo Editor & Video – Available for both iPhones and Android phones. Offers motion blur effect for both photos and videos.
Motion blur filters are non-destructive and allow you to select the part of the image where you want to apply the effect. They are designed to simulate the movement of the subject. When working on small areas, you can use blur brushes. They are fully customizable and let you adjust just a few pixels at a time.
The best shutter speed for motion blur photography depends on how fast the camera or subject moves. When photographing a steadily moving subject like a river, you need a shutter speed of 1 second to capture motion blur. But if you photograph something less predictable like a person walking by, a shutter speed of 1/200th of a second will be enough.
Which famous photographers used motion blur?
Some famous photographers that led to the creation of motion blur photography were:
- Eadweard Muybridge: A photographer and inventor known for his revolutionary studies on movement. He became famous worldwide for his unique work capturing motion and creating the first moving images.
- Ladislas Starevich: He would move the set or ask the model to move while taking pictures to create a motion blur effect. He’s often called one of the early animation pioneers and could even be considered as the inventor of motion blur.
- William Klein: He believed that blur is a natural part of life, just like when you shake your hand in front of your face, and it appears blurry. His unique view helped solidify his reputation as a renowned motion blur photographer.