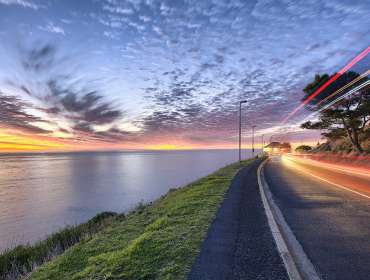
Among the most stunning photographic images we’ve seen are those taken outdoors in daytime and nighttime. However, featuring both can produce more incredible results in one photo—one that showcases the photographer’s skill and expertise in both technical photography, post-processing, and artistic composition.
If you’re interested in achieving the eyecatching effect, we’ll help you create your own day and night photos with the following step-by-step instructions below.
6 Steps to Capturing Day and Night in One Photo
The more you understand about photography, the easier these technical and practical tips will be.
Scout for a Location
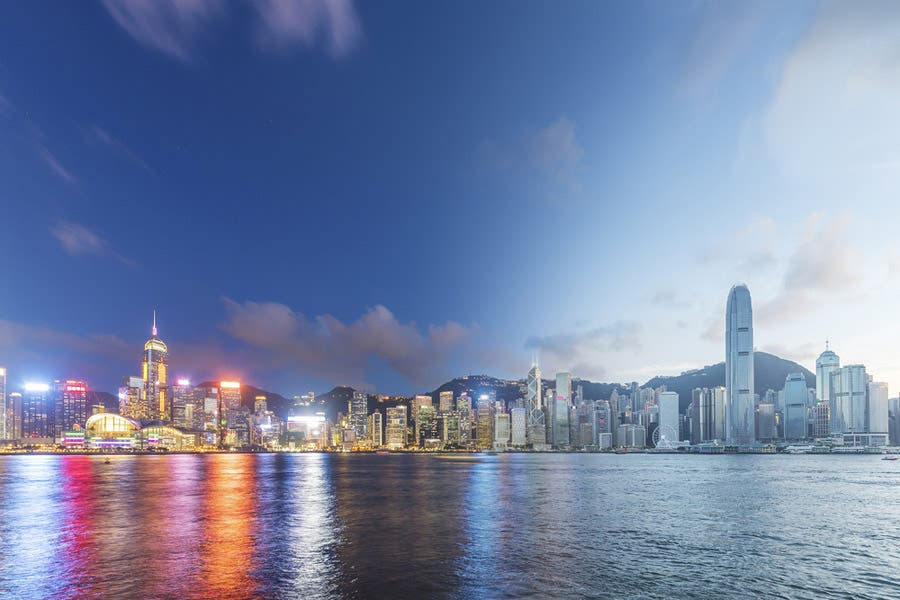
The first thing you’ll need to do is scout for a good location for your day and night image. It can be anywhere, as long as it’s a big area with at least a few interesting elements that can fill your camera frame. For best results, pick an area that has a great view of night lights on at least one side, like buildings or a lighthouse by the sea. This way, the night “side” of your final day and night image won’t have to look like a boring, dark area in your frame.
Set Up Your Camera Gear
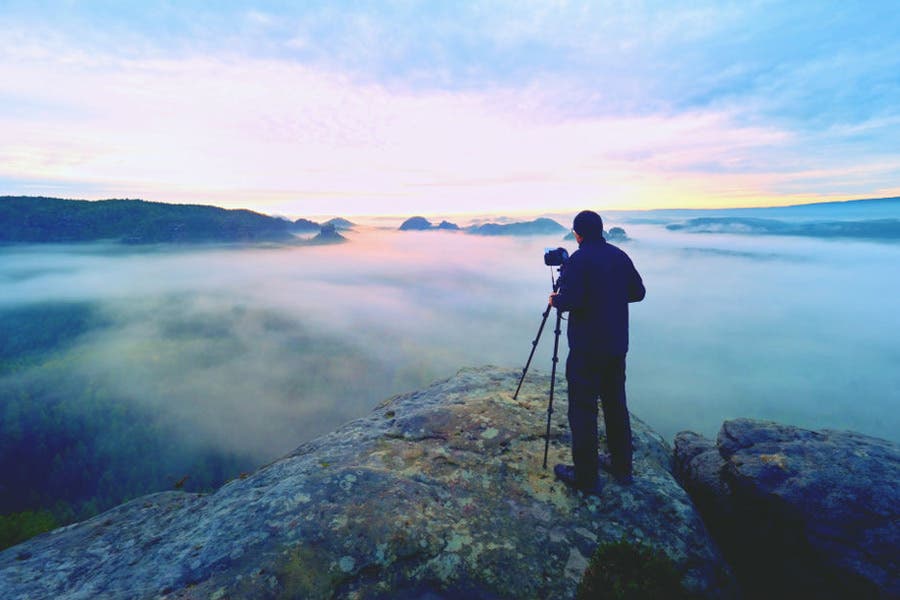
Before taking your images, you’ll need to make sure that you have all the necessary equipment for this shoot—from your trusty camera down to the accessories.
You can use any high-resolution camera, like a DSLR or mirrorless camera, which offers manual settings and gives you more control over the resulting image. Use a wide angle lens to capture an entire scene in a single image, as well as a good sturdy tripod to keep your camera steady and locked on the view. Remember, you’ll have to take the exact same image at different times of day to really achieve the day and night effect, so bring whatever you think you may need for landscape or architecture photography, as well as for shooting during the day and at night.
While you’re setting up, set the camera to shoot in uncompressed RAW image file format to get the highest level of quality and to be able to easily manipulate the images during post processing.
Choose the Best Angle
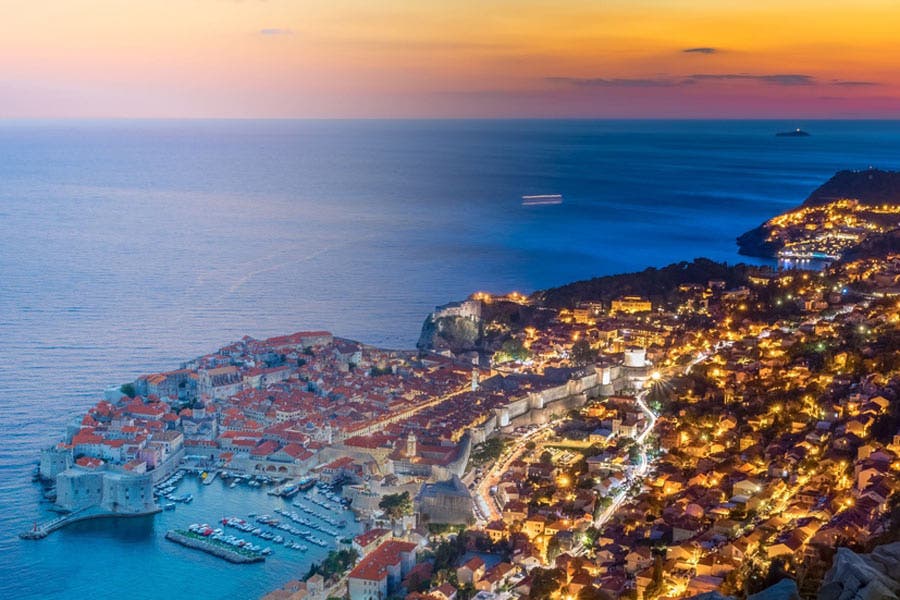
Most day and night photos feature landscapes, but even architecture shots can work depending on your subject area and desired image composition.
For both, find the best vantage point that enables you to include multiple moving or non-moving elements into the frame. And because it’s generally an outdoor wide angle shot, you’ll definitely be including the sky in your photos. The Rule of Thirds, as well as predetermining which areas of your frame will be the “day side” and the “night side,” will aid you in composing your shot.
Bonus Tip: Angle your camera to face an area that has a line in the middle—like a corner of a building or a tree. This hard edge in the middle of your photo can strategically serve as a natural meeting point for your day and night shots, which should help make post-processing and merging your photos a lot easier.
Take Your Daytime Photo
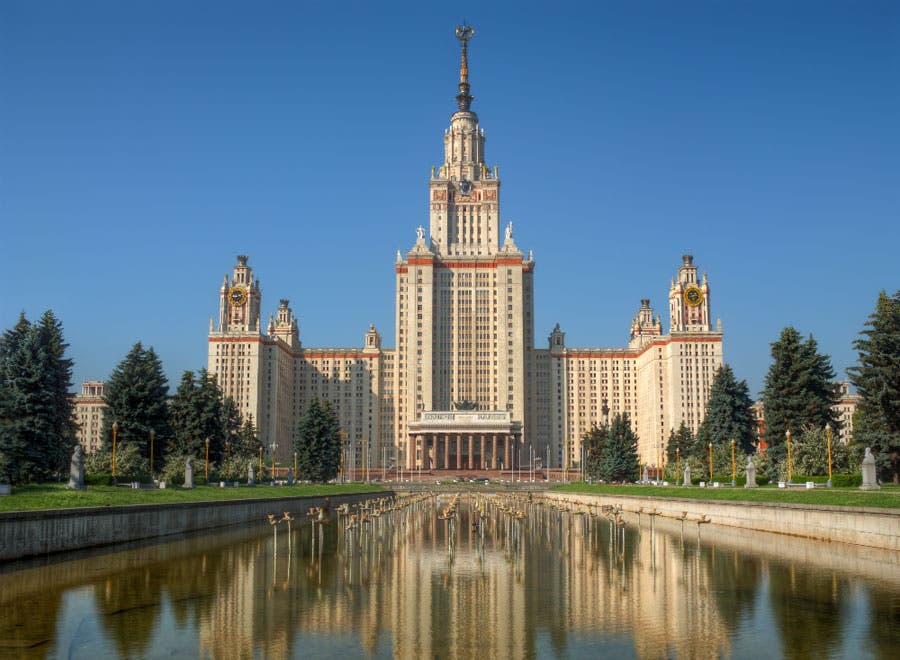
Once you’ve setup your camera on a tripod and framed your shot, it’s time to take your daytime photos. Avoid shooting while the sun is high up and at it strongest, as the light at this time will cast harsh shadows and likely ruin your images. Wait until before and after noon, when the light is scattered and diffused, to achieve a more evenly-exposed photo.
Consider using a polarizing filter to really bring out the color of the sky, reduce reflections, and suppress glare from water surfaces. Constantly scan the day side and look out for interesting elements that enter the frame. It’s also wise to take a lot of safety shots at different exposures so you can easily find matching exposures during post-processing.
Capture Your Nighttime Photo
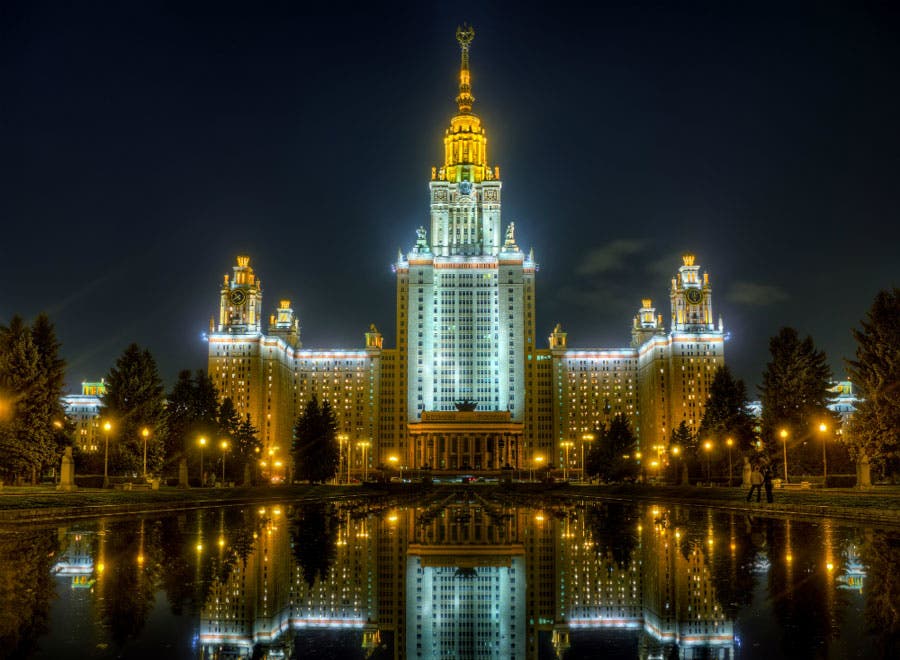
Night photography is a little trickier, especially when there are lights to be captured. You’ll need to set the right white balance and exposure settings—which includes cranking up your ISO levels, widening your aperture, and using a slower shutter speed—to achieve brighter, sharper, and accurate night shots of your view. Use your prior experience and knowledge in shooting under low-light conditions and take as many test shots as you want until you get your desired result.
Watch out for movement and changing light. If you’re capturing a photo with moving cars, you may want to show this movement by using a slow shutter speed and a remote shutter release to eliminate camera shake. And if the night side of your image has no lights, you can focus on bringing out the stars in the night sky to add interest in that area.
Merge the Images
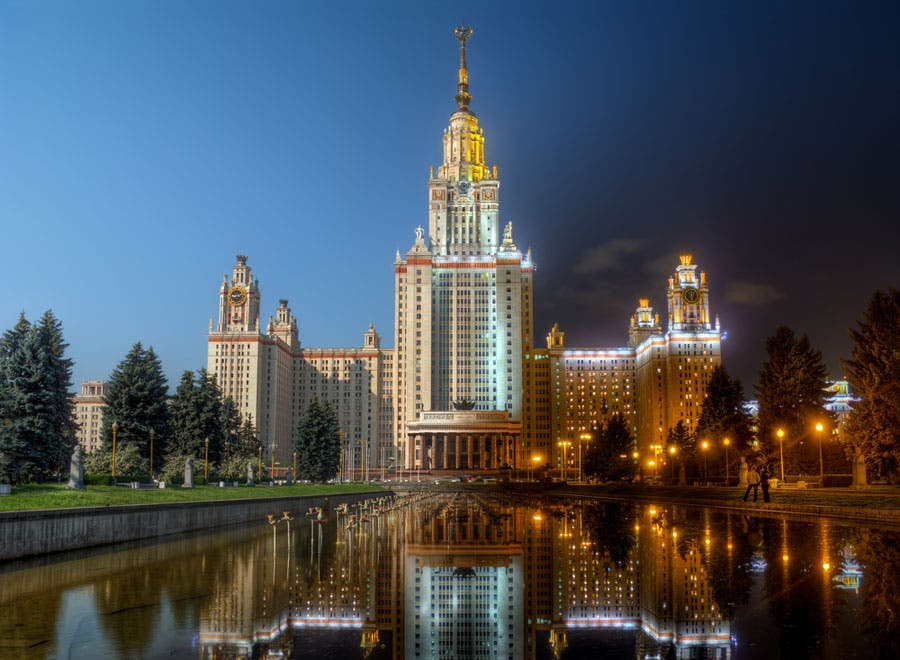
Once you have your images, you’re ready to export, retouch, and merge them using good photo editing softwares like Photoshop and Camera Raw. And if you’re familiar with HDR photography, then you should already have a pretty good idea about how you can combine two or more of your best day and night shots together.
Your day and night sides don’t necessarily have to meet in between. Depending on your composition and preference, you can show more of the day and leave just a quarter of the frame for night or vice versa. Make sure you zoom in and check the details in your image before flattening them into a single image layer.
Bonus Tip: In Adobe Photoshop, you can use a gradient mask to quickly blend at least two of your images together and paint over parts that you want to keep visible without making any permanent changes to the image files. See how it’s done below:
In case you can’t leave your camera in the same spot for too long or don/t have time to wait to capture both your daytime and nighttime shots, you might be able to fake the latter, depending on your view. See how seasoned pro Gavin Hoey shot a night portrait during the day in the episode of AdoramaTV below:
