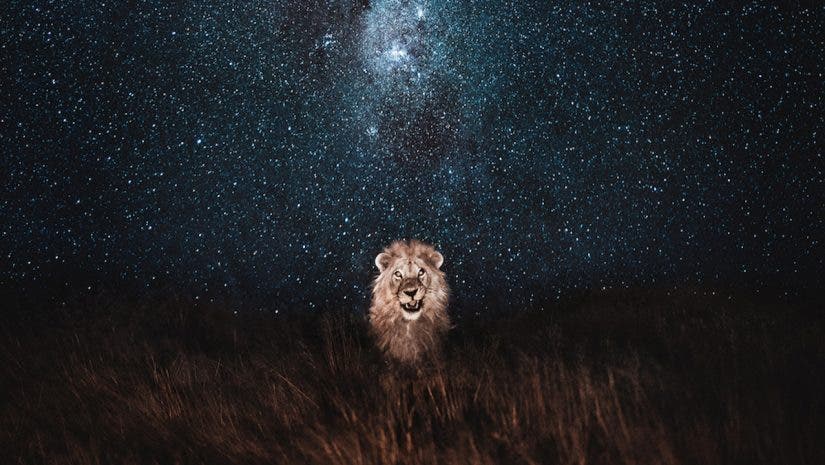
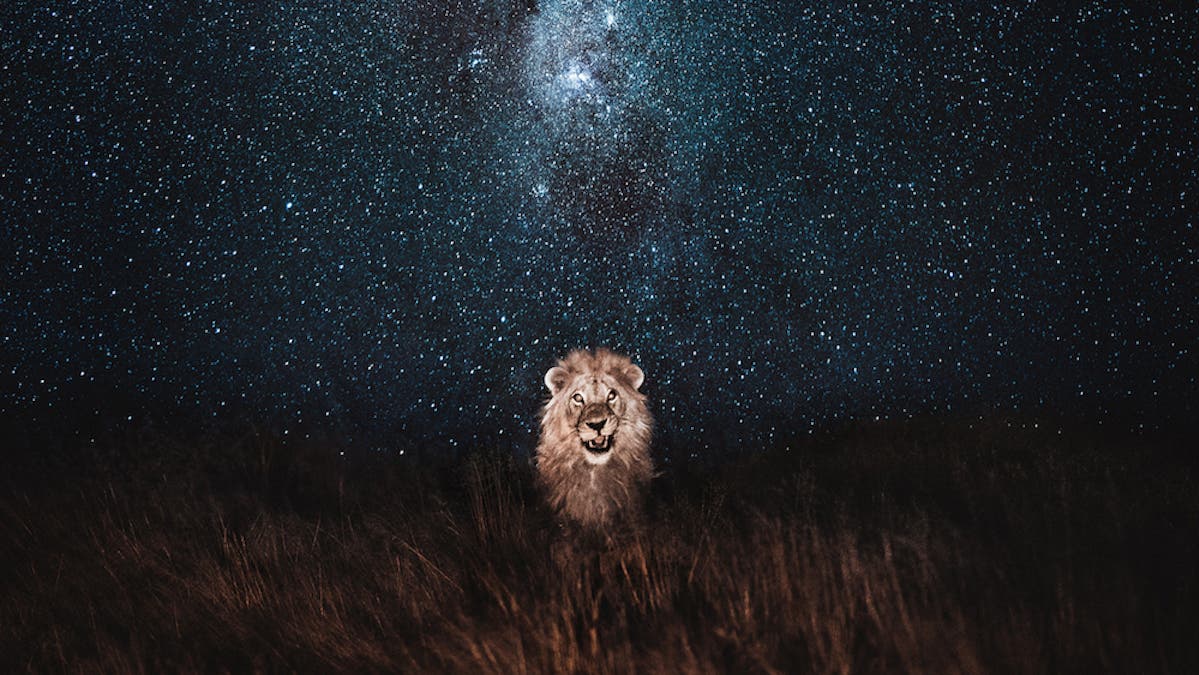
Over the years, I’ve experimented with capturing animal photography at night with varying degrees of success. Wildlife photography during the day can be enough of a challenge but, at night, it can be a whole different story. A mixture of the inherent difficulty of finding wildlife in the darkness and the limitations of modern cameras oftentimes make it impossible to create exposures of animals at night. But when you can get it to work, the results can be mesmerizing and otherworldly. For me, creating stories surrounding particular subjects at night has been my primary interest. Rather than attempting to just capture photos “of” an animal, I try to create portraits “about” them using light to shape their stories.
How to Find Animals in the Wild at Night
The majority of my portraits of wildlife in the wild have been created throughout southern Africa. Although the wildlife might be different depending on where you live, the principles of how to approach animal photography at night remain similar.
In Africa, the behavior of certain animals can change dramatically after the sun goes down. For example, lions are much more active at night. Therefore, the chances of photographing them depend on your ability to follow and track them through the bush. Whereas cheetahs are almost entirely incognito, trying to avoid other predators by hiding away under bushes. You’d be lucky to see a cheetah after dark.
The level of difficulty in photographing any wildlife depends largely on the behavior of the animal you intend to photograph and if they are nocturnal or not. Understanding the habits of an animal beforehand can give you a good idea of how to approach to creating portraits of them in the dark.
Safety Tips
Don’t Shine Light Directly on the Subject
In terms of safety, regardless of the animal, being respectful of the species is the key to safety. Approaching any wildlife can be dangerous, especially if that animal is surprised or frightened by your presence. In any case, I’ve always recommended to minimize your use of artificial lighting at night. Specifically, if you’re using a head-torch, spotlight, or flashlight to locate animals, keep in mind that the eyes of nocturnal animals are highly adapted to see better in lowlight conditions. When you shine a light on them, it may take up to a few hours for them to fully regain their night vision.
If you’re looking for wildlife at night and you locate them with a strong light, once you spot them, move the light to a bush or tree just next to them instead of shining directly on them. The reflection of the light bouncing off the nearby vegetation should be enough to illuminate them for you to see and preserve their night vision at the same time. You might even be able to expose for them using this method. Never shine the light directly into the face of the subject for extended periods of time. Anything more than fractions of a second can be damaging.
Locate the Watering Holes
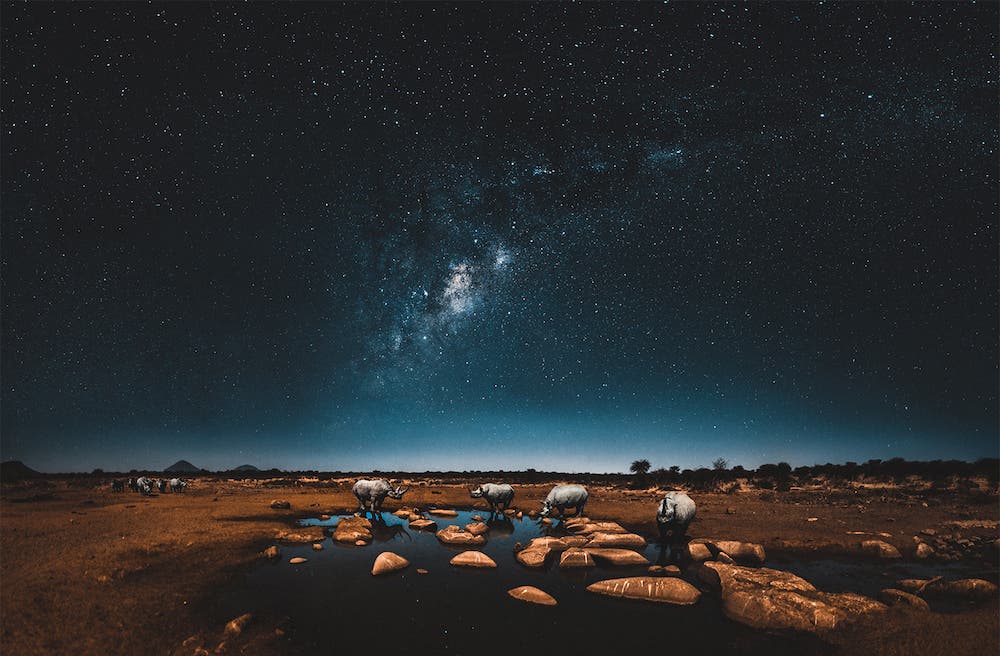
In Africa, one of the best places to find wildlife at night is by the watering hole. If you can, organize a visit with a guide to a watering hole just after sunset and position yourself on one side of the water. Waiting patiently for animals to arrive is your best bet to capture them as they approach or drink. Keep movements minimal and pay attention to wind direction. Some animals will avoid the watering hole if they smell you first. It’s important to note that, if they can’t smell you but they can hear you, they may exhibit cautious behavior if they don’t have very good night vision. Anytime you surprise an animal, it can result in dangerous sporadic behavior. Sometimes it’s better if the animal knows you’re there, rather than being totally incognito.
Camera Settings to Use
At night, the aim is to capture as much light as possible at the fastest shutter speed allowable to both freeze the subject, but also to illuminate the sky or background.
Aperture
The first order of business is to use a lens with as wide of an aperture as possible. F2.8 is a standard but if you can find a lens with F1.8 or even F1.2, you’re in great shape to get as much light to hit the sensor as possible. I always shoot wide open to allow the most light into the camera.
My favorite lenses are:
Sony FE 20mm F1.8 G Full Frame E-Mount Lens
Sony FE 135mm F1.8 GM (G Master) Full Frame E-Mount Lens
ISO
Generally, high ISO is required to capture photos of wildlife at night because of the limited availability of light. In my experience, shooting anything above ISO 6400 is beyond the limit of most mirrorless cameras.
Shutter Speed
Shutter speed can get a bit more complicated and you may have to experiment. If you’re trying to capture the stars and the subject in the same frame, your shutter speed will depend on whether or not you’re using artificial light. At night, there is such minimal light that, without any light source, even at the lowest aperture and the highest ISO up to 6400, this is usually still not enough light at a higher shutter speed like 1/250s.
Astrophotography with Animals
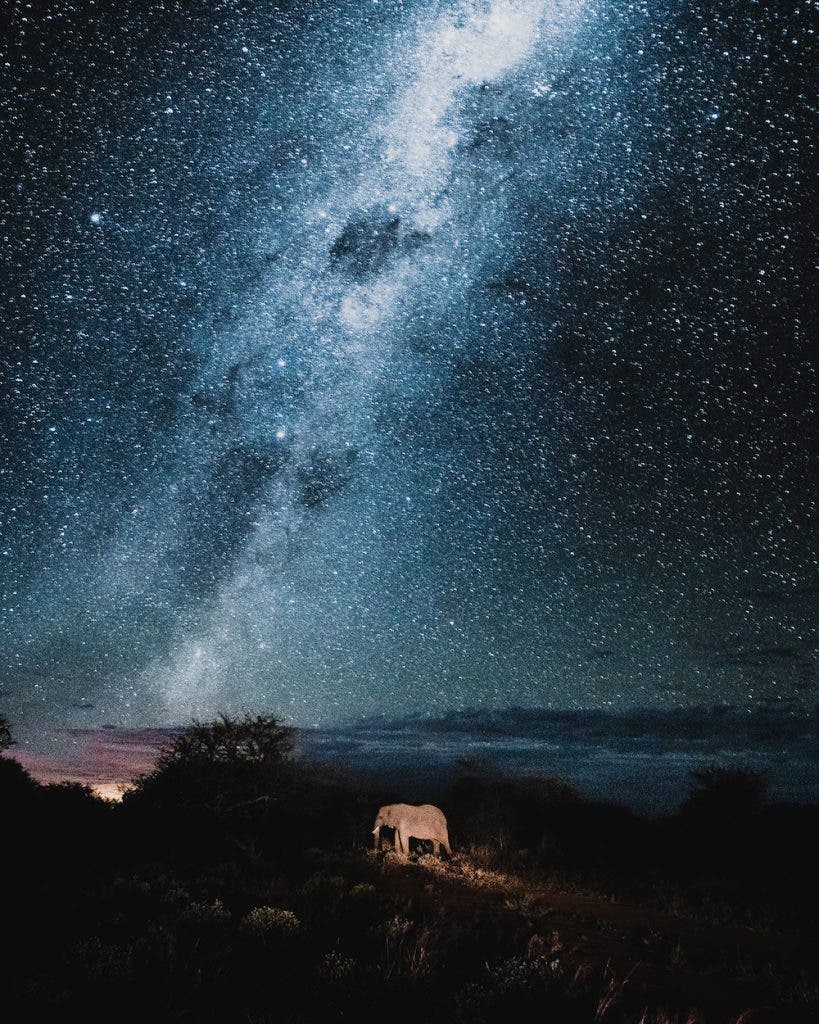
If your aim is to photograph your subject with the stars, you’ll need to either create a composite with two exposures and stitch them together or capture everything in one exposure using an artificial light source to quickly illuminate your subject. Of course, you can also use a flash. Although, generally, I don’t recommend doing so unless you set up a camera box.
You can learn more about camera boxes at How I Capture Wildlife Portraits.
How to Create a Composite Image
I’ve found the most success with using two different lenses and creating composites to create portraits about wildlife at night. With a tripod set up in a single position, I’ll capture the scene in a single frame or by creating a panorama, exposing for the sky with a wide-angle lens. For example, the I’ll use a 20mm F1.8 lens. Next, I’ll use a 135mm F1.8 lens in combination with a minimal light source shined nearby the subject to capture the subject against the same scene.
Nothing changes except for the lens and the angle of view captured by the camera. This way, I can expose separately for each subject within a frame to capture the entire scene without having to use flash. I always focus on the subject in both the wide angle and the telephoto shots so I can combine them in post-processing.
Learn more about this at What is Composite Photography and How is it Done?
Expose for the Stars
In order to properly expose for the stars and the sky on a moonless night, you can estimate the shutter speed by using the 500 rule-of-thumb. It’s easy. Take 500 and divide it by the focal length of your lens. This will be the maximum exposure time you can use without capturing noticeable rotational movement of the stars.
For example, with a 20mm lens, the result is 500/20 = 25s exposure. So, you can set your camera to 25s to expose for the stars. You can experiment at different ISOs to find a balance of noise and exposure.
Expose for the Subject
As I mentioned previously, if you have a much longer shutter speed (for example, 25s), the exposure of your subject in the foreground is either going to be too dark or, if they are exposed, too blurry. Otherwise, I find that shutter speeds of 1/80–1/250 work well in combination with a very short swash of light shined nearby the subject — as long as the subject is stationary and you are as still as possible.
You can work with a partner to help get the light just right. Shine your torch or spotlight somewhere nearby the subject. Once you have them lit, take your photo with the 135mm lens (lowest aperture). I like to experiment with continuous bracketing, with +/- 1 EV so that I can set a middle shutter speed. For example, I try 1/100s and the camera will also capture a shutter speed above and below, increasing my chances of a sharp shot if there is minimal time for me to experiment and get the perfect shutter speed. As for ISO, you can likely use a lower ISO at this point, but experiment.
Non-Composite Option
If you want to capture everything in a single frame, you can try using just a wide angle to avoid the composite route. You can illuminate the subject by focusing on them and very quickly shining the light during a longer shutter speed, for example up to the 500 rule of thumb limit of your lens (i.e. 25s for a 20mm lens). First, illuminate the subject like in the first method so you can autofocus or manual focus on them. Next, have a friend help out by shining the light very quickly on the subject right after you press the shutter. Nothing more than a split-second is necessary. And as always, avoid shining directly into the eyes. Use a low setting on your light if possible and illuminate the body and the ground around the subject in a sweeping motion while the camera shutter is open. Sort of like standard light painting. You might have to experiment with exposure time, but if you’re quick enough with the artificial light source, this can in a way simulate flash and freeze the subject in motion.
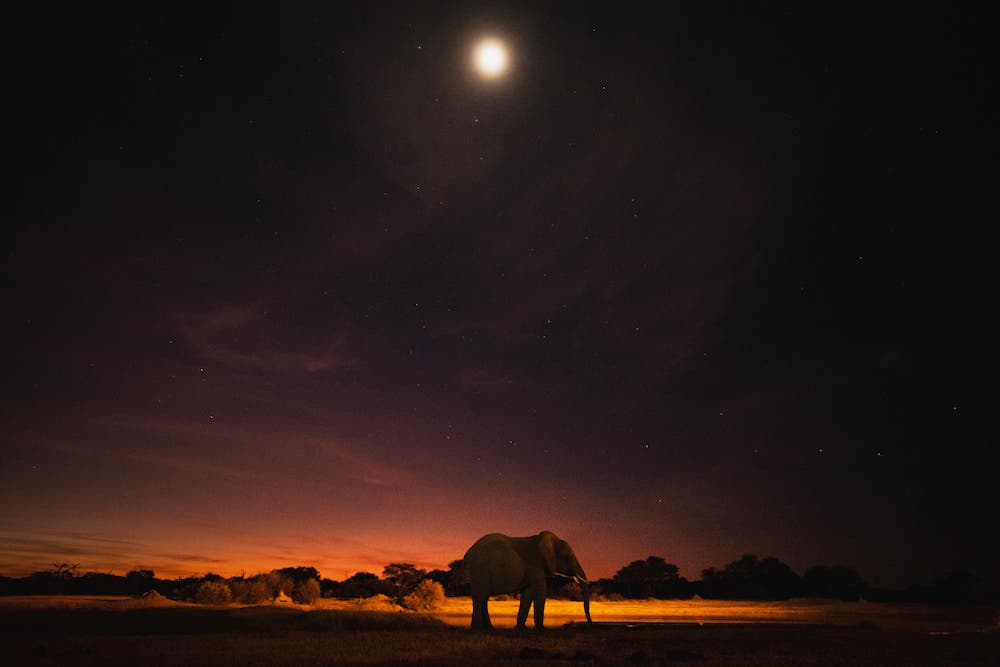
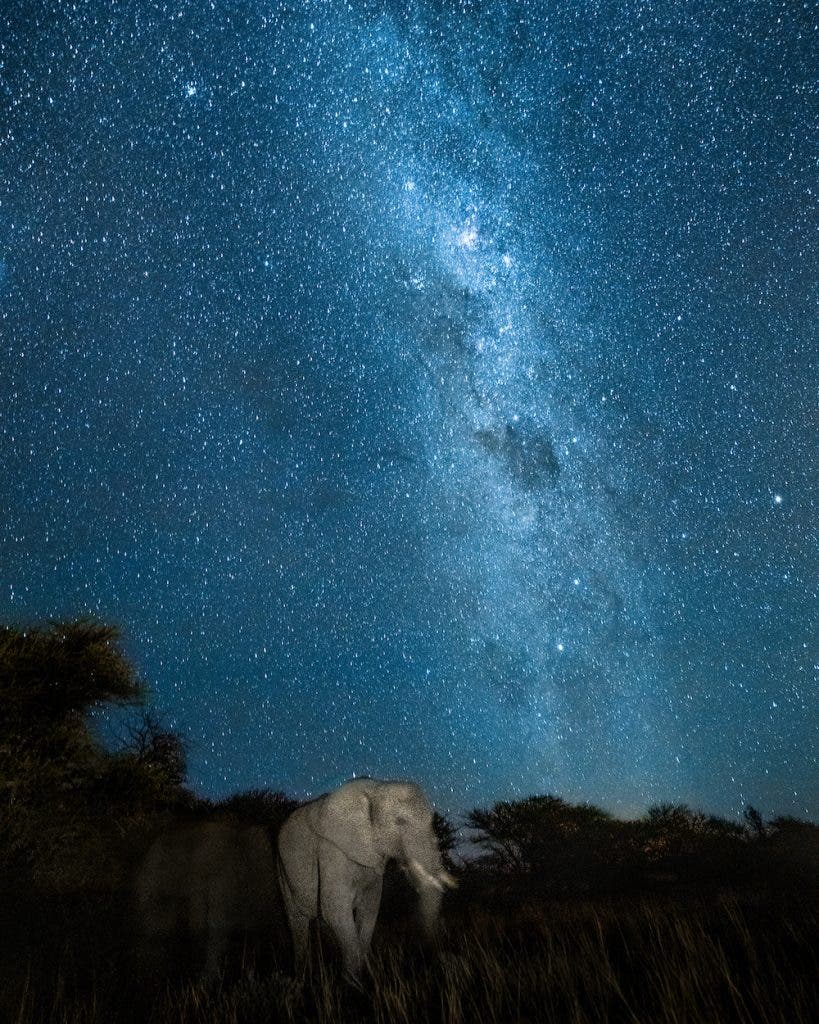
Note, the subject might not be as sharp using this method, because the exposure time is longer. This can sometimes create a sort of ghost affect, which looks quite ethereal.
Later, you can combine the two exposures either in Lightroom or in Photoshop. You may have to make some adjustments for exposure and align things properly, but if you don’t move the camera from the tripod, you’ll have a much easier time. Use the base frame, or panorama of the stars as the base and insert your telephoto frame of the subject into your image. Scaled down, of course.
More Tips:
Use a Timer: Use the 2s or 5s timer to capture your shots at night to avoid shake from touching the camera. Trust me, it makes a big difference.
Moonlight Nights are Best! Some of my best attempts at wildlife photos at night come from full moon nights. The extra light from the moon projected onto the subject helps with the exposure of the surroundings and foreground.
Create a Silhouette: Try getting low and exposing for the sky. For example, this image taken at night just after sunset was taken from within an underground hide. Just focus on the edge of the subject against the sky and expose for the sky to create a show outline.
Other Accessories to Use
Light Tip
A headlamp or strong LED flashlight that can be dimmed is ideal for illuminating your subject.
Tripod Tip
I always recommend a tripod, for example, I use the Sirui Ultralight Carbon Fibre tripod. LINK – Stability when capturing the night sky or your subject is key, since we’re dealing with lower shutter speeds. Although the subject might be moving, you want to minimize any potential motion blur that might come from your own movements with the camera.
Conclusion
There are many approaches to photography of wildlife at night, but your specific method depends on the kind of images you’re trying to create and the wildlife that you have access to in your area. If you’re travelling, it’s always best to research beforehand and to connect with local guides or experts to discuss the potential to photograph animals after dark. Always keep safety and respect for the animals in mind. And be cautious of where you shine your light. Happy shooting!
