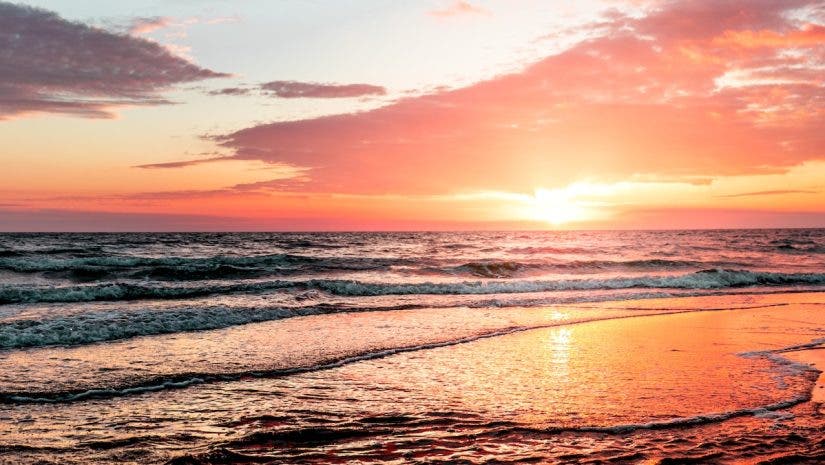

Sunset photography refers to landscape photographs where the sunset plays the principal role. But the sun isn’t the only major element. There are also clouds, dramatic landscapes, and a foreground that can provide balance to create a stunning sunset photo.
As the sun descends on the sky, the scenery changes its appearance rapidly, providing endless opportunities for good photos in a short amount of time. Sunset photography is very rewarding. Besides the beauty of the landscape, sunset photos incorporate warm feelings and emotions, and invite the viewer to reverie. Even if landscapes aren’t your preferred subject matter, you still should try sunset photography. Let’s get into how to do so properly.
How to Prepare for Sunset Photography
There are three things to consider when planning a sunset photo session: time, weather, and location.
You can’t really do much about the time as the sun sets at a precise time each day. However, you can do your best to be prepared for it and be at the right spot in time for when when “magic” colors start to unveil. There are many ways to discover where and when you capture sunsets (e.g., weather forecasts, apps, calendars, etc.). Plan to arrive at the location two hours before sunset to have time to prepare your photo setup. Remember that the golden hour starts one hour before the sunset and gives you plenty of good opportunities to take photos.
Check out 8 Golden Hour Photography Tips for Magical Photos for more inspiration.
Weather is trickier than time. A beautiful sunset needs some clouds to capture and reflect the sunlight. However, thick clouds will hide the sunset. Look for sunny or partly cloudy days (around 50% coverage) and be prepared to sprint to locations if the sky is clearing after a storm.
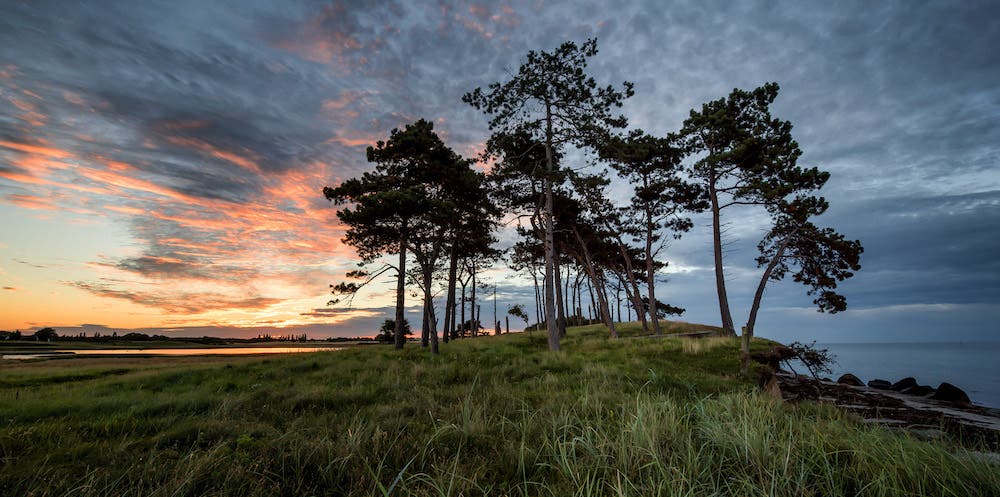
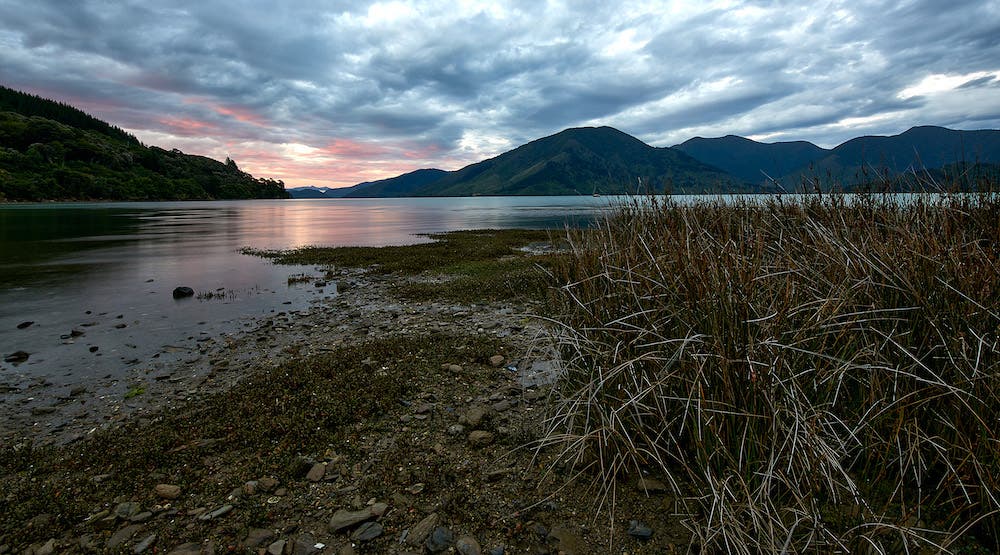
To photograph the exact moment when the sun goes under the horizon, the location has to provide clear access to the horizon line (e.g., a beach facing west). However, you can create interesting sunset photographs with the sun disappearing behind mountains, hills, or trees. Look for open locations with vast empty spaces where you can easily see the sky.
Best Camera Settings for Sunset Photography
Sunset photography — like landscape photography in general — requires solid knowledge of working with natural light. Sunset provides exquisite orange and magenta shades you need to capture accurately. At the same time, you have less light than during the day and must adapt camera settings for shooting in low-light conditions.
For more on this, read How to Work with Natural Light in Landscape Photography.
White Balance
The color temperature of the sunset is around 2800 to 3000K, which is very warm. If you shoot in RAW format, you can normally use the auto white balance setting. However, it may misinterpret the orange shades of the sunset and try to correct them by adding blue. If you shoot in JPG, you have to set the white balance manually. In this case, set the white balance to Daylight or Cloudy. If your camera model gives you the option, set the white balance to a color temperature close to the one of the sunset light (e.g., on the Nikon D850, choose White Balance Options, Choose color temp. setting).
Focus
Even though the setting sun is the star of this type of photography, you should ensure that everything from front to back is tack sharp. You cannot just focus on infinity. Instead, try to use the hyperfocal distance for focusing.
Exposure
At sunset, there is high contrast between dark and bright areas of the scenery. If you want the absolute best result, I suggest that you use exposure bracketing, so you capture three exposures of the same composition. One for the midtones. One underexposed shot captures the beautiful tones of the sunset and sky. Finally, capture an overexposed shot to get all the details from the foreground that are hidden in shadows on the first two captured exposures. Note that you need to use a tripod to do this. Take all three exposures and use automatic HDR software to blend them seamlessly into a single gorgeous shot. Alternatively, blend the exposures manually in software like Photoshop.
ISO
To avoid adding noise, keep the ISO value at a minimum. ISO100 will be the best option. Yet, if there isn’t enough light to permit both a low ISO and a fast shutter speed, you can increase ISO up to 400.
Aperture
In sunset photography, you usually want the entire frame in focus. This translates into a deep depth of field, meaning small apertures (large f-stop values like f/13-f/16). But a small aperture means both diffraction and less light entering the camera and the need to compromise on ISO and shutter speed. The wider the focal range, the more depth of field you will have. This allows you to use lower f-stops like f/8 in combination with the hyperfocal distance and still have everything from front to back in sharp focus.
Shutter Speed
If you use a tripod and nothing moves in the scene, you don’t need to worry about shutter speed. Slower shutter speeds will create a smooth effect — almost painting-like. Set the lowest ISO and smallest aperture and see what shutter speed you need for proper exposure.
How to Compose a Sunset Photo
It’s not easy to compose a sunset photo because you don’t have a clear separation between subject and background. Your subject is the background.
The best thing you can do is decompose the scene into basic elements and analyze their weight in the frame. For example, colors, lines, or clouds may become focal points of the composition. You can then use either of the rules of composition to place them appealingly in the frame.
The rule of thirds plays a major role in creating a well-balanced sunset composition. You can either place the horizon or one of the elements you identify as focal points at one-third of the edge. If you frame the horizon, make sure it is straight. A tilted horizon is distractive and ruins the entire photograph.
The foreground shouldn’t always be excluded from the frame. On the contrary, adding a foreground to your composition gives depth. Try to get the camera to the level of foreground elements and change the perspective of the composition. It creates much more interesting photos and diversifies your portfolio.
As many sunset photos have near water locations, you can include reflections in your compositions and double the effect of the sunset. For example, the photograph may capture the sky’s reflection in the water. If you aim for perfect symmetry, forget about the rule of thirds and place the subject in the center of the frame.
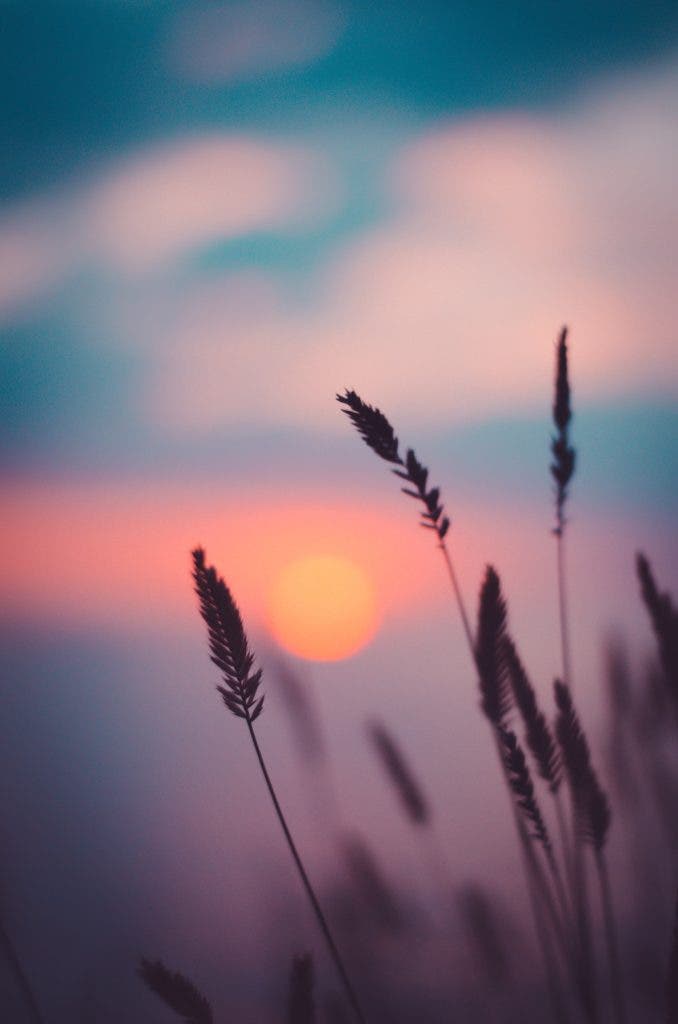
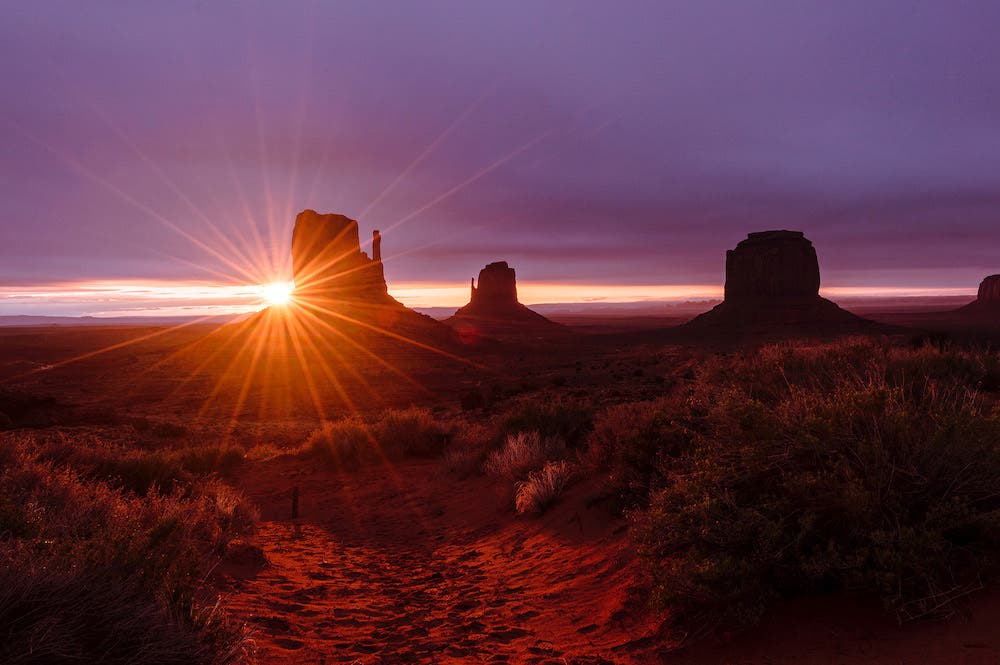
Sunset compositions may be more or less subtle. They vary from capturing the full round shape of the sun to almost a suggestion of a sunset through warm colors and delicate glazing. If you go for the apparent sunset photo, a star filter or using a small aperture may help you produce a visually striking composition. However, consider carefully whether you want to have the sun itself included in the photo or not. The soft light that appears just after the sun has gone down below the horizon has soft light and more interesting yet subtle colors.
Best Equipment for Sunset Photography
In terms of equipment, sunset photography is forgiving — up to a point. You can photograph sunsets with any type of camera, from DSLRs or mirrorless cameras to point-and-shoot cameras to smartphones. However, a full-frame camera is your best option if you need print quality and high resolutions. The reason is the camera’s performance in low-light conditions, which includes a wide dynamic range, low noise level, color accuracy, and high level of detail. You also need a camera with RAW support.
Sunset photography often requires wide-angle lenses able to capture as much as possible from the scenery and deliver a deep depth of field. If you don’t use a tripod, choose a lens with optical image stabilization. Also, a lens hood is good to avoid flares and strange reflections.
Because you have high contrast between the sky and the rest of the scenery, a graduated neutral density filter helps you balance the exposure and keep some of the foreground details if you don’t want to use exposure bracketing. However, it is optional, and it doesn’t work with all kinds of scenery.
You will also need a tripod to avoid camera shake when shooting in low-light conditions. You will often find yourself slowing down the shutter speed to keep ISO low and aperture small. The tripod has another function too. It maintains the position of the camera throughout the entire golden hour and allows you to photograph the scenery at different moments in time. This adds consistency and a temporal dimension to your work.
Editing a Sunset Photo
If you aren’t happy with your sunset photographs, you can fix some of the mistakes in post-processing. Remember to shoot in RAW to capture as much information as possible.
Keep it Natural
But the best tip for editing a sunset photo is not to overdo it. Keep it natural even when you didn’t benefit from a spectacular sunset. Don’t exaggerate colors and contrast. Nature knows best every time.
Make Sure its Geometric
However, there are plenty of retouches that will increase the value of your photographs. First of all, you should check for geometry issues. For example, you can easily straighten the horizon or crop the image to match a particular rule of composition. Don’t forget to maintain the same aspect ratio throughout the photo series. Photo editors provide grids and geometric transformations that guide you all the way.
Reduce Noise
You can also use a photo editor to remove or reduce ISO noise. Especially if your camera doesn’t work very well in low light conditions, the dark areas of the image will be affected by noise. Many photo editors use AI-based algorithms to distinguish noise from detail and clean your images without blurring them.
Make Colors Consistent
Use post-processing to adjust color and contrast, make the image warmer, fix exposure errors, and increase sharpness and clarity. The best way to do it is to create a routine for editing sunset photographs and saving the presets you use. It will add consistency to your portfolio and help you find your unique style.
You can also improve your sunset photographs by adjusting the white balance. Use dedicated white balance adjustments or tools that target colors, such as color balance, color temperature, curves, cooling or warming filters, etc.
Be careful with using a lot of presets and effects. Don’t forget that everyone uses them. They give the same vibe and create the same atmosphere. You want your sunset photographs to be original, unique, and authentic.
Conclusion
From a technical and logistic point of view, sunset photography may be challenging. But from a personal perspective, it is one of the most rewarding types of landscape photography. It reveals the beauty of nature in its entire splendor and makes you witness magic moments. And although sunsets happen every day, they are never the same.
The color and intensity of the light change rapidly. The way the other elements in the frame absorb and reflect light also changes. You are the spectator of a continuous transformation process that warms your heart and fills your memory card with amazing photos.
If you’re looking for more on general landscape photography, check out 22 Landscape Photography Tips for Beginners.
